Love this? Save it for later!
Share the inspiration with your friends
I was standing in my kitchen last October, staring at a bag of Honeycrisp apples I’d bought on a whim, when the smell of cinnamon from a neighbor’s open window drifted through—and suddenly I was twenty-three, in my first tiny apartment with the crooked countertop, making apple crisp in a loaf pan because it was just me and my then-boyfriend, now-husband. That apartment had exactly one oven-safe dish, a hand-me-down from someone’s garage sale, and I remember thinking, “Why do all recipes assume I’m feeding an army?” I mean, honestly, that question has haunted me for years.
That night, I cobbled together a tiny crisp with three apples, some oats I’d bought for breakfast, and a lot of hope. It wasn’t perfect—the topping was a little too buttery and slid right off—but we ate it warm with vanilla ice cream straight from the carton, sitting on the floor because we didn’t have a table yet. And let me tell you, that imperfect little dessert became the thing I craved every fall after. Maybe you’ve been there, too—wanting something cozy and homemade but not wanting a week’s worth of leftovers staring at you from the fridge.
This cozy small-batch apple crisp for two is my grown-up version of that night. It’s intentional, it’s just enough, and it’s exactly what you need when you want dessert to feel special without the fuss. The topping stays put now (thank you, years of trial and error), and every bite has that perfect contrast of tender, cinnamon-spiced apples and crunchy, buttery oat crumble. It’s the dessert that says, “I made this for us,” without saying a word.
Why You’ll Love This Recipe
This isn’t just another apple crisp recipe floating around the internet. I’ve tested this small-batch version more times than I care to admit—some batches were too watery, some toppings were more like paste than crumble—but this one? This one hits every single time. Here’s why it deserves a spot in your regular rotation:
- Perfectly Portioned: No more math or guesswork. This recipe makes exactly two generous servings, so there’s no waste and no temptation to eat the whole dish (unless you want to—no judgment here).
- Quick & Easy: From start to warm-out-of-the-oven, you’re looking at about 45 minutes. Most of that is hands-off baking time, which means you can tidy up or pour yourself a glass of wine while it works its magic.
- Simple Ingredients: You probably have everything you need right now. Apples, oats, flour, butter, brown sugar, cinnamon—pantry staples that come together into something genuinely impressive.
- Perfect for Cozy Nights: Whether it’s a rainy Tuesday, a date night in, or you just need a little comfort, this crisp delivers that warm, nostalgic feeling without the hassle of a full pie.
- Foolproof Results: I’ve made this with Granny Smith, Honeycrisp, and even a mix of both. It works. The topping is forgiving, the filling is forgiving, and the whole thing comes together with zero stress.
What makes this different from other recipes? It’s the ratio. Most small-batch recipes either skimp on the topping or leave the apples swimming in juice. I’ve dialed in the perfect balance—tender, jammy apples with a thick, crunchy crumble that stays crisp even the next day (if it lasts that long). And honestly? It’s the kind of dessert that makes you close your eyes after the first bite. That’s not an exaggeration. It’s comfort food at its finest—simple, honest, and deeply satisfying.
What Ingredients You Will Need
This recipe uses simple, wholesome ingredients that you likely already have in your pantry and fridge. The magic happens when these humble staples come together with the right technique. Here’s what you’ll need and a few notes on how to choose them for the best results.
For the Apple Filling
- 2 medium apples (about 300g total) – peeled, cored, and sliced into ¼-inch thick pieces. I recommend Honeycrisp for sweetness and texture, or Granny Smith if you prefer a tangier filling that holds its shape well. A mix of both is my personal favorite.
- 2 tablespoons granulated sugar (25g) – this helps draw out the apples’ natural juices and creates that lovely syrupy base.
- 1 tablespoon light brown sugar (12g), packed – adds depth and a subtle molasses note that pairs beautifully with the cinnamon.
- 1 tablespoon all-purpose flour (8g) – this is the thickening agent. Don’t skip it, or you’ll end up with soup. I learned that the hard way.
- ½ teaspoon ground cinnamon – the star spice here. I use McCormick, but any good-quality cinnamon works.
- ⅛ teaspoon ground nutmeg – optional but highly recommended. It adds that warm, almost savory undertone that makes apple desserts taste complete.
- 1 teaspoon fresh lemon juice (about half a lemon wedge) – brightens the apples and prevents browning while you prep.
- 1 tablespoon unsalted butter (14g), cut into small pieces and dotted over the filling before baking. This adds richness and helps the apples caramelize.
For the Crisp Topping
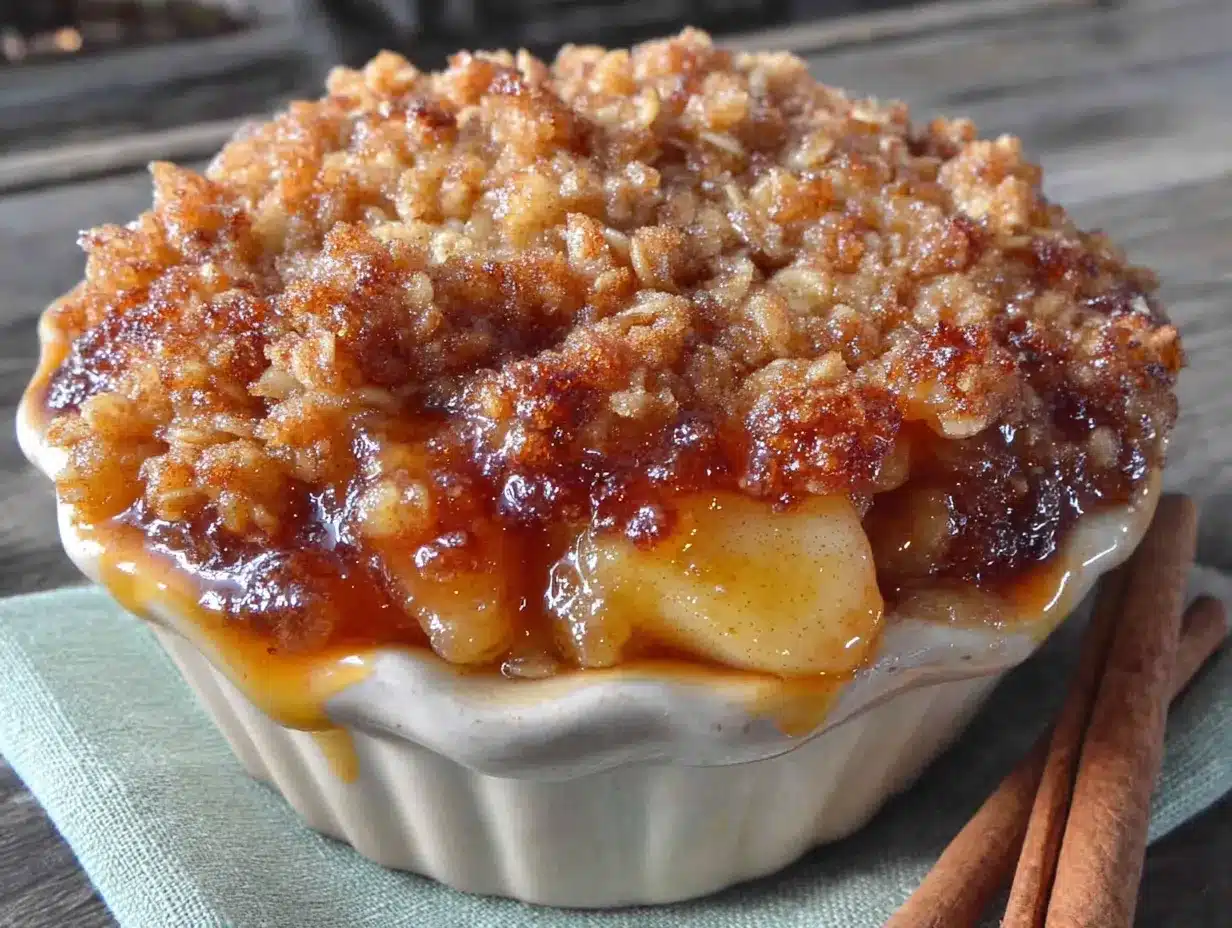
- ¼ cup old-fashioned rolled oats (20g) – not quick oats, please. Old-fashioned oats give that chewy, rustic texture that makes a crisp a crisp. Quick oats turn into mush.
- ¼ cup all-purpose flour (30g) – provides structure and helps the topping get those gorgeous golden clumps.
- ¼ cup light brown sugar (50g), packed – this is where most of the sweetness and crunch comes from. Don’t skimp.
- ¼ teaspoon ground cinnamon – a little more warmth in the topping layer.
- ⅛ teaspoon salt – essential. Salt balances the sweetness and makes every flavor pop. Trust me on this one.
- 3 tablespoons unsalted butter (42g), cold and cut into small cubes – cold butter is the secret to a crumbly, not greasy, topping. I like Kerrygold for its rich flavor.
For the best texture, make sure your butter is truly cold—straight from the fridge. If it softens while you’re working, pop the bowl back in the fridge for five minutes. Your topping will thank you.
Equipment Needed
One of the best things about this recipe is that it doesn’t require any fancy equipment. Here’s what you’ll need:
- Two 10-ounce ramekins or a small 1-quart baking dish. I use these classic white ramekins from Crate & Barrel—they’re inexpensive and make individual servings look so intentional. If you don’t have ramekins, a 6-inch cast iron skillet works beautifully too.
- Mixing bowls – one medium bowl for the filling, one small bowl for the topping. Nothing fancy.
- Chef’s knife and cutting board – for peeling and slicing the apples. A vegetable peeler helps too, but I’m lazy and use a paring knife most days.
- Measuring cups and spoons – or a kitchen scale if you want to be precise. I use both, honestly, but measuring cups work fine for this recipe.
- Pastry cutter or two forks – for cutting the butter into the topping. If you have a pastry blender, great. If not, two forks or even your fingertips work perfectly. The goal is pea-sized crumbs, not perfection.
- Baking sheet – place your ramekins on a baking sheet to catch any bubbly overflow. Trust me, it saves you from scrubbing the bottom of your oven later.
I’ve made this crisp in a toaster oven before, and it worked like a charm. Just adjust the temperature down by 25°F and check it a few minutes early. Budget-friendly tip: thrift stores almost always have ramekins for a dollar or two. That’s where I got my first set.
Preparation Method
Let’s get to the good part. This recipe comes together in about 15 minutes of active work, then the oven does the rest. Follow these steps, and you’ll have a perfectly cozy dessert for two.
- Preheat your oven to 350°F (175°C). Position a rack in the center of the oven. While it heats, place your two ramekins (or your small baking dish) on a baking sheet lined with parchment paper or foil. This catches any drips and makes cleanup a breeze.
- Prepare the apples. Peel, core, and slice your apples into ¼-inch thick pieces. Don’t stress about uniformity, but try to keep them roughly the same size so they cook evenly. I like to slice them in half-moons, but chunks work too. You should have about 2 cups of sliced apples total.
- Make the filling. In a medium bowl, toss the sliced apples with the granulated sugar, brown sugar, flour, cinnamon, nutmeg, and lemon juice. Use your hands or a spatula to coat every piece. Let it sit for 5 minutes while you make the topping—this gives the sugar time to start drawing out the juices. You’ll notice a little liquid pooling at the bottom of the bowl; that’s exactly what you want.
- Make the crisp topping. In a small bowl, combine the oats, flour, brown sugar, cinnamon, and salt. Stir with a fork to distribute everything evenly. Add the cold butter cubes and use a pastry cutter, two forks, or your fingertips to work the butter into the dry ingredients. You’re looking for a mixture that looks like wet sand with some pea-sized butter chunks remaining. It should clump together when you squeeze a handful. If the butter starts to soften, pop the bowl in the fridge for 5 minutes. I’ve forgotten this step more times than I’d like to admit, and the topping always ends up greasy and flat.
- Assemble the crisps. Divide the apple mixture evenly between your two ramekins (or spoon it all into the single baking dish). Don’t pack it down—just let it settle naturally. Dot the top of the apples with the small pieces of butter you set aside earlier. This step adds richness and helps the filling caramelize beautifully.
- Add the topping. Sprinkle the crisp topping evenly over the apples. Use your fingers to create some clumps—those will turn into the best crunchy bits. Don’t press the topping down; let it sit loosely. You want some peaks and valleys for texture.
- Bake. Place the baking sheet with the ramekins in the preheated oven. Bake for 30 to 35 minutes, or until the filling is bubbly around the edges and the topping is golden brown and firm to the touch. If the topping is browning too quickly but the apples aren’t bubbling yet, tent loosely with foil for the last 10 minutes. My oven runs hot, so I check at 28 minutes.
- Cool slightly before serving. Let the crisps rest on a wire rack for at least 10 minutes. This allows the filling to thicken up—if you dig in right away, it will be runny. I know it’s hard to wait, but trust me, that 10 minutes makes all the difference. The apples will continue to soften and the juices will settle into a luscious, jammy consistency.
Your kitchen should smell absolutely incredible right about now. Like fall in a bowl. Like a hug.
Cooking Tips & Techniques
Over the years, I’ve made every mistake you can imagine with apple crisp. I’ve used the wrong apples (too mushy), forgotten the flour (apple soup), and burned the topping more times than I care to count. Here’s what I’ve learned so you don’t have to repeat my errors.
Choose the right apples. This is the most important decision you’ll make. You want apples that hold their shape during baking but soften enough to become tender. Granny Smith, Honeycrisp, Braeburn, and Pink Lady are all excellent choices. Avoid Red Delicious or McIntosh—they break down into applesauce. I learned this the hard way when I made a crisp for a dinner party and ended up with a bowl of brown sludge. Not my finest moment.
Don’t overwork the topping. The goal is a crumbly, clumpy texture, not a smooth dough. When you’re cutting in the butter, stop as soon as the mixture looks like coarse sand with some visible butter bits. If you keep going, you’ll end up with a greasy paste that won’t crisp up properly. I’ve done this. It’s sad.
Use cold butter. I cannot stress this enough. Cold butter creates steam pockets as it melts in the oven, which leads to that light, crunchy texture. If your butter is soft, the topping will spread out and become dense. If your kitchen is warm, pop the topping in the fridge for 10 minutes before baking.
Let it rest. I know I said this already, but it bears repeating. The resting time allows the juices to thicken and the topping to set. If you serve it too soon, the filling will be watery and the topping might slide off. Give it those 10 minutes—use them to scoop the ice cream or brew some coffee.
Toast your oats first. This is a pro tip I picked up from a pastry chef friend. Spread the oats on a baking sheet and toast them at 350°F for 5-7 minutes before mixing them into the topping. It adds a nutty depth that takes the crisp to another level. I don’t always do this, but when I do, I’m always glad I did.
Variations & Adaptations
One of the best things about this small-batch apple crisp is how adaptable it is. Here are some of my favorite twists, tested and approved in my own kitchen.
Gluten-Free Version: Swap the all-purpose flour in both the filling and topping with a 1:1 gluten-free baking flour blend. I’ve used Bob’s Red Mill and Cup4Cup with great results. The texture is slightly more delicate, but the flavor is just as good. Make sure your oats are certified gluten-free if needed.
Vegan Adaptation: Use coconut oil or vegan butter in place of the butter in both the filling and topping. I like Miyoko’s European Style Cultured Vegan Butter for its rich flavor. The topping will be a little less crispy but still delicious. Serve with coconut milk ice cream for the full experience.
Spiced Variation: Add ¼ teaspoon of cardamom or ginger to the apple filling for a more complex flavor profile. I tried this last Thanksgiving with a pinch of cardamom, and it was honestly the best version I’ve ever made. The cardamom adds a floral, almost citrusy note that pairs beautifully with the apples.
Pear-Apple Combination: Replace one of the apples with a ripe but firm Bosc pear. The pear adds a delicate sweetness and a slightly different texture. This is my go-to when I have leftover pears from the farmer’s market.
Nutty Crunch: Add 2 tablespoons of chopped pecans or walnuts to the topping. Toast them first for extra flavor. I do this when I want the crisp to feel a little more substantial—like a dessert that could almost pass for breakfast the next day (and let’s be real, it totally can).
Single Serving: Halve all the ingredients and bake in one ramekin. Reduce the baking time by about 5 minutes. Perfect for those nights when you don’t want to share.
Serving & Storage Suggestions
This cozy small-batch apple crisp is at its absolute best served warm, straight from the oven, with a generous scoop of vanilla ice cream melting into all the nooks and crannies. The contrast between the hot, tender apples and the cold, creamy ice cream is nothing short of magic. If you’re not an ice cream person (are you okay?), a dollop of lightly sweetened whipped cream or a drizzle of heavy cream works beautifully too.
For a truly indulgent experience, serve it in the ramekin with a small spoon—it feels intimate and special. I like to set out two spoons and let my husband and I share, but honestly, I usually end up eating most of mine before he even gets a bite. Pair it with a cup of hot coffee or a mug of spiced chai for the ultimate cozy moment.
Storage: If you somehow have leftovers, cover the ramekins tightly with plastic wrap or transfer the crisp to an airtight container. It will keep in the refrigerator for up to 3 days. The topping will soften over time, but it’s still delicious—think of it as a different texture experience.
Reheating: The best way to reheat is in a 350°F oven for 10 minutes. This helps the topping crisp back up slightly. You can use the microwave in a pinch (about 45 seconds on high), but the topping will be soft. I’ve been known to eat it cold straight from the fridge, and honestly? It’s pretty great that way too—like a deconstructed apple crumble parfait.
Freezing: You can freeze the assembled but unbaked crisp for up to 2 months. Wrap the ramekins tightly in plastic wrap and then foil. Bake directly from frozen, adding about 10 minutes to the baking time. This is a lifesaver when you want a last-minute dessert for unexpected guests or a quiet night in.
Nutritional Information & Benefits
While this small-batch apple crisp is definitely a treat, it does have some redeeming qualities worth mentioning. Here’s the estimated nutritional breakdown for one serving (using the full recipe divided by two):
| Nutrient | Amount per Serving |
|---|---|
| Calories | 385 |
| Total Fat | 16g |
| Saturated Fat | 10g |
| Carbohydrates | 60g |
| Fiber | 6g |
| Sugar | 42g |
| Protein | 3g |
Apples are a great source of dietary fiber and vitamin C, and oats provide complex carbohydrates that give you sustained energy. The fiber in both apples and oats helps with digestion and keeps you feeling satisfied. That said, this is dessert—it’s meant to be enjoyed, not analyzed. I believe in balance: eat your vegetables, and then eat this crisp without guilt. Life is too short for boring desserts.
If you’re watching your sugar intake, you can reduce the brown sugar in the topping by a tablespoon or use a sugar substitute like monk fruit sweetener. The texture will be slightly different, but it still works. Just don’t tell my grandmother I said that.
Conclusion
This cozy small-batch apple crisp for two is more than just a dessert—it’s a little ritual. It’s the thing you make when you want to slow down, when you want to create something warm and beautiful without spending hours in the kitchen. It’s for the nights when you need a hug in a bowl, for the moments when you want to show someone you care without making a big production out of it.
I’ve made this recipe on rainy Sundays, on busy weeknights, and on a random Tuesday when I just needed something sweet. Every single time, it delivers. The apples get tender and jammy, the topping gets golden and crunchy, and for those 30 minutes in the oven, my whole kitchen smells like comfort. It never gets old.
Now I want to hear from you. Did you make this crisp? Did you add your own twist? Did you eat it straight from the ramekin while standing at the counter? (No judgment here—I’ve done it too.) Drop a comment below and let me know how it turned out. And if you loved it, share this recipe with someone who needs a little cozy in their life. Happy baking, friend.
Frequently Asked Questions
Can I use quick oats instead of old-fashioned oats?
I wouldn’t recommend it. Quick oats are more finely processed and tend to absorb moisture too quickly, resulting in a topping that’s more like paste than crumble. Old-fashioned rolled oats give you that chewy, textured topping that makes a crisp so satisfying. If you only have quick oats on hand, you can use them, but expect a softer, less crunchy result.
Do I have to peel the apples?
No, you don’t have to, but I recommend it for the best texture. Apple peels can become tough and chewy during baking, which can be distracting in an otherwise tender dessert. That said, if you’re short on time or want the extra fiber and color, leaving the peels on works fine—just make sure to wash the apples thoroughly first.
Can I make this ahead of time?
Absolutely. You can assemble the crisps completely (filling and topping) up to 24 hours in advance. Cover them tightly and refrigerate. When you’re ready to bake, add about 5-10 minutes to the baking time since you’re starting from cold. You can also freeze the assembled, unbaked crisps for up to 2 months—just wrap them well and bake from frozen, adding about 10 minutes.
What if I don’t have ramekins?
No problem at all. You can use a small 1-quart baking dish, a 6-inch cast iron skillet, or even a small loaf pan. The baking time might vary slightly depending on the size and depth of your dish—a wider, shallower dish will bake faster, while a deeper dish will need a few extra minutes. Just look for bubbly filling and a golden topping as your cue.
Can I double this recipe?
Yes, and it’s perfect for when you have company. Simply double all the ingredients and bake in a standard 8×8-inch baking dish or a 9-inch pie plate. The baking time will increase to about 40-45 minutes. Keep an eye on the topping and tent with foil if it’s browning too quickly. This is my go-to for Thanksgiving when I want an easy dessert that doesn’t require pie crust skills.
Pin This Recipe!
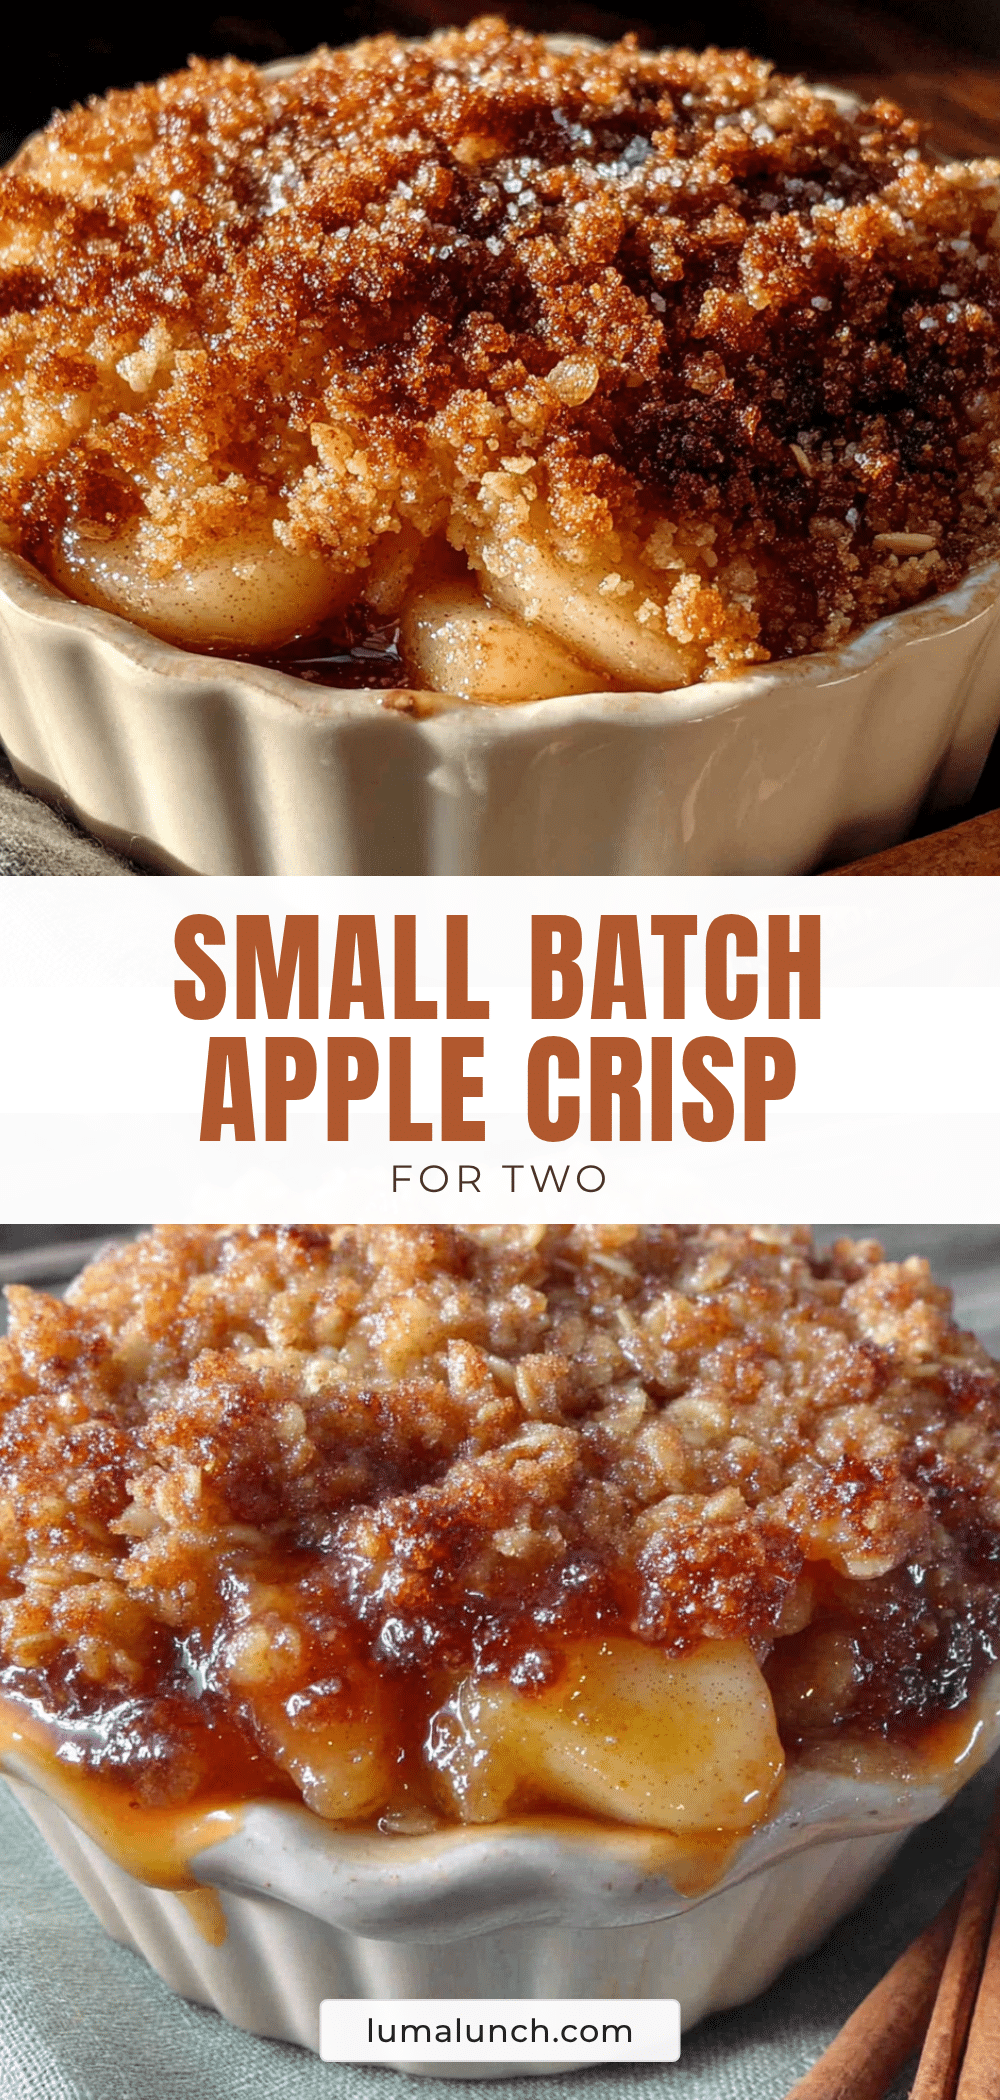
Cozy Small-Batch Apple Crisp for Two: Perfect Easy Dessert

This cozy small-batch apple crisp for two is the perfect dessert for a quiet night in. With tender, cinnamon-spiced apples and a crunchy, buttery oat crumble, it’s easy to make and serves just two—no leftovers, no fuss.
- Prep Time: 15 minutes
- Cook Time: 30 minutes
- Total Time: 45 minutes
- Yield: 2 servings 1x
- Category: Dessert
- Cuisine: American
Ingredients
- 2 medium apples (about 300g total), peeled, cored, and sliced into ¼-inch thick pieces
- 2 tablespoons granulated sugar (25g)
- 1 tablespoon light brown sugar (12g), packed
- 1 tablespoon all-purpose flour (8g)
- ½ teaspoon ground cinnamon
- ⅛ teaspoon ground nutmeg (optional)
- 1 teaspoon fresh lemon juice
- 1 tablespoon unsalted butter (14g), cut into small pieces
- ¼ cup old-fashioned rolled oats (20g)
- ¼ cup all-purpose flour (30g)
- ¼ cup light brown sugar (50g), packed
- ¼ teaspoon ground cinnamon
- ⅛ teaspoon salt
- 3 tablespoons unsalted butter (42g), cold and cut into small cubes
Instructions
- Preheat your oven to 350°F (175°C). Position a rack in the center of the oven. Place two 10-ounce ramekins or a small 1-quart baking dish on a baking sheet lined with parchment paper or foil.
- Peel, core, and slice the apples into ¼-inch thick pieces. You should have about 2 cups of sliced apples.
- In a medium bowl, toss the sliced apples with granulated sugar, brown sugar, flour, cinnamon, nutmeg, and lemon juice. Let sit for 5 minutes.
- In a small bowl, combine oats, flour, brown sugar, cinnamon, and salt. Stir with a fork. Add cold butter cubes and use a pastry cutter, two forks, or your fingertips to work the butter into the dry ingredients until the mixture looks like wet sand with some pea-sized butter chunks.
- Divide the apple mixture evenly between the ramekins (or spoon into the single baking dish). Dot the top of the apples with the small pieces of butter.
- Sprinkle the crisp topping evenly over the apples. Use your fingers to create some clumps. Do not press the topping down.
- Bake for 30 to 35 minutes, or until the filling is bubbly around the edges and the topping is golden brown and firm to the touch. If the topping browns too quickly, tent loosely with foil for the last 10 minutes.
- Let the crisps rest on a wire rack for at least 10 minutes before serving. Serve warm, optionally with vanilla ice cream.
Notes
For best results, use cold butter and old-fashioned rolled oats. Let the crisp rest for 10 minutes after baking to allow the filling to thicken. If your kitchen is warm, chill the topping for 10 minutes before baking. To toast oats for extra flavor, spread on a baking sheet and toast at 350°F for 5-7 minutes before mixing into the topping.
Nutrition
- Serving Size: 1 ramekin (half of r
- Calories: 385
- Sugar: 42
- Fat: 16
- Saturated Fat: 10
- Carbohydrates: 60
- Fiber: 6
- Protein: 3
Keywords: apple crisp, small batch, dessert for two, easy apple crisp, cozy dessert, fall dessert