Love this? Save it for later!
Share the inspiration with your friends
I was standing in line at the hardware store last spring, holding a bag of mulch and wondering why the line wasn’t moving, when the guy behind me—the electrician who’d fixed our fuse box six months earlier—started talking about dessert. Not small talk about the weather. He was describing, with genuine passion, a dessert his wife made that required zero oven time, zero mixing bowls, and zero stress. “She just layers it and lets the fridge do the work,” he said, adjusting his tool belt. “Tastes like you spent hours on it.”
Now, I’m not in the habit of taking recipe advice from electricians at hardware stores, but something about the way he said it made me listen. He even scribbled the ingredients on the back of a receipt. I shoved it in my pocket, finished my mulch shopping, and honestly forgot about it for two weeks. Then one Tuesday night—you know the kind, where you promised dessert for a dinner guest and suddenly realized you had nothing—I found that crumpled receipt. Peanut butter. Oreos. Cream cheese. Whipped topping. That was it.
I made the Quick No-Bake Peanut Butter Oreo Icebox Cake that night, and let me tell you, it saved me. The guest thought I’d been planning it all week. The layers set up perfectly, the peanut butter and chocolate did that thing where they just belong together, and I didn’t even turn on the oven. Since then, this icebox cake has become my emergency dessert, my potluck hero, and the thing I make when I want to look impressive without breaking a sweat. Maybe you’ve been there—standing in your kitchen at 5 PM, realizing you need dessert and you need it now. This one’s for you.
Why You’ll Love This Recipe
This isn’t just another no-bake dessert. This is the one that makes people ask for the recipe before they finish their first bite. I’ve tested it on picky eaters, dessert snobs, and my own family (who are brutally honest), and every single time, it disappears fast.
- Quick & Easy: Comes together in about 20 minutes of active time. The fridge does the rest. Perfect for those weeknights when you need dessert but don’t have energy for baking.
- Simple Ingredients: You probably already have most of these in your pantry. No fancy chocolate, no obscure extracts—just real, everyday stuff that works.
- Perfect for Last-Minute Guests: Someone texts you at 4 PM saying they’re stopping by? This is your move. It looks like you planned ahead, but you didn’t.
- Crowd-Pleaser: Kids love the Oreo crunch. Adults love the creamy peanut butter layer. Everyone loves that it’s not too sweet.
- Unbelievably Delicious: The texture is what gets me—crunchy cookies that soften just enough, combined with a silky, peanut buttery cream. It’s comfort food without the oven.
What makes this recipe different from all the other icebox cakes out there? It’s the ratio. I spent three versions getting the peanut butter-to-cream cheese balance just right—not too dense, not too fluffy. And the Oreo layer? I crush them coarsely, not to dust, so you get little pockets of chocolate crunch in every slice. This isn’t just another version; it’s the version I keep coming back to.
What Ingredients You Will Need
This recipe uses simple, everyday ingredients to create something that tastes anything but ordinary. Most of these are pantry staples, which is exactly what you want when you’re making a last-minute dessert.
- 1 package (14.3 oz / 405 g) regular Oreo cookies (not Double Stuf—regular works best for structure)
- 1/2 cup (1 stick / 113 g) unsalted butter, melted (for the crust—adds richness and helps it set)
- 8 oz (226 g) cream cheese, softened to room temperature (full-fat works best for creamy texture)
- 1 cup (240 ml) creamy peanut butter (I prefer Skippy or Jif for consistent texture; natural peanut butter can separate)
- 1 cup (120 g) powdered sugar (adds sweetness without graininess)
- 1 teaspoon vanilla extract (pure, not imitation, if you have it)
- 2 cups (480 ml) heavy whipping cream (or 1 tub (8 oz) Cool Whip, thawed—see note below)
- Optional: 1/2 cup (90 g) semi-sweet chocolate chips, melted (for drizzling on top)
- Optional: 1/4 cup (40 g) chopped peanuts (for crunch on top)
Ingredient Tips: If you’re using homemade whipped cream (which I recommend for the best texture), make sure your cream is very cold. Chill the bowl and beaters too—it makes a real difference. For a shortcut, Cool Whip works perfectly fine and saves you a step. Just let it thaw in the fridge overnight.
For the peanut butter, avoid the natural kind that separates—it can make the cream layer grainy. Stick with processed peanut butter for this one. Trust me on this; I learned the hard way.
Equipment Needed
You don’t need a fancy kitchen for this cake. Here’s what you’ll need:
- 9×9-inch (23×23 cm) square baking dish (or an 8×8-inch if you want taller layers—just adjust chilling time)
- Electric hand mixer or stand mixer (for whipping the cream and beating the cream cheese; a whisk works but your arm will get tired)
- Large mixing bowls (at least two—one for the peanut butter mixture, one for the whipped cream)
- Food processor or zip-top bag and rolling pin (for crushing Oreos—I’ve used both methods)
- Spatula (for spreading layers evenly)
- Plastic wrap or aluminum foil (for covering the cake while it chills)
Budget-Friendly Tip: If you don’t have a food processor, place the Oreos in a zip-top bag and crush them with a rolling pin or even a heavy skillet. It’s a little messy but works perfectly. I’ve done it more times than I’d like to admit.
Preparation Method
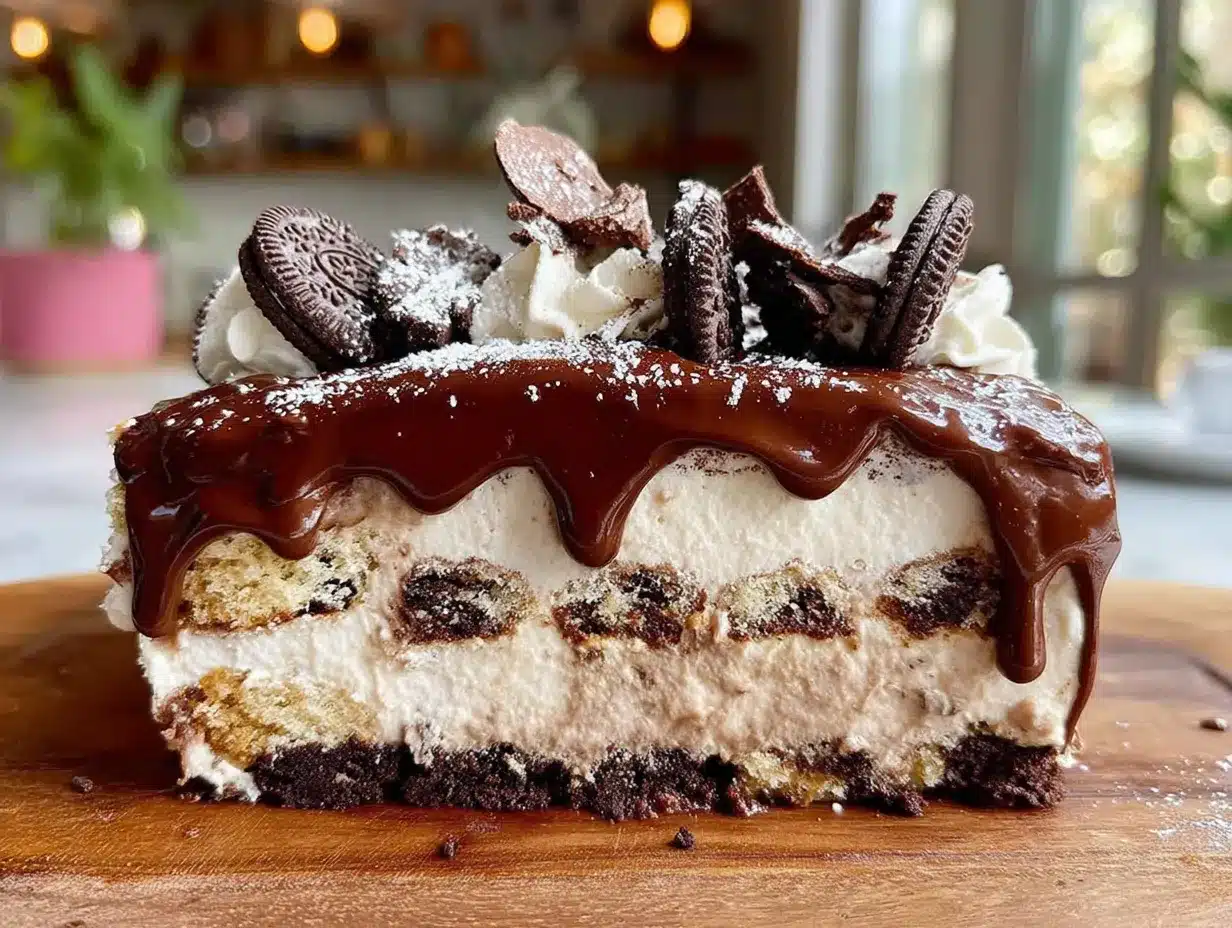
Let’s get this cake together. The active time is short, but the chilling time is key—don’t skip it.
- Crush the Oreos: Place the entire package of Oreos (cream filling and all) into a food processor. Pulse until you have coarse crumbs—some small chunks are fine. You want texture, not dust. If using a bag, crush until you have a mix of fine crumbs and small pieces. Set aside 1/4 cup of crumbs for topping later.
- Make the crust: In a medium bowl, combine the crushed Oreos (minus the reserved 1/4 cup) with the melted butter. Stir until all the crumbs are moistened. Press this mixture firmly into the bottom of your 9×9-inch dish. Use the bottom of a measuring cup to press it down evenly. Place in the fridge while you make the filling.
- Beat the cream cheese: In a large bowl, beat the softened cream cheese with an electric mixer until smooth and creamy, about 2 minutes. Scrape down the sides of the bowl.
- Add the peanut butter: Add the peanut butter, powdered sugar, and vanilla extract to the cream cheese. Beat on medium speed until everything is combined and smooth. It should be thick and spreadable. Set aside.
- Whip the cream: In a separate large bowl (chilled if possible), pour the heavy whipping cream. Beat on high speed until stiff peaks form—when you lift the beaters, the cream should stand up straight. Don’t overbeat, or you’ll end up with butter. This takes about 3-4 minutes with a hand mixer.
- Fold it together: Gently fold the whipped cream into the peanut butter mixture. Use a spatula and a gentle hand—fold until no white streaks remain. Don’t stir vigorously, or you’ll deflate the cream. The mixture should be light and fluffy.
- Layer the filling: Spread half of the peanut butter cream mixture evenly over the Oreo crust. Smooth it out with the spatula.
- Add another Oreo layer: Sprinkle half of the reserved 1/4 cup of Oreo crumbs over the first cream layer. This adds a little crunch in the middle.
- Top it off: Spread the remaining peanut butter cream mixture over the top. Smooth it out evenly. Sprinkle the rest of the reserved Oreo crumbs on top.
- Chill: Cover the dish with plastic wrap and refrigerate for at least 6 hours, preferably overnight. The longer it chills, the better the layers set. Don’t rush this—the cake needs time to firm up so you can slice it cleanly.
- Serve: When ready to serve, drizzle with melted chocolate and sprinkle chopped peanuts if using. Slice into squares and enjoy cold.
Sensory Cue: When you press the crust into the pan, it should feel like wet sand—firm but not hard. The filling should be thick enough that it doesn’t run when you spread it. After chilling, the cake should feel firm to the touch, almost like a cheesecake.
Cooking Tips & Techniques
I’ve made this cake enough times to know where things can go wrong. Here’s what I’ve learned:
- Don’t skip softening the cream cheese: Cold cream cheese will give you lumpy filling. Leave it on the counter for 30 minutes before you start. If you forget, microwave it in 10-second bursts until soft—but don’t melt it.
- Whip the cream properly: Under-whipped cream won’t hold the layers together. Over-whipped cream turns into butter. Watch for stiff peaks—when the cream holds its shape when you lift the beaters.
- Chill overnight if you can: Six hours is the minimum, but overnight gives the Oreos time to soften perfectly. The cake slices cleaner and the flavors meld better. I’ve cut into it after 4 hours and it was still a bit soft—still delicious, but messy.
- Use a sharp knife for slicing: Run your knife under hot water, wipe it dry, then slice. Clean the knife between cuts for neat squares. This makes a huge difference for presentation.
- Crush Oreos consistently: If some pieces are too big, they won’t soften evenly. Aim for crumbs that are mostly uniform, with a few small chunks for texture.
Common Mistake: The first time I made this, I used natural peanut butter. The filling turned out grainy and oily. Stick with processed peanut butter for the smoothest, creamiest result. Also, don’t overmix when folding—you want the filling to stay light and airy.
Variations & Adaptations
This cake is endlessly adaptable. Here are a few ways I’ve changed it up:
- Chocolate Lover’s Version: Add 1/4 cup cocoa powder to the cream cheese mixture. Drizzle extra melted chocolate on top. Use chocolate cookies instead of Oreos if you want double chocolate.
- Gluten-Free Option: Use gluten-free chocolate sandwich cookies (like Glutino or Kinnikinnick). The rest of the ingredients are naturally gluten-free. Check your peanut butter label to be safe.
- Vegan Adaptation: Use vegan cream cheese (like Tofutti or Kite Hill), vegan butter, and a dairy-free whipped topping (like CocoWhip). Most Oreos are accidentally vegan, but double-check the package.
- Peanut Butter-Free Version: Swap the peanut butter for sunflower seed butter or cookie butter (like Biscoff). The texture stays the same, but the flavor changes completely. Cookie butter version is amazing.
- Individual Servings: Make this in small mason jars or dessert cups. Layer crushed Oreos, filling, and repeat. Great for parties or portion control. No slicing needed.
I tried the cookie butter version last fall and brought it to a Friendsgiving dinner. People couldn’t figure out what the flavor was, but they loved it. It’s a fun twist if you want to surprise people.
Serving & Storage Suggestions
This cake is best served cold, straight from the fridge. The texture is perfect when it’s been chilled overnight—firm but creamy, with softened Oreos that almost melt in your mouth.
Serving Ideas:
- Slice into 9 squares (3×3) for standard servings, or 16 smaller squares for a crowd.
- Top each slice with a dollop of whipped cream and a drizzle of chocolate syrup for extra flair.
- Pair with a tall glass of cold milk or a hot cup of coffee. The contrast is wonderful.
- For a summer treat, serve with a scoop of vanilla ice cream on the side.
Storage:
- Refrigerator: Cover tightly with plastic wrap or foil. The cake keeps well for up to 5 days. The flavors actually get better after day two.
- Freezer: Yes, you can freeze it! Wrap the entire dish (or individual slices) in plastic wrap, then foil. Freeze for up to 3 months. Thaw in the fridge overnight before serving. The texture stays surprisingly good.
- Do not leave at room temperature for more than 2 hours. The cream layer can soften and become unstable.
Flavor Development: Honestly, this cake tastes even better on day two. The Oreos soften more, the peanut butter flavor deepens, and everything melds together. If you can plan ahead, make it a day before you need it.
Nutritional Information & Benefits
Let’s be real—this is a dessert, not a health food. But here’s the estimated nutritional breakdown per serving (9 servings):
- Calories: Approximately 480-520 per slice
- Protein: 10-12g (thanks to the peanut butter and cream cheese)
- Fat: 32-36g
- Carbohydrates: 40-44g
- Sugar: 28-32g
- Fiber: 2-3g
Health Highlights: Peanut butter provides protein and healthy fats that help keep you full. Cream cheese adds calcium. Oreos… well, they bring joy. This dessert is higher in protein than many other sweets, so it’s a bit more satisfying. For a lighter version, use reduced-fat cream cheese and a sugar substitute in the filling—but honestly, the full-fat version tastes best.
Allergen Note: This recipe contains dairy (cream cheese, butter, heavy cream), peanuts, and wheat (Oreos contain wheat flour). For nut-free or dairy-free options, see the variations section above.
Conclusion
This Quick No-Bake Peanut Butter Oreo Icebox Cake is the dessert you need in your back pocket. It’s the one you can throw together in 20 minutes, with ingredients you probably already have, and it looks like you spent hours on it. The electrician who shared this recipe with me at the hardware store had no idea he was changing my dessert game forever, but here we are.
I love this recipe because it’s forgiving. You can mess with the ratios, swap ingredients, and it still turns out delicious. It’s the kind of dessert that makes you look good without making you work hard. And honestly, isn’t that what we all want on a busy weeknight?
Give it a try—and when you do, let me know how it turned out. Did you add the chocolate drizzle? Did you try the cookie butter version? Drop a comment below and tell me about it. I read every single one, and I love hearing how you made this recipe your own. Happy no-baking!
Frequently Asked Questions
Can I make this icebox cake in advance?
Absolutely! In fact, I recommend it. Make the cake a day ahead and let it chill overnight. The flavors meld together and the texture firms up perfectly. It keeps well in the fridge for up to 5 days.
Can I use natural peanut butter?
I don’t recommend it. Natural peanut butter tends to separate and can make the filling grainy or oily. Stick with processed peanut butter like Skippy or Jif for the smoothest, creamiest texture.
Do I have to use heavy cream, or can I use Cool Whip?
You can use either. Homemade whipped cream gives a lighter, fluffier texture. Cool Whip is a convenient shortcut that works perfectly—just make sure it’s fully thawed before folding it in.
How long does this cake need to chill?
At least 6 hours, but overnight is best. The longer it chills, the cleaner your slices will be. If you cut into it too early, the layers might slide around a bit.
Can I freeze leftovers?
Yes! Wrap individual slices or the whole dish tightly in plastic wrap and foil. Freeze for up to 3 months. Thaw in the fridge overnight before serving. The texture stays remarkably good.
Pin This Recipe!
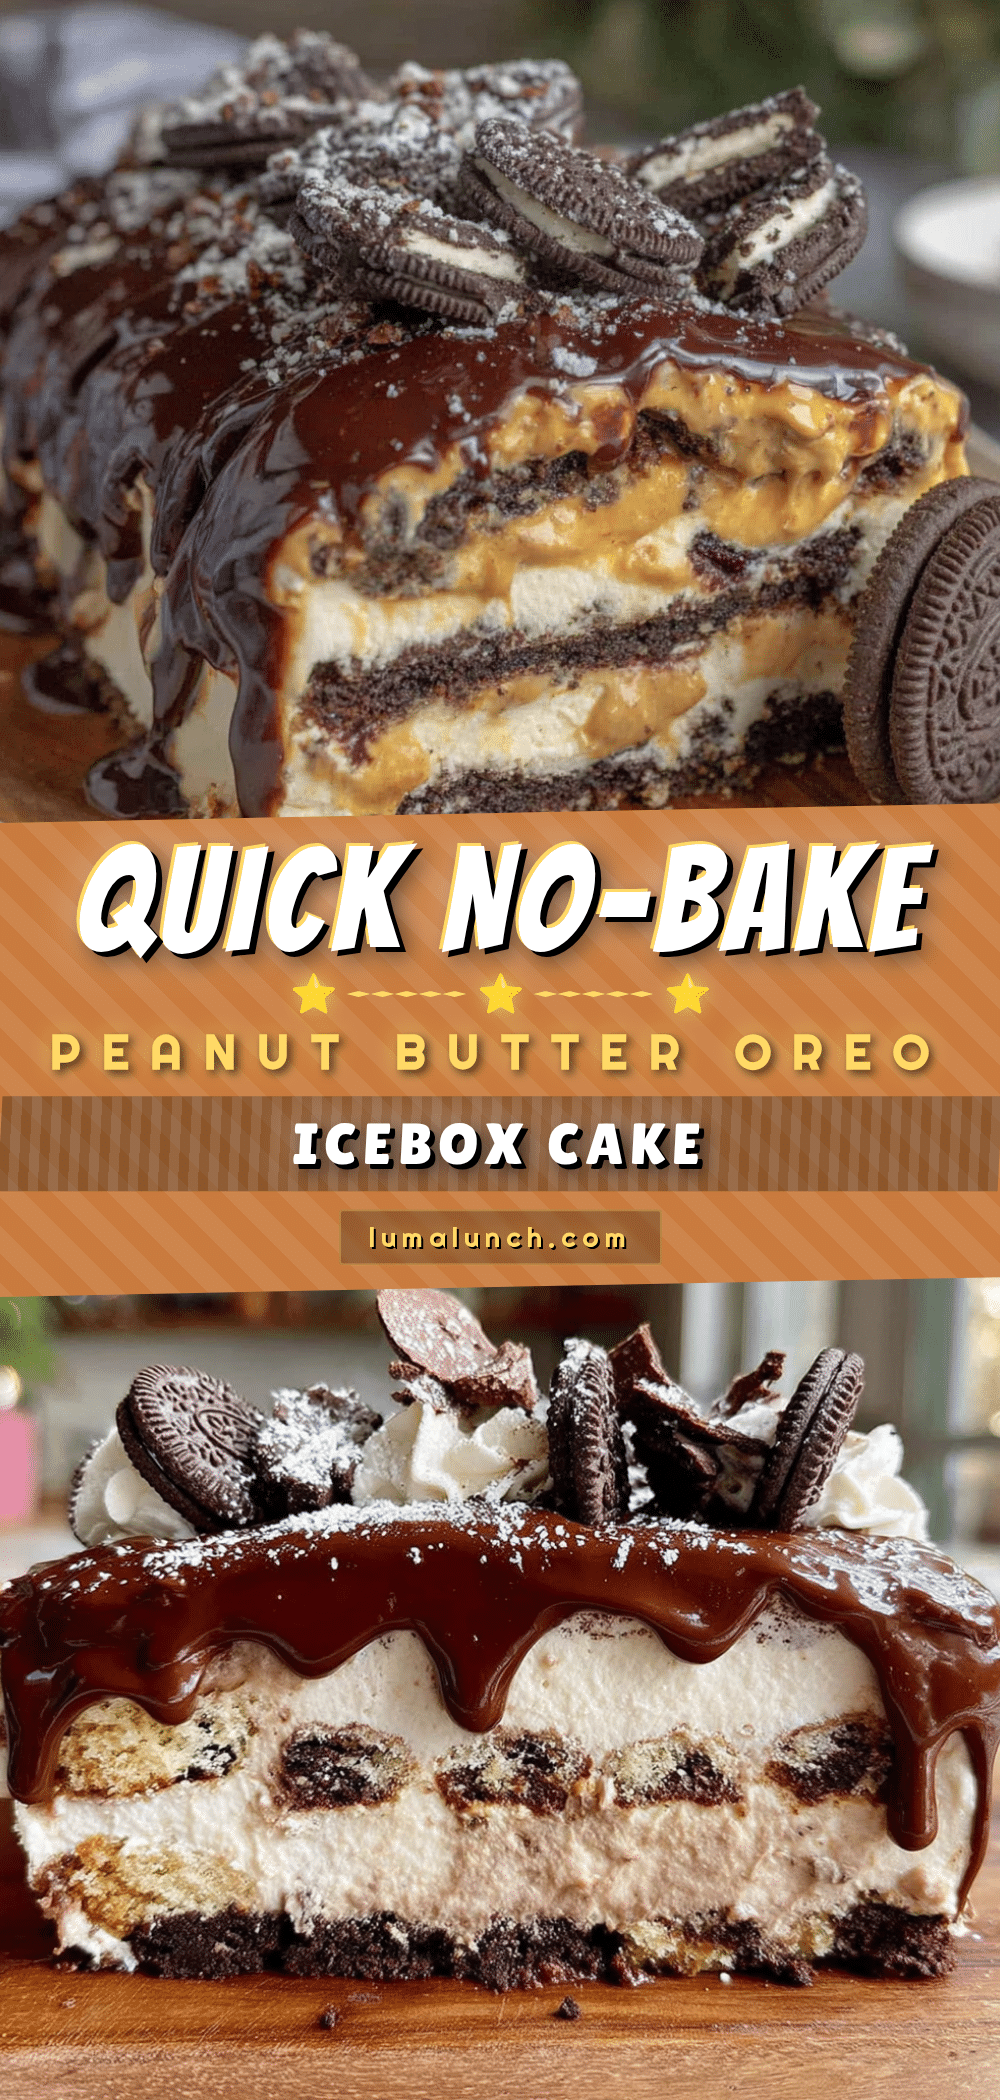
Quick No-Bake Peanut Butter Oreo Icebox Cake (Easy Dessert)

A quick and easy no-bake dessert featuring layers of crushed Oreos, creamy peanut butter filling, and whipped cream. Perfect for last-minute guests or weeknight cravings, this icebox cake requires only 20 minutes of active prep time and delivers a crowd-pleasing treat that tastes like you spent hours on it.
- Prep Time: 20 minutes
- Cook Time: 0 minutes
- Total Time: 6 hours 20 minutes (includes chilling time)
- Yield: 9 servings 1x
- Category: Dessert
- Cuisine: American
Ingredients
- 1 package (14.3 oz / 405 g) regular Oreo cookies (not Double Stuf)
- 1/2 cup (1 stick / 113 g) unsalted butter, melted
- 8 oz (226 g) cream cheese, softened to room temperature
- 1 cup (240 ml) creamy peanut butter (e.g., Skippy or Jif)
- 1 cup (120 g) powdered sugar
- 1 teaspoon vanilla extract (pure preferred)
- 2 cups (480 ml) heavy whipping cream (or 1 tub (8 oz) Cool Whip, thawed)
- Optional: 1/2 cup (90 g) semi-sweet chocolate chips, melted (for drizzling)
- Optional: 1/4 cup (40 g) chopped peanuts (for topping)
Instructions
- Crush the Oreos: Place the entire package of Oreos (cream filling and all) into a food processor. Pulse until you have coarse crumbs—some small chunks are fine. Set aside 1/4 cup of crumbs for topping later.
- Make the crust: In a medium bowl, combine the crushed Oreos (minus the reserved 1/4 cup) with the melted butter. Stir until all the crumbs are moistened. Press this mixture firmly into the bottom of a 9×9-inch dish. Use the bottom of a measuring cup to press it down evenly. Place in the fridge while you make the filling.
- Beat the cream cheese: In a large bowl, beat the softened cream cheese with an electric mixer until smooth and creamy, about 2 minutes. Scrape down the sides of the bowl.
- Add the peanut butter: Add the peanut butter, powdered sugar, and vanilla extract to the cream cheese. Beat on medium speed until everything is combined and smooth. It should be thick and spreadable. Set aside.
- Whip the cream: In a separate large bowl (chilled if possible), pour the heavy whipping cream. Beat on high speed until stiff peaks form—when you lift the beaters, the cream should stand up straight. Don’t overbeat. This takes about 3-4 minutes with a hand mixer.
- Fold it together: Gently fold the whipped cream into the peanut butter mixture. Use a spatula and a gentle hand—fold until no white streaks remain. Don’t stir vigorously, or you’ll deflate the cream. The mixture should be light and fluffy.
- Layer the filling: Spread half of the peanut butter cream mixture evenly over the Oreo crust. Smooth it out with the spatula.
- Add another Oreo layer: Sprinkle half of the reserved 1/4 cup of Oreo crumbs over the first cream layer.
- Top it off: Spread the remaining peanut butter cream mixture over the top. Smooth it out evenly. Sprinkle the rest of the reserved Oreo crumbs on top.
- Chill: Cover the dish with plastic wrap and refrigerate for at least 6 hours, preferably overnight. The longer it chills, the better the layers set.
- Serve: When ready to serve, drizzle with melted chocolate and sprinkle chopped peanuts if using. Slice into squares and enjoy cold.
Notes
For best results, chill overnight. Use processed peanut butter (not natural) for smoothest texture. If using Cool Whip instead of homemade whipped cream, ensure it is fully thawed before folding. The cake keeps well in the refrigerator for up to 5 days and can be frozen for up to 3 months.
Nutrition
- Serving Size: 1 square (9 servings
- Calories: 500
- Sugar: 30
- Sodium: 320
- Fat: 34
- Saturated Fat: 16
- Carbohydrates: 42
- Fiber: 2.5
- Protein: 11
Keywords: no-bake dessert, icebox cake, peanut butter, Oreo, easy dessert, last-minute dessert, potluck dessert, no-bake cake