Love this? Save it for later!
Share the inspiration with your friends
This was supposed to be a batch of breakfast tacos. I had the tortillas warming, the scrambled eggs ready to go, and a whole plan for a leisurely Sunday brunch. But then my sister called—her car wouldn’t start, she needed a ride to the airport, and I was already in my pajamas with flour on my nose. I grabbed the wrong tortillas (burrito-sized, not taco-sized), dumped the filling in the center, and rolled them up in a panic. What came out was nothing like the plan—and better. Honestly, I didn’t even taste one until three weeks later, when I pulled a foil-wrapped mystery from the freezer on a morning when the alarm didn’t go off. That first bite changed everything. It was warm, hearty, and ready in ninety seconds. I mean, I stood there in the kitchen, still half-asleep, and just stared at my hand like I’d discovered fire.
You know that feeling when you’re running late, the kids are circling like hungry sharks, and the cereal box is empty? That’s exactly the moment these quick freezer burritos were born for. They’re not fancy. They’re not complicated. But they are the breakfast that saved my sanity on more mornings than I can count. I’ve since made them for neighbors with new babies, for my cousin’s cross-country road trip, and for my own freezer stash every single month. They’re the kind of recipe that doesn’t ask for much—just a little weekend prep—and gives back tenfold when you need it most.
Why You’ll Love These Quick Freezer Burritos
Let me tell you, I’ve tested this recipe about a dozen times. The first batch was too dry. The second batch fell apart. The third batch? That was the one. I brought it to a Sunday meal prep group, and one friend literally asked for the recipe before she finished chewing. That’s when I knew I had something worth sharing.
Here’s what makes these burritos stand out from every other freezer breakfast idea out there:
- Quick & Easy: They come together in about 30 minutes of active prep, and you’ll have breakfast ready for weeks. Seriously, that’s faster than debating what to make each morning.
- Simple Ingredients: No fancy grocery trips needed. You likely already have eggs, cheese, tortillas, and a few pantry staples in your kitchen right now.
- Perfect for Busy Mornings: Great for school days, early shifts, or those mornings when you hit snooze one too many times. Just grab, microwave, and go.
- Crowd-Pleaser: My picky nephew loves these. My vegetarian neighbor loves these. Even my dad, who claims he “doesn’t do breakfast,” ate two in one sitting.
- Unbelievably Delicious: The texture and flavor combo is next-level comfort food. The eggs stay fluffy, the cheese gets melty, and the filling stays moist without getting soggy.
What makes this recipe different from the rest? It’s the method. I figured out that scrambling the eggs just slightly underdone—so they’re still a tiny bit soft—keeps them from turning rubbery after freezing and reheating. Plus, I add a secret ingredient (a splash of milk and a pinch of baking powder) that makes the eggs taste freshly made even after a month in the freezer. It’s not just another burrito recipe. It’s your best version.
This recipe isn’t just good—it’s the kind that makes you close your eyes after the first bite. It’s comfort food reimagined: faster, freezer-friendly, but with the same soul-soothing satisfaction. Perfect for impressing guests without stress, or turning a simple school morning into something memorable.
What Ingredients You Will Need
This recipe uses simple, wholesome ingredients to deliver bold flavor and satisfying texture without the fuss. Most of these are pantry staples or easy to find at any grocery store. I’ve tested substitutions for many of them, so don’t worry if you need to swap something out.
For the Egg and Sausage Filling
- large eggs (12 eggs, room temperature if possible—they scramble fluffier)
- milk (¼ cup, whole milk preferred, but 2% or oat milk work fine)
- baking powder (½ teaspoon—this is my secret for fluffy eggs that stay soft after freezing)
- salt (½ teaspoon)
- black pepper (¼ teaspoon, freshly ground if you have it)
- breakfast sausage (1 pound, either links removed from casings or bulk sausage—I prefer Jimmy Dean or a local farm brand for flavor)
- unsalted butter (2 tablespoons, for scrambling the eggs)
For the Filling Add-Ins
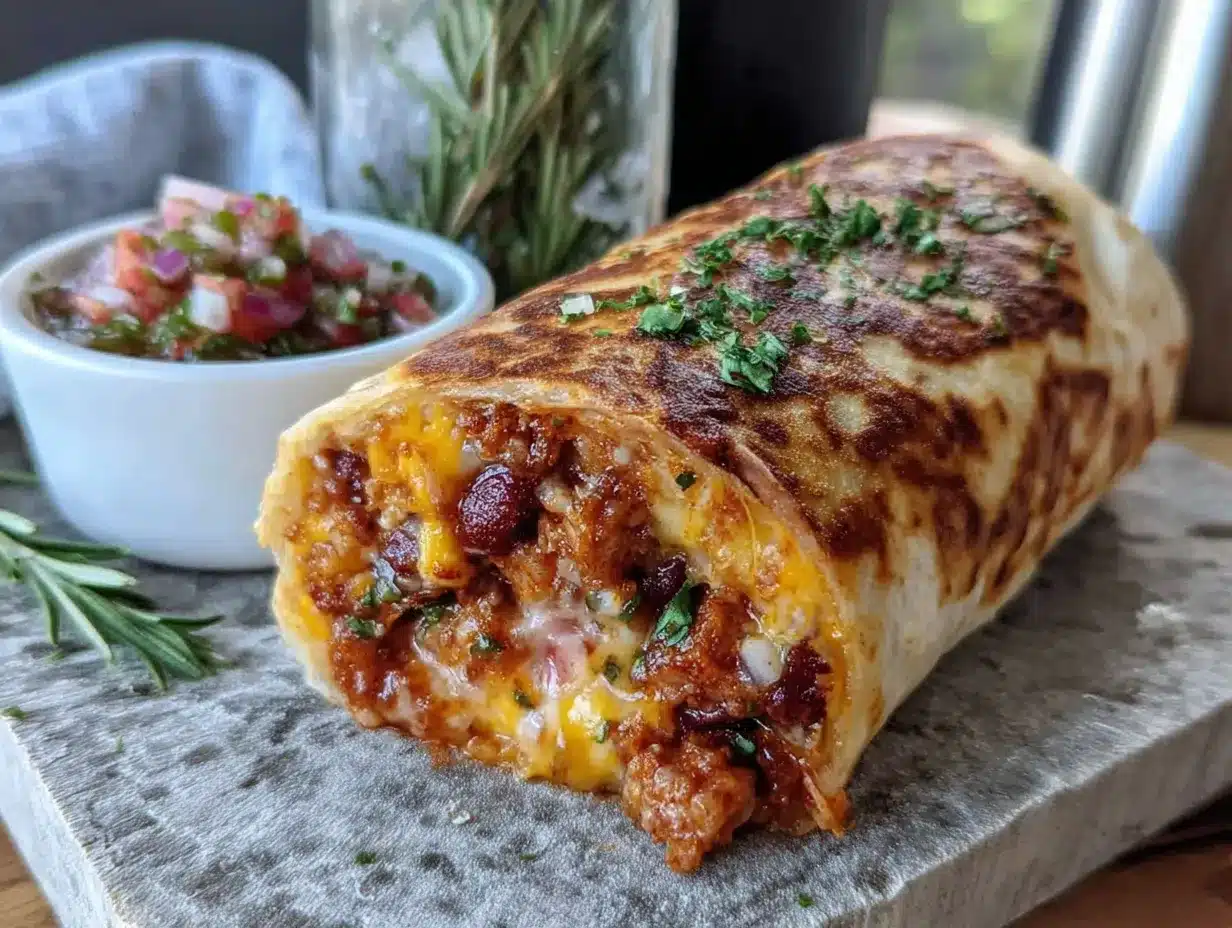
- shredded cheddar cheese (2 cups, sharp or mild—I like sharp for more flavor; pre-shredded works, but freshly shredded melts better)
- cooked black beans (1 can, drained and rinsed—optional but adds fiber and heartiness)
- diced green chiles (4 ounces, canned—mild heat, adds a nice zing)
- cooked rice (1 cup, leftover white or brown rice—helps absorb moisture and keeps burritos from getting soggy)
For Assembly
- large flour tortillas (10 to 12, burrito-size—I recommend Mission or a store-brand burrito tortilla; avoid extra-thin ones that tear easily)
- cooking spray or butter (for warming tortillas)
Ingredient Selection Tips: Look for tortillas that are at least 10 inches in diameter. Anything smaller and you’ll struggle to roll them without the filling spilling out. For the sausage, I’ve used turkey sausage, chicken sausage, and even plant-based crumbles—they all work, just adjust the cooking time slightly. If you want to go vegetarian, skip the sausage and double the black beans and add a handful of sautéed bell peppers and onions.
Substitution Guidance: Use almond flour tortillas for a gluten-free option (just warm them gently to prevent cracking). Swap Greek yogurt with dairy-free coconut yogurt if needed for the eggs—though honestly, the milk works best. No baking powder? You can skip it, but the eggs won’t be as fluffy after reheating.
Equipment Needed
You don’t need a gourmet kitchen for these burritos. Here’s what I use, plus some alternatives if you’re working with limited tools:
- Large non-stick skillet (12-inch works best for scrambling eggs and cooking sausage without overcrowding. I’ve had my Calphalon for years, but a well-seasoned cast iron works too—just watch the heat)
- Mixing bowls (one medium for eggs, one large for combining filling)
- Whisk or fork (for beating eggs—honestly, a fork works fine if your whisk is in the dishwasher)
- Spatula (silicone or wood, for scrambling and stirring)
- Cutting board and knife (for dicing chiles or any add-ins)
- Baking sheet (for laying out assembled burritos before freezing—prevents them from sticking together)
- Parchment paper or wax paper (to separate burritos during initial freeze)
- Aluminum foil or freezer-safe bags (for long-term storage—I use heavy-duty foil for individual wrapping and then toss them in a gallon zip-top bag)
- Paper towels (for wrapping before microwaving—keeps the tortilla from getting chewy)
Budget-Friendly Options: No baking sheet? A large plate works for the initial freeze. No parchment paper? Just use foil directly, but spray it lightly with cooking spray first so the burritos don’t stick. I’ve made these in a tiny apartment kitchen with one pan and a butter knife—it’s totally doable.
Preparation Method
This makes about 10 to 12 burritos, depending on how generous you are with the filling. Plan for about 30 minutes of active prep time, plus cooling time before freezing.
- Cook the sausage. Heat your large skillet over medium-high heat. Add the breakfast sausage and break it apart with a spatula. Cook for 6 to 8 minutes, stirring occasionally, until browned and cooked through. Transfer the sausage to a large mixing bowl using a slotted spoon (leave the drippings in the pan for now—we’ll use them for the eggs). Let the sausage cool while you prep the eggs.
- Scramble the eggs. In a medium bowl, whisk together the 12 eggs, ¼ cup milk, ½ teaspoon baking powder, ½ teaspoon salt, and ¼ teaspoon pepper. Whisk until the baking powder is dissolved and the mixture is slightly frothy—about 30 seconds. Add 2 tablespoons butter to the same skillet (with the sausage drippings still in it) and melt over medium heat. Pour in the egg mixture. Let it sit undisturbed for about 30 seconds, then gently push the cooked edges toward the center with a spatula. Repeat until the eggs are mostly set but still slightly soft and glossy—about 3 to 4 minutes. They should look a little underdone; they’ll finish cooking when you reheat them. Transfer to the bowl with the sausage.
- Combine the filling. Add the shredded cheddar cheese, drained black beans, diced green chiles, and cooked rice to the bowl with the sausage and eggs. Stir gently with a spatula until everything is evenly distributed. Taste a small spoonful and adjust salt or pepper if needed. Let the filling cool for 10 to 15 minutes—warm filling can make tortillas soggy and harder to roll.
- Warm the tortillas. While the filling cools, stack the tortillas on a plate and cover with a slightly damp paper towel. Microwave for 30 to 45 seconds, until they’re warm and pliable. Alternatively, you can warm them one at a time in a dry skillet for about 15 seconds per side. Warm tortillas are much easier to roll without tearing.
- Assemble the burritos. Lay one warm tortilla on a clean work surface. Spoon about ½ cup to ¾ cup of filling into the center, spreading it in a rectangular shape, leaving about 2 inches of space on the sides and 3 inches at the bottom and top. Fold the bottom edge over the filling, then fold in the sides, and roll tightly away from you, tucking the filling in as you go. Press gently to seal. Repeat with remaining tortillas and filling. You should get 10 to 12 burritos.
- Flash freeze. Line a baking sheet with parchment paper. Place the assembled burritos on the sheet, seam-side down, leaving a little space between each. Don’t stack them yet. Place the sheet in the freezer for 1 to 2 hours, until the burritos are firm to the touch. This prevents them from sticking together when you store them.
- Wrap and store. Once frozen solid, wrap each burrito individually in aluminum foil or place them in a single layer inside freezer-safe bags. I like to wrap them in foil first, then put them all in a gallon zip-top bag with the date written on it. They’ll keep for up to 3 months, but honestly, they’re best within the first month.
Pro Tip: If you’re in a hurry, you can skip the flash freeze and just wrap them directly in foil, then place them in a single layer in the freezer. They might stick together a little, but you can separate them with a butter knife after an hour or so.
Cooking Tips & Techniques
I learned most of these the hard way—through batches that fell apart or turned into sad, dry hockey pucks. Here’s what I wish someone had told me:
Don’t over-scramble the eggs. This is the #1 mistake. If you cook the eggs until they’re fully firm and dry, they’ll turn rubbery after freezing and reheating. Stop when they’re still a little soft and shiny. The residual heat and the reheating process will finish the job.
Let the filling cool completely. I know it’s tempting to assemble while everything is warm, but hot filling creates steam inside the tortilla. That steam turns into moisture, which turns into a soggy, torn burrito. Give it at least 10 to 15 minutes. I usually make the filling, then clean up the kitchen while it cools.
Don’t overfill. I did this with my first batch and ended up with burritos that looked like overstuffed pillows. They wouldn’t seal properly, and the filling leaked out during reheating. Stick to ½ to ¾ cup of filling per burrito. It might look skimpy, but it’s the right amount for a tight roll.
Warm the tortillas. Cold tortillas crack and tear. I learned this the week before a big school break when I was trying to make 20 burritos and ended up with a pile of torn tortillas and a lot of swearing. Thirty seconds in the microwave makes all the difference.
Label everything. I thought I’d remember what was in the foil-wrapped packages. Three weeks later, I found a mystery burrito in the back of the freezer and had no idea if it was breakfast or last month’s leftover enchilada filling. Write the date and filling type on the foil with a marker. Future you will be grateful.
Multitasking Strategy: While the sausage cooks, whisk the eggs. While the eggs scramble, drain the beans and measure the rice. While the filling cools, warm the tortillas. You can easily knock this out in 30 minutes if you keep moving.
Variations & Adaptations
This recipe is endlessly flexible. Here are some of my favorite twists:
Vegetarian Black Bean and Cheese: Skip the sausage and double the black beans. Add 1 cup of sautéed bell peppers and onions for extra flavor and texture. I made this for a friend who’s vegetarian, and she said it was the best freezer breakfast she’d ever had.
Spicy Chorizo and Pepper Jack: Swap the breakfast sausage for Mexican chorizo (remove from casings first) and use pepper jack cheese instead of cheddar. Add a tablespoon of chopped jalapeño if you’re feeling brave. These are my husband’s favorite—he calls them “morning tacos with attitude.”
Southwest Style: Add ½ cup of corn kernels (frozen or canned, drained) and ½ teaspoon of cumin to the filling. Use Monterey Jack cheese and top with a little salsa verde before rolling. This version tastes like a breakfast burrito from a roadside diner in New Mexico.
Low-Carb / Keto Option: Use low-carb tortillas (I like the ones from La Tortilla Factory) and skip the rice. Add extra eggs and a handful of chopped spinach. The filling will be a bit more delicate, so roll carefully. These freeze just as well.
Dairy-Free Adaptation: Use dairy-free shredded cheese (Violife or Daiya melt well) and skip the butter—use olive oil for scrambling the eggs. The baking powder trick still works, so the eggs stay fluffy.
My Personal Favorite Variation: I once added leftover roasted sweet potatoes and crumbled feta to the filling on a whim. It was absolutely ridiculous—sweet, salty, creamy, and perfect. I’ve made that version at least five times since then. Don’t be afraid to experiment with leftover veggies or random cheese ends.
Serving & Storage Suggestions
How to Reheat: Remove the foil (if wrapped) and wrap the burrito in a damp paper towel. Microwave for 60 to 90 seconds, flipping halfway through. The paper towel creates steam that keeps the tortilla soft and pliable. If you’re reheating from frozen (not thawed), add about 15 to 20 seconds. For a crispier tortilla, unwrap and toast in a dry skillet for 1 to 2 minutes per side after microwaving.
Serving Ideas: These burritos are perfect on their own, but I love serving them with a little bowl of salsa or sour cream for dipping. A handful of fresh fruit on the side makes it a complete breakfast. My kids like theirs with a squirt of ketchup (don’t judge—it works).
Storage Instructions: Keep wrapped burritos in the freezer for up to 3 months. For best quality, use within 4 weeks. Do not refrigerate—the tortillas will get soggy and the eggs will dry out. Always freeze them immediately after assembly and cooling.
How Flavors Develop: Honestly, these burritos taste better after a week or two in the freezer. The flavors meld together, and the texture evens out. I’ve accidentally left a batch for six weeks, and they were still fantastic. Just don’t push it past three months—the tortillas start to get freezer burn and crack when reheated.
Packing for On-the-Go: If you’re packing for school or work, microwave the burrito at home, then wrap it in foil and a kitchen towel to keep warm. It’ll stay hot for about 30 minutes. Or just pack it frozen—the school microwave can handle it.
Nutritional Information & Benefits
These numbers are estimates based on one burrito made with the standard recipe (sausage, cheddar, eggs, rice, and beans):
- Calories: Approximately 320-350 per burrito
- Protein: 18-20 grams
- Carbohydrates: 28-32 grams
- Fat: 14-16 grams
- Fiber: 4-5 grams
- Sodium: 550-650 mg (varies by cheese and sausage brand)
Health Benefits: Eggs provide high-quality protein and choline, which supports brain health—perfect for busy school mornings. Black beans add fiber and plant-based protein, helping keep everyone full until lunch. The rice provides steady energy without a sugar crash. If you use turkey sausage or plant-based crumbles, you can reduce the saturated fat significantly.
Dietary Considerations: This recipe can be made gluten-free (use corn or gluten-free tortillas), dairy-free (use vegan cheese and skip the butter), or vegetarian (omit sausage and add extra beans). It’s not low-carb as written, but the keto variation above works well. Always check your tortilla labels—some contain gluten or dairy.
My Wellness Perspective: I love that these burritos let me control exactly what goes into our breakfast. No weird preservatives, no excessive sodium, no mystery ingredients. Just real food, prepped ahead, ready when we need it. That’s a win in my book.
Conclusion
These quick freezer burritos have honestly changed my mornings. They’re not fancy, they’re not complicated, and they’re definitely not going to win any food photography awards. But they are the breakfast that gets us out the door on time, fed, and happy. And honestly? That’s worth more than a perfectly styled plate any day.
I hope you give them a try—and I hope you make them your own. Add your favorite fillings, adjust the spice level, experiment with different cheeses. The method is forgiving, and the results are always delicious. If you make a batch, I’d love to hear how they turned out. Drop a comment below, share a photo on Pinterest, or tag me in your freezer prep photos. And if you have a variation that blows your mind, please share it—I’m always looking for new ideas.
Here’s to less morning chaos, more time with your coffee, and breakfast that’s ready when you are. You’ve got this.
Frequently Asked Questions
Can I use egg whites instead of whole eggs?
Yes, you can substitute 2 cups of liquid egg whites for the 12 whole eggs. The texture will be slightly less rich, but they’ll still freeze well. Add an extra tablespoon of milk to keep them moist.
Do I have to use rice in the filling?
No, the rice is optional. It helps absorb excess moisture and adds bulk, but you can skip it if you’re watching carbs. Just be aware the burritos might be slightly more prone to sogginess without it.
Can I cook these in an air fryer instead of a microwave?
Absolutely. To reheat in an air fryer, unwrap the frozen burrito and place it in the basket. Cook at 350°F for 8 to 10 minutes, flipping halfway. The tortilla gets wonderfully crispy. Just keep an eye on it so the filling doesn’t dry out.
How long do these burritos last in the freezer?
They’ll stay good for up to 3 months if wrapped tightly and stored in a freezer-safe bag or container. For the best texture and flavor, I recommend eating them within 4 to 6 weeks. After that, the tortillas may start to dry out.
Can I add vegetables like spinach or mushrooms?
Yes, but sauté them first to remove excess moisture. Raw vegetables will release water during freezing and reheating, making the burritos soggy. I’ve added sautéed spinach, mushrooms, and even diced zucchini—just cook them down well before mixing into the filling.
Pin This Recipe!
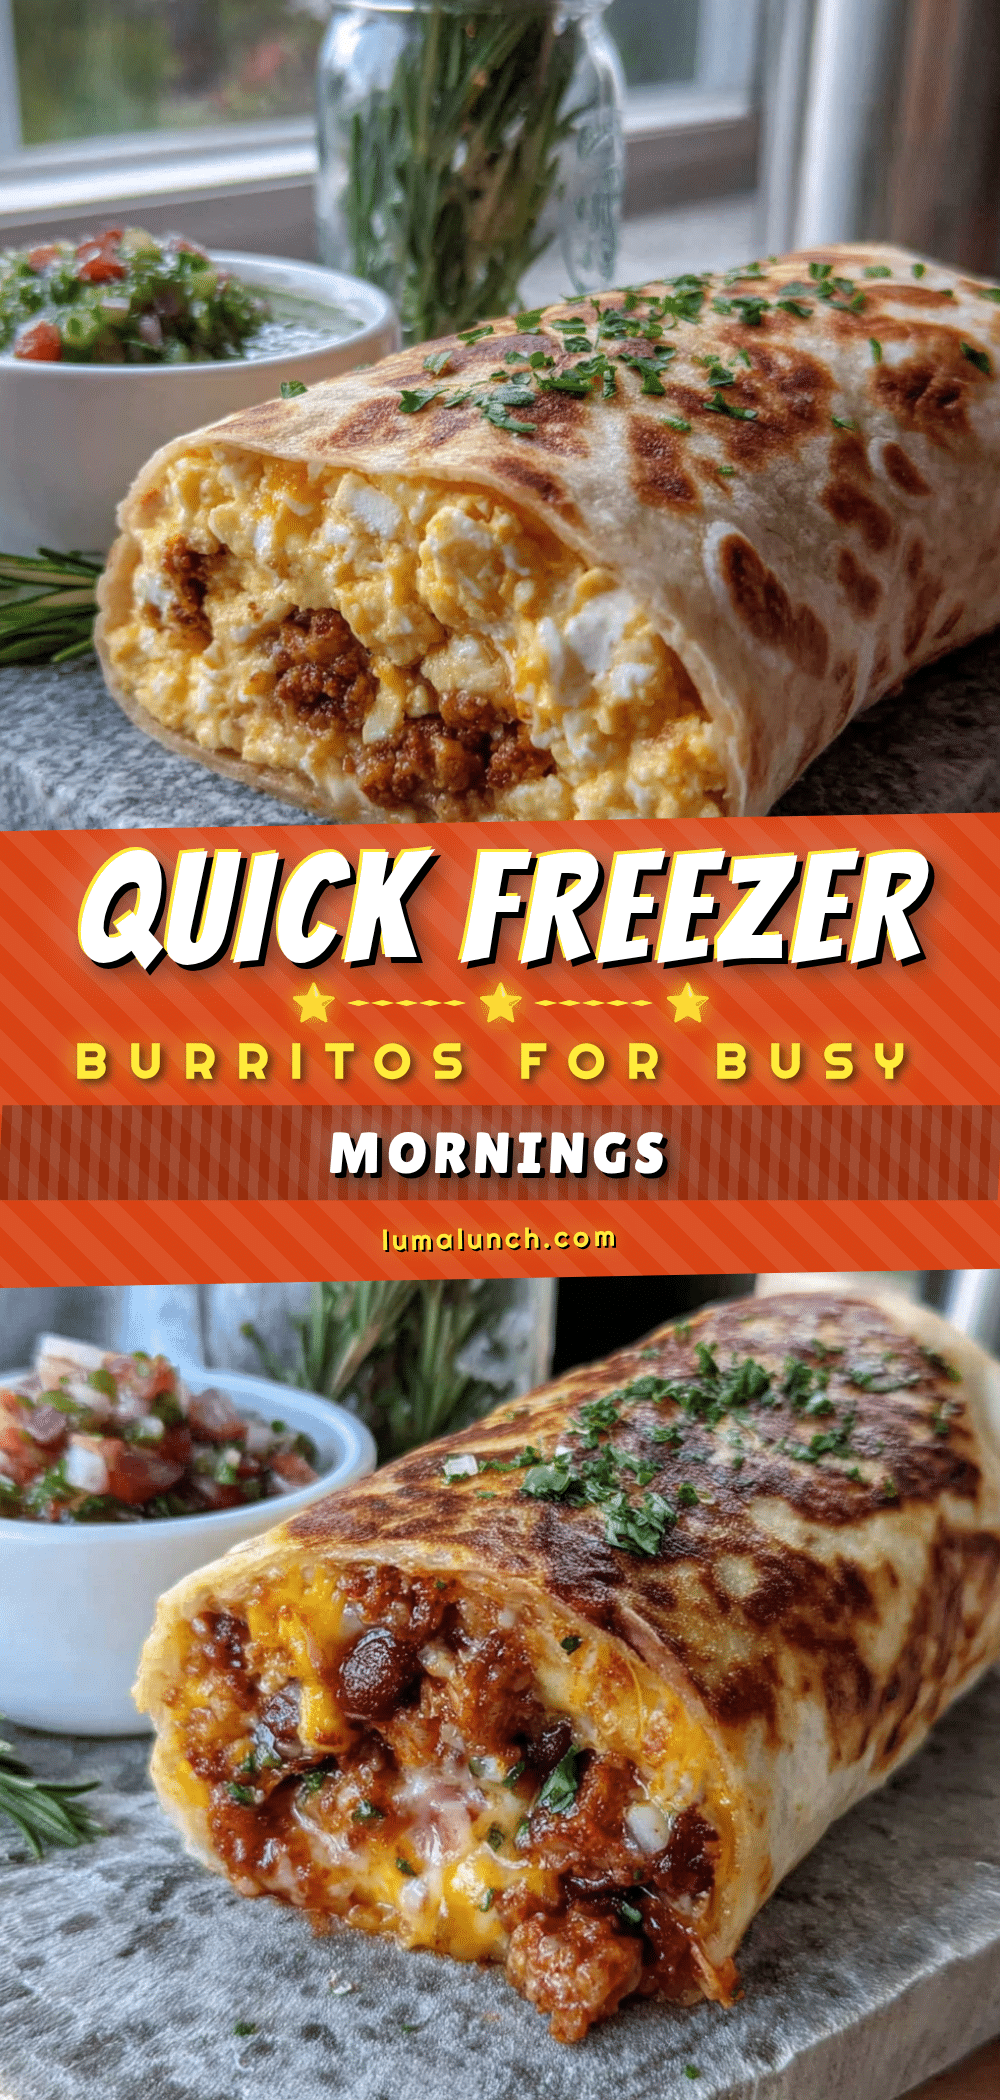
Quick Freezer Burritos: Best Busy Morning Breakfast

These quick freezer burritos are the ultimate make-ahead breakfast for busy mornings. With fluffy eggs, savory sausage, and melty cheese wrapped in a warm tortilla, they’re ready in 90 seconds from the freezer.
- Prep Time: 30 minutes
- Cook Time: 15 minutes
- Total Time: 45 minutes
- Yield: 10 to 12 burritos 1x
- Category: Breakfast
- Cuisine: American
Ingredients
- 12 large eggs, room temperature
- ¼ cup milk (whole milk preferred, 2% or oat milk work fine)
- ½ teaspoon baking powder
- ½ teaspoon salt
- ¼ teaspoon black pepper, freshly ground
- 1 pound breakfast sausage (links removed from casings or bulk)
- 2 tablespoons unsalted butter
- 2 cups shredded cheddar cheese (sharp or mild)
- 1 can (15 oz) cooked black beans, drained and rinsed
- 4 ounces canned diced green chiles
- 1 cup cooked rice (white or brown, leftover)
- 10 to 12 large flour tortillas (burrito-size, at least 10 inches)
- Cooking spray or butter (for warming tortillas)
Instructions
- Cook the sausage: Heat a large skillet over medium-high heat. Add the breakfast sausage and break it apart with a spatula. Cook for 6 to 8 minutes, stirring occasionally, until browned and cooked through. Transfer the sausage to a large mixing bowl using a slotted spoon, leaving the drippings in the pan. Let the sausage cool.
- Scramble the eggs: In a medium bowl, whisk together the 12 eggs, ¼ cup milk, ½ teaspoon baking powder, ½ teaspoon salt, and ¼ teaspoon pepper until the baking powder is dissolved and the mixture is slightly frothy (about 30 seconds). Add 2 tablespoons butter to the same skillet (with the sausage drippings) and melt over medium heat. Pour in the egg mixture. Let it sit undisturbed for about 30 seconds, then gently push the cooked edges toward the center with a spatula. Repeat until the eggs are m…
- Combine the filling: Add the shredded cheddar cheese, drained black beans, diced green chiles, and cooked rice to the bowl with the sausage and eggs. Stir gently with a spatula until evenly distributed. Taste and adjust salt or pepper if needed. Let the filling cool for 10 to 15 minutes.
- Warm the tortillas: Stack the tortillas on a plate and cover with a slightly damp paper towel. Microwave for 30 to 45 seconds until warm and pliable. Alternatively, warm them one at a time in a dry skillet for about 15 seconds per side.
- Assemble the burritos: Lay one warm tortilla on a clean work surface. Spoon about ½ to ¾ cup of filling into the center, spreading it in a rectangular shape, leaving about 2 inches of space on the sides and 3 inches at the bottom and top. Fold the bottom edge over the filling, then fold in the sides, and roll tightly away from you, tucking the filling in as you go. Press gently to seal. Repeat with remaining tortillas and filling (makes 10 to 12 burritos).
- Flash freeze: Line a baking sheet with parchment paper. Place the assembled burritos on the sheet, seam-side down, leaving a little space between each. Place the sheet in the freezer for 1 to 2 hours until the burritos are firm to the touch.
- Wrap and store: Once frozen solid, wrap each burrito individually in aluminum foil or place them in a single layer inside freezer-safe bags. Store for up to 3 months (best within the first month).
Notes
Don’t over-scramble the eggs—they should be slightly underdone to stay fluffy after freezing. Let the filling cool completely before assembling to prevent soggy tortillas. Warm tortillas are easier to roll without tearing. Label each burrito with the date and filling type. For reheating, wrap in a damp paper towel and microwave for 60 to 90 seconds, flipping halfway. For a crispy tortilla, toast in a dry skillet after microwaving.
Nutrition
- Serving Size: 1 burrito
- Calories: 320350
- Sugar: 23
- Sodium: 550650
- Fat: 1416
- Saturated Fat: 68
- Carbohydrates: 2832
- Fiber: 45
- Protein: 1820
Keywords: freezer burritos, breakfast burritos, make-ahead breakfast, freezer meals, quick breakfast, meal prep, egg burritos, sausage burritos


