Love this? Save it for later!
Share the inspiration with your friends
I was sorting through a box of old Halloween decorations at a thrift store last October when the cashier, a woman who looked like she’d seen it all in her seventy years, pointed at my basket and said, “You know, those black velvet cupcakes I made for my grandkids last week were the hit of the party.” I blinked, holding a slightly dusty plastic skeleton, and asked her to repeat herself. She leaned over the counter, her voice dropping like she was sharing a state secret, and started describing the most gorgeous, dark-as-midnight cupcakes I’d ever heard of. I wasn’t expecting baking advice from a thrift store cashier named Carol, but there I was, clutching a five-dollar skeleton, listening to her explain exactly how to make the perfect black velvet cake. She even scribbled the basic idea on the back of my receipt. Honestly, I almost forgot to pay for my skeleton. That chance encounter changed my entire Halloween baking game, and now, every October, I think of Carol when I pull out my mixer.
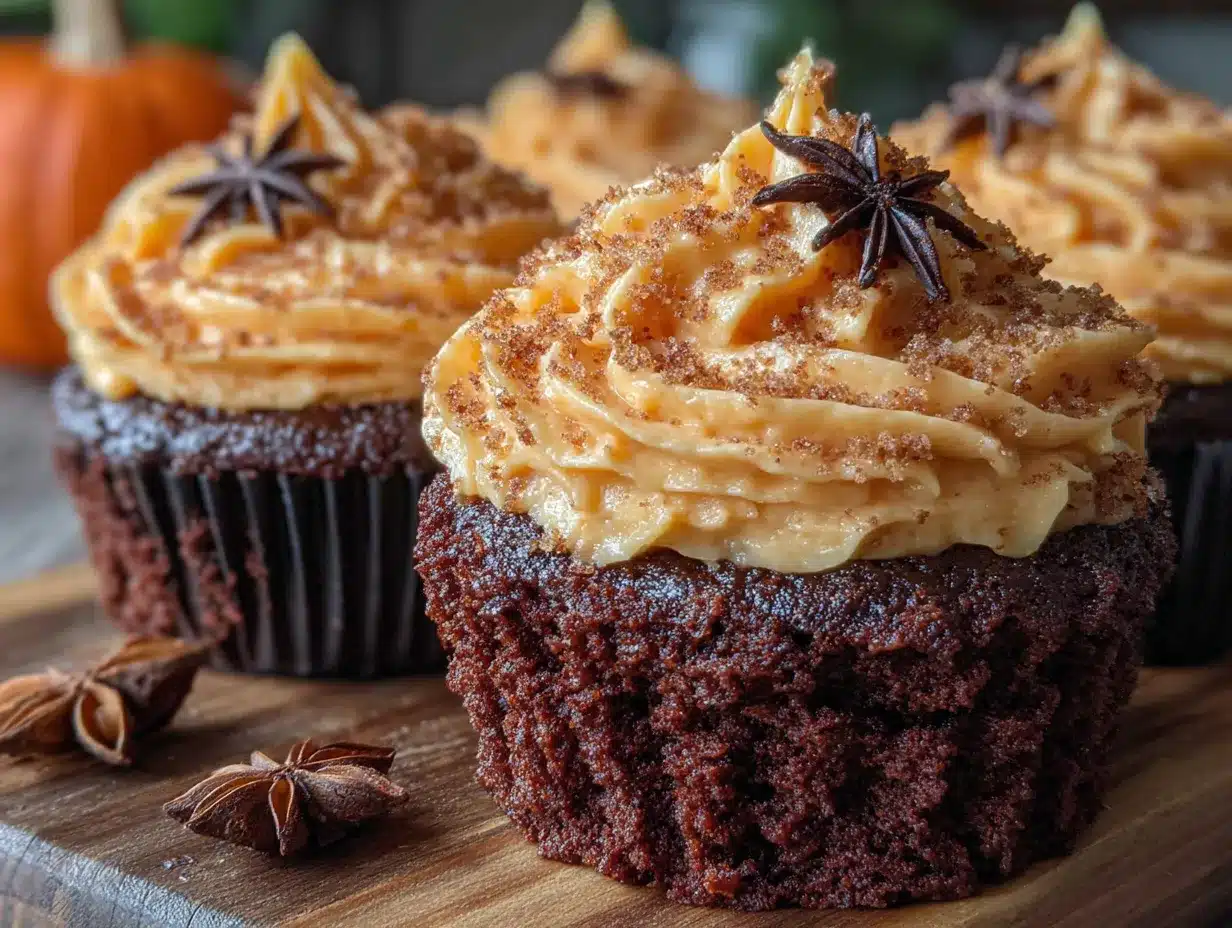
These Perfect Black Velvet Halloween Cupcakes with Easy Orange Buttercream are everything you want in a spooky-season treat. They’re rich, moist, and have that dramatic black crumb that looks incredible against a swirl of bright orange frosting. The cake itself is tender and deeply chocolatey—none of that dry, crumbly texture you sometimes get with colored cakes. And the buttercream? It comes together in about five minutes flat, no candy thermometer required. I’ve tweaked Carol’s original idea over the years, testing different cocoa powders and food coloring brands until I landed on this foolproof version. The first time I made them, I accidentally used baking soda instead of baking powder and ended up with flat, sad little pucks. Let me tell you, that was a learning experience. But now, after many batches and a few happy accidents, this recipe is locked in and ready to go. Maybe you’ve been there—tweaking a recipe until it finally clicks. That’s exactly how these cupcakes feel: like they finally clicked.
Why You’ll Love This Recipe
These aren’t just any Halloween cupcakes. They’re the kind that makes people stop mid-conversation and ask for the recipe. I’ve brought them to costume parties, classroom celebrations, and even a slightly awkward office potluck, and they always steal the show. Here’s why you’ll find yourself making them year after year:
- Quick & Easy: From start to finish, you’re looking at about 45 minutes. The batter comes together in one bowl, and the frosting is practically instant. Perfect for those “I need a Halloween treat right now” moments.
- Simple Ingredients: Nothing weird here. You probably have most of these in your pantry already. No specialty flours or exotic extracts—just good old-fashioned baking staples.
- Perfect for Halloween Parties: The black and orange color scheme is a total crowd-pleaser. They look like they belong on a dessert table next to spiderweb cookies and ghost-shaped brownies.
- Crowd-Pleaser: Kids love the dramatic color, and adults love that they actually taste amazing. I’ve seen people go back for thirds. No judgment here.
- Unbelievably Delicious: The texture is what gets me every time. It’s soft, velvety, and stays moist for days. The orange buttercream cuts through the rich chocolate perfectly—it’s a flavor combo that just works.
What makes these different from every other black velvet recipe out there? It’s the balance. I tested this with natural cocoa powder versus Dutch-process, and the Dutch-process won for that deep, dark color and smooth flavor. I also use a splash of vinegar and buttermilk to keep the crumb tender—an old-school trick that makes all the difference. This isn’t just another Halloween cupcake. It’s the one you’ll remember. It’s the one that makes you close your eyes after the first bite and think, “Yeah, that’s it.” Perfect for impressing guests without spending all day in the kitchen, or for turning a simple October evening into something a little more magical.
What Ingredients You Will Need
This recipe relies on a handful of simple, everyday ingredients that work together to create something surprisingly special. Most of these are pantry staples, which means you can whip up a batch on a whim without a special trip to the store.
For the Black Velvet Cupcakes
- All-purpose flour (1 ½ cups / 180g) – Spoon and level it for the most accurate measurement. Too much flour makes dense cupcakes.
- Granulated sugar (1 cup / 200g) – Adds sweetness and helps with that tender texture.
- Dutch-process cocoa powder (¼ cup / 20g) – This is key for the deep black color. I prefer Droste or Rodelle brands for the best flavor.
- Baking soda (1 teaspoon) – Helps the cupcakes rise and creates a light crumb.
- Salt (½ teaspoon) – Balances the sweetness and enhances the chocolate flavor.
- Buttermilk (½ cup / 120ml), room temperature – Adds moisture and reacts with the baking soda for a tender texture. No buttermilk? Add 1 ½ teaspoons of lemon juice or vinegar to regular milk and let it sit for 5 minutes.
- Vegetable oil (⅓ cup / 80ml) – Keeps the cupcakes moist for days. You can use melted coconut oil too.
- Large egg (1), room temperature – Binds everything together and adds richness.
- Vanilla extract (1 teaspoon) – Rounds out the chocolate flavor.
- White vinegar (1 teaspoon) – Sounds weird, but it reacts with the baking soda for extra lift. You won’t taste it, I promise.
- Black gel food coloring (1 ½ to 2 teaspoons) – Liquid food coloring won’t cut it here. You need gel or paste for that intense, true black color. I use Americolor Super Black.
For the Easy Orange Buttercream
- Unsalted butter (½ cup / 1 stick / 113g), softened – Let it sit out for at least 30 minutes. Cold butter makes lumpy frosting.
- Powdered sugar (2 cups / 240g) – Sifted if it’s clumpy, but honestly, I rarely bother and it turns out fine.
- Heavy cream or milk (2-3 tablespoons) – Heavy cream makes it extra luxurious, but milk works great too.
- Vanilla extract (1 teaspoon) – For that classic buttercream flavor.
- Orange gel food coloring (a few drops) – Start with one drop and add more until you get that perfect Halloween orange.
- Pinch of salt – Balances the sweetness.
Equipment Needed
You don’t need a fancy bakery setup for these cupcakes. Here’s what I use every time I make them:
- Standard 12-cup muffin tin – The non-stick kind works best, but any will do with liners.
- Paper cupcake liners – I like using black or orange ones for extra Halloween flair, but white ones let the black cake pop.
- Two medium mixing bowls – One for dry ingredients, one for wet. Or just one if you’re feeling rebellious.
- Whisk – For mixing the dry ingredients and smoothing out the batter.
- Rubber spatula – For scraping the bowl clean. Don’t waste that precious batter.
- Electric hand mixer or stand mixer – For the buttercream. You can do it by hand with a whisk, but your arm will definitely feel it. I’ve been there on a camping trip, and let me tell you, it’s a workout.
- Piping bag with a star tip (like Wilton 1M) – For that pretty swirl. No piping bag? A zip-top bag with the corner snipped off works perfectly.
- Cooling rack – Lets the cupcakes cool evenly so the frosting doesn’t melt into a puddle.
- Small offset spatula – Handy for smoothing frosting, but a butter knife works too.
Preparation Method
Let’s make some magic happen. Preheat your oven to 350°F (175°C) and line your muffin tin with 12 cupcake liners. This recipe makes exactly 12 standard-sized cupcakes, no more, no less. Trust me, I’ve tested it.
- Mix the dry ingredients: In a medium bowl, whisk together the flour, sugar, cocoa powder, baking soda, and salt. Make sure there are no lumps of cocoa—those little clumps can hide and leave you with streaky batter. I usually give it an extra 30 seconds of whisking just to be safe.
- Combine the wet ingredients: In a separate bowl or a large measuring cup, whisk together the buttermilk, oil, egg, vanilla extract, and vinegar. The mixture should look smooth and slightly frothy. This is where you add the black gel food coloring. Start with 1 ½ teaspoons and whisk it in. The batter will look like a dark gray at this point—don’t panic. It darkens as it bakes.
- Bring it all together: Pour the wet ingredients into the dry ingredients. Stir gently with a spatula or whisk until just combined. Do not overmix! A few small lumps are totally fine. Overmixing develops the gluten and gives you tough, dense cupcakes. I learned this the hard way when I made a batch that could have doubled as hockey pucks.
- Fill the liners: Divide the batter evenly among the 12 liners. I use a cookie scoop for this—it keeps things neat and ensures every cupcake is the same size. Fill each liner about ⅔ full. The batter will be thin, almost like a lava cake consistency. That’s normal.
- Bake: Place the tin in the preheated oven and bake for 15 to 18 minutes. You’ll know they’re done when a toothpick inserted into the center comes out clean or with just a few moist crumbs. The tops should spring back when lightly touched. My oven runs hot, so I always check at the 15-minute mark. Rotate the pan halfway through if your oven has hot spots.
- Cool completely: Let the cupcakes cool in the tin for 5 minutes. Then transfer them to a wire rack to cool completely. This is crucial. If you try to frost them while they’re even slightly warm, your buttercream will turn into a sad, melty mess. I’ve done it. It’s not pretty.
- Make the buttercream: While the cupcakes are cooling, make the frosting. In a large bowl, beat the softened butter with an electric mixer on medium speed until it’s smooth and creamy—about 2 minutes. Scrape down the sides. Add the powdered sugar, one cup at a time, beating on low speed until incorporated. Add the vanilla, a pinch of salt, and 2 tablespoons of heavy cream. Beat on medium-high for 2 to 3 minutes until the frosting is light and fluffy. If it’s too thick, add another tablespoon of cream. Add the orange gel coloring a drop at a time until you reach your desired shade. I aim for a bright, almost neon orange—it contrasts beautifully with the black cake.
- Frost the cupcakes: Fit a piping bag with a star tip and fill it with the buttercream. Starting from the outside edge, pipe a spiral inward, then lift straight up for a classic swirl. Or just spread it on with a spatula if you’re in a hurry. No judgment here.
Cooking Tips & Techniques
Over the years, I’ve made every mistake in the book with these cupcakes. Here’s what I’ve learned so you don’t have to repeat my errors.
Getting the perfect black color: This is the most common question I get. Liquid food coloring won’t work—it’ll turn your batter a muddy gray. You need gel or paste food coloring. Americolor Super Black is my go-to, but any brand works. Add it to the wet ingredients before mixing with the dry. If the batter looks more charcoal than midnight, add a tiny bit more. The color deepens as it bakes, so don’t overdo it.
Avoiding dry cupcakes: The biggest culprit is overbaking. Check your cupcakes at 15 minutes. Every oven is different, and those extra two minutes can be the difference between tender and dry. Also, make sure your buttermilk is at room temperature. Cold ingredients don’t emulsify properly, which can affect texture.
Room temperature ingredients matter: I know, I know, nobody has time for this. But trust me, it makes a difference. Cold butter in the frosting will give you lumps. Cold egg in the batter won’t incorporate as smoothly. Set your ingredients out 30 minutes before you start. It’s a small step that pays off big time.
Frosting consistency: If your buttercream is too stiff, add a splash more cream. If it’s too soft, pop it in the fridge for 10 minutes. The perfect consistency should hold its shape when piped but still feel light and spreadable.
Multitasking like a pro: While the cupcakes are baking, wash your mixing bowls and set up your piping bag. That way, when the cupcakes are cool, you’re ready to go. I’ve learned that cleaning as I go makes the whole process feel less overwhelming.
Variations & Adaptations
One of the best things about this recipe is how adaptable it is. Here are some ways to make it your own.
Gluten-Free Version: Substitute the all-purpose flour with a 1:1 gluten-free baking flour blend. I’ve used Bob’s Red Mill with great results. Make sure to let the batter rest for 5 minutes before baking to allow the flour to hydrate.
Dairy-Free Version: Use a dairy-free buttermilk substitute (add 1 ½ teaspoons of lemon juice to ½ cup of unsweetened almond milk) and a dairy-free butter alternative for the frosting. Miyoko’s or Earth Balance work well.
Spooky Spiderweb Design: Pipe the orange buttercream in a swirl, then pipe a small circle of black frosting on top. Drag a toothpick from the center outward in eight directions to create a web. It looks amazing and takes about 30 seconds.
Blood Drip Effect: After frosting, drizzle a little red gel icing or thinned strawberry jam down the sides of the frosting. It gives a creepy, “bloody” effect that’s perfect for Halloween.
Chocolate Orange Twist: Add ½ teaspoon of orange extract to the cupcake batter along with the vanilla. It gives a subtle citrus note that pairs beautifully with the frosting.
Mini Cupcake Version: Use a mini muffin tin and bake for 8 to 10 minutes. You’ll get about 36 mini cupcakes. Perfect for parties where people want to try multiple treats.
Serving & Storage Suggestions
These cupcakes are best served at room temperature. The cake is at its most tender, and the buttercream is perfectly soft and creamy. If you’ve refrigerated them, let them sit out for about 20 minutes before serving.
For presentation, I love arranging them on a black cake stand or a wooden board with some fake spiderwebs and plastic spiders scattered around. It makes for a great photo and sets the Halloween mood. They pair wonderfully with a warm cup of apple cider or a cold glass of milk. For an adult gathering, a dark stout beer or a pumpkin spice latte is a fantastic match.
Storage: Store leftover cupcakes in an airtight container at room temperature for up to 2 days. If your kitchen is warm, refrigerate them to keep the frosting from getting too soft. They’ll last in the fridge for up to 5 days. Bring them to room temperature before serving for the best texture.
Freezing: You can freeze the unfrosted cupcakes for up to 3 months. Wrap each one tightly in plastic wrap, then place them in a freezer bag. Thaw at room temperature, then frost as usual. The frosting can also be frozen in a piping bag for up to 2 months. Just thaw it in the fridge overnight and give it a quick re-whip before using.
Flavor development: Honestly, these cupcakes taste even better the next day. The flavors meld together and the cake becomes even more moist. So if you’re planning a party, bake them a day ahead. Your future self will thank you.
Nutritional Information & Benefits
Let’s be real—these are a treat, not a health food. But here’s the estimated nutritional breakdown for one cupcake with frosting.
| Nutrient | Amount per Cupcake |
|---|---|
| Calories | ~320 |
| Total Fat | 16g |
| Saturated Fat | 8g |
| Cholesterol | 45mg |
| Sodium | 220mg |
| Total Carbohydrates | 44g |
| Sugars | 34g |
| Protein | 3g |
The cocoa powder in these cupcakes is actually a good source of antioxidants (flavonoids), which can support heart health. The buttermilk adds a touch of calcium and probiotics. And honestly, there’s something to be said for the mental health benefits of a perfectly decorated Halloween cupcake. Sometimes you just need a little joy in your day, and these deliver.
For dietary considerations: These contain gluten, dairy, and eggs. See the variations section for adaptations. They are nut-free as written, but always check your ingredient labels if allergies are a concern.
Frequently Asked Questions
Can I use regular cocoa powder instead of Dutch-process?
You can, but the color won’t be as dark. Dutch-process cocoa is treated to neutralize its acidity, which gives it a deeper, richer color and a smoother flavor. If you use natural cocoa, your cupcakes will be a dark brown rather than true black. You might need a bit more food coloring to compensate.
Why did my cupcakes turn out gray instead of black?
This usually happens when you don’t use enough gel food coloring, or you’re using liquid coloring. Gel is much more concentrated. Also, make sure you’re mixing the coloring into the wet ingredients thoroughly before combining with the dry. The batter should look like charcoal before it goes in the oven.
Can I make these cupcakes ahead of time?
Absolutely! Bake the cupcakes up to two days in advance and store them in an airtight container at room temperature. Make the frosting and store it in the fridge. When you’re ready to serve, let the frosting come to room temperature, give it a quick whip, and frost the cupcakes. They’ll taste just as good as fresh.
My buttercream is too runny. What did I do wrong?
Most likely, your butter was too soft or you added too much liquid. Pop the frosting in the fridge for 15 to 20 minutes to firm it up, then give it another quick whip. If it’s still too soft, beat in an extra ¼ cup of powdered sugar. If it’s too stiff, add a splash more cream.
Can I bake these as a cake instead of cupcakes?
Yes! Pour the batter into two greased and floured 8-inch round cake pans and bake at 350°F for 22 to 25 minutes. The frosting recipe will need to be doubled to cover a two-layer cake. You’ll have plenty of orange buttercream to fill and frost the whole thing.
Conclusion
These Perfect Black Velvet Halloween Cupcakes with Easy Orange Buttercream are more than just a seasonal treat—they’re a conversation starter, a memory-maker, and honestly, just a really good cupcake. I still think about Carol at that thrift store every time I make them, and I love that a random encounter turned into a recipe I reach for year after year. The black crumb against the bright orange frosting is pure Halloween magic, and the flavor lives up to the drama.
I hope you give these a try. Don’t be afraid to make them your own—add a little extra vanilla, pipe a different design, or swap the orange for a lime green buttercream if that’s your thing. The beauty of baking is that you’re in control. And if you do make them, I’d love to hear about it. Drop a comment below, tag me in your photos, or let me know what spooky twist you added. Happy Halloween, and happy baking! You’ve got this.
Pin This Recipe!
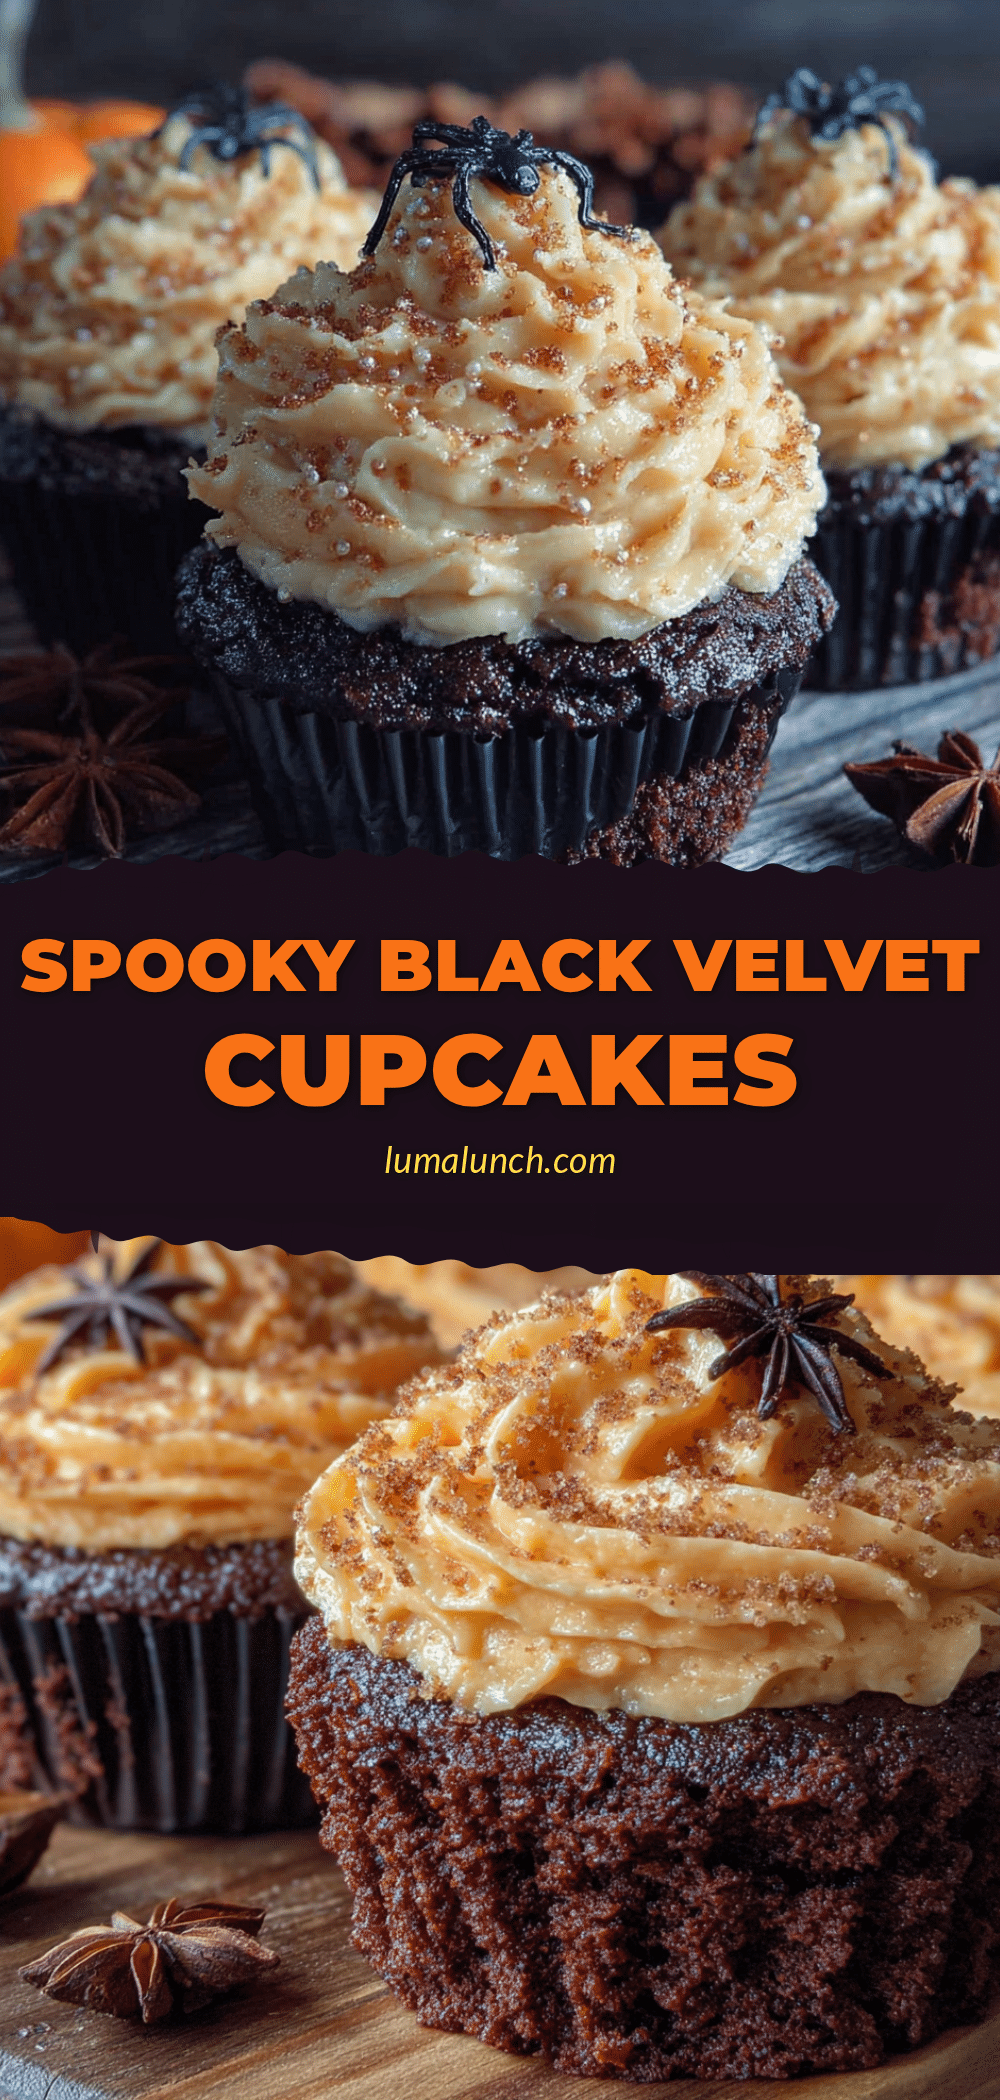
Perfect Black Velvet Halloween Cupcakes with Easy Orange Buttercream
Rich, moist black velvet cupcakes with a dramatic black crumb and a swirl of bright orange buttercream. This foolproof recipe uses Dutch-process cocoa and black gel food coloring for an intense color, and the frosting comes together in minutes.
- Prep Time: 15 minutes
- Cook Time: 18 minutes
- Total Time: 45 minutes
- Yield: 12 cupcakes 1x
- Category: Dessert
- Cuisine: American
Ingredients
- 1 ½ cups (180g) all-purpose flour
- 1 cup (200g) granulated sugar
- ¼ cup (20g) Dutch-process cocoa powder
- 1 teaspoon baking soda
- ½ teaspoon salt
- ½ cup (120ml) buttermilk, room temperature
- ⅓ cup (80ml) vegetable oil
- 1 large egg, room temperature
- 1 teaspoon vanilla extract
- 1 teaspoon white vinegar
- 1 ½ to 2 teaspoons black gel food coloring
- ½ cup (1 stick / 113g) unsalted butter, softened
- 2 cups (240g) powdered sugar
- 2–3 tablespoons heavy cream or milk
- 1 teaspoon vanilla extract
- A few drops orange gel food coloring
- Pinch of salt
Instructions
- Preheat oven to 350°F (175°C). Line a 12-cup muffin tin with paper liners.
- In a medium bowl, whisk together flour, sugar, cocoa powder, baking soda, and salt until no lumps remain.
- In a separate bowl or large measuring cup, whisk together buttermilk, oil, egg, vanilla extract, vinegar, and black gel food coloring until smooth and slightly frothy.
- Pour wet ingredients into dry ingredients. Stir gently with a spatula or whisk until just combined. Do not overmix; a few small lumps are fine.
- Divide batter evenly among the 12 liners, filling each about ⅔ full. Batter will be thin.
- Bake for 15 to 18 minutes, until a toothpick inserted into the center comes out clean or with a few moist crumbs. Rotate pan halfway through if needed.
- Let cupcakes cool in the tin for 5 minutes, then transfer to a wire rack to cool completely.
- While cupcakes cool, make the buttercream: In a large bowl, beat softened butter with an electric mixer on medium speed until smooth and creamy, about 2 minutes.
- Add powdered sugar one cup at a time, beating on low until incorporated. Add vanilla, salt, and 2 tablespoons of heavy cream. Beat on medium-high for 2-3 minutes until light and fluffy. Add more cream if needed.
- Add orange gel food coloring a drop at a time until desired shade is reached.
- Fit a piping bag with a star tip and fill with buttercream. Pipe a spiral onto each cupcake starting from the outside edge, then lift straight up for a classic swirl. Alternatively, spread with a spatula.
Notes
For the deepest black color, use gel food coloring (not liquid). Dutch-process cocoa is key for dark color and smooth flavor. Ensure all ingredients are at room temperature for best texture. Cupcakes taste even better the next day. Store in an airtight container at room temperature for up to 2 days, or refrigerate for up to 5 days. Unfrosted cupcakes can be frozen for up to 3 months.
Nutrition
- Serving Size: 1 cupcake
- Calories: 320
- Sugar: 34
- Sodium: 220
- Fat: 16
- Saturated Fat: 8
- Carbohydrates: 44
- Fiber: 1
- Protein: 3
Keywords: Halloween cupcakes, black velvet cupcakes, orange buttercream, spooky treats, easy Halloween dessert


