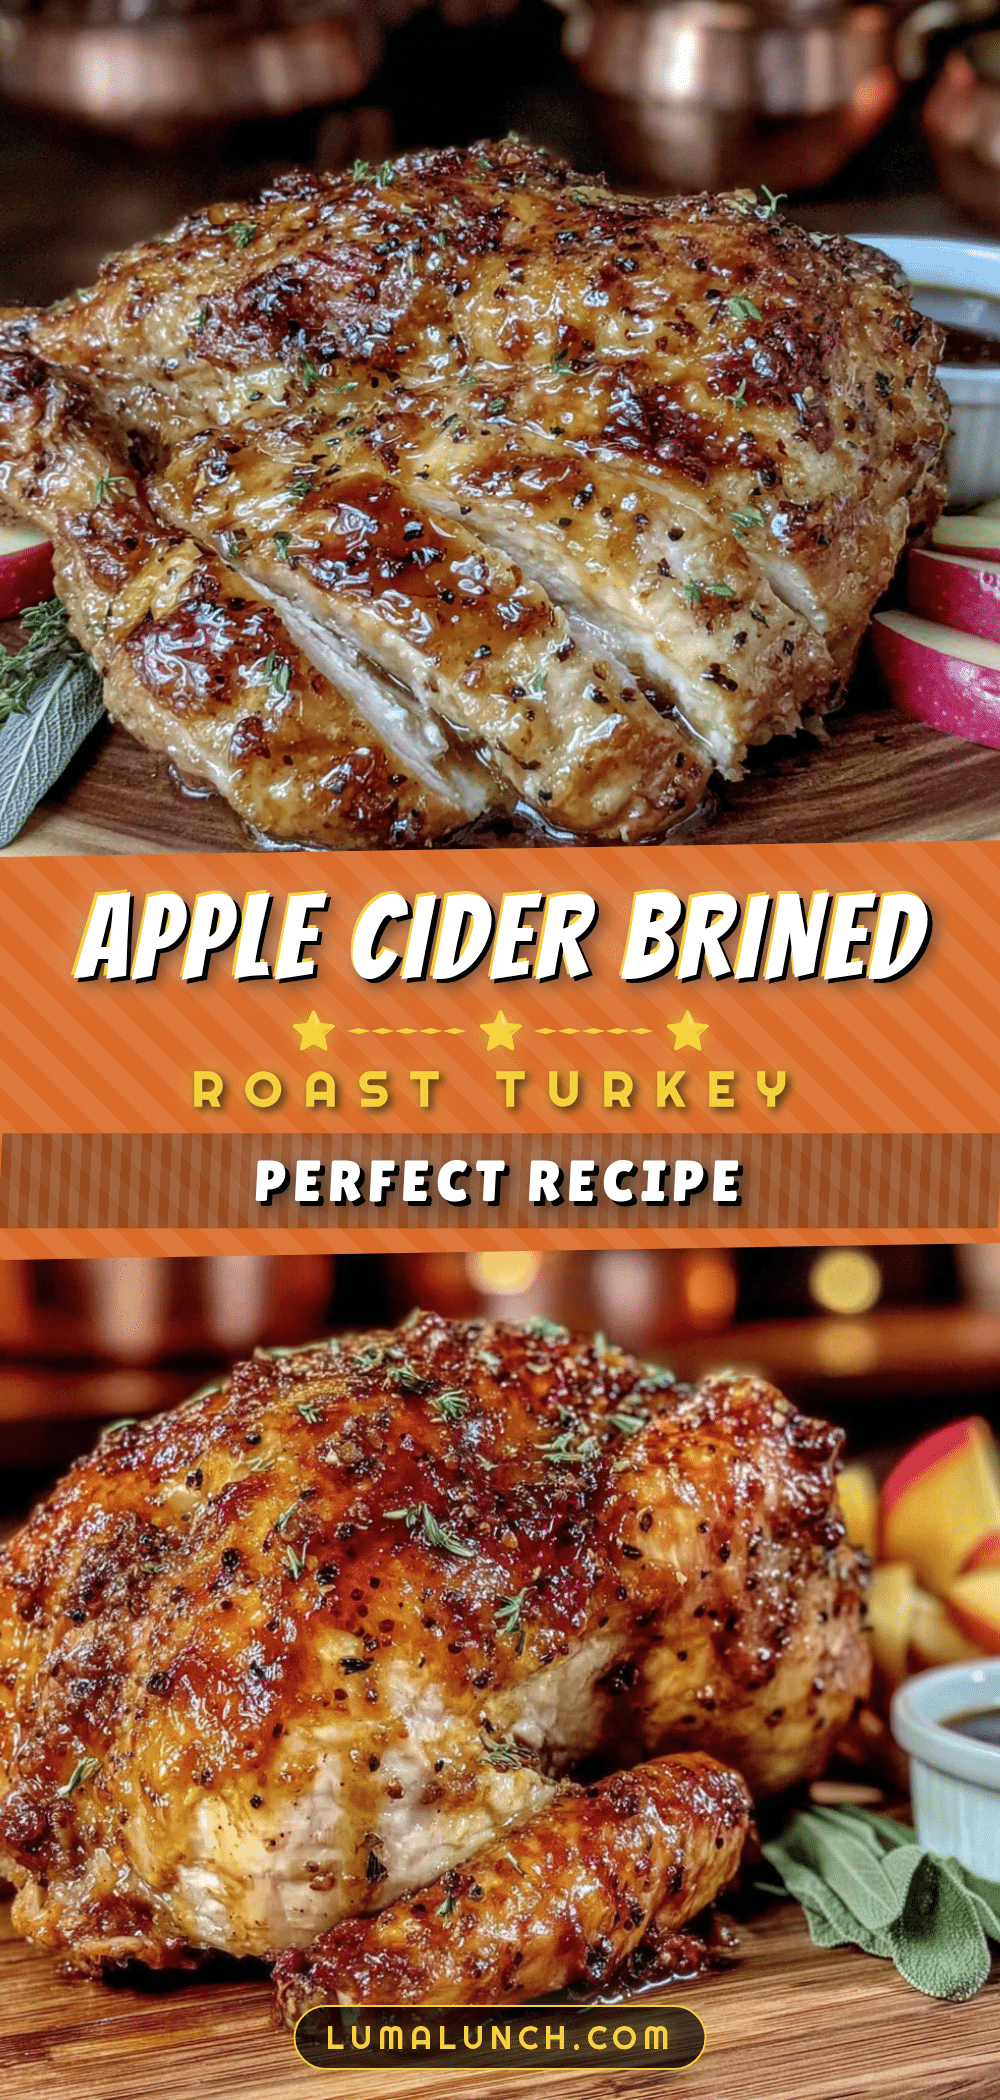
Love this? Save it for later!
Share the inspiration with your friends
I was unpacking groceries last October when a stray drop of apple cider splashed onto my hand from a leaky jug. The cold, sweet-tart smell hit me—and suddenly I was nine years old, standing in my Aunt Rose’s cramped kitchen in Ohio, watching her pour the same amber liquid over a raw turkey in a massive stockpot. She had a way of making everything feel like a secret ceremony. “This is the trick,” she’d whisper, wiping her hands on her apron. “The apple does the work for you.” She passed away three years ago, and I never got her exact recipe written down. That parking lot moment made me realize I’d been chasing that memory ever since—the way the meat practically fell apart, the subtle sweetness that wasn’t sugary, just right. I’ve spent the last two Thanksgivings trying to recreate it. The first attempt was a salty disaster—I mean, I basically brined a science experiment. The second was closer, but still missing something. Then it hit me: I was overthinking it. Aunt Rose never measured anything precisely; she just knew. So I stopped trying to be perfect and started cooking like her—by feel, by smell, by the way the cider smelled when it hit hot butter. And honestly? This version might actually be better. Maybe you’ve been there, trying to recapture a taste you can’t quite name. This is that turkey. The one that makes people close their eyes at the table.
Why You’ll Love This Recipe
Let me tell you, after a dozen test birds and one particularly tragic dry turkey that my dog refused to eat, I’ve nailed this down. This isn’t just another roast turkey recipe—it’s the one that’ll have your guests asking for your secret before they even finish their first slice.
- Unbelievably Moist: The apple cider brine locks in moisture like nothing else. We’re talking juicy breast meat that doesn’t need drowning in gravy.
- Simple Ingredients: No weird chemicals or hard-to-find spices. Everything’s probably in your pantry right now.
- Perfect for Hosting: This turkey was made for dinner parties and holiday feasts. It scales beautifully for a crowd and looks stunning on a platter.
- Make-Ahead Friendly: The brine does the heavy lifting overnight. You just pop it in the oven and relax.
- Crowd-Pleaser: Even the “I don’t like turkey” folks change their tune after one bite of this.
What makes this different from every other turkey recipe out there? It’s the balance. The apple cider isn’t just for flavor—it’s got natural acids that tenderize the meat without making it mushy. Plus, the brown sugar in the brine caramelizes during roasting, giving you that gorgeous golden-brown skin that crackles when you cut into it. I’ve tested this with heritage birds, frozen turkeys, even a smaller chicken for practice runs. It works every single time. This is comfort food reimagined—familiar enough to feel like tradition, but special enough to steal the show at your table.
What Ingredients You Will Need
This recipe uses simple, wholesome ingredients that work together to create something truly memorable. Most of these are pantry staples, which makes last-minute hosting way less stressful.
For the Brine:
- 1 gallon (3.8 liters) apple cider (unfiltered is best—it has more flavor)
- 1 cup (200g) brown sugar, packed
- 1 cup (280g) kosher salt (I prefer Diamond Crystal—it dissolves evenly)
- 6 sprigs fresh rosemary
- 6 sprigs fresh thyme
- 4 bay leaves
- 1 tablespoon (6g) black peppercorns
- 4 cloves garlic, smashed
- 2 cinnamon sticks
- 8 cups (1.9 liters) cold water
- 2 cups (475ml) ice cubes
For the Turkey:
- 1 whole turkey (12–14 pounds / 5.4–6.4 kg), thawed if frozen
- 4 tablespoons (56g) unsalted butter, softened (adds richness to the skin)
- 1 tablespoon (15ml) olive oil
- 1 teaspoon (5g) black pepper
- 1 apple, quartered (for stuffing the cavity)
- 1 onion, quartered
- 3 cloves garlic, halved
- Fresh herbs (rosemary, thyme, sage) for stuffing
Ingredient Selection Tips:
I recommend using unfiltered apple cider from a local orchard if you can find it—the flavor is deeper and less processed. For the salt, avoid table salt; it’s too fine and will make the brine overly salty. Kosher salt is your friend here. If you’re gluten-free, double-check your spices, but most are naturally gluten-free. For a dairy-free option, swap the butter for a high-quality vegan butter or olive oil—just brush it on generously.
Equipment Needed
You don’t need a professional kitchen for this, but having the right tools makes everything smoother.
- Large Stockpot or Brining Bag: A 5-gallon (19-liter) stockpot works great, but a heavy-duty brining bag is easier to store in the fridge. I’ve used both, and honestly, the bag is less of a hassle for cleanup.
- Roasting Pan with a Rack: The rack keeps the turkey elevated so it cooks evenly. No rack? Use rolled-up foil strips as a makeshift one.
- Meat Thermometer: This is non-negotiable. An instant-read thermometer saves you from overcooking. I’ve ruined too many turkeys guessing—trust the tool.
- Baster or Pastry Brush: For basting the butter mixture onto the skin. A brush gives more even coverage.
- Carving Knife and Cutting Board: A sharp knife makes all the difference. Dull knives tear the meat.
- Cheesecloth (Optional): Some folks use it to cover the breast if it browns too fast. I just tent foil—easier.
Budget-Friendly Tip: You don’t need a fancy roasting pan. A disposable aluminum pan from the grocery store works fine—just double it up for stability.
Preparation Method
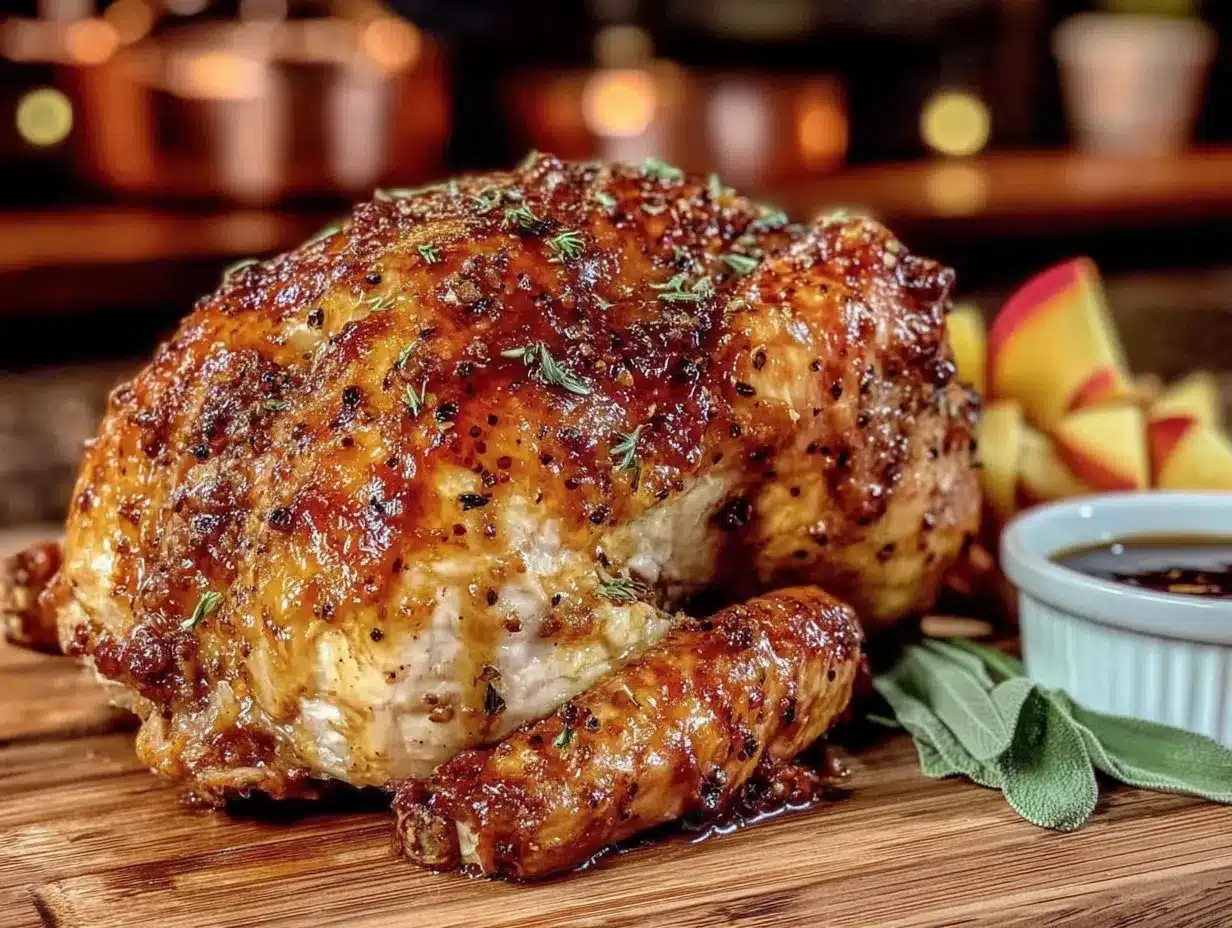
Let’s get cooking. This method is broken down into clear steps so you can prep ahead and relax on the big day.
- Make the Brine (Day Before): In your large stockpot, combine the apple cider, brown sugar, kosher salt, rosemary, thyme, bay leaves, peppercorns, garlic, and cinnamon sticks. Bring to a boil over medium-high heat, stirring until the sugar and salt dissolve completely. This takes about 5–7 minutes. Remove from heat and add the cold water and ice cubes to cool it down. The brine needs to be completely cold before you add the turkey—warm brine can start cooking the meat and cause food safety issues.
- Prep the Turkey: Remove the turkey from its packaging. Take out the giblets and neck (save them for gravy if you want). Rinse the turkey inside and out with cold water, then pat it dry with paper towels. Don’t skip this—excess moisture dilutes the brine.
- Brine the Turkey: Place the turkey in your brining bag or stockpot. Pour the cooled brine over it, making sure the turkey is fully submerged. If using a bag, squeeze out the air and seal it. Place the whole thing in a large bowl or roasting pan (in case of leaks) and refrigerate for 12–24 hours. I’ve found 18 hours is the sweet spot—any longer and the meat can get too salty.
- Remove and Rinse (Next Day): Take the turkey out of the brine. Discard the brine—it’s done its job. Rinse the turkey thoroughly inside and out with cold water to remove excess salt. Pat it dry with paper towels again. This step is crucial; skipping it makes the turkey overly salty. Let it sit on a plate in the fridge, uncovered, for 1–2 hours. This dries the skin, which helps it crisp up beautifully.
- Preheat the Oven: About 30 minutes before roasting, preheat your oven to 425°F (220°C). Position the rack in the lower third of the oven—you want the turkey in the middle, not too close to the top heating element.
- Season the Turkey: In a small bowl, mix the softened butter, olive oil, and black pepper. Rub this mixture all over the turkey’s skin, getting under the skin if you can. Stuff the cavity with the quartered apple, onion, garlic, and fresh herbs. This adds flavor from the inside out and keeps the meat moist.
- Truss the Turkey (Optional but Helpful): Tuck the wing tips under the turkey’s body and tie the legs together with kitchen twine. This promotes even cooking and gives you a prettier bird. I didn’t truss my first few turkeys, and the legs cooked faster than the breast—now I always do it.
- Roast the Turkey: Place the turkey breast-side up on the rack in your roasting pan. Roast at 425°F (220°C) for 30 minutes. This high heat jump-starts the browning. Then, reduce the oven temperature to 350°F (175°C). Continue roasting for about 2 to 2.5 hours for a 12–14 pound bird. The total cooking time is roughly 13 minutes per pound, but always rely on temperature, not time.
- Baste and Monitor: Every 45 minutes, baste the turkey with the pan juices. If the skin is browning too fast, tent a piece of foil loosely over the breast. I forgot to do this once and ended up with a gorgeous but slightly burnt top—still delicious, but not as pretty for the photos.
- Check for Doneness: Your turkey is done when the internal temperature reaches 165°F (74°C) in the thickest part of the thigh (without touching bone) and 160°F (71°C) in the breast. Insert the thermometer in several spots to be sure. The juices should run clear, not pink.
- Rest the Turkey: Remove the turkey from the oven and transfer it to a cutting board. Let it rest, uncovered, for at least 30 minutes. I know it’s tempting to carve immediately, but resting lets the juices redistribute. Carve too soon, and all that moisture ends up on the cutting board instead of in the meat.
- Carve and Serve: Using a sharp knife, carve the turkey into slices. Start with the legs and thighs, then move to the breast. Arrange on a warm platter and serve with your favorite sides.
Cooking Tips & Techniques
I’ve made every mistake in the book, so you don’t have to. Here’s what I’ve learned the hard way.
Don’t Skip the Rinse: After brining, rinse the turkey thoroughly. I once rushed this step and ended up with a bird that tasted like the Dead Sea. Your guests will thank you for the extra 30 seconds.
Patience with the Skin: The high-heat start is non-negotiable. That initial blast of 425°F (220°C) creates the crispy skin everyone fights over. If you start at a lower temperature, you’ll get pale, rubbery skin. Trust me, I tried it.
Use a Thermometer: I cannot stress this enough. Pop-up timers are unreliable. An instant-read thermometer costs about $15 and saves you from serving dry turkey. Stick it in the thigh, wait 10 seconds, and you’ll know exactly when it’s done.
Multitasking Strategy: While the turkey rests, use the pan drippings to make gravy. The resting period is perfect for that—just deglaze the pan with a little wine or broth, whisk in flour, and simmer. You’ll have fresh gravy ready when you carve.
Common Mistake: Overcrowding the Pan: Don’t put vegetables or stuffing in the roasting pan around the turkey. They’ll steam instead of roast, making the skin soggy. Keep the turkey elevated on a rack and roast veggies separately.
Variations & Adaptations
This recipe is flexible—here’s how to make it your own.
Herb Swap: Not a fan of rosemary? Use sage and marjoram instead. The brine works beautifully with any woody herb. I did a sage-heavy version for a friend’s Thanksgiving, and it had a lovely earthy flavor.
Spicy Kick: Add 2 tablespoons of crushed red pepper flakes to the brine for a subtle heat. It doesn’t make the turkey spicy—just adds a warmth that balances the sweetness of the apple cider.
Dairy-Free Option: Replace the butter with olive oil or a plant-based butter. Brush it on generously before roasting. I’ve tested this with a vegan butter, and the skin still crisped up nicely.
Smoked Turkey Variation: If you have a smoker, try this recipe on the grill. Brine the turkey as directed, then smoke it at 250°F (120°C) with applewood chips for 4–5 hours. The apple cider and smoke flavors complement each other perfectly.
Smaller Bird: Hosting a smaller gathering? Use a 6–8 pound chicken or turkey breast instead. Reduce the brine ingredients by half and adjust cooking time accordingly (roughly 20 minutes per pound).
Serving & Storage Suggestions
Serving Temperature: Serve the turkey warm, not piping hot. Let it rest for 30 minutes, then carve. The meat should be around 140°F (60°C) when served—warm enough to be comforting but not so hot that it dries out.
Presentation Tips: Arrange the carved meat on a large platter, fanning the breast slices over the dark meat. Garnish with fresh herbs and apple slices for a pop of color. Your guests will Instagram it before they eat it—I promise.
What to Serve Alongside: This turkey pairs beautifully with classic sides like mashed potatoes, green bean casserole, and cranberry sauce. The apple cider notes also go well with roasted root vegetables like carrots and parsnips.
Storage: Store leftover turkey in an airtight container in the refrigerator for up to 4 days. The flavor actually deepens overnight—I often enjoy cold turkey sandwiches more than the initial meal.
Reheating: To reheat without drying out, place slices in a baking dish with a splash of chicken broth. Cover with foil and warm at 300°F (150°C) for 15–20 minutes. Avoid the microwave—it makes the meat rubbery.
Freezing: Freeze leftover turkey in a freezer-safe bag for up to 3 months. Thaw overnight in the fridge before reheating. It’s perfect for soups, casseroles, or quick weekday meals.
Nutritional Information & Benefits
Turkey is a lean protein powerhouse, and this recipe keeps it healthy without sacrificing flavor.
Estimated Values (per 6-ounce serving, without skin):
| Nutrient | Amount |
|---|---|
| Calories | 280 |
| Protein | 35g |
| Fat | 14g |
| Saturated Fat | 5g |
| Sodium | 480mg |
| Carbohydrates | 2g |
| Fiber | 0g |
| Sugar | 1g |
Health Benefits: Turkey is rich in B vitamins, selenium, and tryptophan (yes, that’s the stuff that makes you sleepy—but it’s actually good for mood regulation). The apple cider brine adds minimal sugar, and most of it gets discarded. Plus, the herbs provide antioxidants. This recipe is naturally gluten-free and low-carb, making it suitable for many dietary preferences. If you’re watching sodium, reduce the salt in the brine by half—it’ll still be flavorful.
Potential Allergens: This recipe contains dairy (butter). For a dairy-free version, use olive oil. It’s naturally nut-free and egg-free.
Conclusion
This apple cider brined roast turkey is more than a recipe—it’s the dish that brings people together. It’s the centerpiece of your holiday table, the thing your guests will talk about long after the plates are cleared. I’ve made it for small family dinners and big parties, and every time, someone asks for the recipe. That’s the best compliment, isn’t it?
I encourage you to make it your own. Add a little extra cinnamon, swap in different herbs, or try it on the smoker. The beauty of this recipe is its flexibility. And if you nail it on your first try? Even better. If not, that’s okay too—every attempt teaches you something new.
I’d love to hear how it turns out for you. Drop a comment below and tell me about your turkey triumph (or your learning experience—we’ve all been there). Share this recipe with a friend who’s hosting their first dinner party, and don’t forget to tag me in your photos. Happy cooking, friend. You’ve got this.
Frequently Asked Questions
Can I brine a frozen turkey?
Yes, but you need to thaw it completely first. Never brine a partially frozen turkey—the brine won’t penetrate evenly, and you risk uneven seasoning. Thaw in the fridge for 24 hours per 4–5 pounds, then brine as directed.
How long can I leave the turkey in the brine?
12–24 hours is ideal. Any longer than 24 hours, and the meat can become overly salty and mushy. I’ve tested 30 hours, and it was borderline—stick to the 18-hour sweet spot for best results.
Can I use this brine for a chicken?
Absolutely! This brine works beautifully on a whole chicken. Use a 4–5 pound bird and brine for 8–12 hours. Reduce roasting time to about 1.5 hours at 375°F (190°C). It’s perfect for a Sunday dinner.
Do I need to rinse the turkey after brining?
Yes, absolutely. Rinsing removes excess salt from the surface. If you skip this step, your turkey will be unpleasantly salty. Rinse thoroughly inside and out, then pat dry.
Can I make the brine ahead of time?
Yes, you can make the brine up to 2 days in advance. Store it covered in the refrigerator. Just make sure it’s completely cold before adding the turkey. Warm brine can promote bacterial growth.
Pin This Recipe!