Love this? Save it for later!
Share the inspiration with your friends
Late on a humid July evening, the kitchen smelled faintly of dill and vinegar, the kind of scent that promises something simple and satisfying. The soft hum of the refrigerator was the only sound accompanying me as I sliced cucumbers thinly, each crisp snap echoing lightly in the stillness. Refrigerator dill pickles had become my quiet ritual for those moments when I needed something crunchy, tangy, and homemade but without the fuss of canning or long wait times. It’s funny how such a simple jar of pickles can ground a restless mind and make a late-night snack feel like a small, thoughtful act of care.
Years ago, I stumbled on this easy quick refrigerator dill pickles recipe during one particularly hot summer when fresh cucumbers were piling up in the garden—and honestly, I never looked back. It was the texture that hooked me first: crisp, not soggy, with just the right bite of dill and garlic. The magic is in letting the cucumbers soak overnight, absorbing all those flavors without losing their crunch. It’s been my go-to whenever I want a fresh, tangy crunch to brighten sandwiches or to nibble on while flipping through cookbooks or scrolling through recipes like the grilled chicken Caesar pasta salad, which pairs beautifully with a jar of these pickles.
What surprises me every time is how this quick method yields pickles that feel like they’ve had days to develop flavor. The dill’s fresh aroma mingles with the sharpness of vinegar and a hint of garlic warmth, creating something quietly addictive. It’s not just a condiment; it’s a small celebration of summer’s bounty, a way to keep those garden-fresh flavors alive no matter the season. This recipe stuck with me because it’s honest—no complicated steps, no pressure, just good food made your way. And if you’re the kind of cook who enjoys a little crunchy magic on your plate, these refrigerator dill pickles might just become a comforting habit too.
Why You’ll Love This Recipe
Making your own easy quick refrigerator dill pickles is honestly a bit like having a secret weapon in the kitchen. I’ve tried plenty of pickle recipes over the years, and this one stands out for both its simplicity and the crunch factor—two things that don’t always come together.
- Quick & Easy: Ready to enjoy in as little as 24 hours, this recipe is perfect for busy days when you want fresh homemade flavor without the long wait.
- Simple Ingredients: No need for fancy spices or hard-to-find vinegars. Most of the ingredients are pantry staples or fresh garden finds.
- Perfect for Summer & Beyond: Whether you’re packing lunches, throwing together a quick snack, or looking for a crisp side for dinner, these pickles fit right in.
- Crowd-Pleaser: I’ve brought these to potlucks and family dinners, and they always vanish fast—kids and adults alike love the balance of tang and crunch.
- Unbelievably Delicious: The texture is just right—firm cucumbers, bright dill, and the subtle kiss of garlic make every bite satisfying.
What makes this recipe truly different from others is how it balances the acidity and herb flavors without overpowering the cucumber’s natural freshness. I learned early on that blending fresh dill with a touch of garlic and mustard seeds creates a layering of flavor that feels homemade, not store-bought. Plus, no boiling or sealing jars means less hassle and more time to enjoy your pickles.
Honestly, this recipe is my quiet joy during hot months when I can’t stop buying cucumbers but don’t want to commit to canning. It’s the kind of thing that makes you close your eyes after the first bite, savoring the crunch and tang that only homemade pickles can deliver. And if that sounds like your kind of comfort food, you’re in for a treat.
What Ingredients You Will Need
This recipe uses simple, wholesome ingredients to deliver that bold, crunchy flavor without any complicated steps. Most are pantry staples, and the fresh dill gives it that unmistakable homemade touch. If you have a garden or a farmers’ market nearby, fresh cucumbers and herbs will make a noticeable difference, but the recipe works just as well with store-bought produce.
- Fresh Cucumbers, about 4-5 medium (pickling cucumbers preferred; firm with thin skins)
- Fresh Dill, 3-4 sprigs (the star herb for that authentic dill flavor)
- Garlic Cloves, 3-4 peeled and smashed (adds a warm, savory note)
- White Vinegar, 1 cup (240 ml) (I like Heinz for its clean, sharp acidity)
- Water, 1 cup (240 ml) (balances the vinegar, keeping pickles crisp)
- Kosher Salt, 1 tablespoon (non-iodized for best flavor)
- Granulated Sugar, 1 teaspoon (optional, softens the tartness just a bit)
- Mustard Seeds, 1 teaspoon (adds a subtle spice and texture)
- Black Peppercorns, 1 teaspoon (whole, for a gentle peppery kick)
- Red Pepper Flakes, ¼ teaspoon (optional, for a touch of heat)
For substitutions, if you’re avoiding white vinegar, apple cider vinegar works well too but lends a slightly fruitier note. If fresh dill isn’t available, dried dill can be used, though the flavor won’t be quite as bright. For a gluten-free option, all ingredients here are naturally gluten-free, so no worries there.
When selecting cucumbers, I recommend firm ones without soft spots to keep your pickles crunchy. If you want a twist, try adding some fresh tarragon or swapping in a few slices of fresh jalapeño for heat. For a creamy side that pairs wonderfully with these pickles, try the creamy dill potato salad with bacon to round out your picnic or barbecue.
Equipment Needed
- Glass Mason Jars or BPA-Free Plastic Containers: I prefer wide-mouth jars for easier packing and cleaning, but any airtight container will do.
- Sharp Knife and Cutting Board: For slicing cucumbers evenly—this affects the texture and soak time.
- Measuring Cups and Spoons: Accuracy matters when balancing vinegar and water.
- Mixing Bowl: To combine the brine ingredients before pouring over cucumbers.
- Small Saucepan (Optional): To warm the brine slightly if you want the spices to bloom faster, though room temperature brine works fine too.
If you don’t have mason jars, any clean, sealable container will work just fine—I’ve used old jam jars and even sturdy plastic tubs with lids. Just make sure they’re clean and airtight to keep the pickles fresh. For knife maintenance, a sharp blade is key; dull knives can bruise cucumbers and affect the pickle’s crunch. My go-to knife is a trusty chef’s knife that I sharpen regularly.
Preparation Method
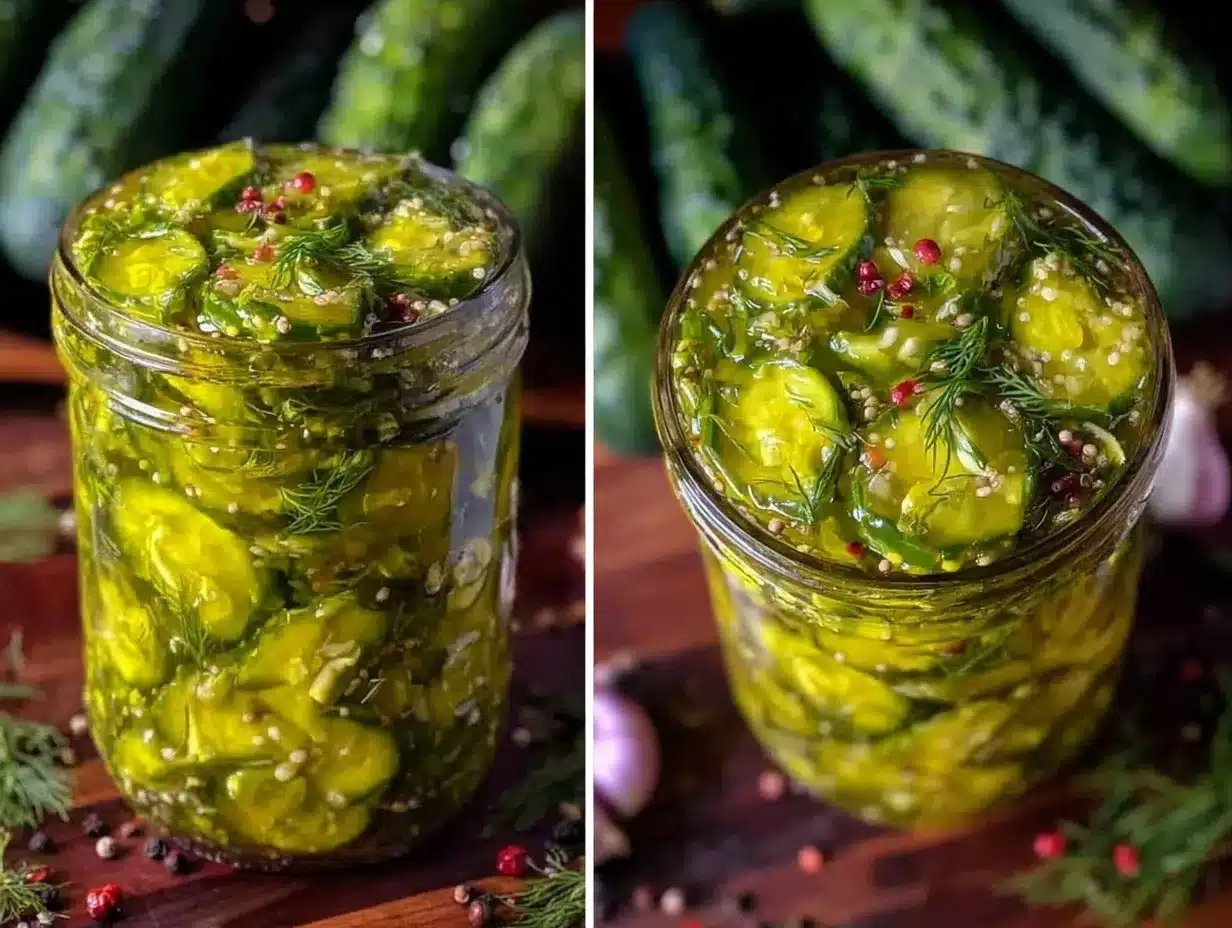
- Wash and Slice the Cucumbers: Rinse 4-5 medium cucumbers under cold water. Slice into ¼-inch (6 mm) thick rounds or spears, depending on your preference. Thinner slices absorb the brine faster, but thicker spears stay crunchier longer. (Time: 10 minutes)
- Prepare the Brine: In a bowl, combine 1 cup (240 ml) white vinegar, 1 cup (240 ml) water, 1 tablespoon kosher salt, and 1 teaspoon sugar. Stir until salt and sugar dissolve. If you want, warm the brine gently on the stove for 2-3 minutes to help the salt dissolve faster and coax out flavors from the spices. Let it cool completely before using if warmed. (Time: 5 minutes)
- Pack the Jars: Place 3-4 sprigs of fresh dill, 3-4 smashed garlic cloves, 1 teaspoon mustard seeds, 1 teaspoon black peppercorns, and optional ¼ teaspoon red pepper flakes into each jar. Fill jars tightly but gently with cucumber slices, leaving about ½ inch (1.25 cm) headspace at the top. (Time: 5 minutes)
- Pour the Brine: Pour the brine over the cucumbers, making sure they are fully submerged. Use a clean utensil to press cucumbers down if needed, releasing trapped air bubbles. Seal jars tightly. (Time: 2 minutes)
- Refrigerate and Wait: Place jars in the refrigerator. Let the pickles sit for at least 24 hours before tasting, though 2-3 days allows flavors to deepen. The pickles will keep well refrigerated for up to 2 weeks. (Time: 24+ hours)
- Enjoy Your Pickles: After chilling, open a jar and savor the crisp, tangy bite. These pickles are perfect on sandwiches, burgers, or just straight from the jar. (Time: Immediate)
Pro tip: To keep pickles extra crunchy, avoid using cucumbers that are too ripe or soft. Also, resist the urge to shake or stir pickles too soon, as this can bruise them. I learned the hard way the first time I jarred pickles and stirred them immediately—the texture was soggy and disappointing.
Cooking Tips & Techniques
Making crunchy refrigerator dill pickles is all about timing, texture, and balancing flavors. Here are some tips I’ve gathered over multiple batches:
- Use Pickling Cucumbers: These tend to be smaller and firmer than slicing cucumbers, helping maintain that crisp texture. If you can’t find them, English cucumbers are a decent alternative, just peel if the skin is thick.
- Salt Matters: Kosher salt is my preference because it dissolves well and doesn’t add iodine flavors that can alter your pickles’ taste. Table salt can work but use slightly less.
- Don’t Skip the Sugar: Even a small amount balances the vinegar’s sharpness and rounds out the flavor.
- Fresh Dill Is Key: Dried dill can substitute in a pinch, but it won’t give you that bright, grassy aroma. I always keep dill on hand in summer for this very reason.
- Cool the Brine Before Adding: If you warm the brine, let it cool completely before pouring over cucumbers to avoid softening them prematurely.
- Seal Tight and Refrigerate: Since this is a quick refrigerator pickle, do not can or store at room temperature. Keep them chilled for the best texture and safety.
- Patience Pays Off: While you can nibble after 24 hours, letting pickles sit 48-72 hours really deepens flavor without losing crunch.
I’ve had early batches turn out soggy when I rushed the process or used cucumbers too old from the store. Learning to pick fresh, firm cucumbers and respecting the chill time was a game changer. Also, multitasking comes in handy here—while the pickles set, I usually prep a quick meal like a fresh cucumber tomato avocado salad, which pairs well with that same crisp, garden-fresh vibe.
Variations & Adaptations
One of the reasons I love this refrigerator dill pickles recipe is how easy it is to tweak according to taste or dietary needs. Here are a few variations I’ve enjoyed over time:
- Spicy Dill Pickles: Add sliced jalapeños or increase red pepper flakes for a fiery kick. I like this version when serving alongside smoky meats or burgers.
- Garlic Lovers’ Pickles: Double the garlic cloves and add a few whole cloves of black garlic for a mellow, sweet garlic twist.
- Low-Sodium Option: Reduce the salt by half and increase soaking time to 48 hours; keep in mind they won’t be quite as crunchy but still delicious.
- Herb Mix: Experiment with fresh tarragon, thyme, or even rosemary for a different herbal profile. I once tried dill and lemon thyme together, which gave a fresh citrusy note that brightened summer sandwiches.
- Fermented Style: For those who like a probiotic twist, skip the vinegar and use a saltwater brine to ferment cucumbers at room temperature for 3-5 days before refrigerating.
If you want to cook the pickles differently, quick pickling on the stove by heating the brine and pouring over cucumbers works, but it often softens the texture. I prefer the cold soak method for that signature crunch.
Serving & Storage Suggestions
These easy quick refrigerator dill pickles are best served chilled, straight from the jar. Their crunch and tang add a fresh pop to sandwiches, burgers, and wraps. They’re also fantastic alongside grilled dishes—like the grilled peach BBQ chicken—where the acidity cuts through smoky richness beautifully.
For storage, keep pickles refrigerated in an airtight container. They’ll last about 2 weeks, though I’ve found they’re best eaten within the first 7-10 days for maximum crunch. The flavors will intensify over time, which some people love, but the texture may soften slightly.
When reheating foods that pair with pickles, keep the pickles cold and fresh as a contrast. I often serve these alongside warm, creamy dishes like the creamy dill potato salad with bacon for a balanced plate.
Nutritional Information & Benefits
This recipe is naturally low in calories and carbs, making it a light, flavorful snack or condiment. One serving (about 2-3 pickle slices) contains roughly:
| Nutrient | Amount |
|---|---|
| Calories | 10-15 kcal |
| Carbohydrates | 2-3 g |
| Sodium | 500-600 mg (varies with salt) |
| Fiber | 0.5 g |
| Vitamin K | Up to 15% DV (from cucumbers and dill) |
Dill has antioxidant properties and supports digestion, while cucumbers provide hydration and a small dose of vitamins. The vinegar acts as a natural preservative and may have benefits for blood sugar regulation. For those mindful of sodium intake, adjusting salt levels in the brine helps tailor these pickles to dietary needs.
Conclusion
Easy quick refrigerator dill pickles are a simple, satisfying way to bring a homemade crunch and tang to your meals without fuss or fancy equipment. Whether you’re new to pickling or just want a fast, flavorful side to brighten sandwiches, snacks, or summer grills, this recipe fits the bill perfectly.
Feel free to experiment with herbs, spices, and thickness of cucumber slices to suit your taste. Personally, I love how this recipe connects me to summer’s freshest flavors with a straightforward process that’s forgiving and fun.
If you try these pickles, I’d love to hear how you customize them or what dishes you pair them with—drop a comment or share your twists. Here’s to crunchy bites and simple joys in the kitchen!
FAQs
How long do refrigerator dill pickles last?
They last about 2 weeks in the refrigerator when stored in an airtight container. For best flavor and crunch, aim to eat them within 7-10 days.
Can I use regular cucumbers instead of pickling cucumbers?
Yes, but pickling cucumbers are firmer and smaller, which helps keep the pickles crunchy. If using regular cucumbers, peel thick skins and slice thicker to maintain texture.
Do I have to boil the brine?
No, you can make the brine at room temperature and pour it directly over the cucumbers. Warming it slightly helps dissolve salt and sugar faster but is optional.
Can I add other flavors to these pickles?
Absolutely! Try adding sliced jalapeños for spice, extra garlic for boldness, or fresh herbs like tarragon or thyme for unique twists.
Are these pickles fermented?
No, this is a quick refrigerator pickle recipe using vinegar. For fermentation, you’d use a saltwater brine and ferment at room temperature for several days.
Pin This Recipe!
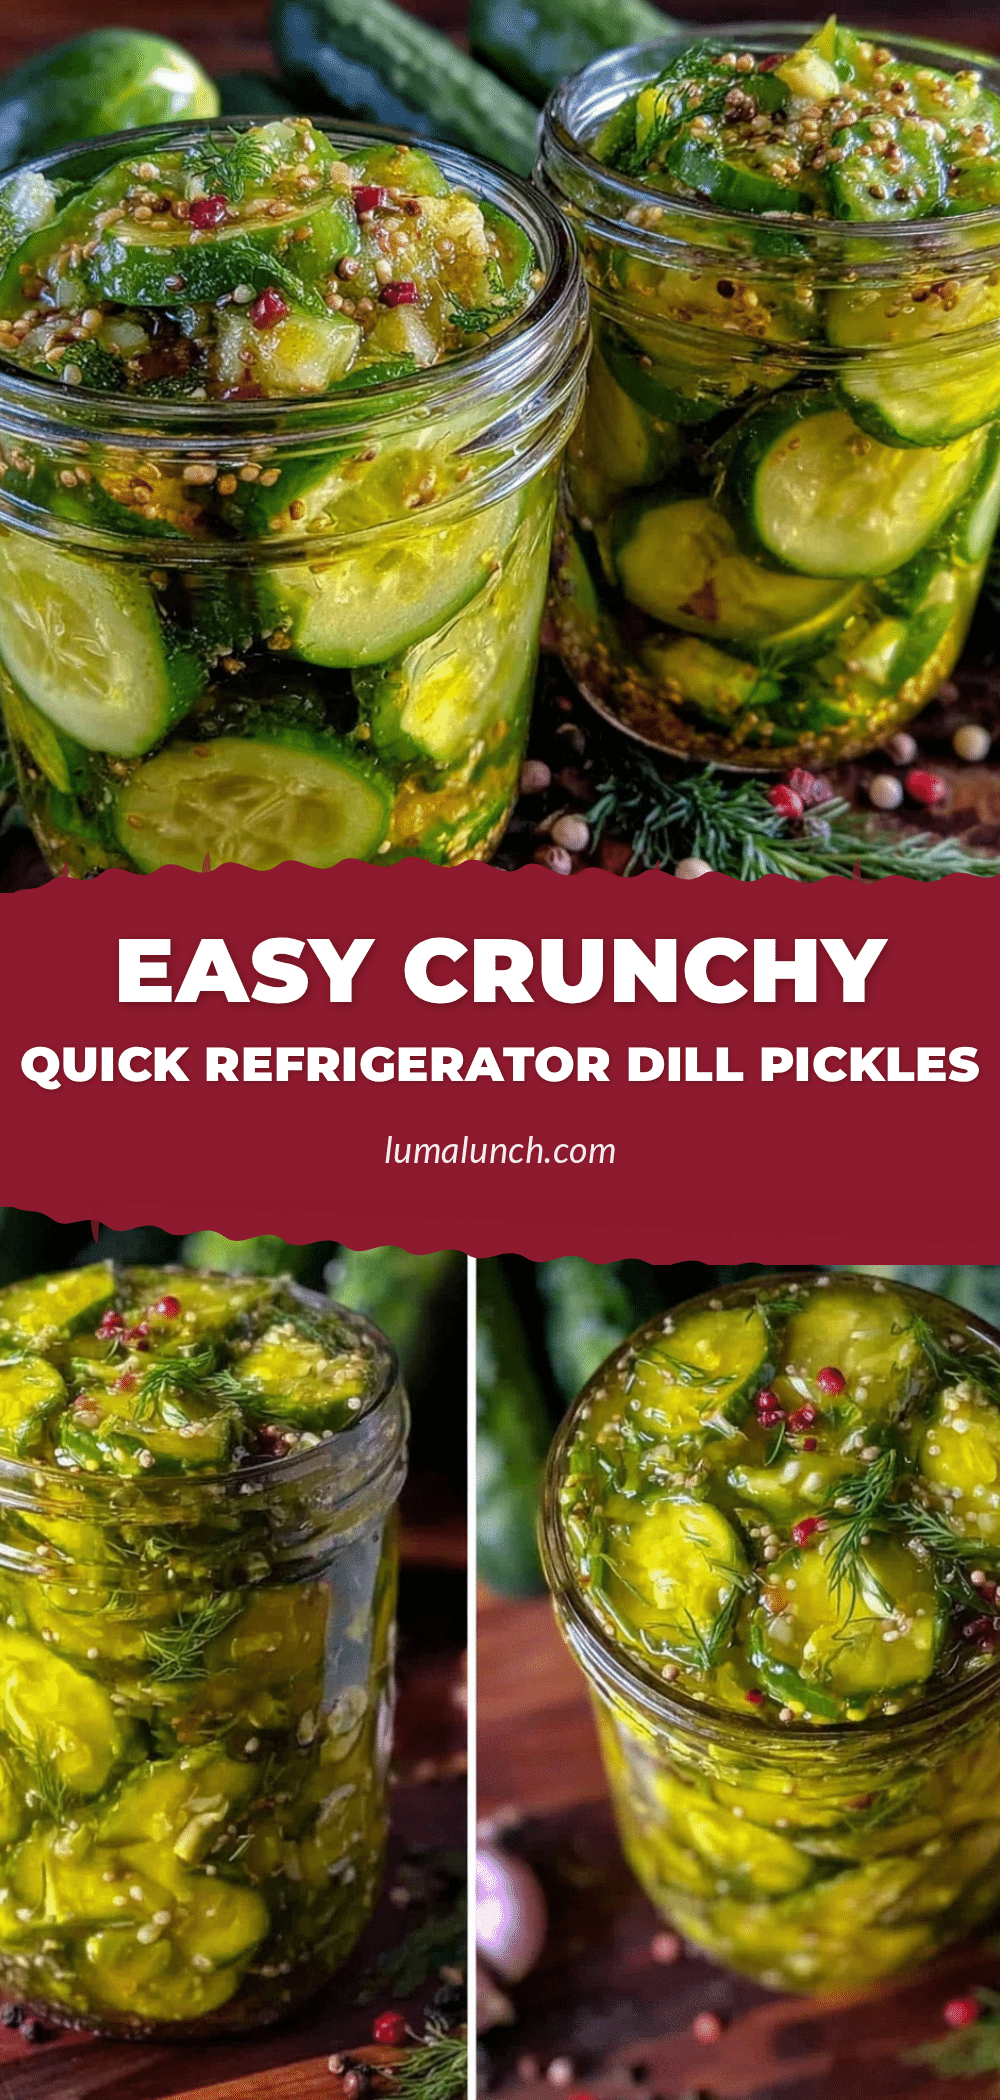
Easy Quick Refrigerator Dill Pickles Recipe for Crunchy Homemade Flavor
A simple and satisfying refrigerator dill pickles recipe that delivers a crisp, tangy crunch without the fuss of canning. Ready to enjoy in as little as 24 hours, perfect for sandwiches, snacks, and summer meals.
- Prep Time: 15 minutes
- Cook Time: 0 minutes
- Total Time: 24 hours
- Yield: 4-5 servings 1x
- Category: Condiment
- Cuisine: American
Ingredients
- 4–5 medium fresh cucumbers (pickling cucumbers preferred; firm with thin skins)
- 3–4 sprigs fresh dill
- 3–4 garlic cloves, peeled and smashed
- 1 cup (240 ml) white vinegar
- 1 cup (240 ml) water
- 1 tablespoon kosher salt (non-iodized)
- 1 teaspoon granulated sugar (optional)
- 1 teaspoon mustard seeds
- 1 teaspoon black peppercorns (whole)
- ¼ teaspoon red pepper flakes (optional)
Instructions
- Wash and slice the cucumbers into ¼-inch (6 mm) thick rounds or spears, depending on preference.
- In a mixing bowl, combine 1 cup white vinegar, 1 cup water, 1 tablespoon kosher salt, and 1 teaspoon sugar. Stir until salt and sugar dissolve. Optionally warm the brine gently for 2-3 minutes and let cool completely before use.
- Place 3-4 sprigs of fresh dill, 3-4 smashed garlic cloves, 1 teaspoon mustard seeds, 1 teaspoon black peppercorns, and optional ¼ teaspoon red pepper flakes into each jar.
- Fill jars tightly but gently with cucumber slices, leaving about ½ inch headspace at the top.
- Pour the cooled brine over the cucumbers, ensuring they are fully submerged. Press down to release trapped air bubbles and seal jars tightly.
- Refrigerate the jars and let pickles sit for at least 24 hours before tasting; 2-3 days allows flavors to deepen.
- Enjoy pickles chilled, perfect on sandwiches, burgers, or straight from the jar.
Notes
Use pickling cucumbers for best crunch. Warm brine slightly to dissolve salt and sugar faster but cool before pouring. Do not shake or stir pickles immediately after packing to avoid sogginess. Store refrigerated and consume within 7-10 days for best texture and flavor. Variations include adding jalapeños for spice or doubling garlic for extra flavor.
Nutrition
- Serving Size: About 2-3 pickle sli
- Calories: 1015
- Sugar: 1
- Sodium: 500600
- Carbohydrates: 23
- Fiber: 0.5
Keywords: refrigerator dill pickles, quick pickles, homemade pickles, crunchy pickles, easy pickle recipe, dill pickles, no canning pickles


