Love this? Save it for later!
Share the inspiration with your friends
My neighbor Sarah wasn’t trying to impress anyone. I’d stopped by to borrow a ladder on a sticky July afternoon, and the smell of toasted marshmallow hit me before I even got to her screen door. She was standing over her kitchen counter, layering something into a pan with the kind of casual focus most people reserve for folding laundry. “Oh, it’s just a no-bake thing,” she said when I asked, waving her spatula like it was nothing. But let me tell you—one bite of that cold, creamy, chocolate-graham-cracker situation and I forgot why I even needed a ladder.
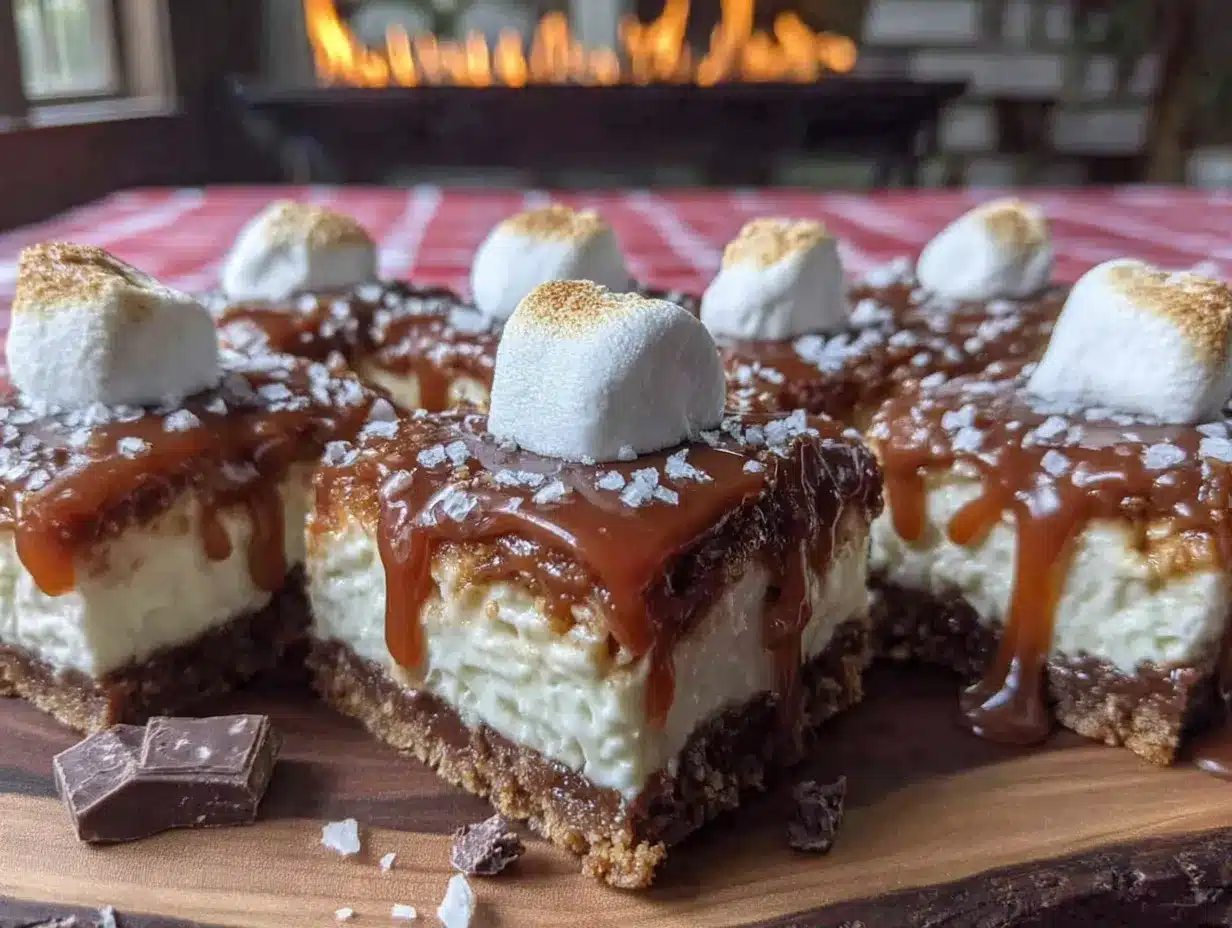
Sarah had thrown these Easy No-Bake S’mores Icebox Bars together for her kids’ pool party, and she was genuinely baffled that I was making such a big deal out of them. “It’s just pudding and marshmallows,” she shrugged. But it wasn’t just that. The layers were perfect—a buttery graham cracker crust, a silky chocolate filling that tasted like it had been fussed over for hours, and a top layer of toasted marshmallow that had that campfire-charred flavor without anyone having to light a single match. I stood there eating a second piece, telling her she’d changed my life, while she just laughed and handed me the recipe written on a napkin.
Maybe you’ve been there—you taste something so unexpectedly good at someone else’s house that it haunts you. That’s what happened here. I’ve made these bars at least a dozen times since that afternoon, and every single time, someone asks for the recipe. The best part? They really are that easy. No oven, no complicated steps, no special equipment. Just a little patience while they chill, and you’ve got a dessert that tastes like summer in a pan.
Why You’ll Love This Recipe
These Easy No-Bake S’mores Icebox Bars are the kind of dessert that makes you look like a hero with almost zero effort. I’ve tested this recipe six times now—tweaking the chocolate-to-graham ratio, trying different marshmallow brands, even experimenting with the chilling time—and I can confidently say this version is the one.
- No Oven Required: On those sweltering summer days when turning on the oven feels like a crime, this recipe is your saving grace. Everything comes together on the stovetop or in the microwave.
- Simple Ingredients: You probably already have graham crackers, butter, chocolate chips, and marshmallows in your pantry. No weird specialty items here.
- Perfect for Summer Gatherings: Whether it’s a backyard barbecue, a pool party, or a quiet evening on the porch, these bars scream summer without the fuss of a campfire.
- Crowd-Pleaser: I’ve brought these to three different gatherings now, and they disappear faster than anything else on the dessert table. Kids and adults alike go crazy for them.
- Make-Ahead Magic: You can prep these a day or two in advance, which means less stress on the day of your event. They actually get better after a night in the fridge.
What makes these different from every other s’mores dessert out there is the texture. The filling is rich and creamy—almost like a mousse—thanks to a little trick with melted chocolate and whipped cream. And the toasted marshmallow topping? I use a kitchen torch for that perfect golden-brown crust, but a broiler works just as well. It’s comfort food reimagined—cool, creamy, and impossibly easy.
What Ingredients You Will Need
This recipe uses simple, pantry-friendly ingredients to create something that tastes surprisingly fancy. The magic is in how they layer together.
For the Crust
- 2 cups graham cracker crumbs (about 14-15 full sheets, crushed finely)
- 1/2 cup unsalted butter, melted (I use Kerrygold for the rich flavor)
- 1/4 cup granulated sugar
- Pinch of salt (don’t skip this—it balances the sweetness)
For the Chocolate Layer
- 2 cups semi-sweet chocolate chips (I prefer Ghirardelli for smooth melting)
- 1 cup heavy cream
- 1 teaspoon vanilla extract
- 1/4 teaspoon salt
For the Marshmallow Topping
- 1 (7-ounce) jar marshmallow creme (like Jet-Puffed)
- 2 cups mini marshmallows
- Optional: 1-2 tablespoons powdered sugar (if your marshmallow creme is too stiff)
For the graham cracker crumbs, I’ve found that crushing them in a zip-top bag with a rolling pin gives you the most control over texture. You want fine crumbs, not big chunks, so the crust holds together well. If you’re gluten-free, use gluten-free graham crackers—they work perfectly here.
The chocolate layer is where things get luxurious. Using good-quality chocolate chips makes a noticeable difference. I’ve tried this with store-brand chips, and while it still tastes good, the texture isn’t as silky. The heavy cream creates a ganache-like filling that sets up beautifully in the fridge.
For the marshmallow topping, you’ve got two options. If you want that classic campfire flavor, use the mini marshmallows and toast them under the broiler. If you prefer a smoother, creamier top, use the marshmallow creme. I actually do a combination of both—a layer of creme topped with mini marshmallows for the best of both worlds.
Equipment Needed
You don’t need much for this recipe, which is part of its charm. Here’s what you’ll want on hand:
- 8×8-inch baking pan (a 9×9 works too, but the bars will be slightly thinner)
- Parchment paper (for easy removal—trust me on this)
- Medium mixing bowl (for the crust)
- Saucepan or microwave-safe bowl (for melting the chocolate)
- Whisk (for the chocolate mixture)
- Spatula (for spreading layers evenly)
- Kitchen torch or broiler (for toasting the marshmallows)
- Zip-top bag and rolling pin (for crushing graham crackers, or a food processor if you’re fancy)
If you don’t have a kitchen torch, don’t worry—the broiler method works great. Just keep a close eye on it because marshmallows go from golden to burnt in seconds. I learned that the hard way on my second attempt. The first time I made these, I didn’t have parchment paper and ended up wrestling the bars out of the pan with a butter knife. Not my finest moment. Parchment paper with overhang makes life so much easier.
Preparation Method
Let’s get to the fun part. This recipe comes together in about 20 minutes of active time, plus at least 4 hours of chilling. Plan ahead, and you’ll be rewarded with the perfect summer dessert.
- Prep your pan. Line an 8×8-inch baking pan with parchment paper, leaving about 2 inches of overhang on two opposite sides. This creates “handles” that make lifting the bars out later a breeze. Lightly spray the parchment with non-stick spray for extra insurance.
- Make the crust. In a medium bowl, combine 2 cups graham cracker crumbs, 1/4 cup granulated sugar, and a pinch of salt. Pour in 1/2 cup melted unsalted butter and stir until every crumb is moistened. The mixture should look like wet sand and hold together when you squeeze it. Press this mixture firmly into the bottom of your prepared pan. I use the bottom of a measuring cup to really pack it down—this prevents a crumbly crust later. Pop it in the fridge while you make the filling.
- Prepare the chocolate layer. Place 2 cups semi-sweet chocolate chips in a medium heat-safe bowl. In a small saucepan, heat 1 cup heavy cream over medium heat until it just begins to simmer—small bubbles around the edges, not a rolling boil. Pour the hot cream over the chocolate chips and let it sit for 2-3 minutes without stirring. This gentle heat is key to smooth ganache. Then whisk slowly until the chocolate is completely melted and the mixture is glossy and smooth. Stir in 1 teaspoon vanilla extract and 1/4 teaspoon salt. The salt is crucial here—it cuts through the sweetness and makes the chocolate taste deeper.
- Assemble the first layers. Pour the chocolate mixture over the chilled crust and spread it evenly with a spatula. Tap the pan gently on the counter to release any air bubbles. Return the pan to the fridge for at least 30 minutes, or until the chocolate layer is firm to the touch. I’ve rushed this step before, and the layers ended up mixing together—not the end of the world, but not as pretty.
- Add the marshmallow layer. Once the chocolate is set, spread the marshmallow creme evenly over the top. If it’s too stiff to spread, microwave it for 10-15 seconds to loosen it up. Then scatter the mini marshmallows over the creme in an even layer. Don’t press them down—let them sit on top.
- Toast the marshmallows. This is where the magic happens. If using a kitchen torch, hold it about 2-3 inches from the marshmallows and move it in a circular motion until they’re golden brown and puffy. If using the broiler, place the pan on the top rack and broil for 30-60 seconds. Watch it like a hawk—marshmallows catch fire quickly. I may have set off my smoke detector once. Or twice.
- Chill completely. Cover the pan loosely with plastic wrap and refrigerate for at least 4 hours, but preferably overnight. This is the hardest part—the waiting. But trust me, the bars need this time to set up properly. They should be firm enough to cut cleanly into squares.
- Slice and serve. Use the parchment overhang to lift the entire block out of the pan. Place it on a cutting board and use a sharp knife to cut into 16 squares. For clean cuts, wipe the knife clean between each slice. Serve cold or at room temperature—both are delicious.
Cooking Tips & Techniques
After making these bars more times than I care to admit, I’ve picked up a few tricks that make a real difference.
Don’t overheat the cream. When making the chocolate layer, you want the cream just barely simmering. If it boils, it can scorch the chocolate and make the ganache grainy. I learned this the hard way on a particularly impatient afternoon. Now I pull the cream off the heat the second I see tiny bubbles forming around the edge.
Let the ganache rest. That 2-3 minute wait after pouring hot cream over the chocolate isn’t just for show. It allows the chocolate to melt gently from the residual heat, which gives you a smoother, shinier finish. If you stir too early, you risk ending up with a lumpy mess.
Toast strategically. If you’re using the broiler method, rotate the pan halfway through for even browning. And here’s a pro tip: if you want that deep, campfire-toasted flavor, let a few marshmallows get slightly charred. The bitterness balances the sweetness beautifully.
Patience is a virtue. I know 4 hours sounds like forever when you’re craving s’mores, but cutting these bars too early is a recipe for disappointment. The chocolate layer needs time to set firmly, or your bars will be a gooey mess. Overnight chilling is ideal—the flavors meld together and the texture becomes perfectly creamy.
Keep it cool. These bars are best served cold or at room temperature, but if it’s a hot day, keep them refrigerated until just before serving. The chocolate layer can soften quickly in warm weather.
Variations & Adaptations
One of the best things about this recipe is how easy it is to customize. Here are some variations I’ve tried and loved.
Peanut Butter S’mores Bars
Swirl 1/2 cup creamy peanut butter into the chocolate layer before it sets. The salty-sweet combo is absolutely addictive. I made this version for a Super Bowl party and it was the first thing to disappear.
Mint Chocolate S’mores Bars
Add 1/2 teaspoon peppermint extract to the chocolate layer and use mint-flavored chocolate chips if you can find them. Top with crushed candy canes or Andes mints for a festive twist. This is my go-to for holiday gatherings.
Vegan-Friendly Version
Use vegan graham crackers, dairy-free butter, and coconut cream instead of heavy cream. For the marshmallow layer, look for vegan marshmallows—Dandies brand works great. The texture is slightly different, but the taste is still spot-on.
Gluten-Free Option
Simply swap in gluten-free graham crackers. I’ve tested this with several brands, and they all work beautifully. Just make sure your marshmallows are also gluten-free (most are, but always check the label).
Extra Chocolatey Version
Use dark chocolate chips (60-70% cacao) for a richer, less sweet filling. You can also add a layer of chocolate pudding between the graham crust and the ganache for an extra decadent treat. I tried this once when I had leftover pudding in the fridge—it was ridiculous in the best way.
Serving & Storage Suggestions
These bars are incredibly versatile when it comes to serving. Here’s how to get the most out of them.
Serving Temperature: I prefer these bars straight from the fridge—they’re cool, creamy, and almost like a frozen treat. But they’re also delicious at room temperature, especially if you want the marshmallow topping to be a bit softer. Try both and see which you prefer.
Presentation Ideas: Cut the bars into small squares (about 2 inches) for easy handling. Dust with a little cocoa powder or crushed graham crackers for a pretty finish. Serve on a wooden board with fresh berries on the side for a pop of color.
Pairing Suggestions: These bars pair beautifully with a cold glass of milk, a scoop of vanilla ice cream, or a cup of hot coffee. For an adult twist, serve with a dark rum or a bourbon cocktail—the smoky notes complement the toasted marshmallow perfectly.
Storage: Store leftover bars in an airtight container in the refrigerator for up to 5 days. If you’ve already toasted the marshmallows, the topping will soften over time, but the bars will still taste amazing. To prevent the marshmallows from getting sticky, place a piece of parchment paper between layers.
Freezing Instructions: These bars freeze beautifully. Wrap the entire block (or individual squares) tightly in plastic wrap, then in foil, and freeze for up to 3 months. Thaw in the refrigerator overnight before serving. The texture will be slightly different—a bit denser—but still delicious.
Flavor Development: Honestly, these bars taste even better on day two. The flavors meld together, and the texture becomes perfectly creamy. So don’t feel bad if you make them a day ahead—you’re actually doing yourself a favor.
Nutritional Information & Benefits
Let’s be real—this is a treat, not a health food. But knowing what’s in it helps you enjoy it mindfully.
Estimated Nutritional Values (per bar, based on 16 servings):
- Calories: 285
- Total Fat: 17g
- Saturated Fat: 10g
- Carbohydrates: 32g
- Fiber: 2g
- Sugar: 22g
- Protein: 3g
Dietary Considerations: This recipe contains dairy and gluten. For dairy-free and gluten-free options, see the variations section above. It’s also vegetarian-friendly.
Health Benefits: While I wouldn’t call these bars healthy, they do have a few redeeming qualities. Dark chocolate is rich in antioxidants and can improve heart health in moderation. Graham crackers provide a small amount of fiber, and the calcium in the heavy cream and butter contributes to bone health. Plus, there’s something to be said for the mental health benefits of enjoying a delicious treat with people you love.
My Take: I believe in balance. These bars are a special occasion dessert, not an everyday snack. But when you do indulge, do it fully—savor every bite, share them with friends, and don’t feel an ounce of guilt. Life is too short for bad desserts.
Frequently Asked Questions
Can I use milk chocolate instead of semi-sweet?
Absolutely, but the bars will be significantly sweeter. If you have a serious sweet tooth, go for it. I personally prefer semi-sweet because it balances the sugary marshmallow topping. If you do use milk chocolate, consider reducing the sugar in the crust slightly.
Do I have to use a kitchen torch?
Not at all! A broiler works perfectly. Just keep a close eye on the marshmallows—they can go from perfectly toasted to burnt in about 15 seconds. If you don’t have either, you can skip the toasting step entirely. The bars will still be delicious, just without that campfire flavor.
Can I make these ahead of time?
Yes, and I actually recommend it. These bars need at least 4 hours to set, but they’re even better after a full day in the fridge. You can make them up to 2 days in advance. Just wait to toast the marshmallows until right before serving for the best texture and appearance.
Why did my chocolate layer turn out grainy?
This usually happens when the cream is too hot or the chocolate is overheated. Make sure your cream is just simmering, not boiling, and let it sit with the chocolate for a few minutes before stirring. If your chocolate does seize up, try whisking in a tablespoon of warm water or cream to smooth it out.
How do I get clean slices?
Use a sharp knife and wipe it clean with a damp paper towel between each cut. For the cleanest slices, let the bars sit at room temperature for about 5 minutes before cutting—this softens the chocolate just enough to prevent cracking. A hot knife (run under hot water and dried) also works wonders.
Conclusion
These Easy No-Bake S’mores Icebox Bars are the kind of recipe that makes you wonder why you ever bothered with complicated desserts. They’re simple, they’re stunning, and they taste like pure summer nostalgia. Every time I make them, I think back to that afternoon at Sarah’s house—the smell of toasted marshmallows, her casual shrug, the way that first bite stopped me mid-sentence.
I hope you’ll give these bars a try, whether you’re making them for a backyard barbecue, a last-minute potluck, or just because you’re craving something sweet. Don’t be afraid to make them your own—swap in your favorite chocolate, add a swirl of peanut butter, or experiment with different toppings. The beauty of this recipe is how forgiving it is.
When you do make them, I’d love to hear how they turn out. Drop a comment below and let me know if you went classic or tried one of the variations. Did you use a torch or the broiler? Did the bars survive the night, or did they disappear in minutes? Share your stories, your photos, and your own twists—I read every single comment. Happy no-baking, friends!
Pin This Recipe!
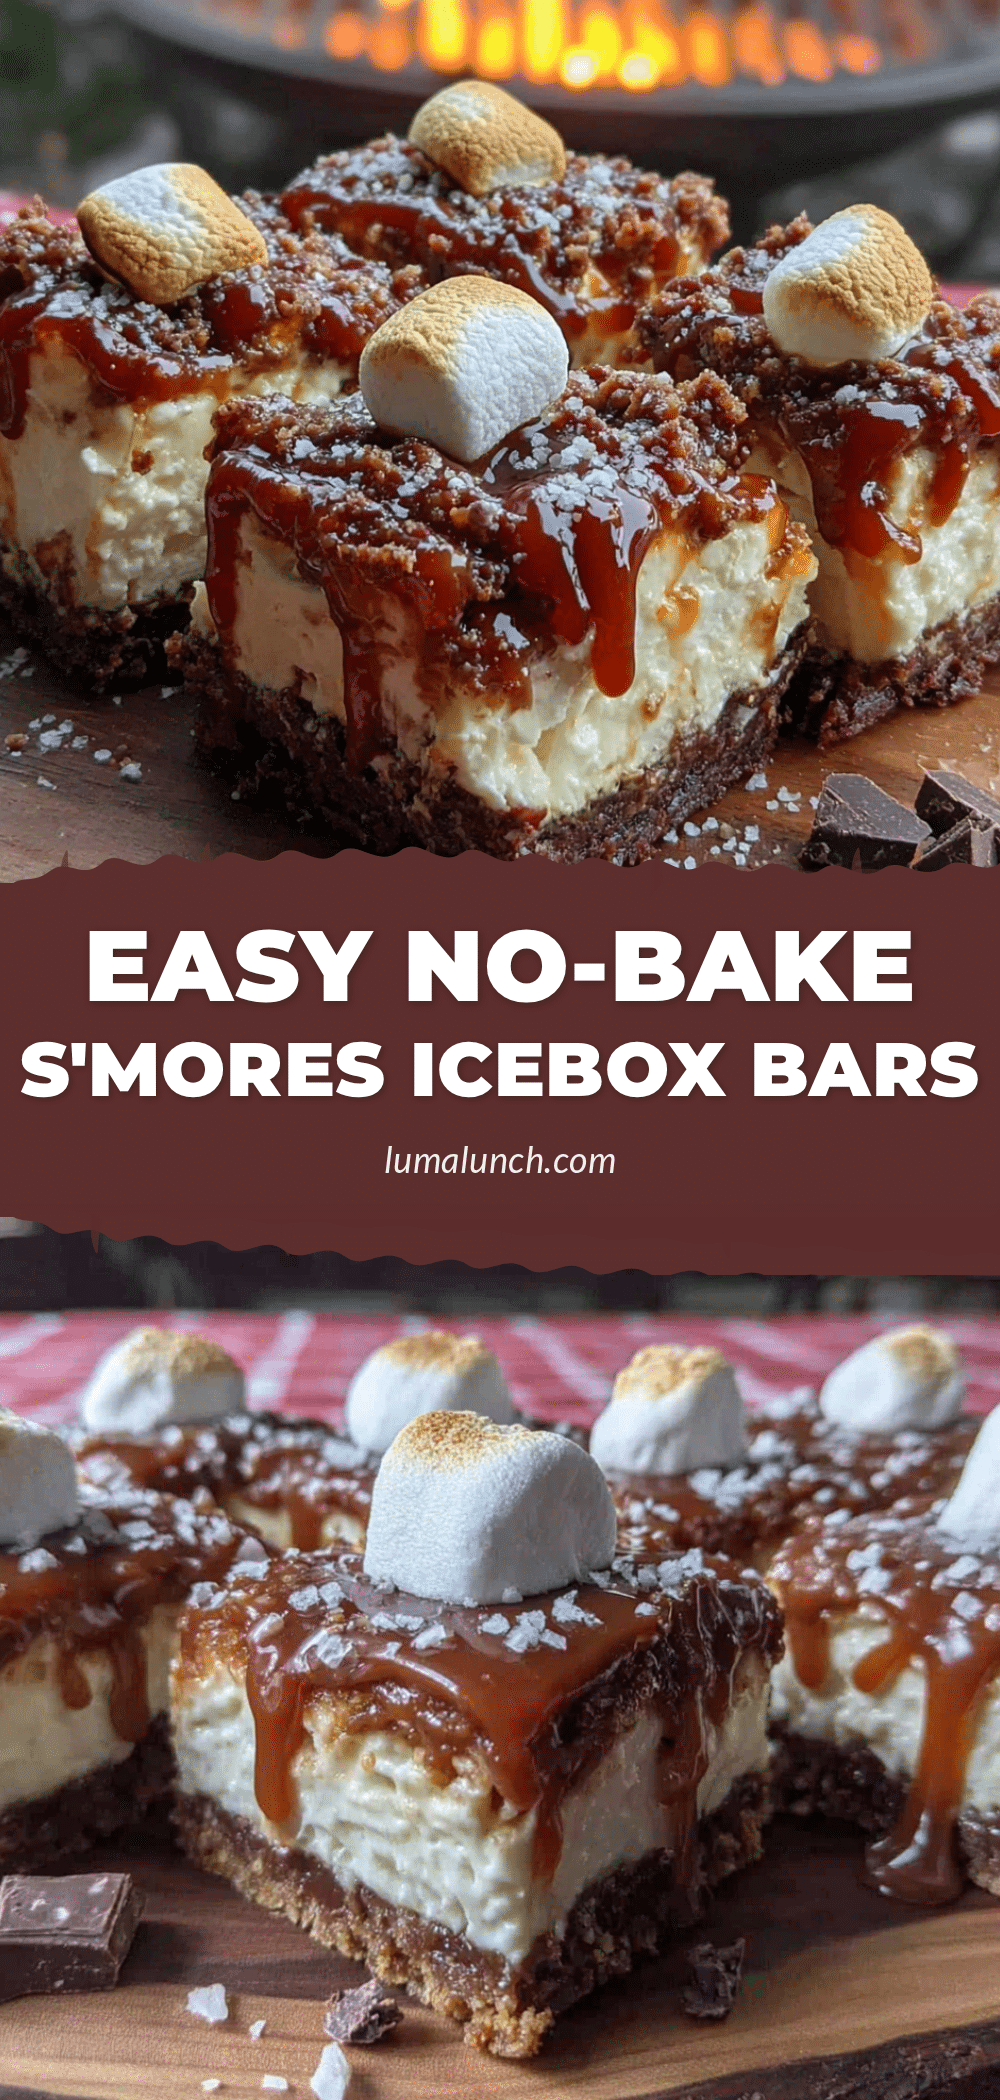
Easy No-Bake S’mores Icebox Bars

These Easy No-Bake S’mores Icebox Bars are the perfect summer dessert—no oven required. With a buttery graham cracker crust, a silky chocolate filling, and a toasted marshmallow topping, they taste like summer in a pan and come together in just 20 minutes of active time.
- Prep Time: 20 minutes
- Cook Time: 5 minutes
- Total Time: 4 hours 25 minutes (includes chilling time)
- Yield: 16 servings 1x
- Category: Dessert
- Cuisine: American
Ingredients
- 2 cups graham cracker crumbs (about 14–15 full sheets, crushed finely)
- 1/2 cup unsalted butter, melted
- 1/4 cup granulated sugar
- Pinch of salt
- 2 cups semi-sweet chocolate chips
- 1 cup heavy cream
- 1 teaspoon vanilla extract
- 1/4 teaspoon salt
- 1 (7-ounce) jar marshmallow creme
- 2 cups mini marshmallows
- Optional: 1-2 tablespoons powdered sugar (if marshmallow creme is too stiff)
Instructions
- Prep your pan. Line an 8×8-inch baking pan with parchment paper, leaving about 2 inches of overhang on two opposite sides. Lightly spray the parchment with non-stick spray.
- Make the crust. In a medium bowl, combine 2 cups graham cracker crumbs, 1/4 cup granulated sugar, and a pinch of salt. Pour in 1/2 cup melted unsalted butter and stir until every crumb is moistened. Press this mixture firmly into the bottom of your prepared pan. Refrigerate while you make the filling.
- Prepare the chocolate layer. Place 2 cups semi-sweet chocolate chips in a medium heat-safe bowl. In a small saucepan, heat 1 cup heavy cream over medium heat until it just begins to simmer. Pour the hot cream over the chocolate chips and let it sit for 2-3 minutes without stirring. Then whisk slowly until the chocolate is completely melted and the mixture is glossy and smooth. Stir in 1 teaspoon vanilla extract and 1/4 teaspoon salt.
- Assemble the first layers. Pour the chocolate mixture over the chilled crust and spread it evenly with a spatula. Tap the pan gently on the counter to release any air bubbles. Return the pan to the fridge for at least 30 minutes, or until the chocolate layer is firm to the touch.
- Add the marshmallow layer. Once the chocolate is set, spread the marshmallow creme evenly over the top. If it’s too stiff to spread, microwave it for 10-15 seconds to loosen it up. Then scatter the mini marshmallows over the creme in an even layer.
- Toast the marshmallows. If using a kitchen torch, hold it about 2-3 inches from the marshmallows and move it in a circular motion until they’re golden brown and puffy. If using the broiler, place the pan on the top rack and broil for 30-60 seconds, watching carefully.
- Chill completely. Cover the pan loosely with plastic wrap and refrigerate for at least 4 hours, but preferably overnight.
- Slice and serve. Use the parchment overhang to lift the entire block out of the pan. Place it on a cutting board and use a sharp knife to cut into 16 squares. For clean cuts, wipe the knife clean between each slice.
Notes
For the best texture, chill overnight. The bars taste even better on day two. If using the broiler, watch the marshmallows closely as they can burn quickly. For clean slices, let the bars sit at room temperature for 5 minutes before cutting and wipe the knife clean between cuts.
Nutrition
- Serving Size: 1 bar
- Calories: 285
- Sugar: 22
- Sodium: 120
- Fat: 17
- Saturated Fat: 10
- Carbohydrates: 32
- Fiber: 2
- Protein: 3
Keywords: no-bake s'mores, icebox bars, summer dessert, graham cracker crust, chocolate ganache, toasted marshmallow, easy dessert, no oven dessert


