Love this? Save it for later!
Share the inspiration with your friends
There used to be a tiny Italian-American joint on the corner of Elm and 4th, a place called Gino’s, that made the most incredible pan-seared chicken thighs. They had this crust—crispy, golden, and absolutely loaded with garlic and Parmesan. When they closed two years ago—turned into a vape shop, of all things—I honestly felt a little lost. That chicken was my go-to comfort meal after a long week.
After maybe twelve attempts—some burnt, some soggy, one that set off the smoke detector so badly my neighbor banged on the door—I finally cracked it. And here’s the thing: the air fryer version is actually better. I mean, Gino would probably roll his eyes, but the air fryer gives you that same shatteringly crispy exterior with way less oil and mess. The first time I pulled these crispy garlic Parmesan chicken thighs out of the basket, I actually texted my sister a photo with the caption “Gino who?” She didn’t think it was funny, but she did ask for the recipe immediately.
So here it is. This isn’t just another chicken recipe—it’s the one that finally let me stop mourning a closed restaurant. And honestly, once you taste that garlicky, cheesy crust, you might forget Gino’s ever existed too. Maybe you’ve been there, chasing a flavor from a place that’s gone? This one’s for you.
Why You’ll Love This Recipe
Let me tell you why these crispy garlic Parmesan chicken thighs have become a weekly staple in my kitchen. I’ve tested this recipe more times than I care to admit, and every single time, it delivers. Here’s what makes it special:
- Quick & Easy: From fridge to plate in under 30 minutes. Perfect for those nights when you forgot to defrost anything and takeout sounds tempting but your wallet says no.
- Simple Ingredients: You probably have most of this stuff already. Garlic powder, Parmesan, breadcrumbs, chicken thighs—no weird specialty items that’ll sit in your pantry for a year.
- Perfect for Weeknights: This is the kind of meal that feels fancy enough for Sunday dinner but is easy enough for a random Tuesday when you just need something good.
- Crowd-Pleaser: I’ve served these to picky kids, skeptical in-laws, and my friend Dave who “doesn’t really like chicken.” Everyone goes back for seconds.
- Air Fryer Magic: The air fryer gives you that deep-fried crunch without the deep-fried guilt. The Parmesan creates this incredible crust that gets all bubbly and golden.
What makes this version different from all the other garlic Parmesan chicken recipes out there? It’s the technique. Instead of just coating the chicken and hoping for the best, we’re using a two-step breading process with a little trick—mayonnaise. I know, I know, it sounds weird. But trust me, it keeps the chicken impossibly juicy while the outside gets that perfect crunch. Plus, the air fryer circulates hot air so efficiently that the cheese crisps up without burning the garlic. It’s not just another recipe—it’s the recipe I’ve been perfecting for two years.
This is the kind of dish that makes you close your eyes after the first bite. It’s comfort food reimagined—healthier, faster, but with the same soul-soothing satisfaction. Perfect for impressing guests without stress, or turning a simple Tuesday into something memorable.
What Ingredients You Will Need
This recipe uses simple, wholesome ingredients to deliver bold flavor and satisfying texture without the fuss. Most of these are pantry staples, which is exactly how I like my weeknight cooking.
For the Chicken:
- 4 bone-in, skin-on chicken thighs (about 1.5 lbs total) — skin-on is crucial for that crispy texture; boneless works but reduces cooking time
- 1 teaspoon salt — I prefer kosher salt for even seasoning
- ½ teaspoon black pepper — freshly ground if you have it
- 1 teaspoon garlic powder — not garlic salt; we’re controlling the salt separately
- ½ teaspoon onion powder — adds depth without being overpowering
For the Breading:
- ½ cup grated Parmesan cheese — the real stuff, not the green can; I recommend BelGioioso or Sartori for best melting
- ½ cup panko breadcrumbs — regular breadcrumbs work too, but panko gives superior crunch
- ¼ cup mayonnaise — full-fat works best; don’t use Miracle Whip (trust me on this one)
- 3 cloves garlic, minced — fresh garlic makes a huge difference here; jarred stuff won’t give the same punch
- 2 tablespoons olive oil — for brushing the air fryer basket and drizzling
- 2 tablespoons fresh parsley, chopped — optional for garnish, but it adds a nice freshness
For Serving (Optional but Recommended):
- Lemon wedges — a squeeze of lemon cuts through the richness beautifully
- Extra grated Parmesan for sprinkling — because more cheese is always the answer
Ingredient Selection Tips: Look for chicken thighs that are roughly the same size so they cook evenly. If the thighs are enormous (like those 10-ounce monsters), you might need to add a few minutes to the cooking time. For the Parmesan, I’ve tried pre-shredded and it just doesn’t melt the same way—the anti-caking agents mess with the texture. Grate it yourself from a block; it takes two minutes and makes a noticeable difference.
Substitution Guidance: If you’re dairy-free, try nutritional yeast instead of Parmesan—it won’t be exactly the same, but it gives a nice cheesy flavor. For a gluten-free option, use gluten-free panko breadcrumbs. And if you’re out of mayonnaise, Greek yogurt works in a pinch, though the crust won’t be quite as crispy.
Equipment Needed
You don’t need a lot of fancy gear for this recipe, which is part of why I love it. Here’s what you’ll need:
- Air Fryer: Any brand works—I use a 5.8-quart Cosori and it handles four thighs perfectly. If yours is smaller, cook in batches. Don’t overcrowd the basket or you’ll steam instead of crisp.
- Mixing Bowls: Two medium bowls—one for the mayo mixture, one for the breading. Nothing fancy, just something you can stir in.
- Tongs: For turning the chicken without losing the breading. I have a pair of silicone-tipped ones that don’t scratch the air fryer basket.
- Measuring Spoons: For the spices. Eyeballing works for some things, but for this recipe, the ratios matter.
- Pastry Brush (Optional): For brushing the air fryer basket with oil. You can also use a paper towel dipped in oil—just be careful not to leave lint.
- Instant-Read Thermometer: This is honestly the best investment you can make for cooking chicken. Takes the guesswork out completely.
If you don’t have an air fryer, you can bake these in a 400°F oven on a wire rack set over a baking sheet. Add about 5-8 minutes to the cooking time and flip halfway through. The texture won’t be quite as crispy, but it’ll still be delicious. I’ve also done these in a cast-iron skillet on the stovetop—just use about ¼ cup of oil and pan-fry for 4-5 minutes per side, then finish in a 375°F oven for 10 minutes.
A quick tip: keep your air fryer basket clean between uses. Burnt-on cheese is a pain to scrub off. I line my basket with a piece of aluminum foil (with holes poked in it for air circulation) for easier cleanup, but check your air fryer manual first—some brands advise against foil.
Preparation Method
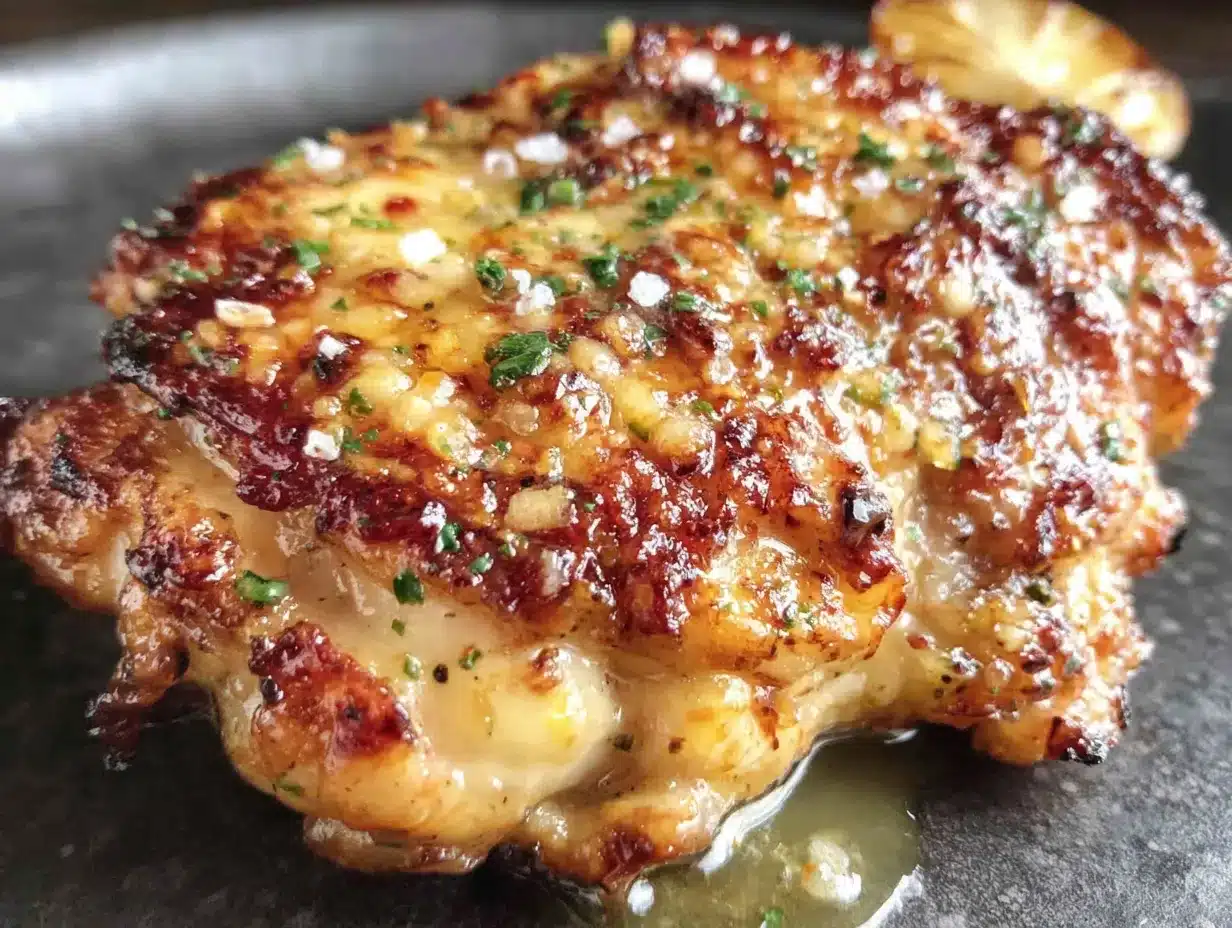
Alright, let’s get cooking. This whole process takes about 25 minutes from start to finish, and I promise it’s worth every second.
- Preheat your air fryer to 375°F (190°C). Give it a good 5 minutes to heat up. While it’s preheating, pat the chicken thighs dry with paper towels. This is important—moisture is the enemy of crispiness. Really get in there and blot them well.
- Season the chicken. In a small bowl, mix together the salt, black pepper, garlic powder, and onion powder. Sprinkle this mixture evenly over both sides of the chicken thighs. Don’t be shy—get it into all the nooks and crannies. Let them sit for 5 minutes while you prepare the breading.
- Make the mayo-garlic paste. In a medium bowl, combine the mayonnaise and minced garlic. Stir until it’s well mixed. This is going to be the glue that holds our crispy coating on. The mayo might seem weird, but remember—it’s mostly oil and eggs, which means it browns beautifully and keeps the chicken moist.
- Prepare the breading mixture. In another medium bowl, combine the grated Parmesan cheese and panko breadcrumbs. Mix them together with a fork until the cheese is evenly distributed. The Parmesan will clump a little—that’s fine, those clumps become extra-crispy bits.
- Coat the chicken. Take one chicken thigh and spread a thin layer of the mayo-garlic mixture all over it—top, bottom, and sides. Use about a tablespoon per thigh. Then dip it into the breading mixture, pressing gently so the coating sticks. Flip and repeat. You want a nice even coating, but don’t pack it on too thick or it’ll fall off during cooking.
- Brush the air fryer basket. Use a pastry brush to lightly coat the basket with olive oil. This prevents sticking and helps the bottom get crispy too. Place the coated chicken thighs in the basket, skin-side up, leaving a little space between each one. If they’re touching, they won’t crisp evenly.
- Cook for 12 minutes. Set the timer and let the air fryer work its magic. At the 6-minute mark, carefully flip each thigh using tongs. The coating should be starting to set by now. Don’t worry if a little falls off—that’s normal.
- Flip and continue cooking. After flipping, cook for another 6-8 minutes. The total cooking time depends on the size of your thighs. You’re looking for an internal temperature of 165°F (74°C) when measured with an instant-read thermometer inserted into the thickest part, away from the bone.
- Check for doneness. If the thighs aren’t quite at 165°F, cook in 2-minute increments until they get there. If the coating is browning too fast but the chicken isn’t done yet, reduce the temperature to 350°F for the remaining time. Every air fryer runs a little differently—mine runs hot, so I usually start checking at the 10-minute mark.
- Rest and garnish. Once done, transfer the chicken thighs to a plate and let them rest for 3-5 minutes. This lets the juices redistribute. Sprinkle with fresh parsley and a little extra Parmesan if you’re feeling fancy. Serve with lemon wedges on the side.
Sensory cues to watch for: When the chicken is ready, the coating should be deep golden brown and feel firm to the touch. You’ll hear a satisfying crunch when you press on it with a spatula. The kitchen should smell like garlic and toasted Parmesan—if it smells burnt, your temperature might be too high. The chicken should look juicy when you cut into it, with no pink near the bone.
One thing I learned the hard way: don’t skip the resting step. I was impatient once and cut into a thigh right away, and all those beautiful juices ran out onto the cutting board. The chicken was still good, but it wasn’t as moist as it could have been. Give it those 5 minutes—I promise it’s worth the wait.
Cooking Tips & Techniques
After making these crispy garlic Parmesan chicken thighs more times than I can count, I’ve picked up a few tricks that make a real difference. Let me share what I’ve learned—including some of my failures so you don’t have to repeat them.
The Mayo Secret: I know I’ve mentioned this, but it bears repeating. Mayonnaise as a binder might sound strange, but it’s actually genius. The emulsion of oil and eggs creates a perfect surface for the breading to stick to, and it browns beautifully without burning. I once tried using beaten egg instead, and the coating just didn’t get as crispy. Stick with the mayo.
Don’t Overcrowd: This was my biggest mistake early on. I tried to cram five thighs into my air fryer basket because I was hungry and impatient. The result? Steamed, sad chicken with a soggy coating. The air fryer needs hot air to circulate around each piece of chicken. Leave at least half an inch between thighs. If you’re cooking for a crowd, do it in batches and keep the finished ones warm in a 200°F oven.
Temperature Matters: 375°F is the sweet spot for these thighs. Too high and the Parmesan burns before the chicken cooks through. Too low and you’ll never get that golden crust. I made the mistake of setting my air fryer to 400°F once, thinking it would cook faster, and ended up with blackened garlic and raw chicken. Not my finest moment.
Flip with Care: When you flip the chicken at the halfway point, be gentle. The coating is still setting at that stage, and rough handling can knock it off. Use tongs and a light touch. If some breading falls off, just press it back on with your fingers.
Check Early: Air fryers vary wildly in temperature accuracy. The first time I used a friend’s air fryer, I cooked the chicken for the full 12 minutes without checking, and it came out overdone. Start checking your chicken’s temperature at the 10-minute mark. You can always cook longer, but you can’t undo dry chicken.
Multitasking Strategy: While the chicken is cooking, use that time to make a quick side dish. I like to toss some broccoli or green beans with olive oil, salt, and pepper, and air fry them at 375°F for 8 minutes after the chicken comes out. The residual heat works perfectly.
Variations & Adaptations
One of the best things about this recipe is how adaptable it is. Here are some variations I’ve tried and loved:
Spicy Buffalo Version: Mix 2 tablespoons of hot sauce (Frank’s RedHot is my go-to) into the mayonnaise before coating the chicken. Reduce the garlic to 1 clove so the buffalo flavor shines. Serve with blue cheese dressing for dipping. My husband requests this version at least twice a month.
Herb & Lemon Twist: Add 1 tablespoon of dried Italian seasoning and the zest of one lemon to the breading mixture. The lemon brightens up the richness of the chicken and Parmesan. I made this for a summer barbecue and it was the first thing to disappear from the table.
Keto-Friendly Option: Swap the panko breadcrumbs for crushed pork rinds or almond flour. The texture won’t be exactly the same, but it’s surprisingly good. I use about ½ cup of finely crushed pork rinds mixed with the Parmesan. My keto friend Sarah couldn’t tell the difference.
Cheese Variation: Try mixing in ¼ cup of finely grated Pecorino Romano with the Parmesan for a sharper, saltier flavor. Or add 2 tablespoons of nutritional yeast for a dairy-free cheesy taste. I’ve even used crumbled blue cheese in the breading for a funky, bold version—it’s not for everyone, but I loved it.
Oven Method: If you don’t have an air fryer, preheat your oven to 400°F. Place the breaded chicken thighs on a wire rack set over a baking sheet (this lets air circulate underneath). Bake for 25-30 minutes, flipping halfway through, until the internal temperature reaches 165°F. The crust won’t be quite as crispy, but it’s still delicious.
I once tried adding a teaspoon of smoked paprika to the breading on a whim, and it gave the chicken this wonderful smoky depth. Now I can’t make the recipe without it. Don’t be afraid to experiment—cooking is supposed to be fun, not rigid.
Serving & Storage Suggestions
These crispy garlic Parmesan chicken thighs are incredibly versatile when it comes to serving. Here’s how I like to enjoy them:
Serving Temperature: Serve hot, right out of the air fryer. The crust is at its crispiest within the first 10 minutes. If you need to hold them for a bit, keep them in a 200°F oven on a wire rack—not on a plate, where they’ll steam and get soggy.
What to Serve With: I love these with a simple arugula salad dressed with lemon vinaigrette—the peppery greens and acidic dressing cut through the richness of the chicken. Roasted vegetables work beautifully too; asparagus, broccoli, or zucchini all pair well. For a heartier meal, serve with mashed potatoes or crusty bread to soak up any juices. And don’t forget the lemon wedges—a squeeze of fresh lemon juice right before eating makes everything sing.
Beverage Pairings: A crisp Pinot Grigio or Sauvignon Blanc complements the garlic and Parmesan without overwhelming it. For beer drinkers, a light lager or pilsner is perfect. If you’re like me and prefer something non-alcoholic, try sparkling water with a splash of lemon—it cleanses the palate between bites.
Storage Instructions: Leftover chicken keeps in the refrigerator for up to 4 days in an airtight container. The crust will soften over time, but the flavor remains excellent. To reheat, place the chicken back in the air fryer at 350°F for 3-4 minutes until hot and crispy. The microwave works in a pinch, but you’ll lose that crunchy texture.
Freezer Tips: These freeze beautifully. Let the cooked chicken cool completely, then wrap each thigh individually in plastic wrap and place in a freezer bag. They’ll keep for up to 3 months. To reheat from frozen, air fry at 350°F for 8-10 minutes, flipping halfway through. No need to thaw first.
One thing I’ve noticed: the flavors actually deepen after a day in the fridge. The garlic mellows and the Parmesan becomes more pronounced. I sometimes make a double batch just so I can have leftovers for lunch the next day. Cold, straight from the fridge, sliced over a salad—it’s a whole different experience, and honestly, just as good.
Nutritional Information & Benefits
Here’s the nutritional breakdown for one serving (one chicken thigh, based on using full-fat mayonnaise and real Parmesan):
- Calories: 385
- Protein: 32g
- Fat: 26g (8g saturated)
- Carbohydrates: 8g
- Fiber: 0.5g
- Sugar: 1g
- Sodium: 680mg
These numbers will vary depending on the size of your chicken thighs and the specific brands you use. If you’re watching your sodium, reduce the added salt to ½ teaspoon.
Health Benefits: Chicken thighs are a great source of lean protein, which supports muscle health and keeps you feeling full. They’re also rich in B vitamins, particularly B6 and B12, which help with energy metabolism. Garlic isn’t just for flavor—it contains allicin, a compound known for its anti-inflammatory and immune-supporting properties. Parmesan cheese provides calcium and protein, though it’s also high in sodium, so moderation is key.
Dietary Considerations: This recipe is naturally low-carb (about 8g per serving) and can be made gluten-free by using gluten-free panko. It’s not suitable for dairy-free diets as-is, but the nutritional yeast substitution I mentioned earlier works well. For a lower-fat option, you can use light mayonnaise, though the crust won’t be quite as crispy.
I’m not a nutritionist, just someone who loves food and tries to make balanced choices. For me, this recipe hits the sweet spot—satisfying enough to feel like a treat, but made with real ingredients that I feel good about feeding my family.
Conclusion
So there you have it—my quest to recreate a lost restaurant favorite, now perfected in the air fryer. These crispy garlic Parmesan chicken thighs have become so much more than a recipe in my kitchen. They’re the meal I turn to when I need a win, the dish I make when I want to impress without stress, and honestly, the thing I crave on a rainy Tuesday night.
What I love most about this recipe is how forgiving it is. You can tweak the spices, swap the cheese, or adjust the cooking time based on your air fryer’s personality, and it’ll still come out delicious. It’s not precious or fussy—it’s just really, really good food that happens to be easy to make.
I’d love to hear how yours turn out. Did you try the buffalo version? Add smoked paprika? Serve it with something unexpected? Drop a comment below and let me know—I read every single one, and your variations often inspire my next kitchen experiment. And if you’re looking for another air fryer favorite, you might love my recipe for crispy garlic chicken—it uses a similar technique but with a different flavor profile.
Until next time, happy cooking. And remember—the best recipes are the ones you make your own.
Frequently Asked Questions
Can I use boneless, skinless chicken thighs for this recipe?
Yes, you can, but the cooking time will be shorter—about 10-12 minutes total at 375°F. The texture won’t be quite as crispy without the skin, and the chicken might be slightly drier, so keep an eye on the internal temperature. I’d recommend adding a little extra mayonnaise to keep them moist.
Why did my breading fall off in the air fryer?
This usually happens for one of three reasons: the chicken was too wet when you applied the breading, you pressed too hard during flipping, or the air fryer was overcrowded. Make sure to pat the chicken completely dry before starting, use a gentle touch when turning, and leave space between pieces in the basket.
Can I make these ahead of time for a party?
Absolutely! Cook the chicken completely, then let it cool. Reheat in the air fryer at 350°F for 3-4 minutes just before serving. The crust will crisp back up beautifully. I’ve done this for game day gatherings and nobody could tell they weren’t freshly made.
Is it okay to use pre-shredded Parmesan cheese?
I really don’t recommend it. Pre-shredded Parmesan is coated with anti-caking agents that prevent it from melting properly. You’ll end up with a grainy texture instead of that beautiful golden crust. Grate it fresh from a block—it takes two minutes and makes a noticeable difference.
What’s the best way to reheat leftovers without losing crispiness?
The air fryer is your best friend here. Reheat at 350°F for 3-4 minutes. Avoid the microwave if you can—it’ll make the coating soft and chewy. If you don’t have an air fryer, reheat in a 375°F oven on a wire rack for about 8 minutes. The wire rack is key—it lets hot air circulate and keeps the bottom from getting soggy.
Pin This Recipe!
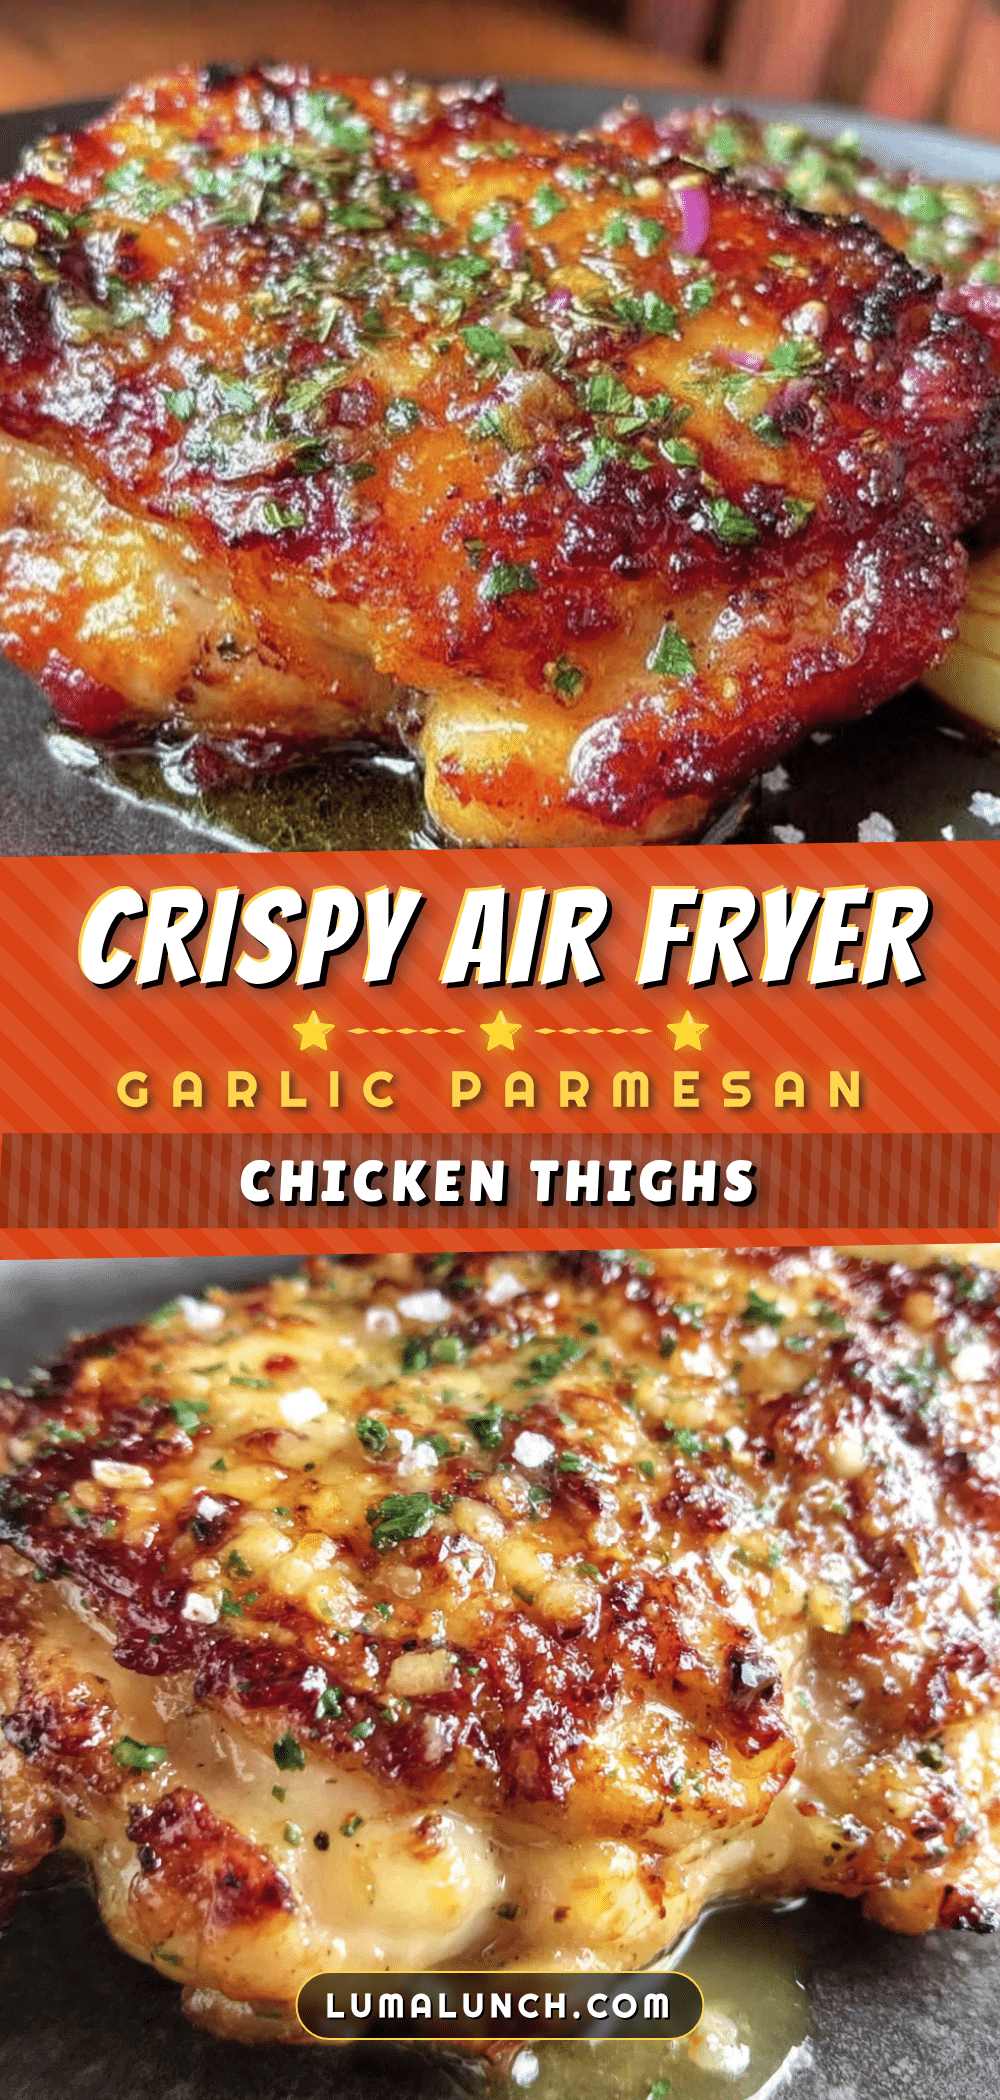
Crispy Garlic Parmesan Chicken Thighs in Air Fryer

These air fryer chicken thighs have a shatteringly crispy garlic Parmesan crust with juicy meat inside. A quick and easy weeknight dinner that tastes like comfort food reimagined.
- Prep Time: 10 minutes
- Cook Time: 15 minutes
- Total Time: 25 minutes
- Yield: 4 servings 1x
- Category: Main Course
- Cuisine: Italian-American
Ingredients
- 4 bone-in, skin-on chicken thighs (about 1.5 lbs total)
- 1 teaspoon kosher salt
- ½ teaspoon freshly ground black pepper
- 1 teaspoon garlic powder
- ½ teaspoon onion powder
- ½ cup grated Parmesan cheese (freshly grated from a block)
- ½ cup panko breadcrumbs
- ¼ cup full-fat mayonnaise
- 3 cloves garlic, minced
- 2 tablespoons olive oil
- 2 tablespoons fresh parsley, chopped (optional for garnish)
- Lemon wedges (for serving, optional)
- Extra grated Parmesan for sprinkling (optional)
Instructions
- Preheat your air fryer to 375°F (190°C). Pat the chicken thighs dry with paper towels.
- In a small bowl, mix together salt, black pepper, garlic powder, and onion powder. Sprinkle evenly over both sides of the chicken thighs. Let sit for 5 minutes.
- In a medium bowl, combine mayonnaise and minced garlic. Stir until well mixed.
- In another medium bowl, combine grated Parmesan cheese and panko breadcrumbs. Mix with a fork until evenly distributed.
- Take one chicken thigh and spread a thin layer of the mayo-garlic mixture all over it. Dip into the breading mixture, pressing gently so the coating sticks. Flip and repeat. Repeat with remaining thighs.
- Brush the air fryer basket with olive oil. Place coated chicken thighs in the basket, skin-side up, leaving space between each.
- Cook for 12 minutes. At the 6-minute mark, carefully flip each thigh using tongs.
- After flipping, cook for another 6-8 minutes until internal temperature reaches 165°F (74°C) when measured with an instant-read thermometer inserted into the thickest part away from the bone.
- If not done, cook in 2-minute increments. If browning too fast, reduce temperature to 350°F.
- Transfer chicken to a plate and let rest for 3-5 minutes. Sprinkle with fresh parsley and extra Parmesan if desired. Serve with lemon wedges.
Notes
Pat chicken completely dry for maximum crispiness. Don’t overcrowd the air fryer basket. Use freshly grated Parmesan for best melting. The mayo binder keeps chicken juicy and helps breading stick. Let chicken rest after cooking to retain juices. For oven method: bake at 400°F on a wire rack over a baking sheet for 25-30 minutes, flipping halfway.
Nutrition
- Serving Size: 1 chicken thigh
- Calories: 385
- Sugar: 1
- Sodium: 680
- Fat: 26
- Saturated Fat: 8
- Carbohydrates: 8
- Fiber: 0.5
- Protein: 32
Keywords: air fryer chicken thighs, crispy garlic parmesan chicken, easy chicken recipe, weeknight dinner, air fryer recipe


