Love this? Save it for later!
Share the inspiration with your friends
I wasn’t trying to find a new canning project. Honestly, I’d stopped by my neighbor’s house on a Tuesday afternoon to return a casserole dish she’d loaned me, and the smell hit me before I even knocked on the screen door. It was deep and warm, like autumn had been simmered down into something you could spread on toast. She barely looked up from the stove, just waved me in and said, “Don’t mind the mess, I’m just using up some pears.”
That “just using up some pears” turned into the most incredible spiced pear butter I’d ever tasted. She wasn’t trying to impress anyone—she was wearing a stained apron and had a toddler tugging at her pant leg. But that pear butter? It was something else. The kitchen counters were covered in jars, and she was stirring a pot that smelled like cinnamon and cloves and pure comfort.
Maybe you’ve been there—you walk into someone’s kitchen and they’re doing something that seems so ordinary, but the result is anything but. That’s exactly how this homemade spiced pear butter recipe came into my life. I stood there for an hour, watching her work, asking questions, and trying to commit every step to memory. She made it look effortless, like she’d been making pear butter her whole life.
I’ve been making this spiced pear butter for canning every fall since that day, and it never gets old. The way it fills your house with that warm, spiced aroma is worth the effort alone. And let me tell you—slathering this stuff on a warm biscuit in the middle of winter feels like stealing a little piece of autumn back.
Why You’ll Love This Recipe
This isn’t just another fruit butter recipe. After years of testing and tweaking, I can honestly say this version stands out for all the right reasons. Here’s why you’ll find yourself coming back to it year after year:
- Perfectly Spiced : The blend of cinnamon, ginger, and cloves creates a warm, complex flavor that complements the natural sweetness of pears without overpowering them. I’ve tested the ratios more times than I can count, and this balance is just right.
- Simple Ingredients : You don’t need anything fancy. Just ripe pears, sugar, lemon juice, and a handful of pantry spices. No trips to specialty stores required.
- Beginner-Friendly Canning : If you’ve never canned before, this is a great place to start. The process is straightforward, and I’ll walk you through every step with the tips I wish someone had given me my first time.
- Makes a Wonderful Gift : A jar of homemade spiced pear butter tied with a ribbon is one of those gifts that people genuinely get excited about. Trust me on this one.
- Lasts All Year : When properly canned, these jars will sit happily in your pantry for up to 18 months. That means you can enjoy the taste of autumn long after the leaves have fallen.
- Customizable Sweetness : You can adjust the sugar to your taste or swap in honey for a different flavor profile. I’ve done both, and they work beautifully.
What makes this recipe different from the dozens of others out there is the texture. Most pear butters turn out either too runny or too thick and pasty. This one hits that perfect spreadable consistency every time, thanks to a technique I figured out after a few failed batches. It’s the kind of recipe that makes you close your eyes after that first bite on toast—seriously.
What Ingredients You Will Need
This recipe relies on simple, wholesome ingredients that work together to create something truly special. Most of these are probably already in your kitchen, which is one of the things I love about it.
- 5 pounds ripe pears (about 10-12 medium pears) – Bartlett or Bosc work best for their natural sweetness and smooth texture. Look for pears that yield slightly to gentle pressure but aren’t mushy. Under-ripe pears won’t break down properly and will give you a grainy texture.
- 3 cups granulated sugar – This might seem like a lot, but remember, you’re preserving fruit. The sugar acts as both a sweetener and a preservative. You can reduce it to 2 cups if you prefer a tarter butter, but don’t go lower than that for canning safety reasons.
- ¼ cup fresh lemon juice (about 2 lemons) – This adds brightness and helps the pears hold their color. Bottled lemon juice works in a pinch, but fresh really does taste better here.
- 2 teaspoons ground cinnamon – I recommend McCormick or Simply Organic for consistent flavor. Fresh spices make a noticeable difference in the final taste.
- 1 teaspoon ground ginger – This adds warmth without heat. If you have fresh ginger, you can grate about a tablespoon instead for a more vibrant flavor.
- ½ teaspoon ground cloves – Go easy here—cloves are potent and can easily overpower everything else. A little goes a long way.
- ½ teaspoon ground nutmeg – Freshly grated nutmeg is amazing if you have it, but pre-ground works just fine.
- ¼ teaspoon salt – This might seem odd in a sweet recipe, but salt enhances all the other flavors and balances the sweetness.
Ingredient Tips from My Kitchen: I’ve tried this recipe with Anjou pears and it works, but the texture is slightly grainier. Stick with Bartlett if you can find them. Also, if your pears are particularly sweet, you might want to start with 2½ cups of sugar and adjust to taste after cooking. And please, please use fresh lemon juice—I learned that lesson the hard way when a batch turned an unappetizing grayish color.
Equipment Needed
Having the right tools makes this process so much smoother. Here’s what you’ll need:
- Large, heavy-bottomed pot (at least 8-quart capacity) – A Dutch oven works perfectly. The heavy bottom prevents scorching, which is crucial for fruit butters that cook for a long time.
- Immersion blender or food mill – An immersion blender is my go-to because it’s less cleanup, but a food mill gives you an even smoother texture. I’ve used both and honestly prefer the immersion blender for convenience.
- Canning jars with lids and bands (8 half-pint jars) – Half-pint jars are perfect for gift-giving. Make sure to inspect your jars for any chips or cracks before you start.
- Large water bath canner – If you don’t have one, any pot deep enough to cover your jars with at least 1-2 inches of water will work. You’ll also need a rack to keep jars off the bottom.
- Jar lifter and canning funnel – These are non-negotiable for safety. Trust me, trying to fish hot jars out of boiling water without a jar lifter is a disaster waiting to happen.
- Clean kitchen towels – You’ll need these for drying jars, wiping rims, and covering the finished jars as they cool.
- Measuring cups and spoons
- Sharp knife and cutting board
- Wooden spoon or silicone spatula
If you don’t have a water bath canner, you can absolutely use a large stockpot with a folded kitchen towel placed at the bottom to keep jars from rattling. That’s what I used for my first few years of canning, and it worked like a charm.
Preparation Method
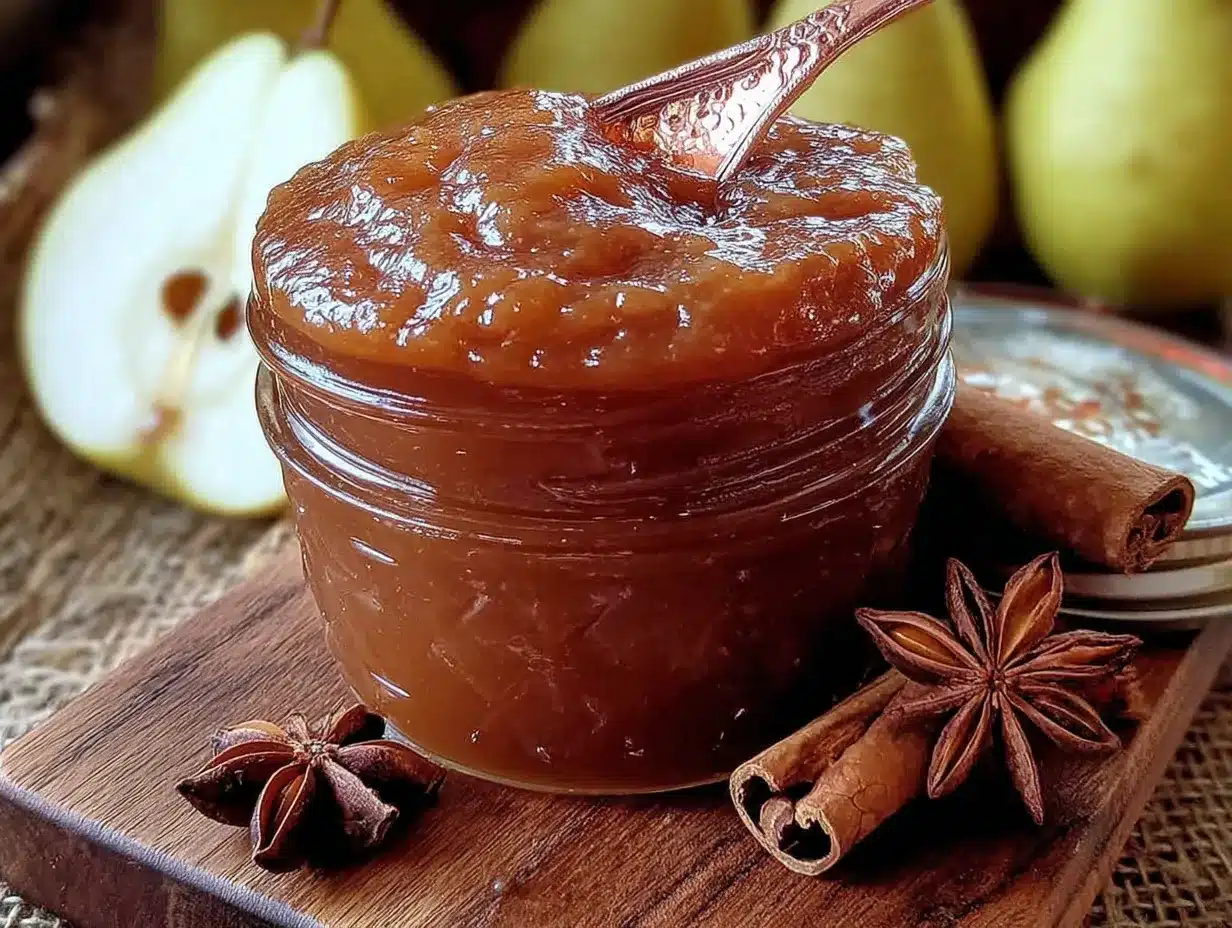
Let me walk you through this step by step. I’ve included all the little details I wish someone had told me when I first started making pear butter.
Step 1: Prepare Your Pears
Wash all your pears thoroughly. Peel them using a vegetable peeler or a paring knife—I prefer the peeler because it’s faster and wastes less fruit. Cut each pear in half and remove the core and seeds with a melon baller or small spoon. Chop the pears into roughly 1-inch chunks. Don’t stress about uniformity here; they’re going to cook down anyway. You should end up with about 12-14 cups of chopped pears.
Step 2: Cook the Pears
Place the chopped pears in your large pot along with the lemon juice and ½ cup of water. Bring this to a boil over medium-high heat, then reduce the heat to medium-low and let it simmer for about 20-25 minutes. Stir occasionally to prevent sticking. The pears should be very soft and starting to fall apart when you poke them with a fork.
Step 3: Puree the Mixture
Remove the pot from the heat. Using an immersion blender, carefully puree the pears right in the pot until completely smooth. If you’re using a food mill, let the mixture cool slightly before processing it. Be careful here—hot liquid can splatter and burn you. I learned this the hard way and still have a tiny scar on my wrist to remind me.
Step 4: Add Sugar and Spices
Return the pot to the stove over low heat. Add the sugar, cinnamon, ginger, cloves, nutmeg, and salt. Stir well until everything is fully incorporated and the sugar has dissolved completely. This should take about 2-3 minutes. Taste the mixture at this point and adjust spices if needed—just remember that flavors will intensify as it cooks down.
Step 5: Cook the Butter
Increase the heat to medium and bring the mixture to a gentle boil. Then reduce the heat to low and let it simmer, stirring frequently. This is the most important part of the process. You’ll need to cook the pear butter for about 1½ to 2 hours, stirring every 5-10 minutes to prevent scorching. The butter is ready when it’s thick enough that a spoon drawn through the mixture leaves a clear path that doesn’t immediately fill back in.
Here’s a tip I learned after ruining my first batch: if you’re unsure about the thickness, place a small spoonful on a chilled plate and let it sit for 30 seconds. If no liquid separates around the edges, it’s ready. If it’s still runny, keep cooking and check again in 15 minutes.
Step 6: Prepare Your Jars
While the pear butter cooks, wash your jars, lids, and bands in hot, soapy water. Rinse thoroughly. Place the jars in your water bath canner, cover with water, and bring to a simmer. Keep them hot until you’re ready to fill them. Place the lids and bands in a separate small saucepan of simmering water—don’t boil the lids, as this can damage the sealing compound.
Step 7: Fill the Jars
When the pear butter is ready, remove it from the heat. Using your jar lifter, remove a hot jar from the canner and place it on a clean kitchen towel. Place the canning funnel in the jar and ladle the hot pear butter into the jar, leaving ¼ inch of headspace. Run a clean, damp paper towel or cloth around the rim to remove any residue—this is crucial for getting a good seal.
Step 8: Seal and Process
Center a lid on the jar and screw on the band until it’s fingertip-tight—don’t overtighten. Use your jar lifter to return the jar to the canner. Repeat with the remaining jars. Once all jars are in the canner, ensure they’re covered by at least 1-2 inches of water. Bring to a rolling boil and process for 10 minutes (adjust for altitude if needed—add 5 minutes for every 1,000 feet above sea level).
Step 9: Cool and Check Seals
After processing, turn off the heat and let the jars sit in the canner for 5 minutes. Then use your jar lifter to remove them and place them on a clean towel, leaving at least an inch of space between them. Let them cool completely, undisturbed, for 12-24 hours. You should hear the satisfying “pop” of the lids sealing as they cool.
Check the seals by pressing down on the center of each lid. If it doesn’t flex or pop, the jar is sealed. Any unsealed jars should be refrigerated and used within a few weeks.
Cooking Tips & Techniques
After making this recipe more times than I can count, I’ve picked up a few tricks that make the process easier and the results more consistent.
The Scorching Problem: My first batch of pear butter ended up with a burnt bottom because I walked away to answer the phone. Fruit butters are sneaky—they can scorch even on low heat if you don’t stir often enough. Set a timer for every 7-8 minutes and stir thoroughly, making sure to scrape the bottom and corners of the pot. A heavy-bottomed pot helps distribute heat more evenly and reduces the risk of scorching.
The Consistency Trick: Getting the right thickness is the hardest part of making fruit butter. If you undercook it, you’ll end up with pear syrup instead of butter. If you overcook it, it becomes stiff and almost paste-like. The spoon test I mentioned earlier is your best friend here. Also, remember that the butter will thicken slightly as it cools, so it’s better to pull it off the heat when it’s still a tiny bit looser than you want the final product to be.
Multitasking Strategy: Here’s how I structure my time. While the pears are cooking in Step 2, I wash and prepare my jars and equipment. While the butter simmers in Step 5, I clean up the kitchen and set up my canning station. This way, when the butter is ready, I’m not scrambling to find things.
The Splatter Issue: As the butter thickens, it tends to splatter. I learned to use a splatter screen or partially cover the pot, leaving a small gap for steam to escape. This keeps your stovetop (and you) much cleaner.
Testing for Doneness: Besides the chilled plate test, look for visual cues. The butter should be a deep golden-brown color, and you should be able to see the bottom of the pot briefly when you stir. The mixture will also start to mound slightly on your spoon instead of running off immediately.
Variations & Adaptations
One of the best things about this recipe is how adaptable it is. Here are some variations I’ve tried and loved:
Spiced Apple-Pear Butter
Substitute 2 pounds of the pears with tart apples like Granny Smith or Honeycrisp. The apples add a nice tanginess and help with natural pectin content, giving you a slightly firmer set. I made this version last fall and it was a huge hit at my holiday gift exchange.
Vanilla Bean Pear Butter
Add the seeds from one vanilla bean along with the other spices. The vanilla adds a floral note that pairs beautifully with the pears. If you don’t have a vanilla bean, 2 teaspoons of vanilla extract stirred in at the very end (after removing from heat) works well too.
Low-Sugar Version
For a less sweet butter, reduce the sugar to 1½ cups. You’ll need to use a low-sugar pectin or cook the butter a bit longer to achieve the right consistency. This version won’t keep as long in the pantry—plan to use it within 6 months or refrigerate after opening.
Spicy Pear Butter
Add ¼ teaspoon of cayenne pepper or a small dried chili pepper (removed before blending) along with the other spices. The heat is subtle but adds an unexpected warmth that’s perfect on grilled cheese sandwiches.
Slow Cooker Method
If you don’t want to stand over the stove, this recipe works beautifully in a slow cooker. After pureeing the pears, transfer the mixture to a slow cooker, add sugar and spices, and cook on low for 6-8 hours with the lid slightly ajar. Stir occasionally. The consistency will be slightly different—a bit more rustic—but the flavor is just as good.
Serving & Storage Suggestions
This spiced pear butter is incredibly versatile. Here are some of my favorite ways to use it:
Serving Ideas: Spread it generously on warm toast, biscuits, or scones for a simple breakfast that feels special. Swirl it into oatmeal or yogurt for a quick flavor boost. Use it as a filling for thumbprint cookies or layer it between cake layers for a unique dessert. It’s also amazing on a cheese board—try it with sharp cheddar or creamy brie for a sweet-savory combo that’s absolutely addictive.
Storage Instructions: Sealed jars of properly canned pear butter can be stored in a cool, dark place for up to 18 months. Once opened, refrigerate and use within 3-4 weeks. If any jars didn’t seal properly, store them in the refrigerator and use within 2-3 weeks.
Freezing Option: You can also freeze pear butter in freezer-safe containers or zip-top bags. Leave about ½ inch of headspace for expansion. Frozen pear butter will keep for up to 12 months. Thaw in the refrigerator overnight before using.
Reheating Tips: If your pear butter crystallizes or separates slightly in storage, don’t worry—this is normal. Simply stir it well or warm it gently in a saucepan or microwave, stirring every 15 seconds, until smooth again.
Flavor Development: Here’s something interesting—pear butter actually tastes better after it’s been sitting for a few weeks. The spices meld together and the flavor becomes more complex. I always try to save at least one jar to open in January, when the weather is cold and I need a reminder of autumn.
Nutritional Information & Benefits
While this spiced pear butter is definitely a treat, it does offer some nutritional benefits. Here’s the estimated breakdown per 2-tablespoon serving:
| Nutrient | Amount |
|---|---|
| Calories | 65 |
| Total Fat | 0g |
| Sodium | 15mg |
| Total Carbohydrates | 17g |
| Dietary Fiber | 1g |
| Sugars | 15g |
| Protein | 0g |
| Vitamin C | 4% DV |
Pears are a good source of dietary fiber and vitamin C, and the spices used in this recipe—particularly cinnamon and ginger—have anti-inflammatory properties. While this isn’t a health food by any means, it’s a more wholesome alternative to many store-bought spreads that contain high fructose corn syrup and artificial flavors.
Dietary Considerations: This recipe is naturally vegan, dairy-free, and gluten-free. For a lower-sugar option, refer to the variation above. Those watching their sugar intake should enjoy this in moderation as a occasional treat rather than a daily staple.
Conclusion
This homemade spiced pear butter for canning has become a fall tradition in my kitchen, and I have a feeling it will become one in yours too. There’s something deeply satisfying about opening a jar in the middle of winter and being transported back to those crisp autumn days when the kitchen smelled like cinnamon and warm fruit.
What I love most about this recipe is how forgiving it is. Whether you’re a seasoned canner or trying it for the first time, this pear butter meets you where you are. Don’t be afraid to adjust the spices to your taste, experiment with different pear varieties, or try one of the variations I’ve shared. The best recipes are the ones that become your own.
I’d love to hear how your pear butter turns out! Did you try a variation? Discover a tip I didn’t mention? Drop a comment below and let me know—your experience might help someone else on their canning journey. And if you’re looking for more fall preserving recipes, check out my apple cinnamon butter recipe or my fig jam with rosemary for more seasonal inspiration.
Happy canning, friends! May your jars seal perfectly and your pantry be full of delicious memories.
Frequently Asked Questions
Can I use canned pears instead of fresh?
Technically yes, but I wouldn’t recommend it. Canned pears are already cooked and often packed in syrup, which throws off the sugar balance and texture. Fresh pears give you much better control over the final result. If you’re in a pinch, drain canned pears well and reduce the added sugar by about half.
Why is my pear butter too runny?
This usually means it needs to cook longer. Fruit butters require patience—they need enough time for the natural pectin to activate and for excess moisture to evaporate. Keep cooking on low heat, stirring frequently, until the mixture passes the chilled plate test. Also, make sure you’re using ripe pears; under-ripe pears have less natural pectin.
Do I have to peel the pears?
Yes, for this recipe. The skins contain most of the pectin, but they also add a slightly bitter flavor and a gritty texture that you don’t want in a smooth butter. If you’re using a food mill, you can cook the pears with the skins on and mill them out, but peeling is simpler and gives you more control over the final texture.
How do I know if my jars are sealed properly?
After the jars have cooled completely (12-24 hours), press down on the center of each lid. If it doesn’t move or pop, it’s sealed. You can also remove the band and gently lift the jar by the lid—if the lid holds firm, you’re good. Any unsealed jars should be refrigerated immediately and used within a few weeks.
Can I double this recipe?
Absolutely, but you’ll need a larger pot and longer cooking time. Doubling the recipe adds about 30-45 minutes to the cooking time. I’ve made triple batches before, and they turned out great. Just be extra vigilant about stirring to prevent scorching, and make sure you have enough jar space prepared.
Pin This Recipe!
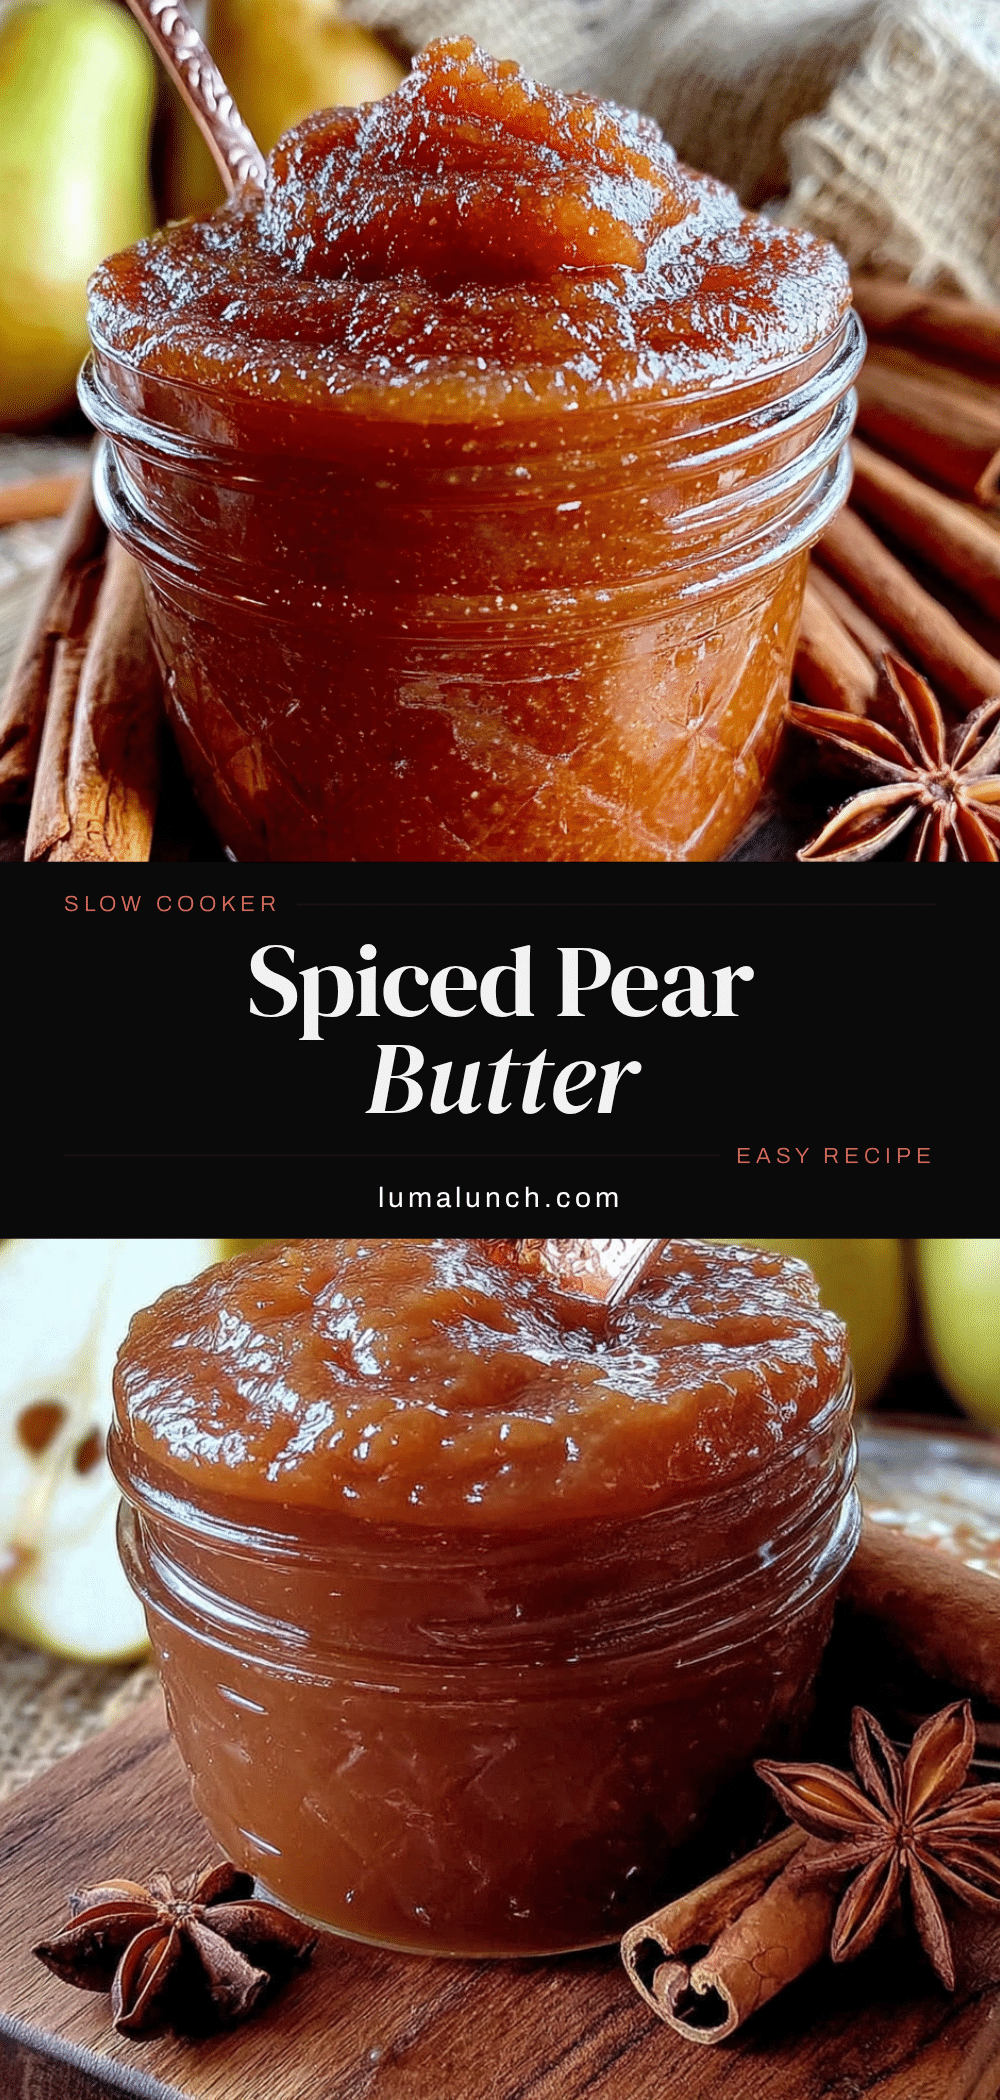
Best Homemade Spiced Pear Butter for Canning
This homemade spiced pear butter is perfectly spiced with cinnamon, ginger, and cloves, and has a smooth, spreadable texture. It’s a beginner-friendly canning project that yields delicious jars to enjoy all year or give as gifts.
- Prep Time: 30 minutes
- Cook Time: 2 hours 25 minutes
- Total Time: 2 hours 55 minutes
- Yield: 8 half-pint jars 1x
- Category: Preserves
- Cuisine: American
Ingredients
- 5 pounds ripe pears (about 10–12 medium pears), preferably Bartlett or Bosc
- 3 cups granulated sugar
- ¼ cup fresh lemon juice (about 2 lemons)
- 2 teaspoons ground cinnamon
- 1 teaspoon ground ginger
- ½ teaspoon ground cloves
- ½ teaspoon ground nutmeg
- ¼ teaspoon salt
Instructions
- Wash, peel, core, and chop pears into 1-inch chunks.
- Place chopped pears in a large pot with lemon juice and ½ cup water. Bring to a boil, then reduce heat and simmer for 20-25 minutes until pears are very soft.
- Remove from heat and puree with an immersion blender (or use a food mill) until smooth.
- Return pot to low heat. Add sugar, cinnamon, ginger, cloves, nutmeg, and salt. Stir until sugar dissolves, about 2-3 minutes.
- Increase heat to medium, bring to a gentle boil, then reduce to low and simmer for 1½ to 2 hours, stirring every 5-10 minutes, until thick (a spoon drawn through leaves a clear path).
- While butter cooks, wash jars, lids, and bands. Simmer jars in water bath canner; keep lids and bands in separate simmering water.
- When butter is ready, remove from heat. Using a jar lifter, remove a hot jar, place funnel, and ladle in butter leaving ¼ inch headspace. Wipe rim clean.
- Center lid on jar, screw on band fingertip-tight. Return jar to canner. Repeat for all jars.
- Ensure jars are covered by 1-2 inches water. Bring to rolling boil and process for 10 minutes (adjust for altitude).
- Turn off heat, let jars sit 5 minutes. Remove jars and place on towel, leaving space between them. Cool undisturbed for 12-24 hours. Check seals.
Notes
For best texture, use ripe Bartlett or Bosc pears. Adjust sugar to taste (minimum 2 cups for canning safety). The butter thickens as it cools; cook until slightly looser than desired final consistency. For altitude adjustments, add 5 minutes processing time per 1,000 feet above sea level. Unsealed jars should be refrigerated and used within 2-3 weeks.
Nutrition
- Serving Size: 2 tablespoons
- Calories: 65
- Sugar: 15
- Sodium: 15
- Carbohydrates: 17
- Fiber: 1
Keywords: pear butter, spiced pear butter, homemade pear butter, canning recipe, fall preserves, fruit butter, pear preserves


