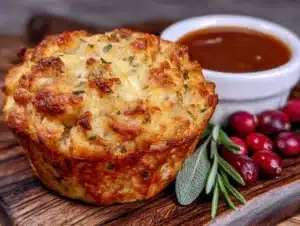
Love this? Save it for later!
Share the inspiration with your friends
I was standing in the frozen food aisle of my local grocery store last November, staring at a bag of stale bread cubes, when the smell of sage and celery hit me. Not from the bag—from my memory. And suddenly I was seven years old, standing on a step stool in my Aunt Viv’s tiny kitchen, watching her cram handfuls of herbed bread into a greased muffin tin. She wasn’t making a casserole. She was making something better. Something that gave everyone their own personal golden dome of Thanksgiving joy. I remember the way she’d wink at me and say, “No fighting over the crispy corner pieces this year.” I haven’t thought about that kitchen in years. But right there, surrounded by freezer burn and fluorescent lights, I knew I had to try and get that feeling back.
Let me tell you, it took some trial and error. My first batch came out soggy. The second batch fell apart. The third batch? Well, let’s just say I burned the roof of my mouth because I couldn’t wait for them to cool. But when I finally nailed it—that perfect balance of tender, herb-infused bread on the inside and a shatteringly crispy, golden-brown top—I honestly almost cried. Maybe you’ve been there, chasing a taste from your past that you can’t quite describe but you’d know in an instant. These Best Easy Thanksgiving Stuffing Muffins are that taste. They’re the reason I keep pulling out that dusty muffin tin every fall.
Why You’ll Love This Recipe
Listen, I’ve tested a lot of stuffing recipes over the years. Some are too dry. Some are a mushy mess. Some just sit in a baking dish looking sad. These stuffing muffins are different, and here’s why you’re going to fall for them.
- Perfectly Crispy Every Time: Because each muffin has its own surface area, you get maximum golden-brown crunch on the top and sides. No more fighting over the corner pieces of a casserole dish.
- Individual Servings: They’re built-in portion control (or not—you do you). Plus, they’re perfect for Thanksgiving buffets or Friendsgiving gatherings where everyone just grabs one.
- Simple, Honest Ingredients: You don’t need anything fancy. Stale bread, aromatics, broth, and eggs. That’s it. Your pantry already has most of this.
- Make-Ahead Magic: These reheat like a dream. Make them a day ahead and just pop them back in the oven before dinner. Your future self will thank you.
- Stress-Free Holiday Cooking: While your turkey is resting, these are baking away in the oven. No last-minute scrambling to get a giant casserole dish to the table.
This isn’t just another stuffing recipe. It’s the one that solves the age-old problem of “I want crispy edges, but I also want tender, flavorful bread.” The secret is in the ratio of liquid to bread and the high-heat finishing technique. I’ve tested this with homemade bread cubes, store-bought cubes, and even cornbread—and every single time, these muffins deliver that soul-soothing, close-your-eyes-after-the-first-bite satisfaction. It’s comfort food, reimagined for maximum crunch and minimum fuss.
What Ingredients You Will Need
This recipe uses simple, humble ingredients to create something truly special. Most of these are pantry staples, especially if you’re already planning a Thanksgiving menu. Let me walk you through what you need and why each one matters.
- 12 cups stale bread cubes (about 1 loaf): I prefer a sturdy sourdough or a good French bread. The staleness is crucial—fresh bread will turn to mush. If your bread is fresh, just spread the cubes on a baking sheet and toast them at 300°F for 10-15 minutes. You want them dry but not browned.
- 1/2 cup unsalted butter: This is non-negotiable for flavor. I use salted butter in a pinch and just reduce the added salt slightly. Kerrygold is my go-to for that rich, creamy taste.
- 2 cups diced yellow onion (about 1 large onion): Sweet and mellow when cooked. Don’t skip this—it’s the backbone of the flavor.
- 1 1/2 cups diced celery (about 4-5 stalks): That classic Thanksgiving crunch and aroma. Make sure to include some of the leaves for extra flavor.
- 3 cloves garlic, minced: Adds depth without overpowering. Fresh is best here.
- 2 tablespoons fresh sage, chopped: The star herb. Dried sage works in a pinch (use 1 tablespoon), but fresh really shines here.
- 1 tablespoon fresh thyme leaves: Earthy and woodsy. Again, dried works (1 teaspoon) but fresh is better.
- 1 tablespoon fresh rosemary, finely chopped: Piney and fragrant. Go easy—it can be strong.
- 2 cups low-sodium chicken or vegetable broth: You want control over the salt level. Homemade broth is incredible here, but a good store-bought brand like Swanson or Kitchen Basics works fine.
- 2 large eggs, lightly beaten: The binder. They hold everything together so your muffins don’t crumble into a sad pile.
- 1 teaspoon salt: I use fine sea salt. Adjust based on your broth’s saltiness.
- 1/2 teaspoon black pepper: Freshly ground, please. It makes a difference.
- Optional: 1/2 cup dried cranberries or 1/2 cup cooked, crumbled sausage: For a sweet or savory twist. I’ve done both, and they’re equally delicious.
Ingredient Selection Tip: For the best texture, look for bread that’s at least a day old. The drier the bread, the better it absorbs the broth without turning into paste. If you’re using a gluten-free bread, make sure it’s sturdy—I’ve had good luck with a crusty gluten-free sourdough.
Equipment Needed
You don’t need a professional kitchen to make these, but having the right tools makes the process smoother. Here’s what I use every time.
- Standard 12-cup muffin tin: This is essential. Non-stick is great, but a light-colored metal tin gives you the best browning. Dark tins can burn the bottoms before the tops are golden.
- Large mixing bowl: Big enough to toss all those bread cubes without spilling them everywhere. I use my grandmother’s old ceramic bowl—it’s huge and holds everything perfectly.
- Large skillet or sauté pan: For cooking the aromatics. A 12-inch pan gives you plenty of room.
- Chef’s knife and cutting board: For dicing the onions and celery. A sharp knife makes this go so much faster.
- Measuring cups and spoons: Accuracy matters here, especially with the broth.
- Whisk: For beating the eggs and mixing the broth.
- Cooling rack: Lets the muffins cool evenly so they don’t get soggy on the bottom.
Budget-Friendly Tip: If you don’t have a muffin tin, you can make this as a traditional casserole. Just pour the mixture into a greased 9×13-inch baking dish and bake for 35-40 minutes. You’ll still get some crispy edges, but not the same individual crunch. Honestly, a muffin tin is worth the $15 investment if you plan on making these more than once.
Preparation Method
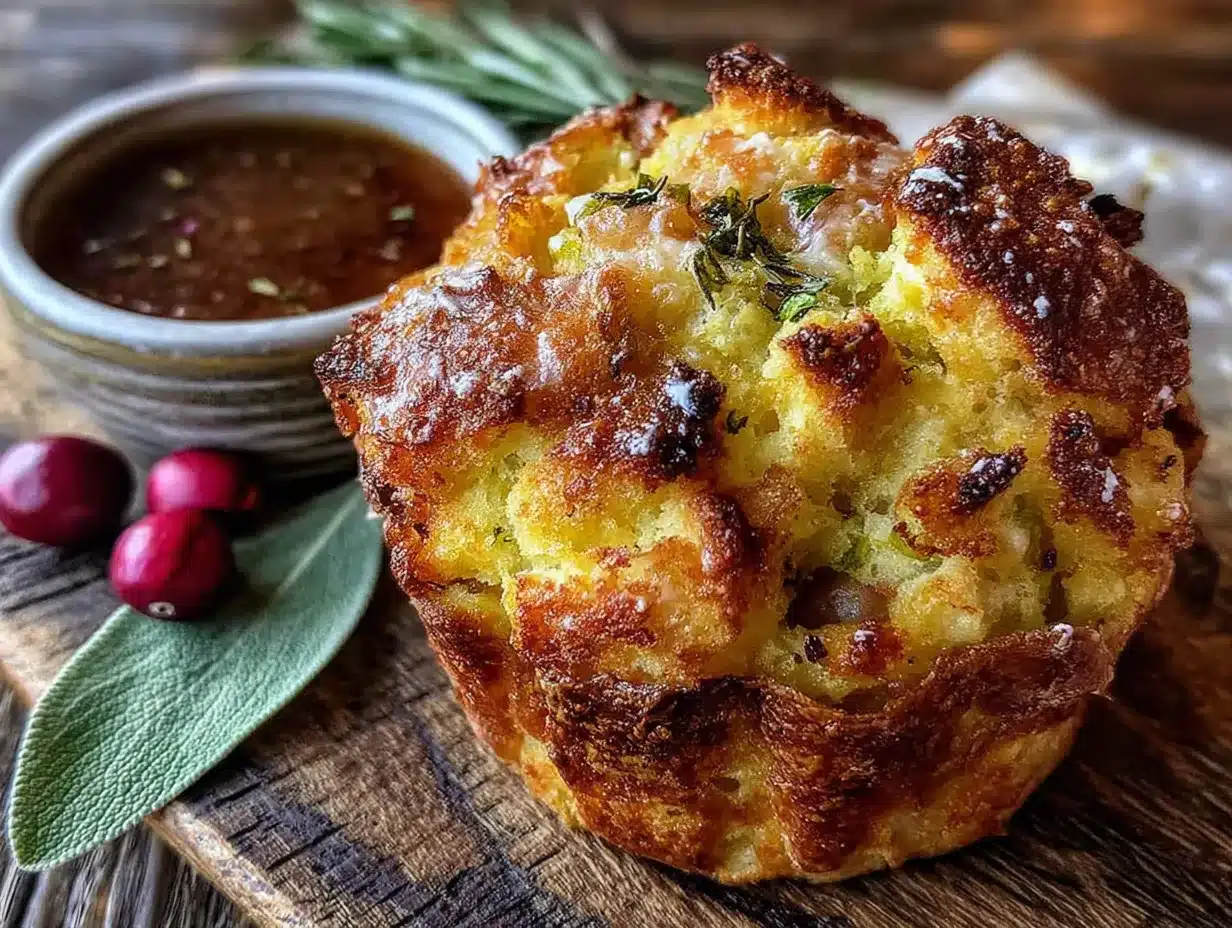
Let’s get cooking. I’ve broken this down into clear steps so you can follow along without any stress. Trust me, I’ve made every mistake possible so you don’t have to.
- Preheat your oven to 375°F (190°C). Place your muffin tin on the middle rack. I like to let the tin heat up slightly while I prep—it helps create that initial sizzle when you add the stuffing mixture.
- Prepare your bread cubes. If your bread isn’t stale, cut it into 1/2-inch cubes and spread them on a baking sheet. Toast at 300°F for 10-12 minutes, stirring halfway through. You want them dry but not colored. Let them cool completely before using.
- Cook the aromatics. In your large skillet, melt the butter over medium heat. Add the diced onion and celery. Cook, stirring occasionally, for 8-10 minutes until the onion is translucent and the celery has softened. You’ll smell that classic Thanksgiving aroma starting to fill your kitchen. Add the minced garlic and cook for one more minute—don’t let it burn.
- Add the herbs. Stir in the chopped sage, thyme, and rosemary. Cook for about 30 seconds until fragrant. This wakes up the oils in the herbs. Remove the pan from the heat and let it cool slightly.
- Combine the bread and aromatics. In your large mixing bowl, add the toasted bread cubes. Pour the herb-butter mixture over the bread and toss gently with your hands or a large spatula. You want every cube to get a little bit of that buttery goodness.
- Mix the wet ingredients. In a separate bowl or liquid measuring cup, whisk together the chicken broth, beaten eggs, salt, and pepper. If you’re adding dried cranberries or cooked sausage, stir them in now.
- Add the liquid to the bread. Pour the broth mixture over the bread cubes. Use your hands to gently toss and fold everything together. Don’t overmix—you want some texture, not a paste. The bread should be moist but not swimming in liquid. Let it sit for 5 minutes so the bread can absorb the broth.
- Grease the muffin tin. Even if your tin is non-stick, give each cup a generous spray of cooking spray or a swipe of butter. These muffins like to stick if you don’t prep properly.
- Fill the muffin cups. Using a large cookie scoop or your hands, divide the stuffing mixture evenly among the 12 muffin cups. Pack each one firmly—you want them to hold their shape. Mound them slightly above the rim for that dramatic, crispy top.
- Bake for 25-30 minutes. Place the tin in the preheated oven. Bake until the tops are deep golden brown and crispy to the touch. The edges should be pulling away from the sides of the tin slightly. At the 20-minute mark, rotate the tin for even browning.
- Cool and release. Let the muffins cool in the tin for 5 minutes. Then, run a knife around the edges of each muffin and gently lift them out. Place them on a cooling rack. Don’t skip this resting time—it lets them set so they don’t fall apart.
Sensory Cue: When they’re done, your kitchen will smell like Thanksgiving morning. The tops should be crackling and golden, and when you tap one gently, it should feel firm and sound hollow. The inside should be tender and steamy when you break it open.
Cooking Tips & Techniques
I’ve made these muffins probably two dozen times now, and I’ve learned a few things the hard way. Here are my best tips to make sure yours turn out perfect every time.
Don’t Over-Soak the Bread. This was my biggest mistake early on. You want the bread cubes to be moist, not saturated. If you add too much broth, you’ll end up with dense, heavy muffins instead of light, fluffy ones. Start with 1 3/4 cups of broth and add more only if the bread feels dry after sitting for 5 minutes.
Pack the Muffin Cups Firmly. I cannot stress this enough. If you loosely fill the cups, the muffins will fall apart when you try to remove them. Use the back of a spoon or your fingers to press the mixture down firmly. You want them compact but not compressed into a brick.
Use a Light-Colored Muffin Tin. Dark metal tins absorb more heat and can burn the bottoms of your muffins before the tops are golden. If you only have a dark tin, reduce the oven temperature by 25°F and check them a few minutes early.
Let Them Rest. The 5-minute cooling period in the tin is crucial. It allows the steam to finish cooking the center and helps the structure set. I once got impatient and tried to flip one out immediately—it crumbled into a sad heap on the counter. Learn from my impatience.
Make Them Ahead. These are actually better the next day. Bake them, let them cool completely, and store them in an airtight container in the fridge. To reheat, pop them back in a 350°F oven for 10-12 minutes. The tops get crispy again, and the inside stays tender.
Variations & Adaptations
One of the best things about this recipe is how flexible it is. Here are a few ways I’ve adapted it over the years.
- Cornbread Stuffing Muffins: Swap half the bread cubes for crumbled cornbread. The sweetness of the cornbread pairs beautifully with the savory herbs. This is my personal favorite for a Southern-style Thanksgiving.
- Sausage and Apple Stuffing Muffins: Brown 1/2 pound of breakfast sausage (casings removed) and crumble it. Add it to the bread mixture along with 1 diced apple. The sweetness of the apple and the savory sausage create a perfect balance. I made this for a Friendsgiving last year, and it disappeared in minutes.
- Mushroom and Leek Stuffing Muffins: Swap the celery for 2 cups of sliced cremini mushrooms and 1 cup of chopped leeks. Sauté them in the butter until golden and tender. This is a fantastic vegetarian option that still feels rich and decadent.
- Gluten-Free Version: Use a good-quality gluten-free bread. I’ve had success with a crusty gluten-free sourdough. Just make sure to toast the cubes well—gluten-free bread tends to be more delicate and can turn mushy if not dried out properly.
- Vegan Adaptation: Replace the butter with vegan butter or olive oil, use vegetable broth, and substitute the eggs with a flax egg (1 tablespoon ground flaxseed mixed with 3 tablespoons water per egg, let sit for 5 minutes). The texture will be slightly less firm, but the flavor is still wonderful.
Serving & Storage Suggestions
These muffins are incredibly versatile when it comes to serving. Here’s how I like to enjoy them.
Serving Temperature: Serve them warm, straight from the oven. The contrast between the crispy top and the tender interior is at its peak when they’re fresh. If you’re making them ahead, reheat them as I described above.
Presentation: Arrange the muffins on a wooden board or a platter lined with a cloth napkin. Garnish with a few fresh sage leaves and a sprig of rosemary. They look gorgeous and rustic, perfect for a Thanksgiving table. For individual servings, place one muffin on each plate alongside the turkey and gravy.
Pairings: These muffins are a natural partner for roasted turkey, but they also shine alongside roast chicken, pork chops, or even a simple green salad. They’re fantastic with a dollop of cranberry sauce on top. For drinks, a crisp white wine like Sauvignon Blanc or a light Pinot Noir complements the herbal flavors beautifully.
Storage: Store leftover muffins in an airtight container in the refrigerator for up to 4 days. To freeze, wrap each muffin individually in plastic wrap, then place them in a freezer-safe bag. They’ll keep for up to 3 months. Thaw overnight in the fridge before reheating.
Reheating: The oven is your best friend here. Microwave reheating makes them soggy. Place the muffins on a baking sheet and reheat at 350°F for 10-12 minutes. For frozen muffins, add 5 minutes to the reheating time. The tops will crisp up beautifully again.
Nutritional Information & Benefits
While these are definitely a comfort food, they do have some redeeming qualities. Here’s a rough breakdown per muffin (based on the base recipe without add-ins).
- Calories: Approximately 220-250
- Fat: 12g (7g saturated)
- Carbohydrates: 26g
- Fiber: 2g
- Protein: 6g
- Sodium: 450mg (varies based on broth)
Health Benefits: The celery and onions provide a good dose of vitamin K and antioxidants. The herbs—sage, thyme, and rosemary—are packed with anti-inflammatory compounds. If you use whole-grain bread, you’ll get more fiber and nutrients. I like to think of these as a way to make the indulgence a little more balanced.
Dietary Considerations: This recipe can be made gluten-free, dairy-free, and vegan with the substitutions I mentioned above. It contains eggs and gluten in its standard form. If you’re watching your sodium, use low-sodium broth and reduce the added salt.
Conclusion
These Best Easy Thanksgiving Stuffing Muffins with Crispy Golden Tops are more than just a side dish. They’re a little piece of nostalgia you can hold in your hand. They’re the solution to the eternal Thanksgiving debate over who gets the crispy bits. They’re the recipe that makes you look forward to leftovers. I make them every year now, and every time I pull that muffin tin out of the oven, I think of Aunt Viv’s tiny kitchen and her knowing wink. I hope they bring you that same feeling of warmth and comfort.
I’d love to hear how yours turn out. Did you try a variation? Did you burn the roof of your mouth like I did? Drop a comment below and let me know. And if you’re looking for more cozy Thanksgiving recipes, don’t miss my garlic herb roasted turkey and creamy mashed potatoes to complete your feast. Happy cooking, friends!
Frequently Asked Questions
Can I use fresh bread instead of stale bread?
You can, but you’ll need to dry it out first. Fresh bread will absorb too much liquid and turn gummy. Spread the cubes on a baking sheet and toast at 300°F for 10-12 minutes until dry but not browned. Let them cool completely before using.
Why did my stuffing muffins fall apart?
This usually happens for one of two reasons: you didn’t pack the muffin cups firmly enough, or you didn’t let them cool in the tin for 5 minutes before removing them. The eggs need time to set and bind everything together. Also, make sure you’re using enough liquid—the bread should be moist but not swimming.
Can I make these ahead of time?
Absolutely! In fact, I prefer them made a day ahead. Bake them, let them cool completely, and store them in an airtight container in the fridge. To reheat, place them on a baking sheet and warm them in a 350°F oven for 10-12 minutes. The tops will get crispy again.
Can I freeze stuffing muffins?
Yes, they freeze beautifully. Wrap each muffin individually in plastic wrap, then place them in a freezer-safe bag. They’ll keep for up to 3 months. Thaw overnight in the fridge, then reheat in a 350°F oven for 15 minutes.
What’s the best bread to use?
I prefer a sturdy sourdough or a good French bread for their texture and flavor. They hold up well to the liquid and give you a nice chew. You can also use a country white bread or a challah for a slightly sweeter result. Avoid soft sandwich bread—it will turn to mush.
Pin This Recipe!
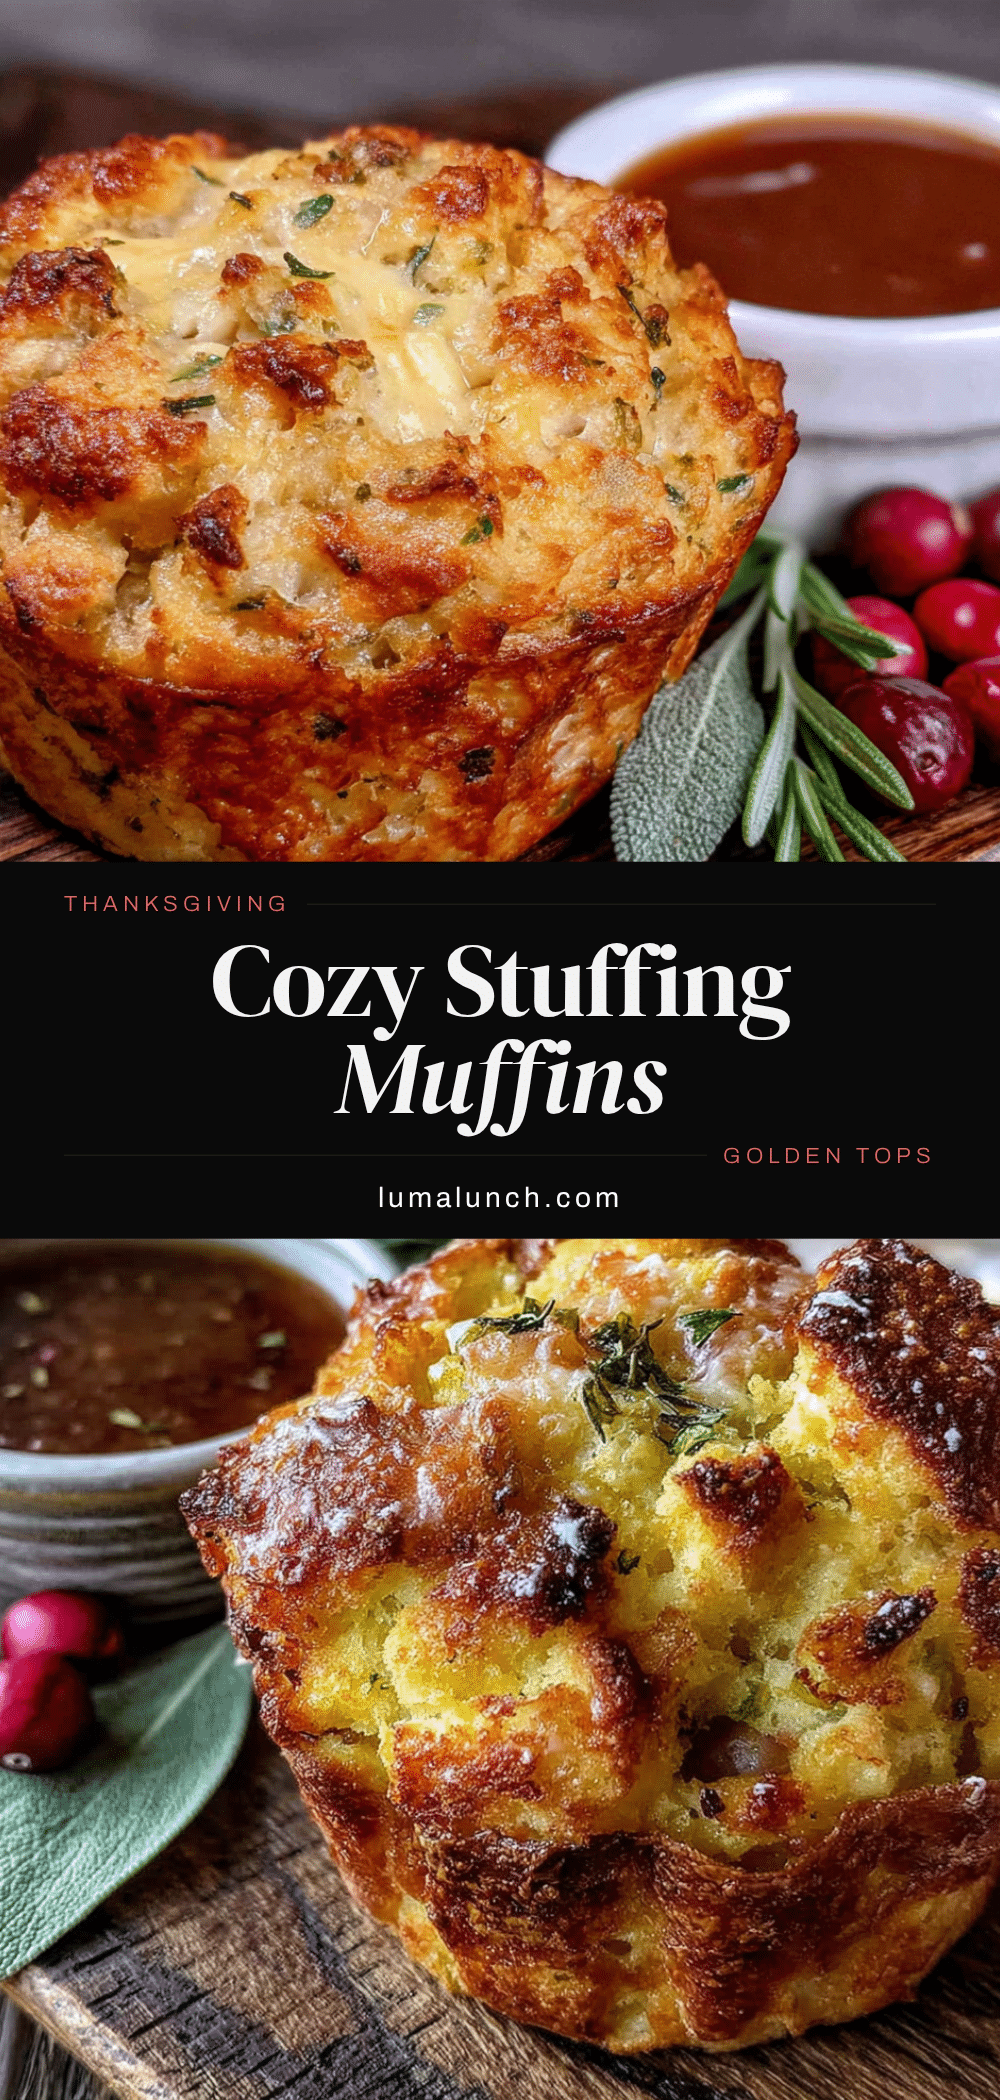
Best Easy Thanksgiving Stuffing Muffins with Crispy Tops
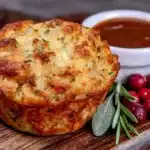
Individual stuffing muffins with perfectly crispy golden tops and tender, herb-infused interiors. A nostalgic twist on classic Thanksgiving stuffing that gives everyone their own personal serving with maximum crunch.
- Prep Time: 20 minutes
- Cook Time: 30 minutes
- Total Time: 50 minutes
- Yield: 12 servings 1x
- Category: Side Dish
- Cuisine: American
Ingredients
- 12 cups stale bread cubes (about 1 loaf), preferably sourdough or French bread
- 1/2 cup unsalted butter
- 2 cups diced yellow onion (about 1 large onion)
- 1 1/2 cups diced celery (about 4–5 stalks)
- 3 cloves garlic, minced
- 2 tablespoons fresh sage, chopped
- 1 tablespoon fresh thyme leaves
- 1 tablespoon fresh rosemary, finely chopped
- 2 cups low-sodium chicken or vegetable broth
- 2 large eggs, lightly beaten
- 1 teaspoon fine sea salt
- 1/2 teaspoon freshly ground black pepper
- Optional: 1/2 cup dried cranberries or 1/2 cup cooked, crumbled sausage
Instructions
- Preheat your oven to 375°F (190°C). Place your muffin tin on the middle rack to heat up slightly.
- If your bread isn’t stale, cut it into 1/2-inch cubes and spread on a baking sheet. Toast at 300°F for 10-12 minutes, stirring halfway through. Let cool completely.
- In a large skillet, melt the butter over medium heat. Add the diced onion and celery. Cook, stirring occasionally, for 8-10 minutes until onion is translucent and celery has softened.
- Add the minced garlic and cook for one more minute. Stir in the chopped sage, thyme, and rosemary and cook for about 30 seconds until fragrant. Remove from heat and let cool slightly.
- In a large mixing bowl, add the toasted bread cubes. Pour the herb-butter mixture over the bread and toss gently with your hands or a large spatula.
- In a separate bowl, whisk together the chicken broth, beaten eggs, salt, and pepper. If using dried cranberries or cooked sausage, stir them in now.
- Pour the broth mixture over the bread cubes. Gently toss and fold everything together. Let sit for 5 minutes so the bread can absorb the broth.
- Grease the muffin tin generously with cooking spray or butter.
- Divide the stuffing mixture evenly among the 12 muffin cups, packing each one firmly. Mound them slightly above the rim.
- Bake for 25-30 minutes until tops are deep golden brown and crispy. Rotate the tin at the 20-minute mark for even browning.
- Let the muffins cool in the tin for 5 minutes. Run a knife around the edges and gently lift them out. Place on a cooling rack.
Notes
For best texture, use bread that’s at least a day old. Pack muffin cups firmly to prevent crumbling. Let muffins rest in tin for 5 minutes before removing. These can be made a day ahead and reheated at 350°F for 10-12 minutes. For a traditional casserole, pour mixture into a greased 9×13-inch dish and bake for 35-40 minutes.
Nutrition
- Serving Size: 1 muffin
- Calories: 235
- Sugar: 3
- Sodium: 450
- Fat: 12
- Saturated Fat: 7
- Carbohydrates: 26
- Fiber: 2
- Protein: 6
Keywords: stuffing muffins, Thanksgiving stuffing, crispy stuffing, individual stuffing, holiday side dish, bread stuffing, herb stuffing