Love this? Save it for later!
Share the inspiration with your friends
My neighbor, a grandmother from the Philippines named Elena, watched me one Tuesday morning as I chased my toddler around the kitchen, trying to spoon-feed him oatmeal. She didn’t say anything at first. Then she just shook her head, laughed, and said, “In my house, breakfast chases nobody. Breakfast waits in the fridge.”
She came over the next day with a small mason jar. Inside was this creamy, cold oatmeal with swirls of peanut butter and flecks of banana. My kid, who had rejected every warm breakfast I’d made that week, grabbed the jar with both hands and ate the whole thing standing up. Honestly, I almost cried. It was that simple.
That was three years ago, and I’ve made these Kid-Approved Overnight Peanut Butter Banana Oats at least twice a week ever since. I’ve tweaked Elena’s original version just a little—added a pinch of salt, swapped in whole milk for extra creaminess, and figured out the perfect banana-to-oat ratio so it doesn’t get mushy. But the heart of it is still hers: a breakfast that works for you, not the other way around.
Maybe you’ve been there—standing over a hot stove at 6:45 AM, stirring oatmeal while a small person demands something else entirely. These oats are the answer. They take five minutes to throw together the night before, and in the morning, breakfast is literally waiting for you. No cooking, no fuss, no negotiation at the table.
Let me tell you, this recipe has saved my sanity on more mornings than I can count. And the best part? The kids think it’s a treat, but you know it’s packed with protein, fiber, and real food. That’s the kind of win I live for.
Why You’ll Love This Recipe
I’ve tested this recipe about fifteen times over the years—different milks, different oats, different ratios of peanut butter. I’ve learned what works and what absolutely does not. This version? It’s the one that gets eaten every single time, no leftovers, no complaints. Here’s why it stands out:
- Ready in 5 Minutes: You can make these oats faster than you can brew a pot of coffee. No cooking, no stirring, no babysitting a pot on the stove.
- Simple Ingredients: Rolled oats, milk, peanut butter, a banana, and a tiny bit of maple syrup or honey. That’s it. Everything you probably already have in your kitchen right now.
- Perfect for Busy Mornings: Whether it’s a school day, a work-from-home scramble, or a lazy Saturday, these oats are ready when you are. Just grab and go.
- Crowd-Pleaser: I’ve served these to picky toddlers, hungry teenagers, and skeptical adults. Every single person has asked for the recipe. It’s that universally good.
- Actually Filling: The combination of oats, peanut butter, and milk protein keeps little bellies full until lunch. No mid-morning hangry meltdowns.
What makes this recipe different from every other overnight oats recipe out there? It’s the texture. A lot of overnight oats turn into a sad, sludgy mess. Not these. The trick is mashing the banana just enough so it blends into the oats without making them watery. Plus, I use whole milk (or oat milk for a dairy-free version) for that rich, creamy consistency that kids actually want to eat. It’s not health food that tastes like punishment—it’s comfort food that happens to be good for you.
This is the kind of recipe that makes you feel like a superhero parent, even on the chaotic mornings. And honestly, we all deserve that feeling.
What Ingredients You Will Need
This recipe uses simple, wholesome ingredients to deliver a creamy, satisfying breakfast without the fuss. Every ingredient pulls its weight, and most are pantry staples you probably already have on hand.
For the Oats Base
- Rolled oats – 1 cup (90g). Use old-fashioned rolled oats, not instant or steel-cut. Rolled oats soften perfectly overnight without turning to mush. I prefer Bob’s Red Mill or Quaker Old-Fashioned for consistent results.
- Milk – 1 cup (240ml). Whole milk gives the creamiest texture, but 2% works fine too. For a dairy-free option, use oat milk or unsweetened almond milk. Coconut milk is too thin here—skip it.
- Plain Greek yogurt – ¼ cup (60g). This adds protein and a tangy creaminess that balances the sweetness. Use full-fat or low-fat, whichever you prefer. For a dairy-free version, use a thick coconut yogurt.
- Chia seeds – 1 tablespoon (12g). Totally optional, but they add fiber, omega-3s, and help thicken the oats naturally. My kids don’t even notice them.
For the Flavor
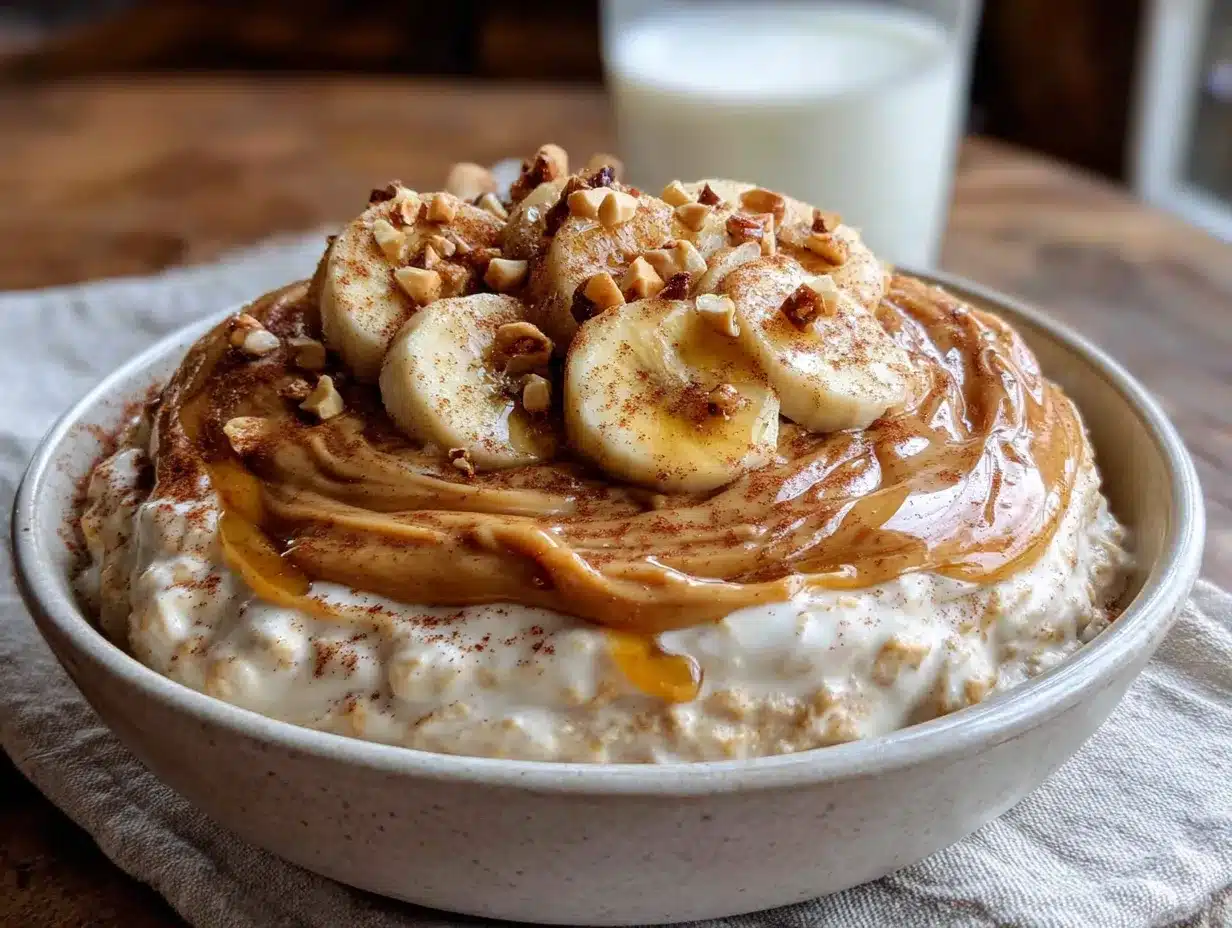
- Peanut butter – 3 tablespoons (48g). Use a natural peanut butter with no added sugar if possible. The kind that separates and needs stirring is perfect. If you use a sweetened commercial peanut butter, you can reduce the maple syrup.
- Ripe banana – 1 medium (about 120g). The riper the banana, the sweeter your oats will be. Look for bananas with lots of brown spots—they mash easier and add natural sweetness without needing extra sugar.
- Maple syrup or honey – 1 tablespoon (15ml). Just enough to round out the flavors. You can skip this entirely if your banana is very ripe or if you’re using sweetened peanut butter.
- Vanilla extract – ½ teaspoon (2.5ml). This isn’t strictly necessary, but it adds a warmth that makes the oats taste like a treat. Trust me on this one.
- Pinch of salt – Just a tiny pinch. Salt makes the peanut butter and banana flavors pop. Don’t skip it.
For Topping (Optional but Recommended)
- Sliced banana – A few fresh slices on top look pretty and add texture.
- Drizzle of peanut butter – Because more peanut butter is never a bad idea.
- Mini chocolate chips – My kids beg for these. A teaspoon of dark chocolate chips makes it feel like dessert for breakfast.
- Chopped peanuts – Adds crunch if your kids are into texture.
Equipment Needed
You don’t need anything fancy for this recipe. That’s part of the beauty of it. Here’s what you’ll need:
- Mason jars or small containers with lids – Four 8-ounce jars work perfectly. I use wide-mouth mason jars because they’re easy to eat from and clean. Any airtight container will work—just make sure it holds about 1 cup of liquid.
- Measuring cups and spoons – Standard set for dry and wet ingredients.
- A fork or small whisk – For mashing the banana and mixing everything together. A fork works better than a whisk because it breaks up the banana without turning it into liquid.
- A spoon for stirring – Any regular spoon will do.
- A small bowl – For mashing the banana before adding it to the jar. You can mash it directly in the jar, but it’s easier to control the texture in a bowl first.
That’s literally it. No blender, no food processor, no special gadgets. If you have a jar and a fork, you’re good to go. I’ve made these on camping trips using a plastic container and a spork. It works.
Preparation Method
- Mash the banana – In a small bowl, mash your ripe banana with a fork until it’s mostly smooth but still has a few tiny lumps. You want it to be able to mix into the oats, not turn into banana soup. Aim for the texture of thick applesauce. This takes about 30 seconds.
- Combine the wet ingredients – In a separate bowl or directly in your jar, whisk together the milk, Greek yogurt, peanut butter, maple syrup, and vanilla extract. Whisk until the peanut butter is fully incorporated. If you’re using a natural peanut butter that’s separated, stir it well first. Don’t worry if it looks a little lumpy at first—keep stirring and it will come together.
- Add the dry ingredients – Stir in the rolled oats, chia seeds (if using), and a tiny pinch of salt. Mix until everything is evenly combined. The oats should be fully submerged in the liquid. If they look dry, add another tablespoon of milk.
- Fold in the mashed banana – Gently fold the mashed banana into the oat mixture. Don’t overmix—you want little pockets of banana throughout, not a uniform paste. The banana will continue to break down overnight, so a few chunks are fine.
- Divide into jars – Spoon the mixture evenly into your four jars or containers. Leave about half an inch of space at the top for the oats to expand. They will puff up overnight, so don’t fill them all the way to the brim.
- Seal and refrigerate – Screw the lids on tightly and place the jars in the refrigerator. Let them sit for at least 6 hours, but overnight is best (8-12 hours). The oats need time to soften and absorb the liquid. I usually make them right after dinner, and they’re perfect by morning.
- Add toppings in the morning – In the morning, take a jar out of the fridge, give it a good stir, and add your toppings. I like to add fresh banana slices, a drizzle of peanut butter, and a sprinkle of mini chocolate chips. If the oats are too thick for your liking, stir in a splash of milk to loosen them up.
- Serve cold or at room temperature – These oats are meant to be eaten cold, straight from the fridge. If your kids prefer warm oats, you can microwave the jar for 30-45 seconds. Just remove any metal lids first and stir halfway through.
Pro tip from my kitchen: If you’re making these for a picky eater who doesn’t love texture, mash the banana completely smooth and skip the chia seeds. My youngest prefers his oats like pudding—no surprises. I just blend the banana into the milk mixture with a fork until it’s totally smooth, and he eats them without complaint.
Cooking Tips & Techniques
I’ve made a lot of mistakes with overnight oats over the years. Let me save you the trouble with some hard-won wisdom:
Don’t use quick oats. I tried this once when I ran out of rolled oats, and the result was a gluey, sad paste. Quick oats absorb liquid too fast and lose all their texture. Rolled oats are the only way to go for that chewy, satisfying bite.
Mash the banana separately. I know it’s tempting to just throw everything in the jar and shake it. Don’t. If you don’t mash the banana first, you’ll end up with big chunks of banana that turn brown and slimy overnight. Taking 30 seconds to mash it separately makes a huge difference.
Let them sit long enough. Six hours is the minimum, but 8-12 hours is ideal. If you’re making them for breakfast, make them right after dinner the night before. The oats need time to fully soften and absorb the flavors. I’ve made the mistake of only letting them sit for 4 hours, and the oats were still crunchy in the middle. Not great.
Adjust the consistency. Everyone likes their oats different. Some people like them thick and spoonable, others prefer them thinner. The ratio in this recipe gives you a medium-thick consistency. If you like them thicker, add an extra tablespoon of oats. If you like them thinner, add an extra splash of milk before serving.
Make a double batch. These keep in the fridge for up to 5 days, so I always make at least 8 jars at a time. It takes the same amount of effort as making 4, and then breakfast is sorted for almost a whole week. Game changer.
Don’t skip the salt. I know it sounds weird in sweet oatmeal, but a tiny pinch of salt makes the peanut butter and banana flavors sing. Without it, the oats taste flat. Trust me on this.
Variations & Adaptations
One of the best things about this recipe is how flexible it is. Here are some variations I’ve tried and loved:
Dairy-Free Version
Swap the whole milk for oat milk or unsweetened almond milk, and use a thick dairy-free yogurt like coconut yogurt or soy yogurt. The texture will be slightly less creamy, but still delicious. My sister-in-law makes this version for her kids, and they can’t tell the difference.
Nut-Free Version
If you’re dealing with nut allergies at school or daycare, swap the peanut butter for sunflower seed butter (SunButter) or WowButter. Both have a similar texture and sweetness. Just note that sunflower seed butter can turn greenish when mixed with baking soda or bananas—it’s totally safe, but it looks weird. I learned this the hard way when I sent my son to daycare with green oats. They were fine, but the teachers gave me a funny look.
Chocolate Peanut Butter Version
Add 1 tablespoon of unsweetened cocoa powder to the oat mixture along with the other ingredients. Stir in a few dark chocolate chips before refrigerating. This version tastes like a Reese’s cup in a jar, and my kids absolutely lose their minds over it. I call it “dessert for breakfast” and they buy it every time.
Berry Swirl Version
After dividing the oat mixture into jars, drop a spoonful of strawberry or raspberry jam (or mashed fresh berries) into each jar and swirl it with a knife. The kids love the pink streaks, and it adds a fruity freshness that balances the peanut butter.
High-Protein Version
Add an extra tablespoon of Greek yogurt and a scoop of vanilla protein powder. You may need to add an extra splash of milk to thin it out. This version keeps my teenagers full until lunch, which is saying something.
Serving & Storage Suggestions
These oats are best served cold, straight from the fridge. I like to stir them well before eating, then add my toppings. The texture is creamy and thick, almost like a pudding. If you prefer a thinner consistency, just stir in a splash of milk before serving.
For a fun presentation, I sometimes layer the oats in clear jars with sliced bananas and a drizzle of peanut butter on top. It looks pretty and makes the kids feel like they’re getting something special. You can also sprinkle a few mini chocolate chips or a pinch of cinnamon on top for extra flair.
Storage: These oats will keep in an airtight container in the refrigerator for up to 5 days. I make a big batch on Sunday night, and we eat them Monday through Friday. The flavors actually get better after a day or two as the oats continue to absorb the liquid and the peanut butter and banana meld together.
Freezing: You can freeze these oats for up to 3 months. Spoon the mixture into freezer-safe jars, leaving some room for expansion. Thaw overnight in the refrigerator before eating. The texture might be slightly softer after freezing, but it’s still delicious. I’ve done this when I was meal-prepping for a busy month, and it worked great.
Reheating: If your kids prefer warm oats, microwave the jar (without the lid) for 30-45 seconds, stirring halfway through. You can also dump the oats into a small saucepan and warm them over low heat for a few minutes. Just add a splash of milk to keep them from getting too thick.
Packing for school or work: These oats are perfect for packed lunches or breakfast on the go. Just grab a jar from the fridge, toss it in a lunch bag with an ice pack, and you’re set. My daughter takes them to school for breakfast club, and she says all her friends are jealous of her “fancy oatmeal.”
Nutritional Information & Benefits
Here’s the approximate nutritional breakdown for one serving (one jar, made with whole milk and no toppings):
- Calories: 320
- Protein: 14g
- Fat: 12g
- Carbohydrates: 42g
- Fiber: 7g
- Sugar: 16g (mostly from the banana and maple syrup)
These oats are packed with nutrition that actually matters for growing kids. The rolled oats provide complex carbohydrates for steady energy throughout the morning—no sugar crash at 10 AM. The peanut butter and Greek yogurt add protein and healthy fats that keep little brains focused and bellies full. Bananas are loaded with potassium, which helps with muscle function and energy levels.
The chia seeds (if you use them) are optional, but they add a solid dose of omega-3 fatty acids, which are great for brain development. Plus, the fiber in the oats and chia seeds helps with digestion and keeps things regular—a win for any parent dealing with picky eaters who don’t get enough fiber.
This recipe is naturally vegetarian and can easily be made gluten-free by using certified gluten-free rolled oats. It’s also nut-free if you swap the peanut butter for sunflower seed butter. The only potential allergen to watch for is dairy, but that’s easy to swap out as I mentioned above.
Honestly, I love that this breakfast feels like a treat but is actually really good for my kids. It’s one of those rare recipes where nutrition and taste are on the same team.
Conclusion
These Kid-Approved Overnight Peanut Butter Banana Oats have become a staple in our house for a reason. They’re easy, they’re affordable, and they actually get eaten without a fight. That’s a win in my book any day of the week.
I love that this recipe came from a real conversation with a real person—Elena, my neighbor who saw me struggling and shared something simple that changed my mornings. Every time I make these oats, I think of her standing in her kitchen, laughing at my chaos. It reminds me that the best recipes aren’t about perfection. They’re about connection, about feeding the people you love without making yourself crazy.
I’d love for you to try these and make them your own. Maybe your kids like them with extra banana. Maybe you skip the maple syrup entirely. Maybe you add a spoonful of cocoa powder and call it dessert. Whatever you do, I hope these oats make your mornings a little easier and a little sweeter.
If you make them, come back and let me know how they turned out. Did your kids love them? Did you find a new favorite variation? Drop a comment below or tag me in your photos—I genuinely love seeing how people make recipes their own. Happy eating, friends!
Frequently Asked Questions
Can I use steel-cut oats instead of rolled oats?
I wouldn’t recommend it. Steel-cut oats are much harder and need heat to soften properly. They won’t absorb enough liquid overnight and will stay crunchy and unpleasant. Stick with rolled oats for the best texture.
Can I make these without yogurt?
Absolutely. The yogurt adds creaminess and protein, but you can skip it or replace it with an extra ¼ cup of milk. The texture will be slightly thinner, but still delicious. I’ve made this version when I ran out of yogurt, and my kids didn’t notice.
How long do these keep in the fridge?
Up to 5 days in an airtight container. I usually make a batch on Sunday night, and we eat them through Friday. The flavors actually get better after a day or two as the oats absorb more liquid and the peanut butter and banana meld together.
Can I warm these up for my kids?
Yes! If your kids prefer warm oatmeal, just microwave the jar (without the lid) for 30-45 seconds, stirring halfway through. You can also dump the oats into a small saucepan and warm them over low heat for a few minutes. Add a splash of milk if they get too thick.
My oats turned out too thick. What did I do wrong?
Don’t worry, this is an easy fix. The oats will continue to absorb liquid as they sit, so they naturally get thicker over time. If your oats are too thick, just stir in a splash of milk (about 1-2 tablespoons) before eating. Next time, you can add an extra tablespoon of milk to the mixture before refrigerating.
Pin This Recipe!
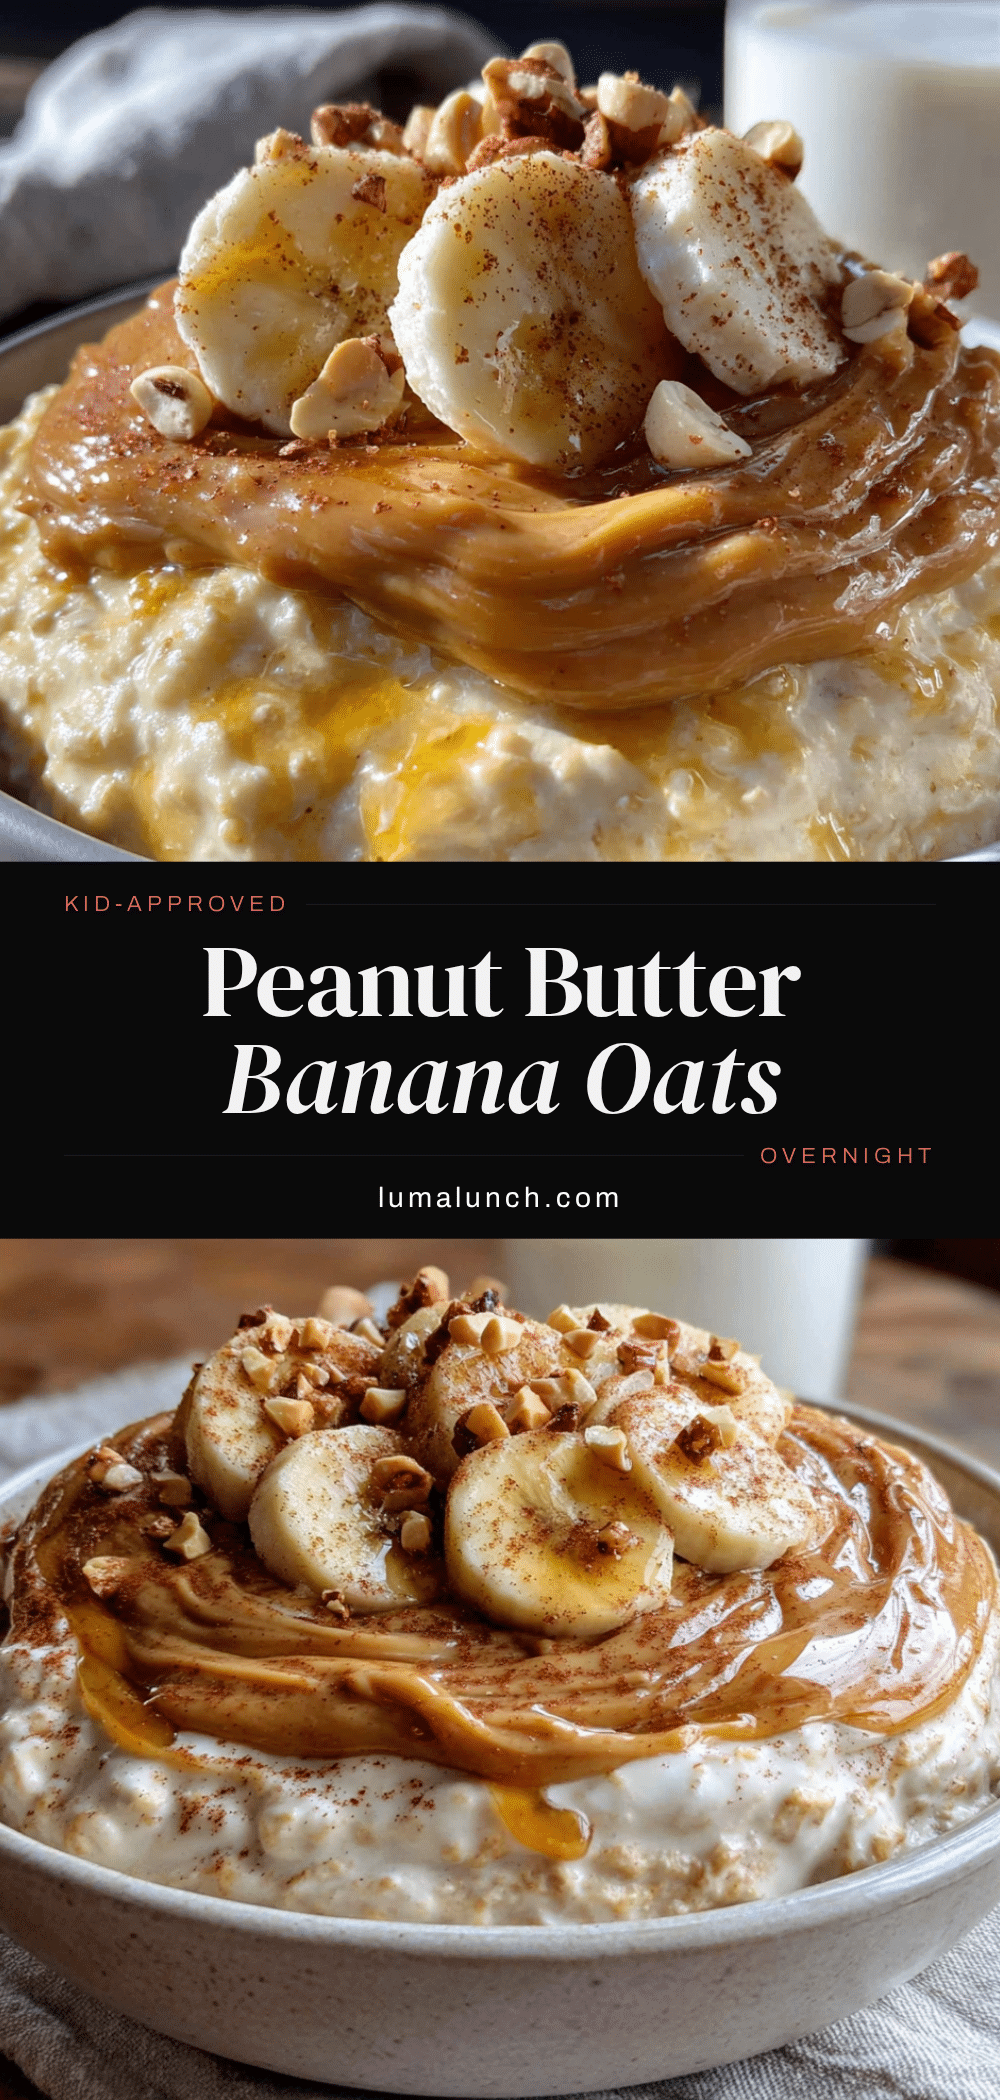
Kid-Approved Overnight Peanut Butter Banana Oats
Creamy, no-cook overnight oats with peanut butter and banana that kids love. Ready in 5 minutes and perfect for busy mornings.
- Prep Time: 5 minutes
- Cook Time: 0 minutes
- Total Time: 5 minutes (plus 6-12 hours refrigeration)
- Yield: 4 servings 1x
- Category: Breakfast
- Cuisine: American
Ingredients
- 1 cup (90g) rolled oats
- 1 cup (240ml) whole milk (or oat milk for dairy-free)
- 1/4 cup (60g) plain Greek yogurt (or thick coconut yogurt for dairy-free)
- 1 tablespoon (12g) chia seeds (optional)
- 3 tablespoons (48g) natural peanut butter (no added sugar preferred)
- 1 medium ripe banana (about 120g)
- 1 tablespoon (15ml) maple syrup or honey (optional, adjust to taste)
- 1/2 teaspoon (2.5ml) vanilla extract
- Pinch of salt
- For topping (optional): sliced banana, drizzle of peanut butter, mini chocolate chips, chopped peanuts
Instructions
- In a small bowl, mash the ripe banana with a fork until mostly smooth with a few tiny lumps (texture of thick applesauce).
- In a separate bowl or directly in a jar, whisk together milk, Greek yogurt, peanut butter, maple syrup, and vanilla extract until peanut butter is fully incorporated.
- Stir in rolled oats, chia seeds (if using), and a tiny pinch of salt until everything is evenly combined. Oats should be fully submerged; add another tablespoon of milk if dry.
- Gently fold the mashed banana into the oat mixture. Do not overmix—leave small banana pockets.
- Divide the mixture evenly into four 8-ounce jars or airtight containers, leaving about 1/2 inch of space at the top for expansion.
- Seal jars tightly and refrigerate for at least 6 hours, preferably 8-12 hours (overnight).
- In the morning, stir the oats, add desired toppings (e.g., fresh banana slices, peanut butter drizzle, mini chocolate chips), and serve cold or at room temperature.
- If desired, microwave without lid for 30-45 seconds for warm oats, stirring halfway through.
Notes
For picky eaters who dislike texture, mash banana completely smooth and skip chia seeds. Oats keep in fridge for up to 5 days and can be frozen for up to 3 months. Adjust consistency with extra milk if too thick. Do not use quick oats or steel-cut oats.
Nutrition
- Serving Size: 1 jar (about 1 cup)
- Calories: 320
- Sugar: 16
- Sodium: 150
- Fat: 12
- Saturated Fat: 3
- Carbohydrates: 42
- Fiber: 7
- Protein: 14
Keywords: overnight oats, peanut butter banana oats, kid-friendly breakfast, no-cook breakfast, easy breakfast, healthy breakfast, meal prep breakfast


