Love this? Save it for later!
Share the inspiration with your friends
My neighbor Jen wasn’t trying to impress anyone. I’d stopped by to borrow a cup of sugar—the most cliché neighborly excuse in existence—and the smell hit me before I even got through her screen door. It was buttery, garlicky, and somehow made me feel like I’d come home to a kitchen I didn’t own. She was standing there in her faded apron, stirring something in one pan, while her three kids ran circles around the kitchen island like it was a racetrack.
“Oh, it’s nothing,” she said when I asked what smelled so good. “Just the chicken and rice thing I make when I’m too tired to think.”
And that’s exactly what made me stop in my tracks. She wasn’t trying to create a masterpiece. She was trying to get dinner on the table before someone had a meltdown. But that pan of chicken and rice? It was the kind of meal that makes you close your eyes after the first bite, even if you’re standing in someone else’s kitchen holding a measuring cup of sugar.
I watched her work for a few minutes—tossing chicken thighs into a hot pan, letting them get golden and crispy, then adding rice and broth right there in that same pan. No extra dishes. No complicated steps. Just one pan and a whole lot of garlic butter magic. Honestly, I felt a little embarrassed that I’d never thought of this myself.
Maybe you’ve been there—standing in your own kitchen at 5:30 PM, staring at chicken and rice, wondering how to make it taste like something your kids will actually eat without complaint. This is that recipe. It’s the one Jen makes on a Tuesday when she’s got homework to check and laundry to fold. And it’s the one I’ve made at least twice a month ever since that afternoon.
Why You’ll Love This Recipe
Let me tell you straight up—this isn’t fancy food. It’s not the kind of thing you’d serve at a dinner party with a fancy wine pairing. But it is the kind of meal that makes your family happy, your kitchen smell amazing, and your wallet breathe a sigh of relief. Here’s why this one stands out from every other chicken and rice recipe you’ve seen:
- One Pan, Minimal Mess : Everything cooks in a single skillet or Dutch oven. That means less scrubbing, fewer dishes, and more time sitting down with your people.
- Kid-Approved Without Being Boring : The garlic butter flavor is rich enough to satisfy adults but simple enough that even the pickiest eaters at my table go back for seconds. My own kids used to push chicken around their plates. Not anymore.
- Budget-Friendly Ingredients : Chicken thighs, rice, butter, garlic, and a few pantry staples. No fancy cuts of meat or imported cheeses required. This is smart cooking on a sensible budget.
- Comes Together in Under an Hour : From start to finish, you’re looking at about 45 minutes. Most of that time is hands-off while the rice simmers away.
- Leftovers That Actually Reheat Well : This is a big deal in my house. The rice stays fluffy, the chicken stays juicy, and the flavors get even better overnight. Perfect for lunch the next day.
I’ve tested this recipe more times than I care to admit. I’ve made it with chicken breasts, with drumsticks, with brown rice, and even with a can of cream of mushroom soup thrown in when I was feeling lazy. This version right here? It’s the one that works every single time. It’s the one Jen made look so effortless that day, and it’s the one I keep coming back to when I need a win on a weeknight.
What Ingredients You Will Need
This recipe uses simple, wholesome ingredients that you probably already have in your kitchen. No special trips to a fancy grocery store required. Here’s what you’ll need and why each ingredient matters:
- Chicken Thighs (1.5 lbs / 680g) : Bone-in, skin-on thighs give you the best flavor and stay juicy during cooking. If you want to use boneless skinless thighs, you can—just reduce the cooking time by about 10 minutes. I personally prefer thighs over breasts here because they don’t dry out as easily, and let’s face it, they’re cheaper.
- Unsalted Butter (4 tablespoons / 56g) : This is the backbone of the dish. Use unsalted so you can control the salt level yourself. I’ve tested this with salted butter too, and it works fine—just go easy on the added salt.
- Garlic (6 cloves, minced) : Fresh garlic is non-negotiable here. Please don’t use the jarred stuff. The flavor just isn’t the same. I buy the big bags of peeled garlic cloves from Costco and keep them in the freezer—they mince easily straight from frozen.
- Long-Grain White Rice (1.5 cups / 300g) : Basmati or jasmine both work beautifully. Avoid short-grain rice here—it gets too sticky and clumpy. I’ve tested this with brown rice too, and it works if you increase the broth by 1/2 cup and cook for about 20 minutes longer.
- Chicken Broth (3 cups / 720ml) : Low-sodium is best so you can control the salt. I use Swanson’s or Kitchen Basics. Homemade is even better if you have it on hand.
- Onion (1 medium, diced) : Yellow or white onion works fine. I’ve used red onion in a pinch, and it gives a slightly different flavor but still works.
- Dried Thyme (1 teaspoon) : This adds a subtle earthy flavor that pairs perfectly with the garlic butter. Fresh thyme works too—use about 1 tablespoon of fresh leaves.
- Paprika (1 teaspoon) : Adds color and a mild sweetness. Smoked paprika is amazing here if you have it.
- Salt and Black Pepper (to taste) : I use about 1 teaspoon of salt and 1/2 teaspoon of pepper for the whole dish, but taste as you go.
- Fresh Parsley (for garnish, optional) : Adds a pop of color and freshness. My kids call it “the green stuff” and pick around it, but I still add it because it makes me feel fancy.
Equipment Needed
One of the best things about this recipe is that you don’t need a ton of fancy equipment. Here’s what you’ll need:
- Large Skillet or Dutch Oven (12-inch / 30cm) : You need something with a tight-fitting lid and enough surface area to sear the chicken without crowding. I use my trusty Lodge cast iron skillet for this, but a heavy-bottomed stainless steel pan works great too. If you don’t have a lid that fits, foil works in a pinch.
- Cutting Board and Sharp Knife : For mincing garlic and dicing the onion. Nothing fancy needed—I’ve used the same $10 cutting board for years.
- Measuring Cups and Spoons : For measuring your rice and broth accurately. I cannot stress this enough—eyeballing the liquid-to-rice ratio is a recipe for disaster.
- Wooden Spoon or Spatula : For stirring and scraping up the browned bits from the bottom of the pan. Those bits are pure flavor gold.
- Tongs : For flipping the chicken without splattering hot butter everywhere. I learned this the hard way.
That’s it. No food processor, no stand mixer, no special gadgets. If you’ve got a pan and a spoon, you’re in business.
Preparation Method
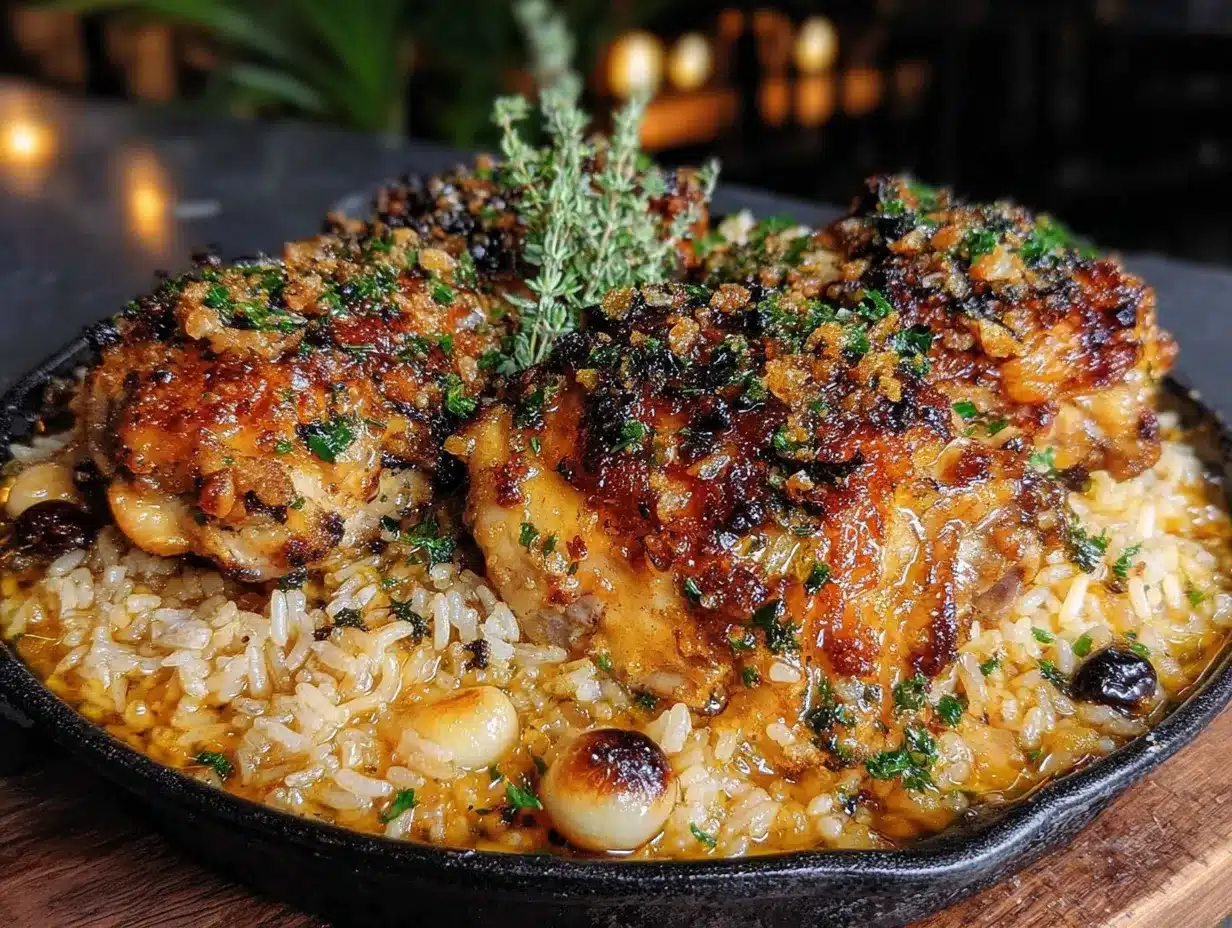
Alright, let’s get cooking. I’ll walk you through each step like we’re standing in the kitchen together. Trust me—if I can do this while my kids are asking me 47 questions about why the sky is blue, you can do this too.
- Prep Your Ingredients First : Before you turn on the stove, mince your garlic, dice your onion, and measure out your rice and broth. This makes the whole process smoother and prevents you from burning garlic while you’re scrambling to find the measuring cups. I learned this tip after one too many smoky kitchen incidents.
- Season and Sear the Chicken : Pat your chicken thighs dry with paper towels. This is important—dry chicken gets crispy, wet chicken steams. Season both sides generously with salt, pepper, and paprika. Heat 2 tablespoons of butter in your skillet over medium-high heat. Once it’s melted and sizzling, place the chicken skin-side down. Let it cook undisturbed for 5-6 minutes until the skin is golden brown and crispy. Flip and cook for another 3-4 minutes. Don’t crowd the pan—if your chicken thighs are touching, do this in two batches. Remove the chicken to a plate and set aside.
- Sauté the Aromatics : Reduce the heat to medium. Add the remaining 2 tablespoons of butter to the pan. Once it melts, add your diced onion and cook for 3-4 minutes until it’s soft and translucent. Scrape up those browned bits from the bottom of the pan—that’s where all the flavor lives. Add the minced garlic and cook for 30 seconds until fragrant. Do not walk away here. Burnt garlic tastes bitter and sad, and we’re not about that life.
- Toast the Rice : Add your rice to the pan and stir it around for 1-2 minutes until it starts to look slightly translucent and smells nutty. This step makes a difference—toasting the rice helps it stay fluffy instead of turning into mush. I used to skip this step, and honestly, I regret every batch I made before I learned better.
- Add the Broth and Thyme : Pour in the chicken broth and add the dried thyme. Stir everything together and scrape up any remaining browned bits from the bottom of the pan. Bring the liquid to a gentle boil.
- Nestle the Chicken Back In : Place the seared chicken thighs on top of the rice, skin-side up. The rice will absorb the broth and cook underneath the chicken. Don’t stir after this point—you want the rice to cook evenly without being disturbed.
- Cover and Simmer : Reduce the heat to low, cover the pan with a tight-fitting lid, and let it simmer for 20-25 minutes. Resist the urge to peek! Every time you lift that lid, steam escapes and your cooking time gets thrown off. I know it’s tempting, but trust the process.
- Rest Before Serving : After 20 minutes, check if the rice is tender and the liquid is absorbed. If not, cover and cook for another 5 minutes. Once done, turn off the heat and let the pan sit covered for 5-10 minutes. This resting time allows the rice to finish steaming and the flavors to meld together. Fluff the rice gently with a fork, garnish with fresh parsley, and serve.
Cooking Tips & Techniques
I’ve made this recipe more times than I can count, and I’ve definitely made my share of mistakes along the way. Here are the things I wish someone had told me the first time:
- Don’t Skip the Searing Step : I know it’s tempting to just throw everything in the pan and call it a day, but that golden-brown skin is where the magic happens. It adds texture, flavor, and visual appeal. If you’re short on time, at least give the chicken 3-4 minutes per side.
- Use a Heavy Pan : Thin pans create hot spots that burn the rice on the bottom while leaving the top undercooked. A heavy-bottomed skillet or Dutch oven distributes heat evenly. I learned this after ruining two batches in a row with my old nonstick pan.
- Check Your Rice-to-Liquid Ratio : Different types of rice absorb different amounts of liquid. For long-grain white rice, the standard ratio is 1 part rice to 2 parts liquid. But because we’re cooking with chicken on top, I use slightly less liquid to account for the moisture the chicken releases. If you’re using a different rice, adjust accordingly.
- Let It Rest : I know you’re hungry. I know your kids are asking when dinner will be ready. But that 5-10 minute rest at the end is non-negotiable. It allows the rice to finish absorbing the liquid and the chicken to reabsorb its juices. Cutting into it too early will give you dry chicken and soggy rice.
- Taste and Adjust : Before you add the broth, taste it. Is it seasoned enough? Broth can vary wildly in salt content, so adjust your seasoning based on what you’re using. I once used a super salty broth and ended up with an inedible dinner. Learn from my mistakes.
Variations & Adaptations
One of the things I love most about this recipe is how flexible it is. Here are some ways I’ve adapted it over the years:
- Make It Dairy-Free : Swap the butter for olive oil or a high-quality vegan butter. I’ve used both, and while the flavor changes slightly, it’s still delicious. Just don’t use margarine—it has too much water and won’t give you the same richness.
- Add Vegetables : Toss in a cup of frozen peas and carrots during the last 5 minutes of cooking. Or add some chopped bell peppers along with the onion. My kids actually eat more veggies this way because they’re mixed in with the rice and butter.
- Swap the Protein : Chicken breasts work if you reduce the searing time and add them back to the pan a bit later. Drumsticks are also great—they’re cheap, flavorful, and kids love eating them off the bone. I’ve even made this with boneless pork chops in a pinch.
- Try Different Grains : Brown rice needs about 40-45 minutes of cooking time and an extra 1/2 cup of broth. Quinoa works too—use 1 cup quinoa to 2 cups broth and cook for 15 minutes. Cauliflower rice is a low-carb option, but reduce the cooking time to 10 minutes.
- Spice It Up : Add 1/2 teaspoon of cayenne pepper or red pepper flakes along with the paprika for a little heat. My husband loves this version, and I make it just for him on nights when the kids are eating something else.
- Creamy Version : Stir in 1/2 cup of heavy cream or coconut milk along with the broth for an extra-rich sauce. This turns it into more of a risotto-style dish, and honestly, it’s incredible.
Serving & Storage Suggestions
This dish is a complete meal on its own, but here are some ways to round it out:
- Serving Temperature : Serve it hot, straight from the pan. The butter and garlic flavors are at their peak when everything is warm and fragrant. I like to sprinkle extra fresh parsley on top right before serving for a pop of color.
- What to Serve Alongside : A simple green salad with lemon vinaigrette cuts through the richness beautifully. Steamed broccoli or green beans are also great options. If you want to go all out, some crusty bread to soak up any remaining buttery juices is never a bad idea.
- Storage Instructions : Store leftovers in an airtight container in the refrigerator for up to 4 days. The flavors actually get better as they meld together overnight. I’ve been known to make a double batch just for the leftovers.
- Reheating Tips : The best way to reheat this is in a skillet with a splash of chicken broth or water. Cover and heat over medium-low for 5-7 minutes, stirring occasionally. The microwave works in a pinch, but it can dry out the chicken and make the rice mushy. If you’re using the microwave, cover the bowl with a damp paper towel to add moisture.
- Freezer Instructions : This freezes beautifully for up to 3 months. Let it cool completely, then transfer to a freezer-safe container. To reheat, thaw overnight in the refrigerator and warm in a skillet with a bit of broth.
- Flavor Development : I honestly think this dish tastes even better the next day. The rice absorbs all the garlic butter goodness, and the chicken becomes incredibly tender. It’s one of those rare recipes where leftovers are something to look forward to.
Nutritional Information & Benefits
While I’m not a nutritionist, I can give you a general idea of what’s in this dish. Per serving (based on 6 servings):
- Calories : Approximately 450-500 calories
- Protein : 28-32 grams
- Carbohydrates : 45-50 grams
- Fat : 18-22 grams
- Fiber : 1-2 grams
- Sodium : 600-800 mg (depending on broth and added salt)
This meal provides a good balance of protein, carbs, and healthy fats to keep your family satisfied. Chicken thighs are rich in B vitamins, selenium, and iron. Garlic has anti-inflammatory properties and supports immune health. And while butter gets a bad rap, it does contain fat-soluble vitamins A, D, E, and K.
For a lighter version, you can use chicken breasts and reduce the butter to 2 tablespoons. You can also swap white rice for brown rice or quinoa for extra fiber and nutrients. But honestly? Sometimes dinner is about more than just the numbers. It’s about sitting down together, sharing a meal that tastes good, and feeling full and happy. This recipe delivers on all fronts.
Conclusion
I still think about that afternoon at Jen’s house. Not because she was showing off or trying to impress me, but because she was just… making dinner. The kind of dinner that fills your kitchen with the smell of garlic and butter, that makes your kids stop running long enough to ask what’s for dinner, that makes you feel like you’ve got this whole parenting-and-cooking thing figured out, even if just for one night.
This recipe has become my go-to for those nights when I need a win. When I’m tired, when the grocery budget is tight, when I want something that will make everyone at the table happy without a lot of fuss. It’s not fancy. It’s not complicated. But it’s honest, good food that brings people together.
I’d love to hear how it goes for you. Did your kids ask for seconds? Did you add your own twist? Drop a comment below and let me know—I read every single one, and I’m always looking for new ideas to try. And if you loved this recipe as much as I do, share it with a friend who needs a weeknight win too. Happy cooking!
Frequently Asked Questions
Can I use chicken breasts instead of thighs?
Absolutely! Chicken breasts work fine, but they cook faster and can dry out more easily. Reduce the searing time to 3-4 minutes per side, and check the internal temperature after 20 minutes of simmering. You’re looking for 165°F (74°C). I personally prefer thighs for their juiciness and richer flavor, but breasts are a great lean option.
Can I make this in a slow cooker or Instant Pot?
Yes, with adjustments. For the Instant Pot, sear the chicken using the sauté function, then add the rice, broth, and aromatics. Cook on high pressure for 6 minutes with a natural release. For a slow cooker, sear the chicken first, then add everything to the slow cooker and cook on low for 4-5 hours. The rice may turn out a bit softer than the stovetop version, but it’s still delicious.
Why is my rice mushy or undercooked?
Mushy rice usually means too much liquid or overcooking. Undercooked rice means not enough liquid or not enough cooking time. Stick to the 1:2 rice-to-broth ratio and resist the urge to lift the lid during cooking. If you’re at high altitude, you may need to add an extra 1/4 cup of broth and cook for 5-10 minutes longer.
Can I add vegetables to this dish?
Definitely! Frozen peas and carrots are my go-to—add them during the last 5 minutes of cooking so they warm through without turning mushy. Chopped bell peppers, mushrooms, or zucchini can be sautéed along with the onion. Just keep in mind that watery vegetables like zucchini may release liquid, so you might need to reduce the broth slightly.
How do I prevent the rice from sticking to the bottom of the pan?
Use a heavy-bottomed pan and make sure your heat is on low once you cover the pan. Letting the dish rest for 5-10 minutes after cooking also helps—the rice releases from the bottom as it steams. If you’re still having trouble, try using a nonstick skillet or adding an extra tablespoon of butter. And whatever you do, don’t stir the rice once it’s covered and simmering—that’s a guaranteed way to get sticky, gummy rice.
Pin This Recipe!
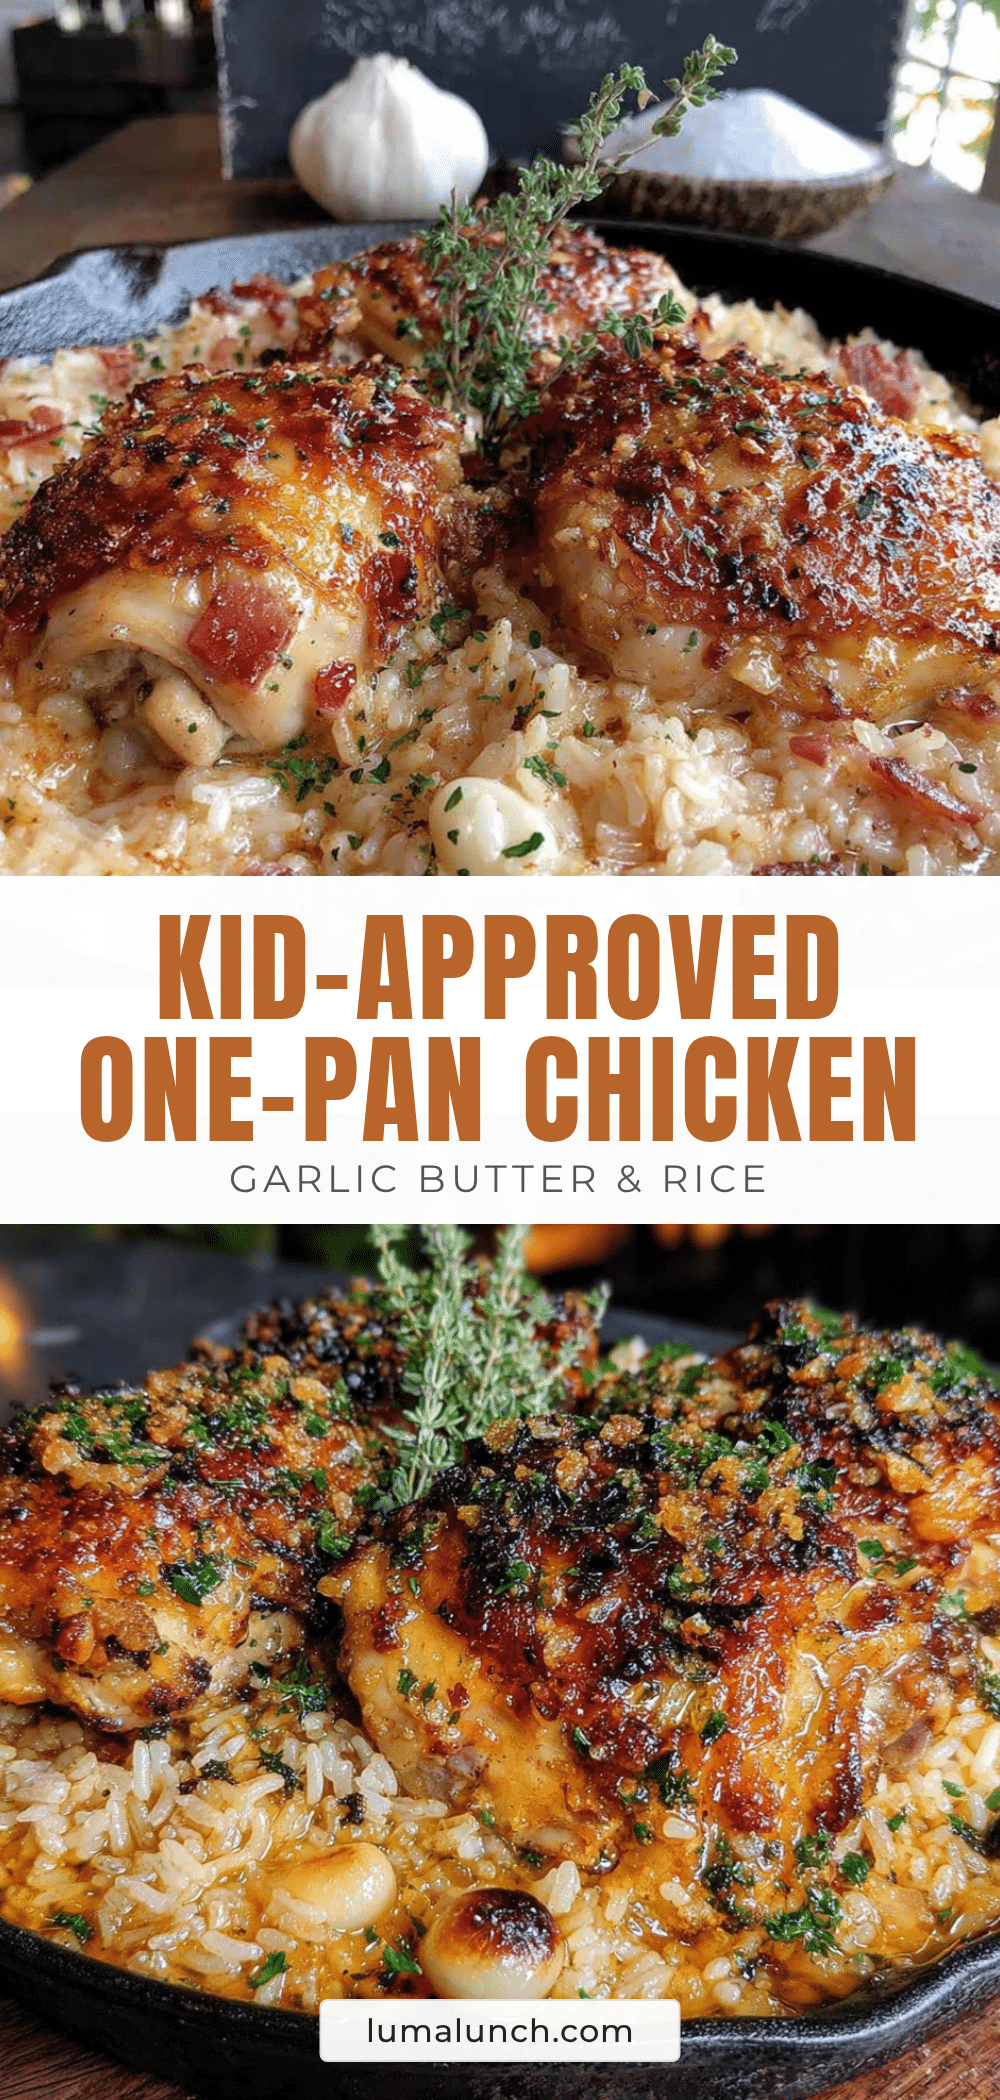
Kid-Approved One-Pan Garlic Butter Chicken and Rice

A simple, one-pan meal featuring juicy chicken thighs and fluffy rice in a rich garlic butter sauce. Perfect for busy weeknights, this budget-friendly recipe comes together in under an hour and is sure to please even the pickiest eaters.
- Prep Time: 15 minutes
- Cook Time: 30 minutes
- Total Time: 45 minutes
- Yield: 6 servings 1x
- Category: Main Course
- Cuisine: American
Ingredients
- 1.5 lbs (680g) bone-in, skin-on chicken thighs
- 4 tablespoons (56g) unsalted butter
- 6 cloves garlic, minced
- 1.5 cups (300g) long-grain white rice (basmati or jasmine)
- 3 cups (720ml) low-sodium chicken broth
- 1 medium onion, diced
- 1 teaspoon dried thyme
- 1 teaspoon paprika
- Salt and black pepper to taste
- Fresh parsley for garnish (optional)
Instructions
- Prep your ingredients first: mince garlic, dice onion, measure rice and broth.
- Pat chicken thighs dry with paper towels. Season both sides generously with salt, pepper, and paprika.
- Heat 2 tablespoons of butter in a large skillet or Dutch oven over medium-high heat. Once melted and sizzling, place chicken skin-side down. Cook undisturbed for 5-6 minutes until golden brown and crispy. Flip and cook for another 3-4 minutes. Remove chicken to a plate and set aside.
- Reduce heat to medium. Add remaining 2 tablespoons of butter. Once melted, add diced onion and cook for 3-4 minutes until soft and translucent, scraping up browned bits from the bottom of the pan.
- Add minced garlic and cook for 30 seconds until fragrant.
- Add rice to the pan and stir for 1-2 minutes until slightly translucent and nutty-smelling.
- Pour in chicken broth and add dried thyme. Stir together, scraping up any remaining browned bits. Bring to a gentle boil.
- Nestle the seared chicken thighs on top of the rice, skin-side up. Do not stir after this point.
- Reduce heat to low, cover with a tight-fitting lid, and simmer for 20-25 minutes. Do not lift the lid during cooking.
- After 20 minutes, check if rice is tender and liquid is absorbed. If not, cover and cook for another 5 minutes. Once done, turn off heat and let the pan sit covered for 5-10 minutes.
- Fluff rice gently with a fork, garnish with fresh parsley, and serve.
Notes
For best results, use a heavy-bottomed pan to prevent hot spots. Let the dish rest for 5-10 minutes after cooking to allow rice to finish steaming and flavors to meld. Leftovers can be stored in an airtight container in the refrigerator for up to 4 days or frozen for up to 3 months. Reheat in a skillet with a splash of broth for best texture.
Nutrition
- Serving Size: 1 serving (based on
- Calories: 475
- Sugar: 2
- Sodium: 700
- Fat: 20
- Saturated Fat: 8
- Carbohydrates: 47
- Fiber: 1.5
- Protein: 30
Keywords: one-pan chicken and rice, garlic butter chicken, kid-friendly dinner, easy weeknight meal, budget-friendly chicken recipe


