Love this? Save it for later!
Share the inspiration with your friends
It was 10:47 PM on a Tuesday in early October, and a very specific craving hit. Not for candy or pumpkin spice, but for something savory, something fun, something that felt like a party. The problem? I had already put the kids to bed, the grocery budget was shot for the week, and the fridge was looking pretty sad. I didn’t have the ground beef I’d normally use for stuffed peppers, but I had a bag of brown rice, a block of cheddar, and four large orange bell peppers that were starting to look a little soft. And then, the idea arrived: what if I carved them like jack-o-lanterns? Honestly, it was one of those weird, impulsive thoughts you get when you’re too tired to overthink. I grabbed a paring knife and started cutting tiny triangle eyes into the first pepper. It was a little messy, and I definitely nicked my thumb once, but by the time I had four little pepper faces staring back at me, I was grinning like a kid. I stuffed them with a simple mix of rice, black beans, corn, and cheese, popped them in the oven, and waited. When I pulled them out, the cheese was bubbling through the little carved mouths, and they looked so ridiculous and perfect. I mean, I ate two of them standing over the sink at 11:15 PM. Maybe you’ve been there—needing something to make a regular Tuesday feel a little special, without a lot of fuss or cash. That’s why these Kid-Approved Jack-O-Lantern Stuffed Bell Peppers have stayed in our rotation ever since. They’re not just a meal; they’re a moment.
Why You’ll Love This Recipe
Let me tell you, after testing this recipe about four times (the first batch was a little too watery), I can say with confidence that this is the version you want. It’s been family-approved by my own picky eaters and even by a neighbor’s kid who “doesn’t eat vegetables.”
- Quick & Easy: From start to finish, you’re looking at about 45 minutes. Most of that is hands-off oven time, so you can get the kids bathed or just take a breather.
- Simple Ingredients: You probably have most of this in your pantry right now. Rice, canned beans, corn, cheese, and bell peppers. No fancy trips to a specialty store.
- Perfect for Halloween Fun: This is the ultimate Halloween dinner. It’s festive without the sugar rush, and the kids actually eat their veggies because they’re too busy giggling at the faces.
- Crowd-Pleaser: I’ve served these at a small Halloween potluck and they vanished. Kids and adults both love the playful presentation and the familiar, cheesy filling.
- Unbelievably Delicious: The sweet roasted pepper with the savory, slightly smoky filling is just a knockout combo. It’s comfort food with a silly, happy face.
What makes this recipe different from the rest is the carving technique. It’s not just about cutting a face; it’s about making sure the pepper stays sturdy enough to hold the filling. I learned the hard way that cutting the stem off first is a mistake—you need that little green hat to keep everything together. This is my best version, perfected through trial and error so you don’t have to make the same mess I did. This recipe isn’t just good—it is the kind that makes you close your eyes after the first bite, not because it’s fancy, but because it’s so unexpectedly satisfying. It’s comfort food reimagined—healthier, faster, but with the same soul-soothing satisfaction. Perfect for impressing your kids without stress, or turning a simple weeknight meal into something memorable.
What Ingredients You Will Need
This recipe uses simple, wholesome ingredients to deliver bold flavor and satisfying texture without the fuss. Most of these are pantry staples, which is exactly what you need on a busy weeknight.
- For the Peppers:
- 4 large orange bell peppers (look for ones that are squat and round, not tall and skinny, so they sit flat)
- 1 tablespoon olive oil (for brushing the outside, helps them soften and get a little char)
- For the Filling:
- 1 cup cooked brown rice (or white rice, quinoa, or even cauliflower rice for a low-carb option)
- 1 can (15 oz) black beans, drained and rinsed (I like the Goya brand for their texture)
- 1 cup frozen corn kernels, thawed (or fresh corn cut off the cob in summer)
- 1/2 cup diced onion (yellow or white, about half a medium onion)
- 2 cloves garlic, minced (or 1 teaspoon garlic powder if you’re in a hurry)
- 1 teaspoon ground cumin
- 1/2 teaspoon smoked paprika (adds that subtle campfire flavor)
- 1/2 teaspoon salt
- 1/4 teaspoon black pepper
- 1 cup shredded cheddar cheese, divided (I recommend sharp cheddar for more flavor, but a Mexican blend works great too)
- 1/4 cup salsa (any brand you like, or even diced tomatoes with green chiles)
- For the Faces:
- Small pieces of black olive or bell pepper scraps (for the pupils of the eyes, optional but very cute)
Substitution Guidance: If you need a gluten-free option, this recipe is naturally gluten-free as written. For a dairy-free version, use a vegan shredded cheese or omit it entirely—the filling is still flavorful from the spices. You can swap the black beans for pinto or kidney beans if that’s what you have. For a meatier version, add 1/2 pound of cooked ground turkey or beef to the filling mixture. Just brown it with the onion and garlic before adding the other ingredients.
Equipment Needed
You don’t need a lot of fancy gear for this one, which is part of the beauty. Here’s what you’ll need:
- Baking dish: A 9×13 inch baking dish works perfectly. Glass or ceramic is best because it heats evenly. I’ve used a metal pan before and the bottoms of the peppers got a little too dark.
- Paring knife: This is your most important tool for carving the faces. A small, sharp knife gives you control. I actually use an old paring knife I got from a thrift store, and it works better than my expensive set.
- Cutting board: Any sturdy board will do. I recommend using a plastic one for this since you’ll be cutting into the peppers and the juice can stain wood.
- Mixing bowl: A medium bowl for combining the filling ingredients.
- Small spoon: For scooping out the seeds and membranes from inside the peppers. A grapefruit spoon with a serrated edge is amazing for this, but a regular teaspoon works fine.
- Measuring cups and spoons: For accuracy, especially with the spices. I’m usually a “pinch of this” kind of cook, but for this recipe, the cumin and paprika really need to be balanced.
Budget-friendly tip: If you don’t have a baking dish, you can use a rimmed baking sheet lined with foil. Just make sure the peppers are snug so they don’t tip over while baking.
Preparation Method
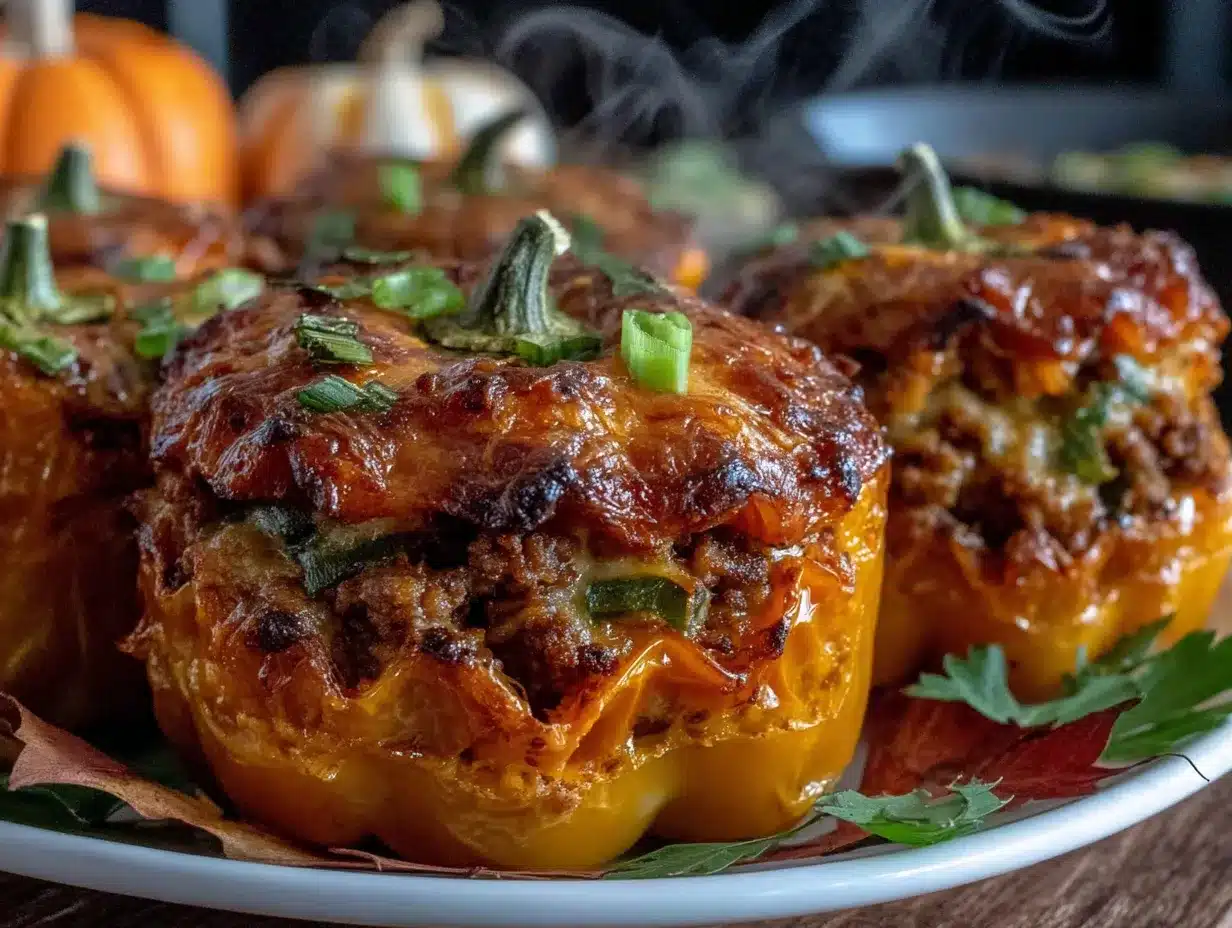
Let’s get to the fun part. Follow these steps, and you’ll have a dinner that looks like it took way more effort than it actually did.
- Preheat your oven to 375°F (190°C). While it’s heating, get your filling started. If you haven’t cooked your rice yet, now’s the time to get that going. One cup of dry rice cooked in two cups of water will give you about three cups of cooked rice—more than enough for this recipe.
- Prepare the bell peppers. Wash them well. Using your paring knife, cut a small circle around the stem of each pepper, like you’re cutting a little hat off. Don’t cut the whole top off—just the stem area. You want to leave a “lid” that’s about 1 inch wide. Gently pull the stem out, and use your spoon to scoop out all the seeds and white membranes from inside. Rinse the inside with water to get any stray seeds out. Pat them dry with a paper towel.
- Carve the faces. Here’s where you get creative. Using your paring knife, cut small triangle eyes and a jagged mouth into the front of each pepper. Make sure the cuts go all the way through the pepper wall. Cut a small nose if you want, but the classic two triangles and a zigzag mouth is the easiest. For the eyes, you can cut a tiny slit in the center of each triangle and insert a small sliver of black olive to look like a pupil. I used a piece of the pepper scraps for this on my first try, and it looked just as cute. Be careful not to cut too close to the top or bottom of the pepper, or the filling might leak out.
- Make the filling. In your mixing bowl, combine the cooked rice, drained black beans, corn, diced onion, minced garlic, cumin, smoked paprika, salt, and pepper. Add 1/2 cup of the shredded cheddar cheese and the salsa. Mix everything together until it’s well combined. Taste it—yes, raw onion and all. Adjust the salt or cumin if you think it needs it.
- Stuff the peppers. Stand the carved peppers up in your baking dish. If they wobble, you can slice a tiny bit off the bottom to make them flat—just don’t cut through the bottom. Using your spoon, fill each pepper with the rice mixture, packing it in gently. Don’t cram it in so tight that the pepper splits, but you want it full. I usually mound it up a little on top.
- Top with cheese and bake. Sprinkle the remaining 1/2 cup of cheese over the tops of the stuffed peppers. Put the little stem “hats” back on top of each pepper—this keeps the filling moist and looks adorable. Bake for 25-30 minutes, until the peppers are tender and the cheese is melted and bubbly. You’ll know they’re done when you can easily pierce the side of a pepper with a fork.
- Let them rest. Take the dish out of the oven and let the peppers sit for 5 minutes. This lets the filling set up a little so it doesn’t fall apart when you serve them. The faces will look even more expressive as the cheese oozes through the carved mouths.
Prep note: You can assemble these peppers up to a day ahead. Just stuff them, put the hats on, and keep them covered in the fridge. Add 10 minutes to the baking time if they’re going in cold.
Cooking Tips & Techniques
I’ve made these peppers about a dozen times now, and I’ve definitely had my share of failures. Let me save you from the same mistakes.
Choose the right peppers. This is the most important tip. You want peppers that are short and squat, not tall and skinny. Tall peppers tip over in the baking dish, and the filling spills out. I once used a tall red pepper because it was all I had, and it looked like a sad, lopsided jack-o-lantern. It still tasted good, but the presentation was a mess. Also, orange peppers are the most “pumpkin-like,” but yellow or red work fine too. Green peppers are a little too bitter for this, in my opinion.
Don’t over-bake. The peppers should be tender but still hold their shape. If you bake them too long, the faces start to sag and look like melting jack-o-lanterns. Not a great look. Start checking them at 25 minutes. You want them to be fork-tender but not mushy.
Multitask like a pro. While the peppers are baking, you can make a simple side salad or warm up some tortilla chips and salsa. I usually throw together a quick avocado and lime salad—just diced avocado, a squeeze of lime, and a pinch of salt. It’s a fresh counterpoint to the warm, cheesy peppers.
Deal with watery filling. The first time I made these, the filling was a little soggy. The culprit was the frozen corn—I didn’t thaw and drain it. Now, I always thaw the corn in a colander and press it with a paper towel to get the excess moisture out. Same goes for the black beans—rinse them well and let them drain.
Variations & Adaptations
This recipe is super flexible, which is why I keep coming back to it. Here are a few ways to switch it up.
Meat Lover’s Version: Brown 1/2 pound of ground beef or turkey with the onion and garlic before mixing it into the filling. Drain off the fat first. This makes the peppers heartier and is great for feeding teenage boys or anyone with a big appetite. I did this for a Halloween party once, and they were gone in 20 minutes.
Southwest Style: Add 1/2 cup of canned diced green chiles to the filling, and swap the cheddar for pepper jack cheese. The little kick of heat is nice, but it’s still mild enough for kids. Top with a dollop of sour cream and some chopped cilantro when you serve them.
Low-Carb / Keto Option: Skip the rice entirely and use 1 cup of cauliflower rice instead. You can buy it frozen, just thaw and squeeze out the water. The texture is a little different, but the flavor is still great. I made this version for myself when I was trying to cut back on carbs, and I didn’t miss the rice at all.
Breakfast Stuffed Peppers: Okay, this is a weird one, but hear me out. Use the same carved peppers, but fill them with scrambled eggs, cooked breakfast sausage, and shredded cheese. Bake for 15-20 minutes. I made these for a lazy Saturday morning in October, and my kids thought they were the best thing ever. They called them “Halloween breakfast monsters.”
Serving & Storage Suggestions
These peppers are best served warm, right out of the oven. The cheese is all melty, the peppers are tender, and the faces are at their most expressive. I like to serve them on a plate with a little bed of lettuce or a few tortilla chips on the side. You can also drizzle some sour cream or salsa verde over the top for extra flavor.
Storage: If you have leftovers (which is rare in my house), let the peppers cool completely, then store them in an airtight container in the fridge. They’ll keep for up to 4 days. The peppers will soften a bit more, but the flavor actually gets better as the spices meld.
Reheating: The best way to reheat these is in the oven at 350°F for about 10-15 minutes. The microwave works in a pinch, but it makes the peppers a little soggy. If you’re in a hurry, microwave them on a paper towel for 1-2 minutes. The faces might look a little sad, but they’ll still taste good.
Freezing: You can freeze the stuffed peppers before or after baking. To freeze before baking, assemble the peppers, put them in a freezer-safe dish, and wrap tightly with foil. They’ll keep for up to 3 months. To bake from frozen, add about 20 minutes to the cooking time. To freeze after baking, let them cool completely, then wrap individually in plastic wrap and foil. Reheat in the oven at 350°F for 20 minutes.
Nutritional Information & Benefits
Here’s the approximate nutritional breakdown for one stuffed pepper (using brown rice and cheddar cheese):
| Nutrient | Amount per Serving |
|---|---|
| Calories | 320 |
| Protein | 14g |
| Fat | 12g |
| Carbohydrates | 42g |
| Fiber | 9g |
| Sugar | 8g |
| Sodium | 580mg |
These peppers are packed with fiber from the beans, rice, and bell peppers, which is great for digestion and keeping you full. Bell peppers are an excellent source of vitamin C—one pepper gives you over 150% of your daily needs. The black beans add plant-based protein and iron. This is a well-rounded meal that’s naturally gluten-free and can be made vegetarian or vegan with a few swaps. The only potential allergen to watch for is dairy from the cheese, but you can easily omit it or use a dairy-free alternative.
From my own wellness perspective, this is the kind of meal that makes me feel good about feeding my family. It’s colorful, it’s fun, and it’s packed with real food. No weird additives or hidden sugars.
Conclusion
So there you have it—Kid-Approved Jack-O-Lantern Stuffed Bell Peppers that are as fun to make as they are to eat. This recipe is proof that you don’t need a lot of time or money to make a regular weeknight feel special. The best part? The kids actually get excited about eating their vegetables, and you get to feel like a kitchen wizard for carving dinner into little faces.
I honestly love this recipe because it reminds me that cooking doesn’t have to be so serious. It’s okay to play with your food, especially when the result is this delicious. I’d love to hear how yours turn out—did your kids help carve the faces? Did you try a crazy variation? Drop a comment below and let me know! And if you loved this recipe, share it with a friend who needs a little Halloween magic in their dinner rotation. Happy cooking, and don’t forget to save those pepper scraps for the compost!
Frequently Asked Questions
Can I use a different color of bell pepper?
Absolutely. Orange peppers look the most like pumpkins, but yellow, red, or even white bell peppers work. Green peppers are a little more bitter, so I’d only use them if that’s all you have.
How do I keep the peppers from tipping over?
Choose squat, round peppers and slice a tiny bit off the bottom if needed to make them flat. Also, make sure they’re snug in your baking dish. If they’re still wobbly, you can crumple a piece of aluminum foil and place it next to them to prop them up.
Can I make these in an air fryer?
Yes! Preheat your air fryer to 350°F. Place the stuffed peppers in the basket, making sure they’re not touching. Cook for 15-18 minutes, or until the peppers are tender and the cheese is melted. The air fryer gives the peppers a nice roasted edge.
My kids are picky eaters. Will they like these?
I can’t make any promises, but I’ve had a lot of success with picky eaters. The fun faces are a huge selling point. Let your kids help carve the faces—they’re much more likely to eat something they helped create. You can also serve the filling on the side for the first time, so they can try it without the pepper.
How can I make this recipe vegan?
Easy! Use a vegan shredded cheese or nutritional yeast in the filling. Make sure your salsa is vegan (most are). Everything else is already plant-based. The texture will be a little different without the cheese, but it’s still delicious.
Pin This Recipe!
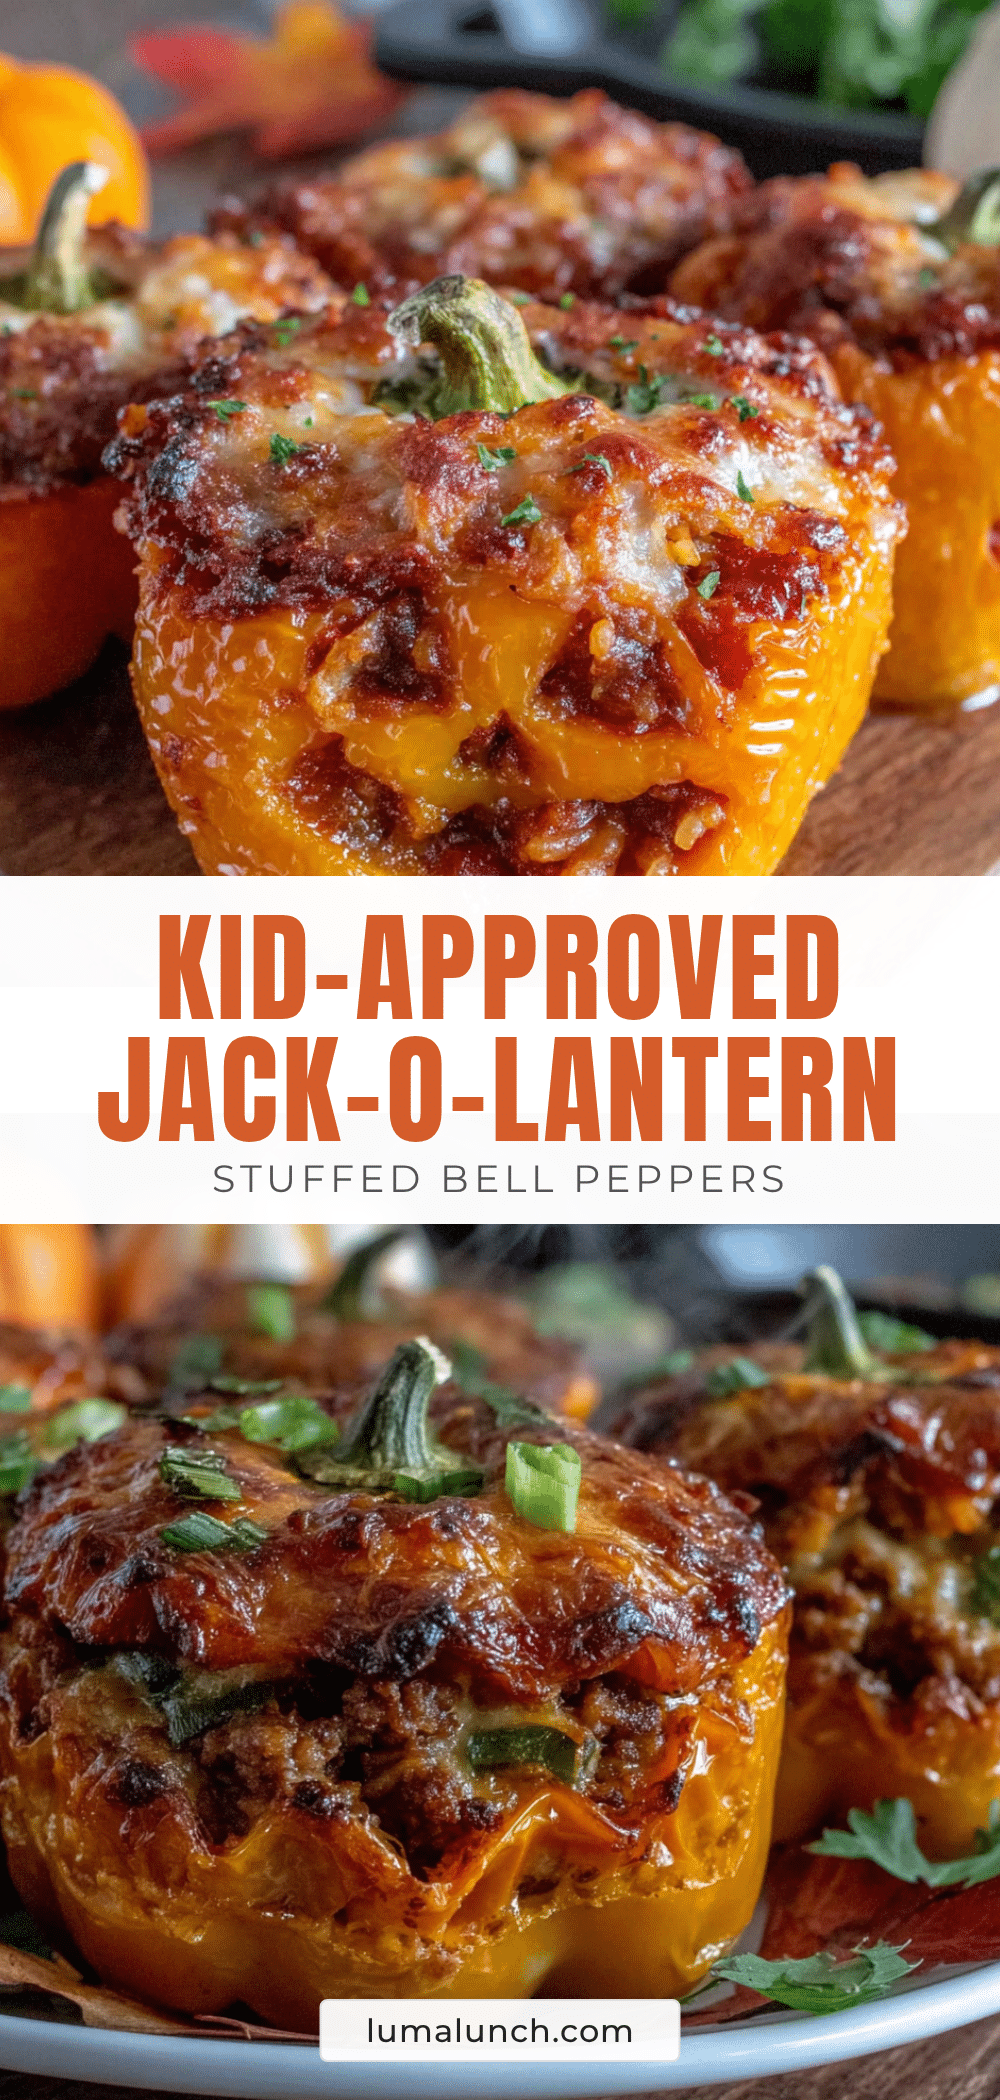
Kid-Approved Jack-O-Lantern Stuffed Bell Peppers: Easy Halloween Dinner

These fun and festive stuffed bell peppers are carved like jack-o-lanterns and filled with a savory rice, black bean, corn, and cheese mixture. Perfect for a Halloween dinner that kids and adults will love.
- Prep Time: 15 minutes
- Cook Time: 30 minutes
- Total Time: 45 minutes
- Yield: 4 servings 1x
- Category: Main Course
- Cuisine: American
Ingredients
- 4 large orange bell peppers (squat and round)
- 1 tablespoon olive oil
- 1 cup cooked brown rice (or white rice, quinoa, or cauliflower rice)
- 1 can (15 oz) black beans, drained and rinsed
- 1 cup frozen corn kernels, thawed
- 1/2 cup diced onion (yellow or white)
- 2 cloves garlic, minced (or 1 teaspoon garlic powder)
- 1 teaspoon ground cumin
- 1/2 teaspoon smoked paprika
- 1/2 teaspoon salt
- 1/4 teaspoon black pepper
- 1 cup shredded cheddar cheese, divided
- 1/4 cup salsa
- Small pieces of black olive or bell pepper scraps (for pupils, optional)
Instructions
- Preheat your oven to 375°F (190°C).
- Wash the bell peppers. Using a paring knife, cut a small circle around the stem of each pepper to create a 1-inch wide ‘lid’. Gently pull the stem out and scoop out all seeds and membranes. Rinse inside and pat dry.
- Carve small triangle eyes and a jagged mouth into the front of each pepper, cutting all the way through. Optionally, insert small slivers of black olive or pepper scraps for pupils.
- In a mixing bowl, combine cooked rice, black beans, corn, onion, garlic, cumin, smoked paprika, salt, pepper, 1/2 cup of the cheddar cheese, and salsa. Mix well.
- Stand the carved peppers in a 9×13 inch baking dish. If they wobble, slice a tiny bit off the bottom to make them flat. Fill each pepper with the rice mixture, packing gently but firmly.
- Sprinkle the remaining 1/2 cup of cheese over the tops. Place the stem ‘hats’ back on. Bake for 25-30 minutes, until peppers are tender and cheese is melted and bubbly.
- Let the peppers rest for 5 minutes before serving.
Notes
Choose squat, round peppers so they sit flat. Don’t over-bake or the faces will sag. Thaw and drain frozen corn to avoid watery filling. Can be assembled up to a day ahead; add 10 minutes to baking time if cold.
Nutrition
- Serving Size: 1 stuffed pepper
- Calories: 320
- Sugar: 8
- Sodium: 580
- Fat: 12
- Saturated Fat: 6
- Carbohydrates: 42
- Fiber: 9
- Protein: 14
Keywords: stuffed bell peppers, Halloween dinner, kid-friendly, vegetarian, easy dinner, jack-o-lantern peppers


