Love this? Save it for later!
Share the inspiration with your friends
I had this idea that game day food had to be complicated. I mean, you see those spreads online with the sliders that take two hours and the dips that require a roux, and honestly, it can feel like you need a culinary degree just to host a few friends for the big game. Last season, I was so determined to prove I could do it all that I spent an entire Saturday prepping. And you know what? By kickoff, I was exhausted, the kitchen was a disaster, and I barely even saw the first quarter. I swore this year would be different.
Then, a couple of weeks ago, a friend stopped by right before the playoffs started. She walked into my kitchen, saw me staring into the fridge, and just laughed. “Hand me that loaf of bread,” she said, pointing to the sourdough I had bought for absolutely no reason. “And grab the cheese.” I was skeptical. Pull-apart bread always seemed like one of those things that looked amazing in photos but fell apart into a sad, greasy mess. But she was insistent, and I was hungry, so I figured, why not? Twenty-five minutes later, we were pulling apart steaming, cheesy, garlicky pieces of bread with our hands, and I was genuinely annoyed at how good it was. I mean, it was so simple it almost felt like cheating.
That moment stuck with me. Not just because the bread was delicious—which it absolutely was—but because it completely changed my approach to hosting. You don’t need a dozen complicated recipes to feed a crowd. You just need one really, really good one that people can’t stop eating. This Game Day Cheesy Pull-Apart Bread is that recipe. It’s the kind of thing you set on the coffee table, and suddenly no one is talking about the game anymore. They’re just fighting over the last crispy, cheesy corner piece. Maybe you’ve been there, watching a good dip disappear in minutes, wondering why you spent all day cooking. This bread is your answer.
Why You’ll Love This Recipe
Let me be straight with you—I have tested this recipe more times than I care to admit. I have used different cheeses, different breads, and even different pans. I once got distracted and left it in the oven for an extra four minutes, and it still came out perfectly. This is the version that survived all my mistakes and came out on top. Here is why it works:
- Ready in 30 Minutes: From start to finish, you can have this on the table in half an hour. No marinating, no chilling, no complicated steps. It is the ultimate last-minute appetizer.
- Simple Pantry Ingredients: You probably have most of these things already. Cheese, butter, garlic, bread. If you don’t have a specific herb, just skip it. This recipe is forgiving.
- Perfect for Crowds: This bread is designed for sharing. It pulls apart naturally, so there is no slicing, no plates, no forks. Just grab and go. It is the definition of a crowd-pleaser.
- Completely Customizable: Spicy? Add jalapeños. Meaty? Toss in bacon bits. Vegetarian? Load it with herbs and sun-dried tomatoes. This bread adapts to whatever you love.
- Unbelievably Delicious: The outside gets perfectly crispy and golden, while the inside stays soft, gooey, and packed with melted cheese. The garlic butter soaks into every crevice, making every single bite flavorful.
This isn’t just another cheesy bread recipe. It is the one that uses a specific cheese blend for the perfect melt, a technique for cutting the bread that maximizes every cheesy pocket, and a baking method that ensures the top gets crispy without the bottom burning. I have made the mistakes so you don’t have to. This is comfort food at its finest—fast, satisfying, and guaranteed to make you look like a hero on game day.
What Ingredients You Will Need
This recipe uses simple, everyday ingredients that come together to create something truly special. The key is using good-quality cheese and fresh garlic, but even with basic staples, this bread delivers incredible flavor. Here is everything you need:
For the Bread
- 1 large round loaf of sourdough or Italian bread (about 1 pound / 450g) – Look for a sturdy loaf with a good crust. It needs to hold up to the cheese and butter without turning into mush. A boule or round loaf works best.
- 8 ounces (225g) low-moisture mozzarella cheese, shredded – This is your main melting cheese. It gives that classic, stretchy pull. I prefer the block-style mozzarella and shred it myself—it melts much better than the pre-shredded stuff, which has anti-caking agents.
- 4 ounces (115g) sharp cheddar cheese, shredded – This adds a bold, tangy flavor. White or yellow cheddar both work great. I usually go with a good sharp cheddar for maximum flavor punch.
- 2 ounces (55g) Parmesan cheese, finely grated – This is your flavor booster. It adds a salty, nutty depth that balances the richness of the other cheeses. Use the real stuff, not the green can.
For the Garlic Butter
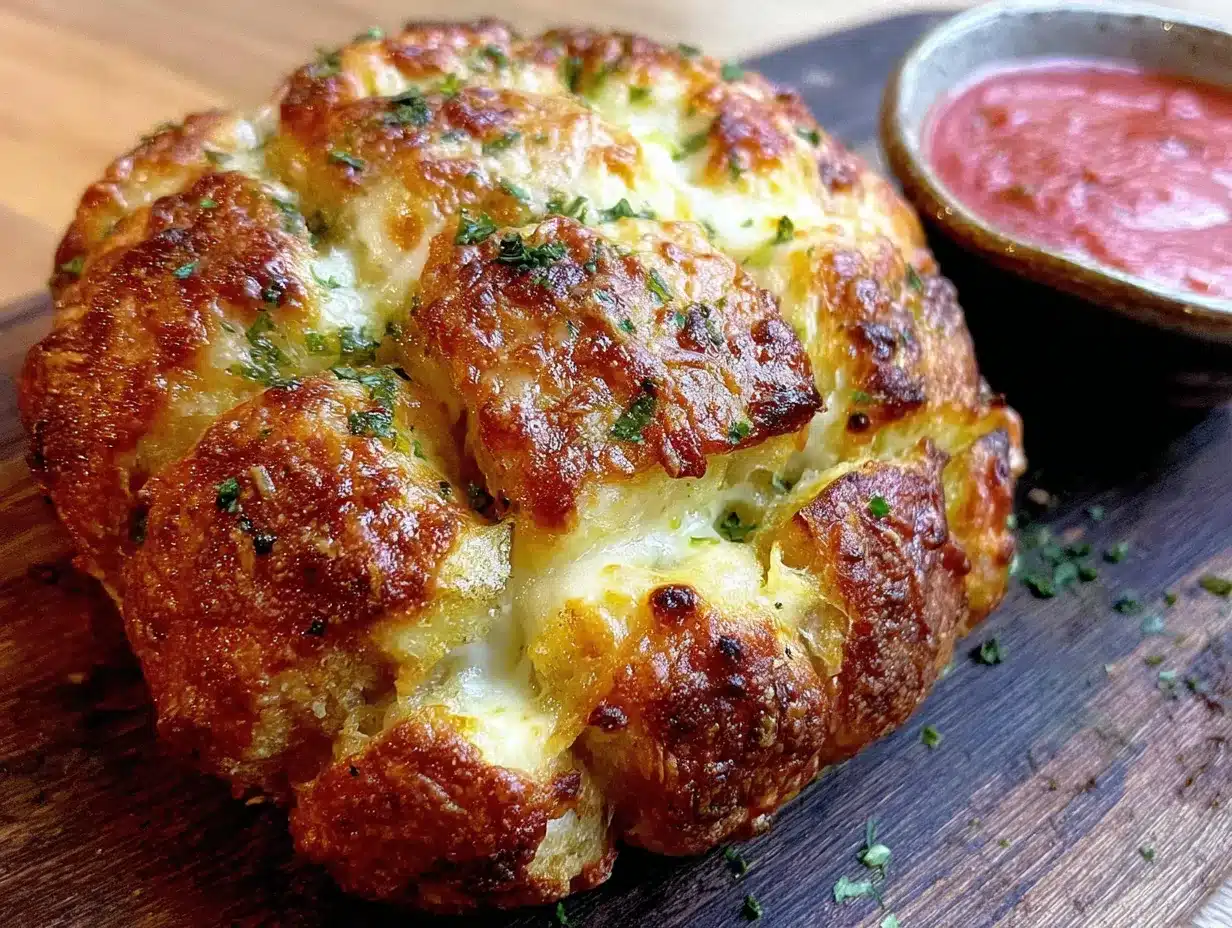
- 1/2 cup (115g) unsalted butter – Salted butter works too, just reduce the added salt slightly. I use unsalted so I can control the seasoning.
- 4-5 cloves garlic, minced – Fresh garlic is non-negotiable here. The pre-minced stuff in a jar just doesn’t have the same punch. Trust me on this one.
- 2 tablespoons fresh parsley, chopped (or 2 teaspoons dried) – For color and freshness. If you only have dried, it still works, but fresh really brightens the dish.
- 1/2 teaspoon red pepper flakes (optional) – For a little heat. I love this addition, but leave it out if you are serving a crowd with sensitive palates.
- 1/4 teaspoon salt – If using salted butter, skip this.
- 1/4 teaspoon black pepper
Ingredient Tips: For the best results, use a combination of cheeses. The mozzarella gives you the stretch, the cheddar gives you the flavor, and the Parmesan adds that umami depth. I have tried this with Gouda and Gruyère, and those are fantastic too, but the classic trio above is my go-to. If you want a little smoky flavor, swap the cheddar for smoked Gouda. Just make sure everything is shredded or grated before you start—it makes the assembly so much faster.
Equipment Needed
- Large baking sheet – A rimmed baking sheet works best to catch any butter that drips out. Line it with parchment paper or foil for easy cleanup.
- Serrated bread knife – Essential for cutting the bread without squishing it. A sharp serrated knife makes clean, even cuts.
- Small saucepan – For melting the butter and infusing it with garlic. You can also do this in the microwave, but the stovetop gives you more control.
- Mixing bowls – One for the cheese mixture, one for the garlic butter.
- Cheese grater – I prefer a box grater for shredding block cheese. It is faster and gives you better texture.
- Aluminum foil – For tenting the bread if the top gets too brown before the cheese is fully melted.
Budget-Friendly Tip: If you don’t have a baking sheet, a cast iron skillet works beautifully. It holds heat well and gives the bottom of the bread an extra crispy crust. Just make sure it is oven-safe.
Preparation Method
- Preheat your oven to 375°F (190°C). Position a rack in the middle of the oven. Line your baking sheet with parchment paper or foil for easy cleanup. While the oven heats, take your cheeses out of the fridge to come to room temperature slightly—they will melt more evenly.
- Prepare the garlic butter. In a small saucepan over low heat, melt the 1/2 cup of unsalted butter. Once melted, add the minced garlic and cook for about 1 minute, until fragrant. You want the garlic to soften, not brown. If it browns, it can turn bitter. Remove from heat and stir in the parsley, red pepper flakes (if using), salt, and pepper. Set aside to cool slightly.
- Cut the bread. Using your serrated knife, cut the bread in a grid pattern. Make cuts about 1 inch (2.5 cm) apart, being careful not to cut all the way through the bottom crust. You want the bread to remain intact so it holds together. Think of it like scoring a hot dog bun, but in a grid. This is the most important step—the deeper your cuts, the more pockets for cheese and butter. I usually go about 90% of the way through.
- Stuff the bread with cheese. In a medium bowl, combine the shredded mozzarella, shredded cheddar, and grated Parmesan. Mix them together with your hands. Now, take small handfuls of the cheese mixture and gently push it into the cuts you made in the bread. Don’t be shy—really pack it in there. Use all the cheese. It will look like a lot, but it will melt down significantly. I like to start from the outside and work my way in.
- Pour the garlic butter over the bread. Slowly drizzle the garlic butter over the entire loaf, making sure it seeps into all the cuts. Use a brush if you need to, but a slow pour usually does the trick. The butter will soak into the bread and carry the garlic flavor deep into every crevice. Save a little butter to brush on the top crust for extra crispiness.
- Wrap and bake. Wrap the entire loaf tightly in aluminum foil. Place it on the prepared baking sheet. Bake for 15 minutes. This step steams the bread, melting the cheese from the inside out and ensuring the center gets hot and gooey.
- Unwrap and finish. After 15 minutes, carefully open the foil (watch out for the steam!). Brush the top of the bread with any remaining garlic butter. Return the bread to the oven, uncovered, for another 10-15 minutes, until the top is golden brown and the cheese is bubbly and slightly crispy around the edges. The internal temperature should be around 165°F (74°C) if you want to check.
- Rest and serve. Let the bread rest on the baking sheet for 5 minutes before serving. This allows the cheese to set slightly so it doesn’t all slide off when you pull a piece. Transfer to a serving board or platter. Serve warm, pulling apart pieces with your hands. Watch it disappear.
Sensory Cues: When you unwrap the foil after the first 15 minutes, you should see steam rising and the cheese should be visibly melted and stretchy. The top should be golden and the garlic butter should be bubbling. If the top is browning too quickly in the final stage, tent loosely with foil.
Cooking Tips & Techniques
I learned a few things the hard way so you don’t have to. First, do not skip the foil-wrapping step. I tried to rush this once and just baked it uncovered the whole time. The top got beautifully brown, but the cheese in the center was barely warm. The foil creates a steamy environment that melts the cheese evenly from the inside out. It is non-negotiable for perfect results.
Second, cut your bread with confidence. I used to make timid, shallow cuts, worried I would ruin the loaf. But shallow cuts mean less room for cheese, and that is a tragedy. A sharp serrated knife is your best friend here. Saw gently but firmly, and stop when you feel the bottom crust. If you accidentally cut through, don’t panic—just press the bread back together and stuff the cheese in anyway. It will still taste amazing.
Third, watch your oven. All ovens run differently. The first time I made this, my friend’s oven ran hot, and the top was almost burnt after 10 minutes uncovered. If your bread is browning too fast, just tent it with foil and let it finish baking. Better to have a slightly pale top than a burnt one.
Finally, let the bread rest. I know it is hard. The smell is incredible, and everyone is standing around with hungry eyes. But if you pull it apart immediately, the cheese will be lava-hot and will slide right off the bread. Five minutes of patience gives you perfectly set cheese that stays on the bread. Trust the process.
Variations & Adaptations
This recipe is incredibly versatile. Here are some of my favorite ways to change it up:
- Spicy Buffalo Version: Mix 1/4 cup of buffalo sauce into the melted butter before pouring. Add crumbled blue cheese to the cheese mixture. Top with chopped celery for crunch. It tastes just like buffalo wings, but in bread form. Perfect for football season.
- Loaded Baked Potato Style: Add 1/2 cup of cooked, crumbled bacon to the cheese mixture. Mix 1/4 cup of sour cream into the garlic butter. Top with chopped chives after baking. It is indulgent, rich, and absolutely irresistible.
- Vegetarian Mediterranean Version: Add 1/4 cup of chopped sun-dried tomatoes, 2 tablespoons of chopped kalamata olives, and 1 teaspoon of dried oregano to the cheese mixture. Use feta cheese in place of half the cheddar. It is tangy, briny, and so flavorful.
- Gluten-Free Adaptation: Use a gluten-free round loaf. The technique is exactly the same. Just be careful with the cutting—gluten-free bread can be more delicate. I recommend a sturdy gluten-free sourdough if you can find one.
- Dairy-Free Version: Use dairy-free butter and shredded dairy-free mozzarella and cheddar blends. The texture will be slightly different, but it still works beautifully. Just make sure your dairy-free cheese melts well—some brands are better than others.
Serving & Storage Suggestions
This bread is best served warm, straight from the oven. I like to put it on a wooden board in the center of the table and let everyone dig in with their hands. It pairs perfectly with a cold beer, a crisp white wine, or even a spicy margarita. For a full game day spread, serve it alongside a fresh green salad or some crunchy vegetable sticks to balance the richness.
Storage: If you have leftovers (which is rare, but it happens), wrap the bread tightly in foil and store it in the refrigerator for up to 3 days. The bread will soften, but the flavor will still be great.
Reheating: To reheat, place the foil-wrapped bread in a 350°F (175°C) oven for about 10 minutes, or until warmed through. You can also microwave individual pieces for 20-30 seconds, but the oven method keeps the texture better. Do not reheat it more than once—the bread gets too soft.
Flavor Development: Honestly, the flavors meld together even more overnight. If you are planning ahead, you can assemble the bread (through step 5) up to 8 hours in advance, cover it, and refrigerate. Just add 5-10 minutes to the baking time since you are starting from cold.
Nutritional Information & Benefits
Let’s be real—this is an indulgent treat. But here is the estimated breakdown per serving (based on 8 servings):
| Nutrient | Amount Per Serving |
|---|---|
| Calories | 380 |
| Total Fat | 24g |
| Saturated Fat | 14g |
| Cholesterol | 65mg |
| Sodium | 620mg |
| Total Carbohydrates | 28g |
| Dietary Fiber | 2g |
| Sugars | 2g |
| Protein | 16g |
Health Highlights: This recipe does provide a good amount of protein from the cheese, and calcium for bone health. The garlic offers anti-inflammatory benefits. If you are watching your sodium, use low-sodium cheese and unsalted butter. For a lighter option, use part-skim mozzarella and reduce the butter to 1/3 cup. But honestly, this is a game day treat—enjoy it in moderation and savor every bite.
Conclusion
This Game Day Cheesy Pull-Apart Bread is the recipe that changed my mind about hosting. It proved to me that you don’t need hours in the kitchen or a dozen complicated dishes to feed a crowd. You just need one really good, really shareable recipe that people can’t stop reaching for. This bread is that recipe. It is warm, cheesy, garlicky, and completely irresistible. Every time I make it, it disappears before halftime.
I want you to make this your own. Throw in your favorite herbs, experiment with different cheeses, or add a kick of heat. The beauty of this recipe is that it is a canvas for whatever you love. And when you make it, I would love to hear about it. Drop a comment below and tell me how it turned out, what variations you tried, or just share your game day spread. Let’s make every game day delicious, together.
Frequently Asked Questions
Can I make this bread ahead of time?
Yes! You can assemble the bread completely (through step 5) up to 8 hours in advance. Cover it tightly with foil and refrigerate. When you are ready to bake, add about 5-10 minutes to the baking time since you are starting from cold.
What is the best bread to use for pull-apart bread?
A sturdy round loaf with a good crust works best. Sourdough, Italian bread, or a rustic boule are all excellent choices. Avoid soft sandwich bread or brioche—they will get too soggy and won’t hold their shape.
Can I freeze this cheesy pull-apart bread?
I do not recommend freezing this bread after it is baked. The texture of the bread and cheese changes significantly upon thawing. However, you can freeze the unbaked, assembled bread. Wrap it tightly in foil and freeze for up to 1 month. Bake from frozen, adding 15-20 minutes to the baking time.
My cheese didn’t melt all the way. What went wrong?
This usually happens if the cheese was too cold or if the bread was cut too shallow. Make sure your cheese is at room temperature before stuffing, and cut the bread deep enough (about 90% through) so the heat can reach the center. If it still happens, just pop it back in the oven for a few more minutes, covered with foil.
How do I prevent the bottom of the bread from burning?
Using a lined baking sheet helps. Also, make sure your oven rack is in the middle position. If your oven runs hot, you can place the baking sheet on another baking sheet to double-layer it, which insulates the bottom slightly. The foil-wrapping step also helps protect the bottom from direct heat.
Pin This Recipe!
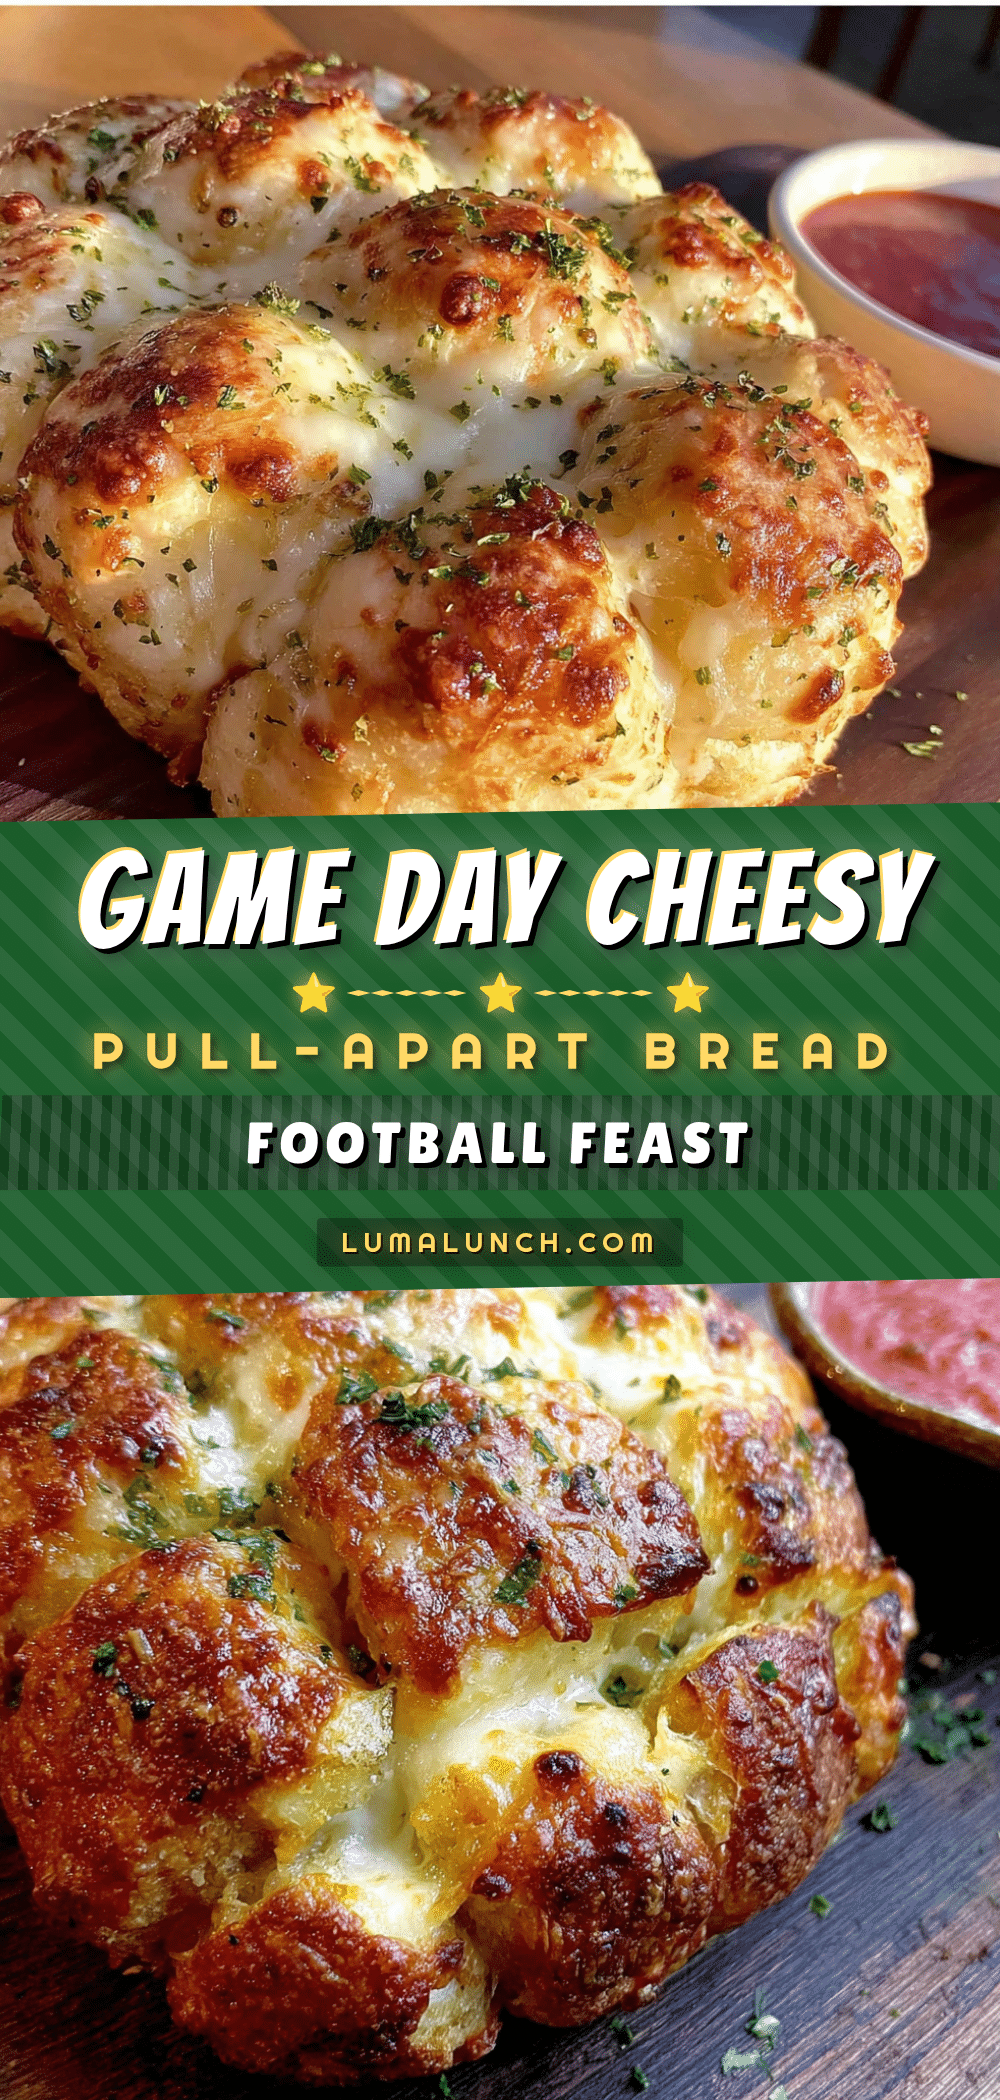
Game Day Cheesy Pull-Apart Bread: Easy 30-Minute Appetizer
This Game Day Cheesy Pull-Apart Bread is a quick, 30-minute appetizer that’s perfect for feeding a crowd. With a crispy, golden exterior and a soft, gooey interior packed with melted cheese and garlic butter, it’s an irresistible, shareable treat that will disappear before halftime.
- Prep Time: 10 minutes
- Cook Time: 25 minutes
- Total Time: 35 minutes
- Yield: 8 servings 1x
- Category: Appetizer
- Cuisine: American
Ingredients
- 1 large round loaf of sourdough or Italian bread (about 1 pound / 450g)
- 8 ounces (225g) low-moisture mozzarella cheese, shredded
- 4 ounces (115g) sharp cheddar cheese, shredded
- 2 ounces (55g) Parmesan cheese, finely grated
- 1/2 cup (115g) unsalted butter
- 4–5 cloves garlic, minced
- 2 tablespoons fresh parsley, chopped (or 2 teaspoons dried)
- 1/2 teaspoon red pepper flakes (optional)
- 1/4 teaspoon salt
- 1/4 teaspoon black pepper
Instructions
- Preheat your oven to 375°F (190°C). Position a rack in the middle of the oven. Line your baking sheet with parchment paper or foil for easy cleanup. While the oven heats, take your cheeses out of the fridge to come to room temperature slightly—they will melt more evenly.
- Prepare the garlic butter. In a small saucepan over low heat, melt the 1/2 cup of unsalted butter. Once melted, add the minced garlic and cook for about 1 minute, until fragrant. You want the garlic to soften, not brown. If it browns, it can turn bitter. Remove from heat and stir in the parsley, red pepper flakes (if using), salt, and pepper. Set aside to cool slightly.
- Cut the bread. Using your serrated knife, cut the bread in a grid pattern. Make cuts about 1 inch (2.5 cm) apart, being careful not to cut all the way through the bottom crust. You want the bread to remain intact so it holds together. Think of it like scoring a hot dog bun, but in a grid. This is the most important step—the deeper your cuts, the more pockets for cheese and butter. I usually go about 90% of the way through.
- Stuff the bread with cheese. In a medium bowl, combine the shredded mozzarella, shredded cheddar, and grated Parmesan. Mix them together with your hands. Now, take small handfuls of the cheese mixture and gently push it into the cuts you made in the bread. Don’t be shy—really pack it in there. Use all the cheese. It will look like a lot, but it will melt down significantly. I like to start from the outside and work my way in.
- Pour the garlic butter over the bread. Slowly drizzle the garlic butter over the entire loaf, making sure it seeps into all the cuts. Use a brush if you need to, but a slow pour usually does the trick. The butter will soak into the bread and carry the garlic flavor deep into every crevice. Save a little butter to brush on the top crust for extra crispiness.
- Wrap and bake. Wrap the entire loaf tightly in aluminum foil. Place it on the prepared baking sheet. Bake for 15 minutes. This step steams the bread, melting the cheese from the inside out and ensuring the center gets hot and gooey.
- Unwrap and finish. After 15 minutes, carefully open the foil (watch out for the steam!). Brush the top of the bread with any remaining garlic butter. Return the bread to the oven, uncovered, for another 10-15 minutes, until the top is golden brown and the cheese is bubbly and slightly crispy around the edges. The internal temperature should be around 165°F (74°C) if you want to check.
- Rest and serve. Let the bread rest on the baking sheet for 5 minutes before serving. This allows the cheese to set slightly so it doesn’t all slide off when you pull a piece. Transfer to a serving board or platter. Serve warm, pulling apart pieces with your hands. Watch it disappear.
Notes
Do not skip the foil-wrapping step; it ensures the cheese melts evenly. Cut the bread with confidence—shallow cuts mean less room for cheese. Watch your oven; if the top browns too quickly, tent with foil. Let the bread rest for 5 minutes before serving to allow the cheese to set. For best results, use a combination of mozzarella, cheddar, and Parmesan. The recipe is forgiving and customizable.
Nutrition
- Serving Size: 1 serving (1/8 of lo
- Calories: 380
- Sugar: 2
- Sodium: 620
- Fat: 24
- Saturated Fat: 14
- Carbohydrates: 28
- Fiber: 2
- Protein: 16
Keywords: cheesy pull-apart bread, game day appetizer, easy appetizer, 30-minute recipe, pull-apart bread, cheesy bread, garlic bread, party food, football food, crowd-pleaser


