Love this? Save it for later!
Share the inspiration with your friends
Introduction
I was browsing the farmer’s market last Saturday when the sharp tang of fresh dill hit me — and suddenly I was nine, standing at the edge of my neighbor Mrs. Larkin’s garden, watching her hands twist tiny cucumbers into jars that smelled like summer itself. The air was thick with garlic and the faintest hint of vinegar, and she was humming something that sounded like a lullaby. I didn’t know then that those pickles would be the kind I’d chase for years, the kind you can’t quite put your finger on but can taste in the back of your throat—the perfect balance of crisp, tart, and garlicky. I forgot to bring my jar lid that day, and we all laughed when a little juice spilled onto the porch. Honestly, that imperfect moment made the pickles taste even better.
Maybe you’ve been there, caught off guard by a smell that pulls you somewhere else entirely. That’s why I keep making these fresh garlic dill refrigerator pickles that are ready in 24 hours. They’re not just pickles — they’re little jars of memory, of summers and neighbors, and the kind of flavor that wakes up your senses without waiting weeks to develop. Let me tell you, the kitchen smells during the quick pickling process are worth every second.
Why You’ll Love This Recipe
This fresh garlic dill refrigerator pickles recipe has been my go-to for a quick, tangy treat that doesn’t demand a lot of waiting or fancy ingredients. After multiple trials and a few too many soggy batches, I landed on this foolproof method that’s simple and seriously satisfying.
- Quick & Easy: Ready to enjoy in just 24 hours — perfect for busy weeknights or last-minute cravings.
- Simple Ingredients: Uses everyday pantry staples and fresh herbs you can find at any grocery store or farmer’s market.
- Perfect for Snacking & Entertaining: Great on sandwiches, burgers, or just straight out of the jar during casual get-togethers.
- Crowd-Pleaser: The vibrant garlic and dill flavor always gets raves from friends and family.
- Unbelievably Delicious: The crispness of the cucumbers paired with the punchy garlic and fresh dill is just next-level.
What makes this recipe stand apart? Well, for one, the brine is just the right mix of seasoned vinegar and fresh garlic, giving these pickles a bright, clean snap without overpowering the cucumber’s natural crispness. Plus, the quick refrigerator method means you get fresh, crunchy pickles in a day — no canning, no waiting, no fuss. Honestly, it’s the kind of recipe I reach for when I want that satisfying pickle crunch but don’t have weeks to wait.
So if you love pickles that hit all the right notes — tangy, garlicky, fresh — this recipe is your new best friend in the kitchen.
What Ingredients You Will Need
This fresh garlic dill refrigerator pickles recipe uses simple, wholesome ingredients to deliver bold flavor and that satisfying crunch without a lot of fuss. Most of these are pantry staples or easy to find fresh items, making this recipe super accessible.
- Kirby cucumbers (about 1 pound / 450 g): These small, firm cucumbers are perfect for pickling because they stay crisp. If you can’t find Kirby, pick any firm, fresh cucumbers without soft spots.
- Fresh garlic cloves (4-5 cloves, smashed): The star of the show, adding that unmistakable punch of flavor.
- Fresh dill sprigs (3-4 sprigs): Look for bright green leaves — the more fragrant, the better. I usually grab mine from the farmer’s market or even grow some in my window garden.
- White vinegar (1 cup / 240 ml): Use a good quality distilled white vinegar for that classic pickle tang. I prefer Heinz for consistent results.
- Water (1 cup / 240 ml): Filtered or bottled water works best to keep flavors pure.
- Pickling salt or kosher salt (1 tablespoon): Avoid iodized salt as it can cloud the brine and affect flavor.
- Whole black peppercorns (1 teaspoon): Adds a subtle spice layer.
- Optional: Red pepper flakes (1/4 teaspoon): If you like a slight kick.
Substitution tip: If you’re looking for a low-sodium option, reduce the salt slightly, but keep enough to preserve that classic pickle flavor. And if dill isn’t your thing, try substituting with fresh tarragon or thyme for a different herbaceous note.
Equipment Needed
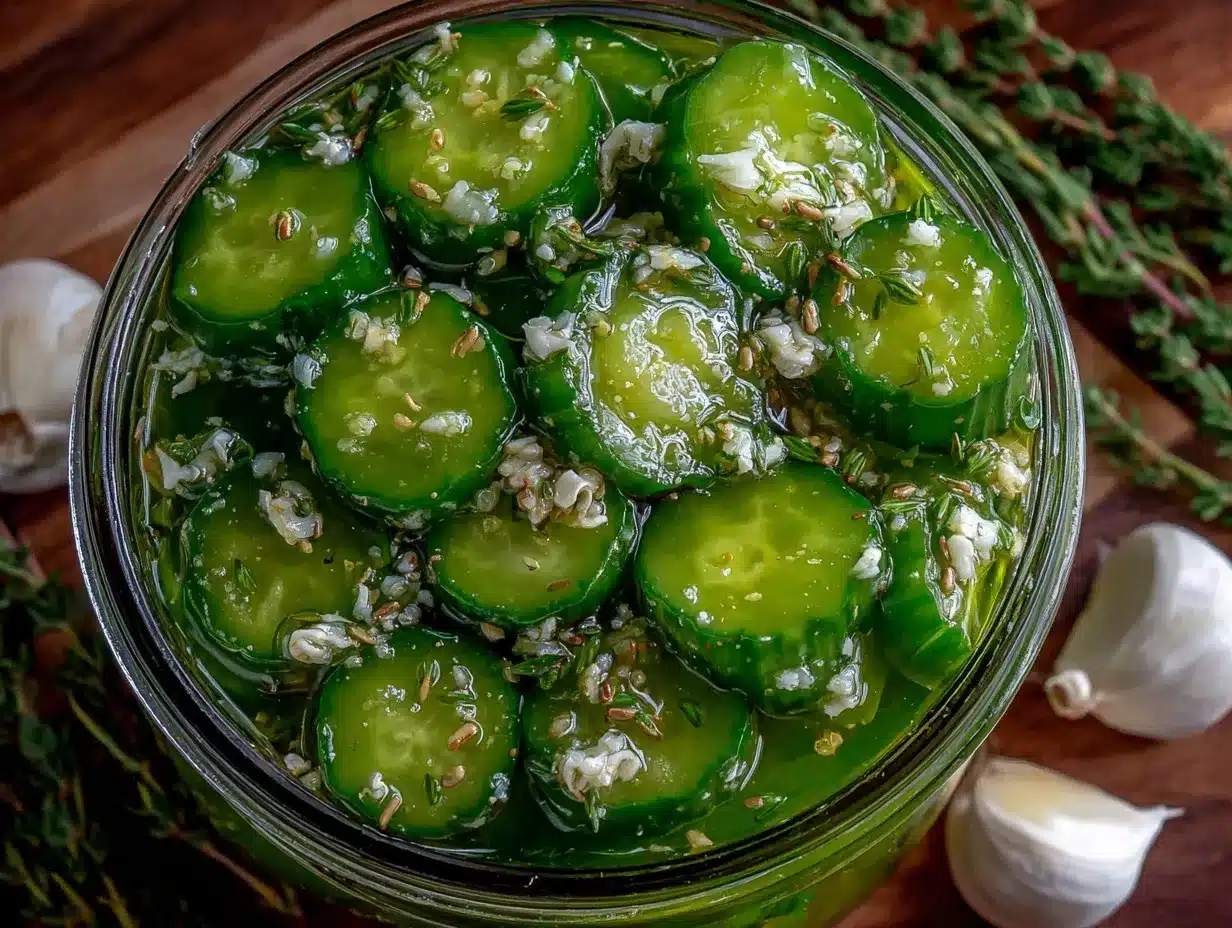
Making fresh garlic dill refrigerator pickles is straightforward, and you don’t need fancy tools to get it right.
- Glass jars with tight-fitting lids: Quart-sized (1 liter) mason jars work perfectly. I’ve tried plastic containers before, but glass keeps the flavors cleaner and the pickles crisper.
- Measuring cups and spoons: For accurate brine proportions — precision matters here for the right flavor balance.
- Sharp knife or mandoline slicer: To trim or slice the cucumbers if you prefer spears or chips.
- Large bowl: For mixing the cucumbers and brine before packing jars.
- Small saucepan: To warm the brine and dissolve the salt (optional but recommended).
Budget-friendly tip: If you don’t have a mandoline, a sharp knife and a steady hand do just fine. And if you don’t have mason jars, any clean, airtight glass container will work — just make sure it seals well to keep your pickles fresh.
Preparation Method
- Wash and prep the cucumbers (10 minutes): Rinse about 1 pound (450 g) of Kirby cucumbers under cold water. Trim off the blossom ends to prevent softening during pickling. You can leave them whole, slice into spears, or cut into chips depending on your preference.
- Prepare the brine (5 minutes): In a small saucepan, combine 1 cup (240 ml) white vinegar, 1 cup (240 ml) water, and 1 tablespoon pickling or kosher salt. Warm over medium heat, stirring occasionally until the salt fully dissolves. Remove from heat and let it cool slightly — you don’t want it boiling when it hits the fresh ingredients.
- Fill jars with cucumbers and aromatics (5 minutes): Place the cucumbers in your clean quart-sized glass jars. Add 4-5 smashed fresh garlic cloves, 3-4 fresh dill sprigs, 1 teaspoon whole black peppercorns, and optional 1/4 teaspoon red pepper flakes if you like heat.
- Pour the brine (2 minutes): Carefully pour the warm (not hot) brine over the cucumbers and herbs, leaving about 1/2 inch (1.3 cm) of headspace at the top. Use a clean utensil to gently press the cucumbers down, ensuring they’re fully submerged.
- Seal and refrigerate (1 minute): Screw the lids on tightly and place the jars in the refrigerator. Let the pickles rest for at least 24 hours before tasting. The longer they sit, the more intense the flavor becomes.
- Check and enjoy (after 24 hours): After a day, open a jar and give the pickles a try. They should be crisp with a lively garlic and dill flavor. If you want them tangier, leave them another day or two.
Pro tip: If you find your pickles are a bit too salty or vinegary, try rinsing them briefly before eating or adjust salt and vinegar levels slightly next batch. Also, the smashed garlic releases more flavor but avoid crushing too hard to prevent bitterness.
Cooking Tips & Techniques
Getting fresh garlic dill refrigerator pickles just right can feel tricky until you get the hang of it. Here are some of the tricks I’ve picked up along the way:
- Use fresh, firm cucumbers: Soft or overripe cucumbers lead to mushy pickles. I once used cucumbers that had been sitting too long and ended up with a disappointing batch — lesson learned.
- Trim the blossom end: That little flower end contains enzymes that can soften pickles, so snip it off before brining.
- Don’t boil the vinegar: Heating just enough to dissolve the salt is enough. Boiling vinegar can dull the fresh flavor and make the brine too harsh.
- Smash the garlic gently: You want to release flavor without breaking it down too much to avoid bitterness.
- Keep cucumbers submerged: Use a clean utensil or a small weight to push down the cucumbers in the jar so they stay covered by the brine. Exposure to air can cause spoilage.
- Refrigerate immediately: This method relies on cold pickling, so don’t leave jars out at room temperature for long.
- Patience pays off: The flavor will improve over a few days, so if you can wait beyond 24 hours, do it!
Variations & Adaptations
This recipe is versatile and easy to tweak depending on your mood or dietary needs.
- Spicy Pickles: Add more red pepper flakes or a sliced jalapeño to the jar for a fiery twist.
- Low-Sodium Version: Reduce the salt by half and add a splash of lemon juice for brightness.
- Herb Variations: Swap dill for fresh tarragon, thyme, or even basil to mix up the flavor profile.
- Vinegar Alternatives: Try apple cider vinegar instead of white vinegar for a slightly sweeter, fruitier pickle.
- Seeded Pickles: Add mustard seeds, coriander seeds, or fennel seeds for extra aroma and crunch.
Personally, I once tried adding a few slices of fresh ginger for a zingy note — it was a fun surprise and gave the pickles a little exotic edge.
Serving & Storage Suggestions
These fresh garlic dill refrigerator pickles are best served cold straight from the fridge. They’re fabulous alongside sandwiches, burgers, or as a crisp snack on their own.
For presentation, I like to slice them into spears or chips, arranging them on a platter with some cheese and crackers for casual entertaining. They pair beautifully with a cold beer or a light white wine.
Store your pickles in the refrigerator in their sealed jars for up to 3 weeks. The flavor intensifies over time, so if you’re not eating them immediately, don’t worry — they only get better. Just remember to use a clean fork to avoid introducing bacteria.
To reheat (if you want warm pickles for a recipe), briefly warm them in a pan or microwave, but honestly, they’re best enjoyed cold or at room temperature.
Nutritional Information & Benefits
One serving (about 3 spears or 50g) of these fresh garlic dill refrigerator pickles contains roughly:
| Calories | 10 |
|---|---|
| Carbohydrates | 2g |
| Fiber | 1g |
| Protein | 0g |
| Fat | 0g |
| Sodium | 300mg (varies by salt used) |
These pickles are low in calories and provide a good source of probiotics when fermented naturally (though this quick fridge method is more of a fresh pickle). Garlic has known antioxidant properties and can support immune health, while dill adds vitamins and a unique flavor punch. If you’re watching sodium intake, consider adjusting the salt or rinsing pickles before eating.
Conclusion
If you’re after a fresh, garlicky, dill-packed pickle that’s ready fast and tastes like a summer day in a jar, this recipe is exactly what you need. It’s approachable, forgiving, and downright addictive. I love it because it captures that fleeting memory of a neighbor’s garden and brings it right to my kitchen counter — plus, it’s a fantastic little treat any time of year.
Give it a try, tweak the garlic or heat to your liking, and let me know how your batch turns out! There’s something so satisfying about making your own pickles, and honestly, once you’ve had these, store-bought will never quite do.
Happy pickling!
FAQs
How long do refrigerator pickles last?
They typically last up to 3 weeks in the fridge when stored in clean, airtight jars.
Can I use regular cucumbers instead of Kirby cucumbers?
Yes, but choose firm cucumbers without soft spots to keep your pickles crisp.
Do I need to boil the brine?
It’s best to warm it just enough to dissolve the salt, but avoid boiling to keep the flavors bright.
Can I make these pickles spicy?
Definitely! Add red pepper flakes, jalapeños, or other hot peppers to the jar for some heat.
Are these pickles fermented?
No, this is a quick refrigerator pickle recipe using vinegar, so they’re not fermented but still flavorful and crunchy.
Pin This Recipe!
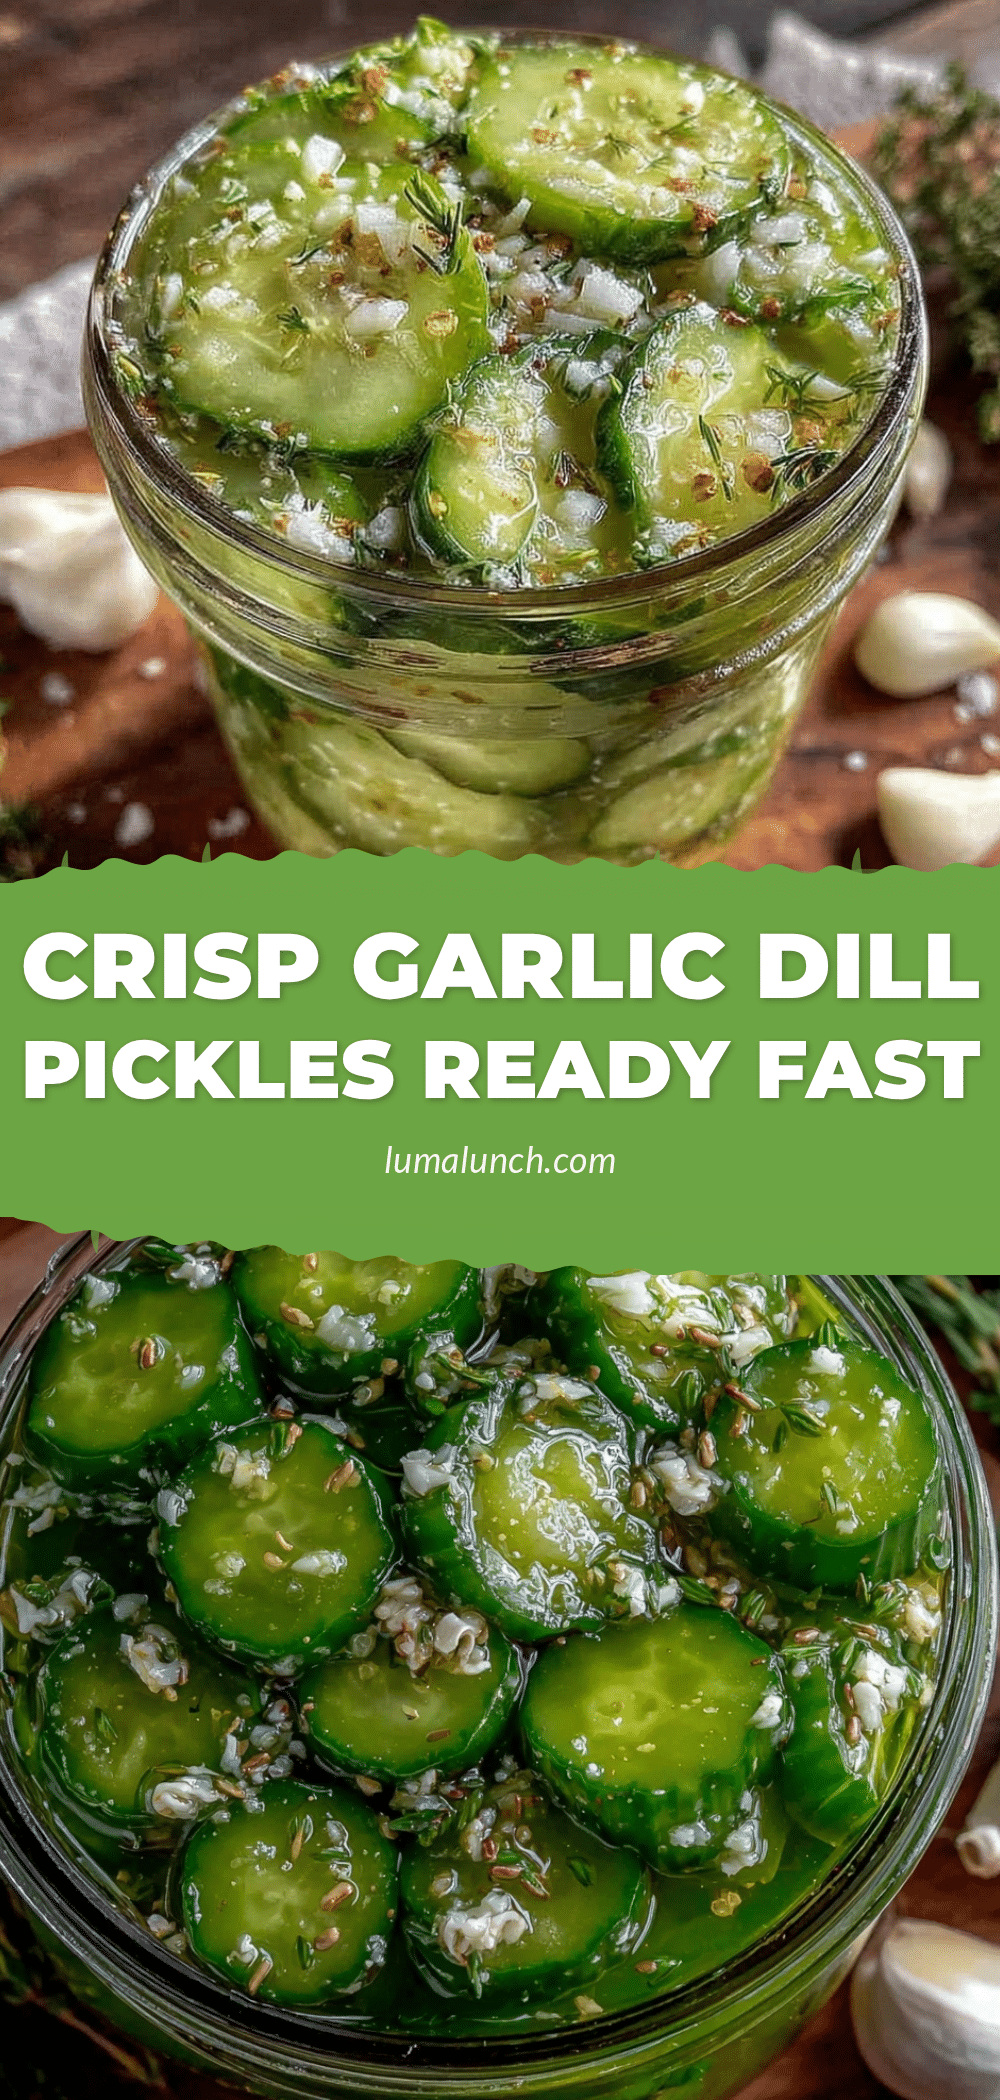
Fresh Garlic Dill Refrigerator Pickles
Quick and easy refrigerator pickles with fresh garlic and dill, ready in 24 hours. Perfectly crisp, tangy, and garlicky pickles without the wait.
- Prep Time: 15 minutes
- Cook Time: 5 minutes
- Total Time: 24 hours 20 minutes
- Yield: 4 servings 1x
- Category: Condiment
- Cuisine: American
Ingredients
- 1 pound (450 g) Kirby cucumbers
- 4–5 fresh garlic cloves, smashed
- 3–4 fresh dill sprigs
- 1 cup (240 ml) white vinegar
- 1 cup (240 ml) water
- 1 tablespoon pickling salt or kosher salt
- 1 teaspoon whole black peppercorns
- Optional: 1/4 teaspoon red pepper flakes
Instructions
- Wash and prep the cucumbers by rinsing under cold water and trimming off the blossom ends. Leave whole, slice into spears, or cut into chips as preferred.
- Prepare the brine by combining white vinegar, water, and salt in a small saucepan. Warm over medium heat, stirring until salt dissolves. Remove from heat and let cool slightly.
- Fill clean quart-sized glass jars with cucumbers, smashed garlic cloves, dill sprigs, black peppercorns, and optional red pepper flakes.
- Pour the warm brine over the cucumbers and herbs, leaving about 1/2 inch of headspace. Press cucumbers down to submerge fully.
- Seal jars tightly and refrigerate for at least 24 hours before tasting. Flavor intensifies with longer refrigeration.
- After 24 hours, taste and enjoy. For tangier pickles, refrigerate for additional days.
Notes
Use fresh, firm cucumbers and trim blossom ends to prevent softening. Warm brine just enough to dissolve salt; avoid boiling. Smash garlic gently to release flavor without bitterness. Keep cucumbers submerged in brine to avoid spoilage. Refrigerate immediately and allow at least 24 hours for best flavor. Adjust salt and vinegar to taste in future batches. Rinse pickles briefly if too salty or vinegary.
Nutrition
- Serving Size: About 3 spears or 50
- Calories: 10
- Sodium: 300
- Carbohydrates: 2
- Fiber: 1
Keywords: refrigerator pickles, garlic dill pickles, quick pickles, easy pickles, homemade pickles, fresh dill, garlic pickles


