Love this? Save it for later!
Share the inspiration with your friends
My sister asked why I couldn’t just put everything on a toothpick instead of making a full salad. I started to explain why that wouldn’t work—then stopped. Honestly, I had no good reason. It was just one of those moments where tradition gets in the way of common sense. She was packing lunches for her first year of teaching, and I was trying to help with recipes that wouldn’t fall apart in a brown bag.
The thing is, I’d been overcomplicating it. I was thinking about layers and plating and all the stuff that matters when you’re serving dinner but means nothing when you’re eating at a desk between grading papers. She just wanted something that tasted good and didn’t require a fork. I mean, let’s be real—teachers barely get time to breathe, let alone eat a proper meal.
So I grabbed the mozzarella, the tomatoes, and the basil from my fridge. I sliced, stacked, and stabbed. And you know what? It was perfect. The mini caprese skewers came together in about ten minutes, and they looked like something you’d pay twelve dollars for at a fancy café. My sister texted me a photo from her classroom that afternoon with the caption “lunch win.”
That’s when I knew this was a keeper. Not just because it’s easy—though it is—but because it solves a real problem. Teachers need food that travels well, doesn’t make a mess, and still feels like a treat. These little skewers check every box. I’ve been making them ever since, and I keep finding new reasons to love them.
Why You’ll Love This Recipe
Let me tell you why these mini caprese skewers have become my go-to for teacher lunches and pretty much everything else. I’ve tested this recipe about a dozen times, tweaking the proportions and trying different combinations, and this version is the one that works every single time.
- Quick & Easy: You can put these together in under 15 minutes. No cooking, no complicated steps, just assembly. Perfect for Sunday meal prep or a rushed weekday morning.
- Simple Ingredients: You only need five things—mozzarella, tomatoes, basil, olive oil, and balsamic glaze. Chances are you already have most of them in your kitchen.
- Perfect for Lunchboxes: These skewers hold up surprisingly well. They don’t get soggy, they don’t leak, and they’re easy to eat with one hand while doing literally anything else.
- Crowd-Pleaser: I’ve brought these to potlucks, picnics, and brunches. Kids love them, adults love them, and they disappear faster than almost anything else on the table.
- Unbelievably Delicious: There’s something magical about the combination of creamy mozzarella, sweet tomatoes, and fresh basil. The balsamic glaze adds this little tangy kick that ties everything together.
What makes this recipe different from the hundreds of other caprese skewers out there? It’s the proportions. I spent way too much time figuring out the perfect ratio of cheese to tomato to basil. Not too much of any one thing, just balanced bites every time. Plus, I’ll share my trick for keeping the basil from wilting—because nobody wants sad, brown herbs in their lunch.
This isn’t just another appetizer recipe. It’s the kind of food that makes you feel like you’ve got your life together, even on days when you definitely don’t. And honestly, isn’t that what we all need?
What Ingredients You Will Need
This recipe uses simple, fresh ingredients to create something that tastes way more impressive than the effort it requires. Most of these are pantry staples or easy to find at any grocery store.
- Fresh mozzarella balls (ciliegine or bocconcini), drained and patted dry (about 8 ounces) — I prefer the smaller ciliegine size because they fit perfectly on toothpicks. BelGioioso makes a great option, but any brand works fine.
- Cherry or grape tomatoes, washed and dried (about 1 pint) — Look for firm, bright-colored tomatoes. Grape tomatoes tend to hold up better in lunchboxes since they’re less watery than cherry tomatoes.
- Fresh basil leaves, washed and dried (about 20-24 leaves) — Go for medium-sized leaves that are roughly the same width as your mozzarella balls. Large leaves can be torn in half.
- Extra virgin olive oil, for drizzling (about 2 tablespoons) — Use good quality here since you’ll taste it directly. Nothing too peppery or strong.
- Balsamic glaze, for drizzling (about 2 tablespoons) — You can buy this pre-made or reduce regular balsamic vinegar on the stove. I usually grab the store-bought version for convenience.
- Flaky sea salt and black pepper, to taste (optional but recommended) — A tiny sprinkle makes a big difference.
- Wooden toothpicks or short skewers (about 20-24) — The 4-inch size works perfectly for lunchboxes. You can also use small bamboo skewers broken in half.
If you’re making these for a school lunch, I recommend using the smallest mozzarella balls you can find. The larger ones tend to slide off the toothpick and create a mess. Also, pat the mozzarella really well with paper towels—excess moisture makes everything slippery and can cause the basil to get slimy by lunchtime.
For a dairy-free version, you can substitute the mozzarella with firm tofu that’s been pressed and marinated in olive oil and salt. It’s not exactly the same, but it works in a pinch. And if you’re not a fan of balsamic, a simple drizzle of olive oil and a squeeze of lemon juice does the trick.
Equipment Needed
The beauty of this recipe is that you barely need any equipment. Here’s what you’ll want to have on hand:
- Cutting board and sharp knife — For halving tomatoes if needed and slicing mozzarella (though small balls don’t need cutting).
- Paper towels — For drying the mozzarella and basil. This step matters more than you think.
- Small bowl or shallow dish — For drizzling the olive oil and balsamic glaze if you want to dip the skewers rather than drizzle.
- Toothpicks or short skewers — I’ve tried both, and the flat wooden toothpicks work best. Round ones let the food spin around too much.
- Airtight container — For storing the assembled skewers. A rectangular container works better than a round one for keeping them from rolling around.
If you don’t have toothpicks, you can use small bamboo skewers broken in half. Just watch out for splinters—run your fingers along the edges to check. And honestly, you could skip the toothpicks entirely and just layer everything in a jar for a deconstructed version. But where’s the fun in that?
Preparation Method
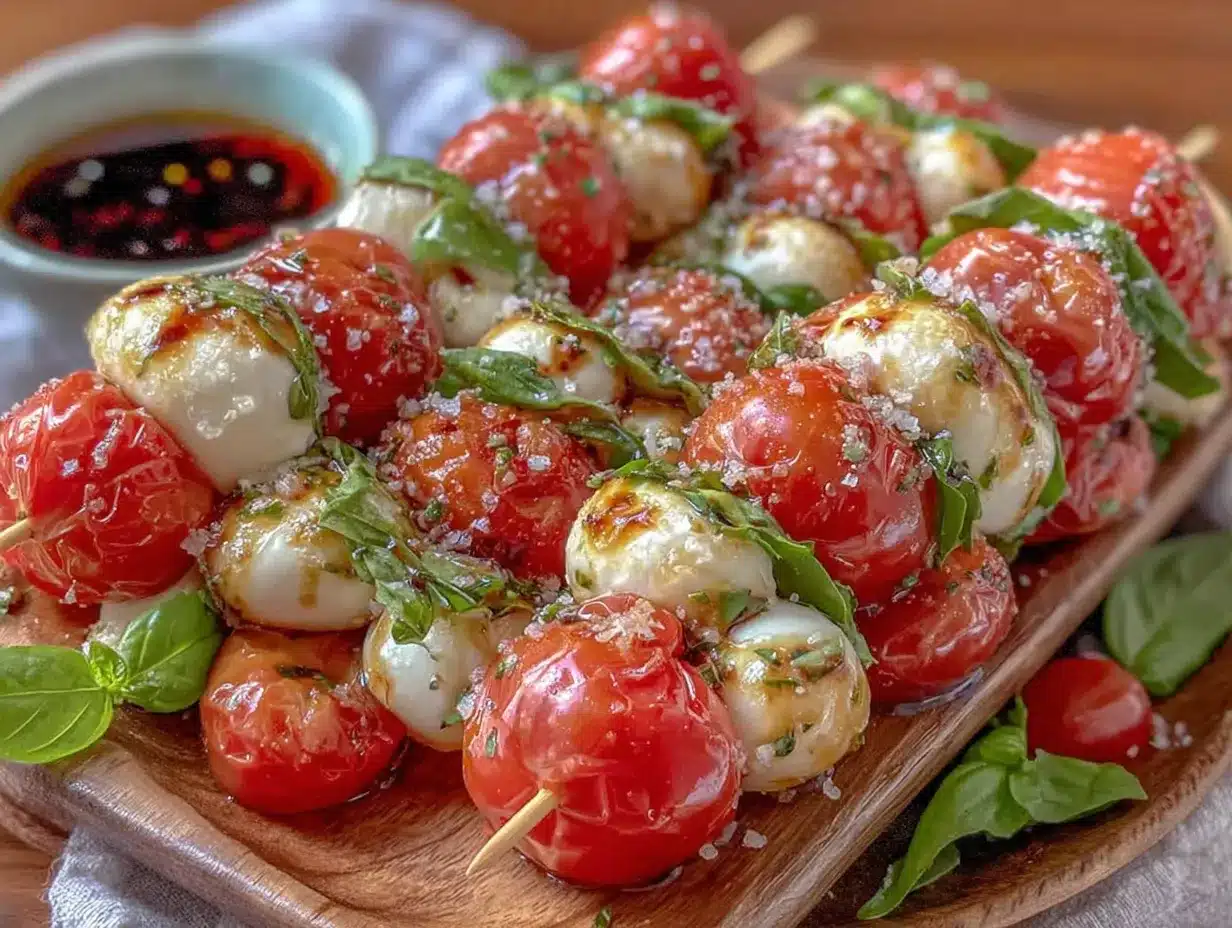
Let me walk you through this step by step. Once you make these once, you’ll have the method memorized—it’s that simple.
- Prep your ingredients. Take the mozzarella balls out of the container and place them on a plate lined with paper towels. Pat them gently to remove as much moisture as possible. Let them sit for about 5 minutes while you wash and dry the tomatoes and basil. This resting time helps everything stick together better later.
- Set up your assembly station. Arrange your mozzarella, tomatoes, and basil leaves in a line on your cutting board. Have your toothpicks within reach. I like to put everything in small bowls so I can grab and go—it feels more organized and less chaotic.
- Start skewering. Take a toothpick and thread on a basil leaf first. Push it down about halfway. Then add a tomato, followed by a mozzarella ball. The order matters here—having the basil against the tomato helps keep it from getting crushed by the cheese. Repeat until you’ve used all your ingredients.
- Arrange in a container. Place the finished skewers in a single layer in your container. Don’t stack them on top of each other or they’ll fall apart. If you’re making a big batch, use multiple containers or separate layers with parchment paper.
- Add the finishing touches. Drizzle the olive oil and balsamic glaze over the skewers right before serving. If you’re packing them for lunch, keep the dressing in a small separate container and add it at school. This keeps everything fresh and prevents sogginess.
- Season and serve. Sprinkle with a tiny pinch of flaky salt and a crack of black pepper if you’re using them. The salt really brings out the flavor of the tomatoes and balances the creaminess of the cheese.
A few things I’ve learned the hard way: Don’t overcrowd the toothpick. Three items per skewer is the sweet spot—more than that and it gets unstable. Also, if your basil leaves are huge, tear them in half rather than folding them. Folded basil gets bruised and turns dark by lunchtime.
You’ll know you’ve done it right when each skewer has a nice balance of colors—red, white, and green. It should look like a tiny flag of Italy on a stick. And when you bite into it, you should get all three components in one mouthful.
Cooking Tips & Techniques
After making these skewers more times than I can count, I’ve picked up a few tricks that make a real difference. Let me share what works and what doesn’t.
The moisture problem. This is the number one issue people run into. Wet mozzarella makes everything slide around, and wet basil turns into a slimy mess. The solution is simple but non-negotiable: pat everything dry. I mean really dry. I use three paper towels for the mozzarella alone. It sounds excessive, but it works.
The basil wilting issue. I ruined so many batches of skewers before figuring this out. Basil doesn’t like being squished against wet cheese for hours. The trick is to place the basil between the tomato and the mozzarella, not directly against the cheese. The tomato acts as a barrier, and the basil stays fresh and green.
Timing matters. If you’re making these for a lunch that won’t be eaten for several hours, assemble them the night before but don’t add the oil and glaze until morning. The skewers themselves hold up fine in the fridge overnight—just cover them with a slightly damp paper towel to keep the basil from drying out.
One mistake I made. I once used giant toothpicks thinking they’d be easier to handle. They were not. The food spun around like a rotisserie, and everything fell off. Stick with standard 4-inch toothpicks. They’re the Goldilocks size—just right.
Multitasking tip. While the mozzarella is draining on paper towels, wash and dry your tomatoes and basil. By the time you’re done with that, the cheese is ready to go. This saves you about five minutes of standing around waiting.
Variations & Adaptations
One of the best things about this recipe is how easy it is to change up. Here are some variations I’ve tried and loved.
The Mediterranean version. Swap the basil for fresh oregano or mint, and add a small Kalamata olive to each skewer. The briny olive adds a punch of flavor that’s completely different but equally delicious. I made these for a Greek-themed potluck and they were gone in minutes.
The protein-packed version. Add a small piece of prosciutto or salami between the tomato and mozzarella. This turns the skewers into a more substantial lunch that can stand on its own. My husband takes these to work with a handful of crackers and calls it a perfect meal.
The dairy-free version. Use marinated firm tofu instead of mozzarella. Press the tofu for about 30 minutes first, then cube it and toss it in olive oil, salt, and a splash of lemon juice. Let it sit for an hour before assembling. The texture is different, but the flavor is surprisingly good.
The roasted version. Roast the cherry tomatoes at 400°F for about 15 minutes before assembling. They get sweet and concentrated, and the flavor changes completely. This works better for serving at room temperature rather than packing for lunch, since roasted tomatoes are softer and more likely to squish.
The breakfast version. I know this sounds weird, but hear me out. Use a small cube of feta instead of mozzarella, add a fresh fig half instead of tomato, and drizzle with honey instead of balsamic. It’s sweet, salty, and absolutely incredible. I served these at a brunch and people lost their minds.
Serving & Storage Suggestions
These skewers are versatile when it comes to serving. Here’s what I’ve found works best.
Serving temperature. They’re best at room temperature or slightly chilled. If you’re serving them at a party, take them out of the fridge about 20 minutes beforehand. The mozzarella gets creamier and the flavors come through more. For lunchboxes, they’re fine straight from the fridge—they’ll warm up a bit by the time lunch rolls around.
Presentation ideas. Arrange them on a platter in a circular pattern with a small bowl of extra balsamic glaze in the center for dipping. Or stick them upright in a halved bell pepper or a small jar of rice for a fun, grab-and-go display. For lunchboxes, just lay them flat in a single layer.
What to serve with them. These pair beautifully with crusty bread, crackers, or a simple green salad. For a teacher lunch, I like to pack them with some grapes, a handful of almonds, and a small piece of dark chocolate. It feels like a fancy bento box.
Storage instructions. Assemble the skewers (without oil and glaze) and store them in an airtight container in the fridge for up to 3 days. Place a slightly damp paper towel on top to keep the basil from drying out. Don’t add the dressing until you’re ready to eat.
Reheating? Don’t do it. These are meant to be served cold or at room temperature. If you want a warm version, try grilling the skewers for about 2 minutes per side—but that’s a different recipe entirely.
Flavor development. The flavors actually meld together nicely after a few hours in the fridge. The tomatoes release a tiny bit of juice that mixes with the olive oil, and everything gets more cohesive. I actually prefer them the day after assembly.
Nutritional Information & Benefits
Here’s the rough nutritional breakdown for one skewer (based on a batch of 20 skewers using the standard ingredients):
| Nutrient | Amount per skewer |
|---|---|
| Calories | 45-55 |
| Protein | 3-4g |
| Fat | 3-4g |
| Carbohydrates | 2-3g |
| Fiber | <1g |
| Sodium | 80-100mg |
These numbers are estimates and will vary based on the specific brands and sizes you use. A serving of 4-5 skewers makes a satisfying lunch that clocks in around 200-250 calories.
The health benefits here are real. Mozzarella is a good source of calcium and protein, which helps keep you full and supports bone health. Tomatoes are packed with lycopene, an antioxidant that’s been linked to heart health and reduced inflammation. Basil contains vitamin K and essential oils with anti-inflammatory properties. And olive oil? It’s full of healthy monounsaturated fats that are good for your heart.
This recipe is naturally gluten-free and can be made vegetarian or dairy-free with simple substitutions. It’s also low-carb and keto-friendly if you skip the balsamic glaze or use a sugar-free version.
Conclusion
These mini caprese skewers have become a staple in my kitchen for a reason. They’re simple, they’re beautiful, and they solve the very real problem of packing a lunch that actually gets eaten. Whether you’re a teacher looking for something that won’t fall apart in your bag, a parent trying to make school lunches more interesting, or just someone who appreciates good food without the fuss, this recipe delivers.
I love that I can make a batch in under 15 minutes and have lunches sorted for days. I love that they look impressive enough for a party but are simple enough for a Tuesday. And I really love that my sister—the one who asked the question that started all this—still texts me photos of her lunchbox skewers.
Try them this week. Customize them however you like. Swap the basil for mint, add some prosciutto, or go wild with roasted tomatoes. The base recipe is forgiving and flexible, and I promise you’ll find your own favorite version.
I’d love to hear how yours turn out. Drop a comment below and tell me what variations you tried, or share a photo of your lunchbox creation. And if you know another teacher who needs an easy lunch idea, send them this post. We could all use a little more delicious simplicity in our lives.
Frequently Asked Questions
Can I make these skewers ahead of time?
Yes, absolutely. Assemble them up to 3 days in advance and store them in an airtight container in the fridge. Just don’t add the olive oil or balsamic glaze until you’re ready to eat. Place a slightly damp paper towel on top of the skewers to keep the basil fresh.
How do I keep the basil from turning brown?
The key is keeping the basil dry and away from direct contact with moist cheese. Pat the basil leaves dry with a paper towel before assembling, and place the basil between the tomato and the mozzarella rather than directly against the cheese. This creates a barrier that prevents wilting.
Can I use a different type of cheese?
Definitely. Fresh mozzarella is traditional, but you can use feta, bocconcini, or even small cubes of provolone. For a dairy-free option, marinated firm tofu works well. Just make sure whatever you use is firm enough to stay on the toothpick.
What if I don’t have balsamic glaze?
No problem. You can make your own by simmering 1/2 cup of balsamic vinegar over medium heat until it reduces by half and becomes syrupy (about 10 minutes). Or skip it entirely and use a simple drizzle of olive oil with a squeeze of fresh lemon juice.
How many skewers should I pack for a lunch?
For an adult lunch, 4-5 skewers make a good serving, especially when paired with some crackers, fruit, or a small salad. For a child’s lunch, 2-3 skewers are usually enough. These are also great as a snack or appetizer, so adjust the quantity based on how you’re serving them.
Pin This Recipe!
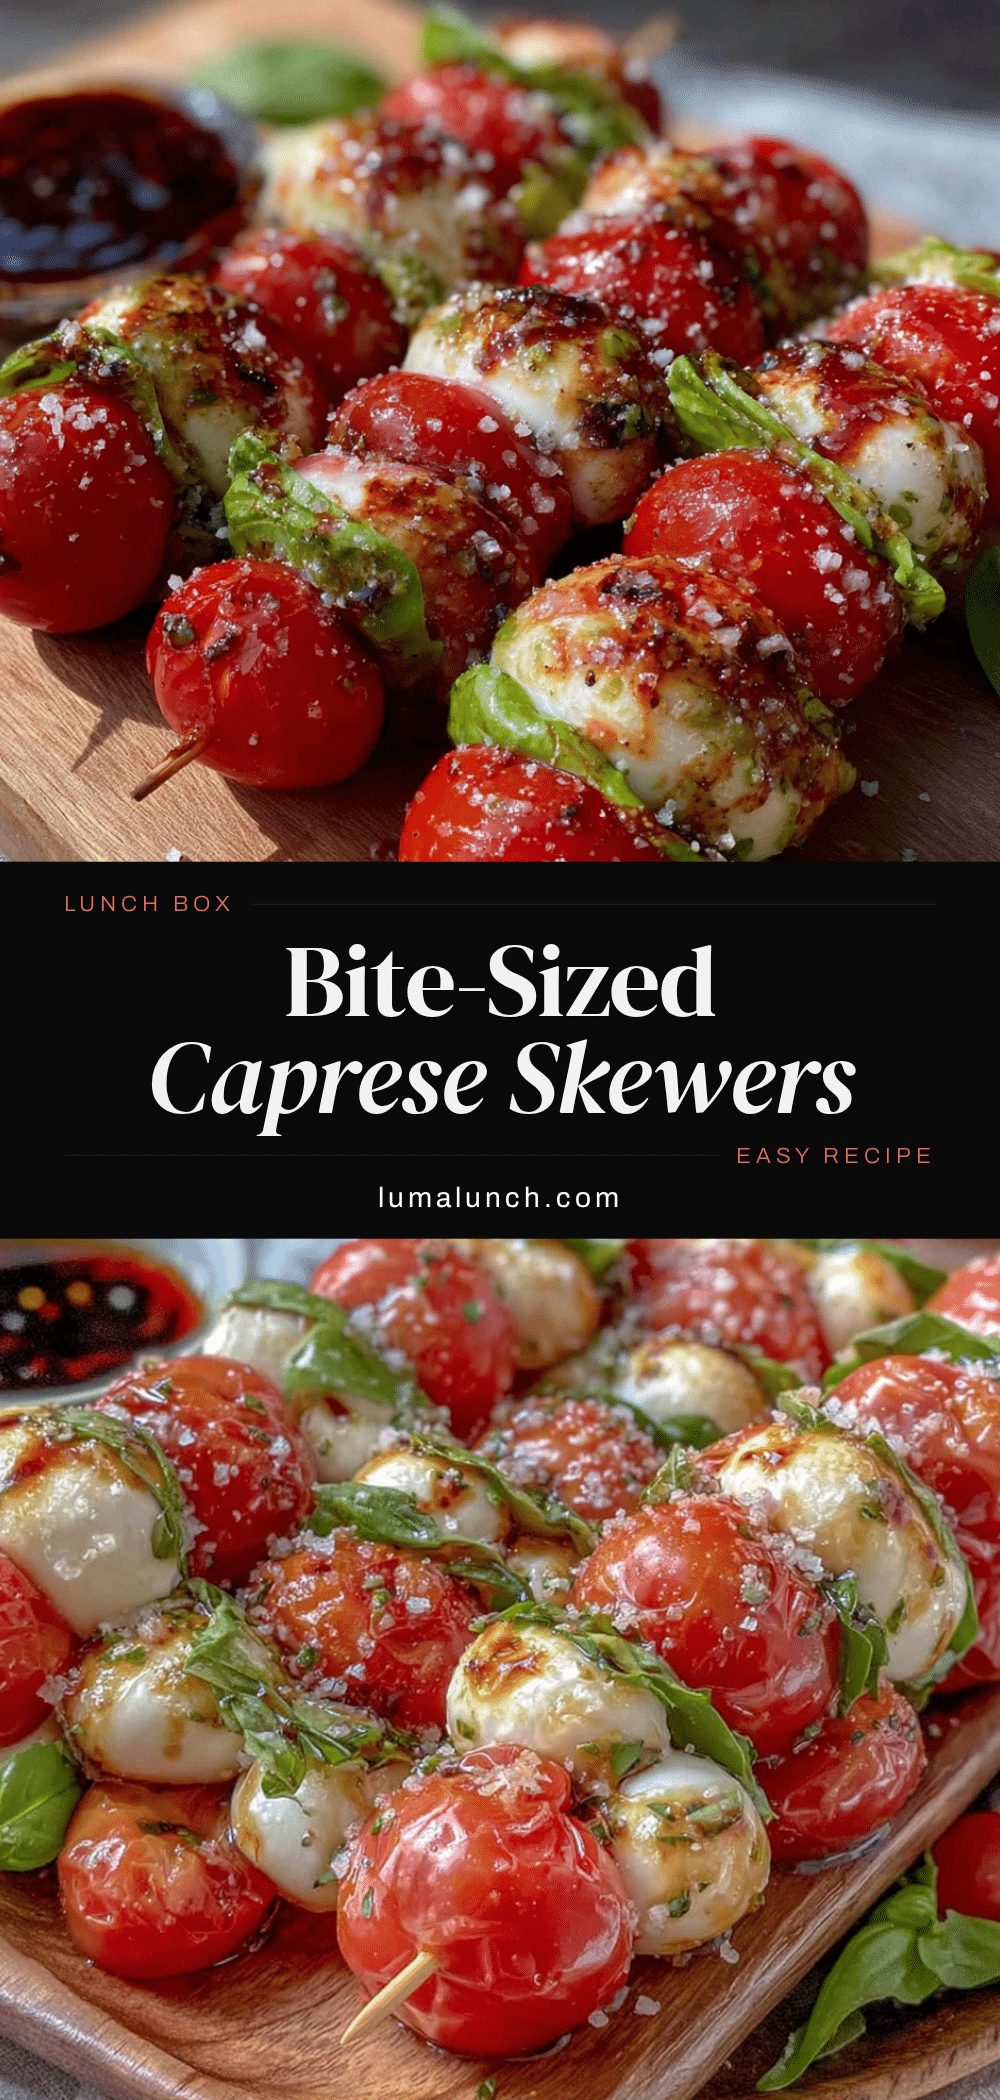
Easy Mini Caprese Skewers: Perfect Teacher Lunch Idea

These mini caprese skewers are a quick, no-cook lunch idea perfect for teachers or anyone needing a portable, mess-free meal. Made with fresh mozzarella, cherry tomatoes, basil, and a drizzle of balsamic glaze, they come together in under 15 minutes and are ideal for lunchboxes, potlucks, or picnics.
- Prep Time: 15 minutes
- Cook Time: 0 minutes
- Total Time: 15 minutes
- Yield: 4 servings 1x
- Category: Appetizer
- Cuisine: Italian
Ingredients
- 8 ounces fresh mozzarella balls (ciliegine or bocconcini), drained and patted dry
- 1 pint cherry or grape tomatoes, washed and dried
- 20–24 fresh basil leaves, washed and dried
- 2 tablespoons extra virgin olive oil
- 2 tablespoons balsamic glaze
- Flaky sea salt and black pepper to taste (optional)
- 20–24 wooden toothpicks or short skewers (4-inch size)
Instructions
- Prep your ingredients. Place mozzarella balls on a plate lined with paper towels and pat dry. Let sit for 5 minutes while washing and drying tomatoes and basil.
- Set up your assembly station. Arrange mozzarella, tomatoes, and basil leaves in a line on your cutting board with toothpicks within reach.
- Start skewering. Take a toothpick and thread on a basil leaf first, pushing it down about halfway. Add a tomato, then a mozzarella ball. Repeat until all ingredients are used.
- Arrange in a container. Place finished skewers in a single layer in an airtight container. Do not stack. If making a big batch, use multiple containers or separate layers with parchment paper.
- Add the finishing touches. Drizzle olive oil and balsamic glaze over skewers right before serving. For lunchboxes, keep dressing in a separate container and add at school.
- Season and serve. Sprinkle with a tiny pinch of flaky salt and a crack of black pepper if desired.
Notes
Pat mozzarella very dry to prevent sliding and sogginess. Place basil between tomato and mozzarella to keep it from wilting. Assemble up to 3 days ahead without dressing; store with a damp paper towel on top. For best flavor, serve at room temperature or slightly chilled.
Nutrition
- Serving Size: 4-5 skewers
- Calories: 225
- Sugar: 6
- Sodium: 400
- Fat: 16
- Saturated Fat: 6
- Carbohydrates: 10
- Fiber: 2
- Protein: 14
Keywords: caprese skewers, mini caprese, teacher lunch, easy appetizer, no-cook recipe, lunchbox ideas, mozzarella skewers, tomato basil skewers


