Love this? Save it for later!
Share the inspiration with your friends
My neighbor wasn’t trying to impress me. I’d stopped by to borrow a level—a very specific, unexciting errand—and the scent of toasted bread and warm jam hit me before I even made it past her screen door. She was standing at the counter, hands moving with a kind of practiced ease, pressing the edges of a sandwich with the tines of a fork. She didn’t even look up. “You want one?” she asked, like she was offering me a glass of water. That first bite—the soft bread, the creamy peanut butter, that perfect ribbon of strawberry jam—stopped me cold. I mean, honestly, it was a sandwich. But it was that sandwich. The one you buy in the freezer aisle and feel a little guilty about loving. She’d just made it from scratch, right there, in less time than it takes to find your keys.
Maybe you’ve been there. You know that feeling when you realize something incredibly simple is actually a secret superpower? That was this moment for me. I stood there, holding this warm, perfectly sealed little pocket, and I thought, “Why have I never done this?” The answer, of course, is that I thought it would be complicated. I thought I needed a special gadget, or some kind of culinary magic. But she didn’t have any of that. She just had bread, peanut butter, jam, and a fork. It was a revelation. This easy copycat Uncrustable recipe isn’t just about saving money (though you will). It’s about reclaiming a childhood favorite and making it your own, with better ingredients and zero preservatives. It’s the kind of recipe that stays with you because it proves that the best things really are the simplest.
Why You’ll Love This Recipe
Let me tell you why this one is a total game-changer. I’ve tested this method more times than I can count, tweaking the bread type, the spread thickness, even the sealing technique. This version is the one that works every single time, giving you that perfect, pillowy, no-crust-required experience. It’s been a hit with my picky kids, my skeptical husband, and even my own inner child who still loves a good PB&J.
- Quick & Easy : Comes together in under 5 minutes, which is faster than a trip to the store. Perfect for a frantic morning or a lazy afternoon snack.
- Simple Ingredients : You probably have everything in your pantry right now. No fancy grocery trips needed for this one.
- Perfect for Lunchboxes : They hold up beautifully, don’t get soggy, and are the exact right size for little (and big!) hands.
- Crowd-Pleaser : Seriously, who doesn’t love a PB&J? These always get rave reviews from kids and adults alike.
- Unbelievably Delicious : The texture is next-level—soft bread sealed around a creamy, sweet center. It’s pure comfort.
This isn’t just another version of a PB&J. The secret is in the sealing technique. By crimping the edges with a fork, you create a perfect pocket that keeps the fillings inside and gives the bread a slightly toasted, chewy edge. It’s the same principle as a hot pocket, but easier and way more satisfying. This is the recipe that turns a classic sandwich into something special—a little pocket of joy that makes you close your eyes after the first bite. It’s comfort food reimagined: faster, simpler, but with the same soul-soothing satisfaction. Perfect for impressing a lunch table without any stress.
What Ingredients You Will Need
This recipe uses simple, pantry-staple ingredients to deliver that classic, nostalgic flavor without any fuss. The beauty is in the quality of what you choose, so let’s break it down.
- For the Sandwiches:
- 8 slices of soft white bread (or whole wheat, brioche, or Texas toast for a richer flavor)
- 4 tablespoons creamy peanut butter (I prefer Skippy or Jif for the perfect spreadable consistency; natural peanut butter can be used but may be oilier)
- 4 tablespoons strawberry jam or jelly (seedless jam works best for a smooth texture; feel free to use grape, raspberry, or your favorite flavor)
- Optional: 1 tablespoon unsalted butter, softened (for toasting the outside, giving it a golden, crispy finish)
Ingredient Selection Tips: For the best results, use bread that is fresh and slightly soft. Stale bread will crack when you try to seal it. If you’re using a natural peanut butter that separates, stir it very well before using to ensure it’s spreadable. For the jam, a good quality brand like Bonne Maman or Smucker’s works wonders. The key is to not use too much jam, or it will leak out during sealing.
Substitution Guidance: Need a gluten-free option? Use your favorite gluten-free soft bread. For a nut-free version, substitute the peanut butter with sunflower seed butter (like SunButter) or WowButter. You can also use a dairy-free butter alternative for toasting. If you want a lower-sugar option, look for a no-sugar-added jam or make your own chia seed jam.
Equipment Needed
You don’t need any fancy gadgets for this recipe, which is part of its charm. Here’s what you’ll need:
- Butter knife – For spreading the peanut butter and jam.
- Fork – This is your secret weapon for sealing the edges. A standard dinner fork works perfectly.
- Cutting board or clean work surface – For assembling the sandwiches.
- Small bowl or plate – To hold the butter if you’re toasting them.
- Non-stick skillet or griddle (optional) – If you want to make them warm and toasty. A panini press also works great.
- Spatula (optional) – For flipping the sandwiches in the skillet.
Personal Experience: I’ve tried using a ravioli stamp and a cookie cutter to seal these, honestly, the fork is the best tool. It creates that classic, crimped edge that looks just like the store-bought version. A glass or a round cookie cutter can be used to cut the bread into a perfect circle before sealing, but it’s not necessary. A simple square is just as delicious. For the skillet, any non-stick pan will do; just make sure it’s on medium-low heat so the bread toasts evenly without burning.
Preparation Method
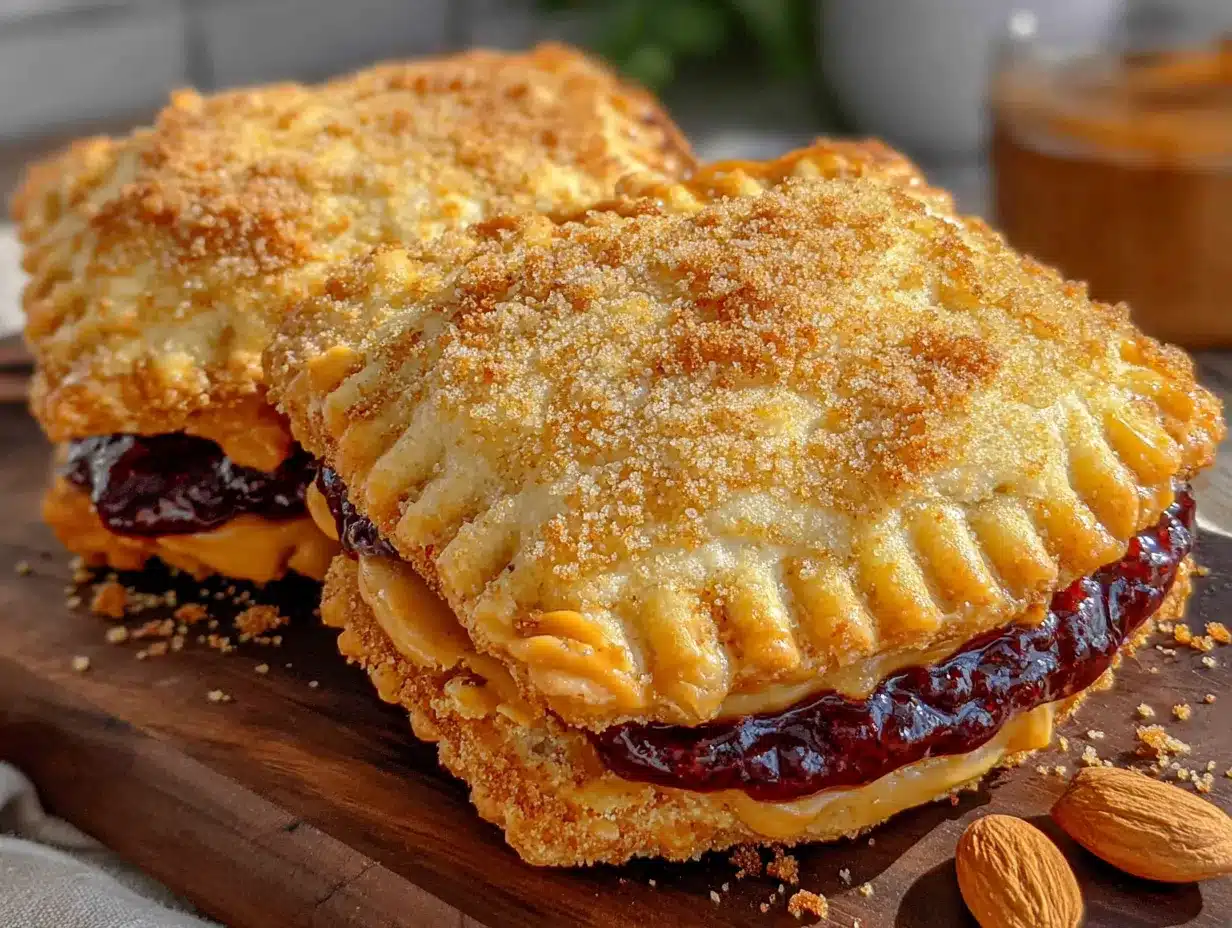
Let’s get to the fun part. This method is so simple, you’ll memorize it after the first try.
-
Prepare the Bread: Lay out 4 slices of bread on your cutting board. Using a rolling pin (or the bottom of a glass), gently flatten each slice until it’s about ¼-inch thick. This makes the bread more pliable and helps it seal better. Don’t press too hard, or you’ll tear the bread. You just want to compress it slightly.
-
Spread the Fillings: On two of the flattened slices, spread 1 tablespoon of peanut butter evenly, leaving a ½-inch border around the edges. On the other two slices, spread 1 tablespoon of jam or jelly, again leaving a border. The border is crucial—it’s where the seal will happen. If the filling goes right to the edge, it will squeeze out when you press.
-
Assemble the Sandwich: Carefully place a jam slice on top of a peanut butter slice, filling sides facing in. Press down gently to bring the two slices together. You should have a sandwich with a visible border of bread around the fillings.
-
Seal the Edges: This is the most important step. Take your fork and press the tines into the edges of the sandwich, going all the way around. You want to create a tight, crimped seal. The fork marks should be about ¼-inch from the edge. This not only seals the sandwich but also cuts off the crust, creating that classic Uncrustable shape. If you want a round shape, you can use a large biscuit cutter to cut the sandwich into a circle after sealing.
-
Optional: Toast for Warmth: If you want a warm, golden sandwich, heat a non-stick skillet over medium-low heat. Lightly butter the outside of the sealed sandwich (just a thin smear). Place the sandwich in the skillet and cook for 1-2 minutes per side, until golden brown and the peanut butter is slightly melted. Be careful not to burn it—the sugar in the jam can caramelize quickly.
-
Cool and Serve: Let the sandwich cool on a wire rack for a minute or two before serving. This allows the filling to set slightly, preventing burns. Enjoy immediately, or pack it in a lunchbox.
Sensory Cues: When you press the fork down, you should feel the bread give way easily. You’ll see the edges compress and stick together. If you’re toasting, listen for a gentle sizzle. The bread should turn a light, even golden brown, and you’ll smell the warm peanut butter and jam. The finished sandwich should hold its shape when you pick it up, with no filling leaking out.
Cooking Tips & Techniques
Over the years, I’ve learned a few things the hard way so you don’t have to. Here are my best tips for perfect Uncrustables every time.
The Bread is Key: I once used a very dense, artisan whole wheat bread. It was a disaster. It cracked when I tried to seal it. You want a soft, squishy bread—think classic white sandwich bread, brioche, or a soft whole wheat. The flatter you roll it, the better the seal. I’ve found that bread that’s a day old actually works better than super-fresh bread because it’s a little less sticky.
Don’t Overfill: This is the most common mistake. I know it’s tempting to pile on the peanut butter, but trust me, less is more. A tablespoon of each filling is the perfect amount. If you use too much, it will ooze out when you press the fork, making a sticky mess and a weak seal. A little goes a long way to create that perfect, creamy center.
The Fork Angle: When you’re crimping the edges, hold the fork at a slight angle, with the tines pointing slightly outward. This helps to cut through the bread and create a cleaner seal. Press firmly but gently—you don’t want to saw through the bread. I ruined a batch by being too aggressive with the fork and cutting the sandwich in half!
Multitasking Strategy: While one sandwich is toasting in the skillet, assemble the next one. This keeps the workflow smooth and efficient. You can easily make a whole batch of 8 sandwiches in under 15 minutes. If you’re making them for a week’s worth of lunches, assemble them all, seal them, and then freeze them on a baking sheet before transferring to a freezer bag.
Variations & Adaptations
This recipe is a perfect base for so many delicious variations. Don’t be afraid to get creative!
- Flavor Swaps: Try using Nutella or another chocolate-hazelnut spread instead of peanut butter for a decadent treat. You can also use almond butter, cashew butter, or cookie butter. For the jam, experiment with apricot, blackberry, or even a spicy pepper jelly for a grown-up twist.
- Dietary Adaptations: For a vegan version, use a plant-based butter and a vegan chocolate spread or nut butter. Make sure your bread is vegan-friendly. For a lower-carb option, use a low-carb tortilla or a thin, keto-friendly bread. You can even make them into a “quesadilla” style by folding a tortilla in half with the fillings.
- Seasonal Twists: In the summer, add a few slices of fresh strawberry or banana inside the sandwich before sealing. In the fall, try a pumpkin butter and cream cheese filling. You can also add a sprinkle of cinnamon or a pinch of sea salt to the peanut butter for a flavor boost.
- Baked Version: For a fun, crispy texture, brush the sealed sandwiches with melted butter and bake them at 375°F (190°C) for 8-10 minutes, flipping halfway through. They come out golden and crunchy on the outside, warm and gooey on the inside. I tried this once when my skillet was full, and it was a happy accident.
Serving & Storage Suggestions
These sandwiches are incredibly versatile. Here’s how to serve and store them like a pro.
Serving: These are best served at room temperature or slightly warm. If you’ve toasted them, let them cool for a couple of minutes so the filling isn’t lava-hot. They’re perfect on their own, but you can also serve them with a side of fresh fruit, veggie sticks, or a small cup of yogurt for a complete lunch. For an after-school snack, pair one with a glass of cold milk. The contrast of the warm, toasty bread and the cold milk is pure comfort.
Storage: These Uncrustables are great for meal prep. To store them in the refrigerator, place them in a single layer in an airtight container, separating layers with parchment paper. They will keep for up to 3 days. For longer storage, freeze them! Place the sealed, uncooked sandwiches on a baking sheet lined with parchment paper and freeze for 1-2 hours, or until solid. Then, transfer them to a freezer-safe zip-top bag. They will keep for up to 3 months. You can toast them directly from frozen—just add an extra minute to the cooking time.
Reheating: The best way to reheat a frozen Uncrustable is in a skillet over medium-low heat for 2-3 minutes per side. You can also microwave it for 30-45 seconds, but the bread will be softer and less crispy. For a quick lunchbox option, just pack the frozen sandwich in the lunchbox in the morning; it will be perfectly thawed and at room temperature by lunchtime. The flavors actually meld together beautifully after a day in the fridge, so they taste even better the next day.
Nutritional Information & Benefits
While this is a treat, it can absolutely fit into a balanced diet. Here’s a rough estimate for one sandwich (using standard white bread and peanut butter).
| Nutrient | Amount Per Serving |
|---|---|
| Calories | ~280-320 |
| Fat | 12-15g |
| Saturated Fat | 2-3g |
| Carbohydrates | 35-40g |
| Sugar | 12-16g |
| Protein | 8-10g |
| Fiber | 2-3g |
Health Benefits: Peanut butter is a great source of plant-based protein and healthy monounsaturated fats, which are good for heart health. It also contains vitamin E, magnesium, and potassium. The whole wheat bread option adds fiber, which aids digestion and keeps you feeling full longer. Using a lower-sugar jam can help reduce the overall sugar content. This recipe is naturally dairy-free (depending on your bread choice) and can easily be made gluten-free or nut-free. It’s a satisfying, energy-boosting snack that provides a good balance of protein, carbs, and healthy fats to keep you going.
Conclusion
This easy copycat Uncrustable recipe is proof that the best things in life really are the simplest. It’s faster than a trip to the store, cheaper than the boxed version, and so much more satisfying because you made it yourself. I love this recipe because it brings back that childhood joy of a perfect PB&J, but with a grown-up twist—no preservatives, no weird ingredients, just pure, delicious comfort. I honestly make a batch every Sunday for the week ahead, and it’s one of the few kitchen tasks that feels less like work and more like a little act of love.
Now I want to hear from you! Have you tried making these? What’s your favorite flavor combination? Drop a comment below and let me know. And if you loved this recipe, please share it with a friend who needs a little lunchbox magic in their life. Happy cooking, friends!
Frequently Asked Questions
Can I use any type of bread for this recipe?
Yes, but soft, pliable bread works best. Classic white sandwich bread, brioche, or soft whole wheat are ideal. Avoid dense, crusty artisan breads as they will crack when you try to seal them.
How do I keep the filling from leaking out?
The key is to leave a ½-inch border around the edges when you spread the peanut butter and jam. Also, don’t overfill—1 tablespoon of each is the perfect amount. A good, tight crimp with the fork is your best defense against leaks.
Can I make these ahead of time for the whole week?
Absolutely! You can assemble and seal all the sandwiches, then store them in the refrigerator for up to 3 days. For longer storage, freeze them on a baking sheet, then transfer to a freezer bag for up to 3 months. They toast beautifully straight from frozen.
My bread keeps tearing when I try to seal it. What am I doing wrong?
This usually happens if the bread is too dry or stale. Make sure you’re using fresh, soft bread. Also, try flattening the bread with a rolling pin first—this makes it more flexible and less likely to tear. Press the fork down gently but firmly, don’t saw at the bread.
Can I make these nut-free for school lunches?
Yes! Simply substitute the peanut butter with a nut-free alternative like sunflower seed butter (SunButter) or WowButter. These spread and seal just like peanut butter. Just be sure to check the label to ensure it’s processed in a nut-free facility if allergies are a concern.
Pin This Recipe!
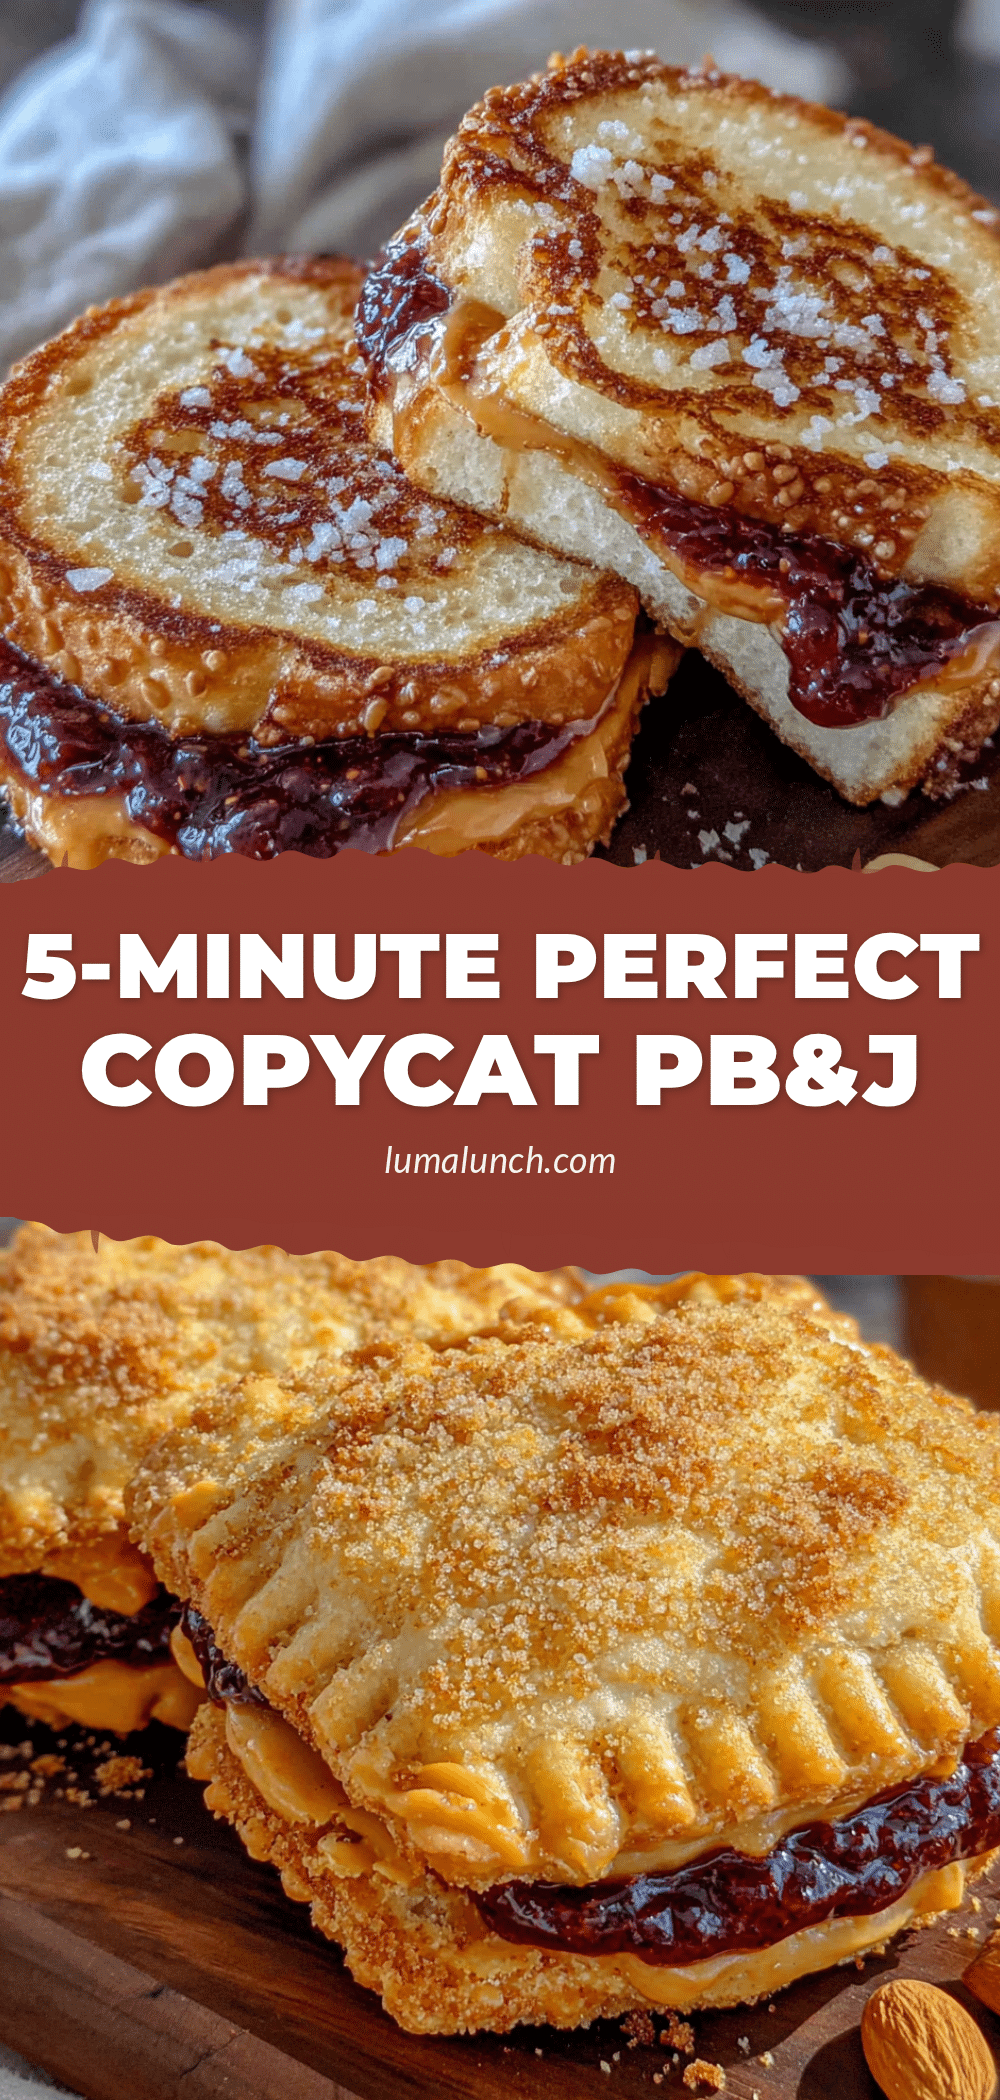
Easy Homemade Uncrustable PB&J Sandwiches in 5 Minutes

These homemade Uncrustable-style PB&J sandwiches are incredibly easy to make in under 5 minutes with just a few simple ingredients. They’re perfect for lunchboxes, snacks, and meal prep, with a perfectly sealed, no-crust-required experience.
- Prep Time: 5 minutes
- Cook Time: 4 minutes
- Total Time: 9 minutes
- Yield: 4 servings 1x
- Category: Snack
- Cuisine: American
Ingredients
- 8 slices soft white bread (or whole wheat, brioche, or Texas toast)
- 4 tablespoons creamy peanut butter (Skippy or Jif recommended)
- 4 tablespoons strawberry jam or jelly (seedless preferred)
- 1 tablespoon unsalted butter, softened (optional, for toasting)
Instructions
- Lay out 4 slices of bread on a cutting board. Using a rolling pin or the bottom of a glass, gently flatten each slice until about ¼-inch thick.
- On two of the flattened slices, spread 1 tablespoon of peanut butter evenly, leaving a ½-inch border around the edges. On the other two slices, spread 1 tablespoon of jam, again leaving a border.
- Carefully place a jam slice on top of a peanut butter slice, filling sides facing in. Press down gently to bring the two slices together.
- Take a fork and press the tines into the edges of the sandwich, going all the way around to create a tight, crimped seal. The fork marks should be about ¼-inch from the edge.
- Optional: For warm sandwiches, heat a non-stick skillet over medium-low heat. Lightly butter the outside of the sealed sandwich and cook for 1-2 minutes per side until golden brown.
- Let the sandwich cool on a wire rack for a minute or two before serving. Enjoy immediately or pack in a lunchbox.
Notes
For best results, use fresh, soft bread. Stale bread will crack when sealing. Leave a ½-inch border when spreading fillings to prevent leakage. Flattening the bread with a rolling pin helps create a better seal. These can be frozen for up to 3 months and toasted directly from frozen.
Nutrition
- Serving Size: 1 sandwich
- Calories: 300
- Sugar: 14
- Sodium: 250
- Fat: 13.5
- Saturated Fat: 2.5
- Carbohydrates: 37.5
- Fiber: 2.5
- Protein: 9
Keywords: uncrustable, PB&J, peanut butter and jelly, homemade, lunchbox, easy, kid-friendly, freezer-friendly, copycat


