Love this? Save it for later!
Share the inspiration with your friends
There used to be a tiny French bistro on the corner of 12th and Pine in my old neighborhood that made a stuffing that haunts me to this day. When they closed their doors after thirty years—a “For Lease” sign taped sadly in the window—I felt a genuine pang of loss. Not for the place itself, though it was lovely, but for that specific dish. That ridiculous, buttery, sage-scented side dish that I ordered every single time, even when the menu changed with the seasons. After twelve tries—and trust me, some of those attempts were straight-up disasters, including one that resembled a soggy brick—I finally got it. This Easy Brown Butter Sage Stuffing in 30 Minutes is the one. It’s the exact nutty, herbaceous, perfectly textured memory I was chasing, and honestly, it might even be a little better.
The secret, I discovered after a particularly frustrating batch that tasted more like burnt popcorn than bistro magic, is all in the brown butter. You know that moment when the butter turns that deep amber color and smells like toasted hazelnuts? That’s the whole game changer. I remember standing in my kitchen, spatula in hand, thinking, “This is it. This is what I was missing.” I mean, who knew a little patience with a pan of butter could unlock a whole universe of flavor? And the best part? It comes together in half an hour, which is a miracle for something this deeply satisfying. Maybe you’ve been there—chasing a ghost dish from a restaurant that no longer exists. Let me tell you, it’s a special kind of culinary obsession, but when you finally crack the code, it’s worth every single failed attempt.
This isn’t just a stuffing recipe. It’s a time machine back to that cozy, candlelit bistro. It’s the kind of side dish that steals the show from the main event. And the best part? You don’t need to be a chef or spend all day in the kitchen. This easy recipe is designed for a busy weeknight, proving that incredible flavor doesn’t require hours of labor. So, grab your skillet and a stick of butter. We’re about to make some serious magic happen in just 30 minutes.
Why You’ll Love This Recipe
Let’s be real for a second. Weeknights are chaos. You’re tired, you’re hungry, and the last thing you want is a complicated recipe with a mile-long ingredient list. This Easy Brown Butter Sage Stuffing is the answer to your weeknight prayers. It’s everything you want in a side dish—fast, flavorful, and ridiculously satisfying—without the stress.
- Quick & Easy: This comes together in under 30 minutes from start to finish. No overnight drying of bread, no long baking times. Perfect for those nights when you need a comforting side dish, stat.
- Simple Ingredients: No fancy grocery trips needed. You likely already have the bread, butter, and onion in your kitchen. The fresh sage is the only “special” ingredient, and it’s widely available or even easy to grow on a windowsill.
- Perfect for Any Occasion: While it’s a natural for Thanksgiving or a holiday dinner, this stuffing is also incredible alongside a simple roast chicken, pork chops, or even as a stuffing for a weeknight baked chicken breast. It’s not just a holiday dish anymore.
- Crowd-Pleaser: This is one of those dishes that gets rave reviews from everyone. The nutty brown butter and fragrant sage are a classic combination that appeals to both kids and adults. I’ve seen it disappear in minutes at potlucks.
- Unbelievably Delicious: The texture is perfect—crispy on top, soft and tender underneath. The flavor is deep, savory, and complex, all thanks to that simple browning step. It’s next-level comfort food that tastes like you spent hours on it.
What makes this recipe different from all the others? It’s the technique. Most stuffing recipes either bake for an hour or require you to pre-toast the bread. This one skips all that. We use stale bread (or quickly toast it in the oven) and then cook everything in one skillet on the stovetop, finishing it with a quick broil for that golden, crispy top. It’s a streamlined process that delivers the same, if not better, results. This isn’t just another version—it’s your new go-to, the one you’ll make even when it’s not a holiday. It’s comfort food reimagined—faster, easier, but with the same soul-soothing satisfaction that makes you close your eyes after the first bite.
What Ingredients You Will Need
This recipe uses simple, humble ingredients to create something truly extraordinary. The magic truly happens in the pan, but starting with good components makes all the difference. Here’s what you’ll need to gather.
- For the Bread Base:
- 1 lb (about 8 cups) stale bread, cut into 1-inch cubes: I recommend a good quality French bread or sourdough. The staler the better, as it absorbs the brown butter mixture without turning to mush. If your bread is fresh, spread the cubes on a baking sheet and bake at 300°F (150°C) for 10-15 minutes to dry them out.
- For the Brown Butter & Aromatics:
- 1/2 cup (1 stick) unsalted butter: Don’t even think about using margarine or a butter substitute here. The browning process is key, and real butter is non-negotiable for that nutty flavor. I prefer using a high-quality butter like Kerrygold for the best flavor.
- 1 large yellow onion, finely diced (about 1 1/2 cups): Yellow onions are perfect here because they have a nice balance of sweetness and savory flavor when cooked. A white onion would work in a pinch, but avoid red onions as they can be too sharp.
- 2-3 celery stalks, finely diced (about 1 cup): Celery adds that classic stuffing crunch and aromatic base. Make sure to dice it small so it cooks evenly.
- 1/4 cup fresh sage leaves, roughly chopped: This is not the time for dried sage. Fresh sage is essential for that fragrant, slightly peppery flavor that makes this dish sing. I’ve tried it with dried, and it’s just not the same. Look for leaves that are vibrant green and not wilted.
- 3 cloves garlic, minced: Fresh garlic adds a wonderful punch. Don’t use pre-minced garlic from a jar; the flavor is much milder and can be slightly bitter.
- For the Binding & Flavor:
- 1 1/2 cups chicken or vegetable broth, warmed: Warm broth is absorbed more quickly and evenly by the bread. I recommend a low-sodium broth so you can control the salt level. I personally prefer Better Than Bouillon for its rich, deep flavor.
- 1 large egg, lightly beaten: The egg helps bind the stuffing together, giving it a cohesive, almost custard-like texture. If you need an egg-free version, you can try using a flax egg (1 tbsp ground flaxseed mixed with 3 tbsp water).
- Salt and freshly cracked black pepper, to taste: Don’t be shy with the seasoning. I usually start with 1 teaspoon of salt and 1/2 teaspoon of pepper, then adjust at the end. Freshly cracked pepper is a must.
Ingredient Selection Tips: For the best texture, use a bread that has some structure—a crusty artisan loaf is perfect. Avoid soft, squishy sandwich bread, as it will turn into a pasty mess. If you can find it, a day-old loaf from a bakery is ideal. For the sage, if you have a garden, even better! Fresh herbs really do make a difference. And one last thing: make sure your butter is unsalted so you have full control over the final salt level of the dish.
Equipment Needed
You don’t need a professional kitchen to pull this off. Here’s the simple equipment you’ll need to make this Easy Brown Butter Sage Stuffing a reality.
- Large, Oven-Safe Skillet (12-inch is ideal): This is your most important tool. A cast-iron skillet is perfect because it heats evenly and goes from stovetop to oven (or broiler) without a problem. A heavy-bottomed stainless steel pan will also work. If you don’t have an oven-safe skillet, you can transfer the mixture to a baking dish for the final broiling step.
- Sharp Chef’s Knife: You’ll be doing a fair bit of chopping—onion, celery, sage, garlic. A sharp knife makes the task safer and more efficient. A dull knife is a dangerous knife!
- Cutting Board: A stable cutting board is essential for prep work.
- Wooden Spoon or Silicone Spatula: For stirring the brown butter and the stuffing mixture. A wooden spoon is great for scraping up all those delicious browned bits from the bottom of the pan.
- Measuring Cups and Spoons: For accurately measuring your broth, butter, and seasonings.
- Large Mixing Bowl: For combining the bread cubes with the brown butter mixture and broth.
- Baking Sheet (Optional): Only needed if your bread is fresh and you need to dry it out in the oven.
Budget-Friendly Tip: Don’t own a cast-iron skillet? No problem! A good, heavy non-stick pan will work for the stovetop portion. Just be careful not to use metal utensils that could scratch the surface. For the final broil, simply transfer the stuffing to a buttered 9×13-inch baking dish. It works perfectly and saves you from buying new equipment.
Preparation Method
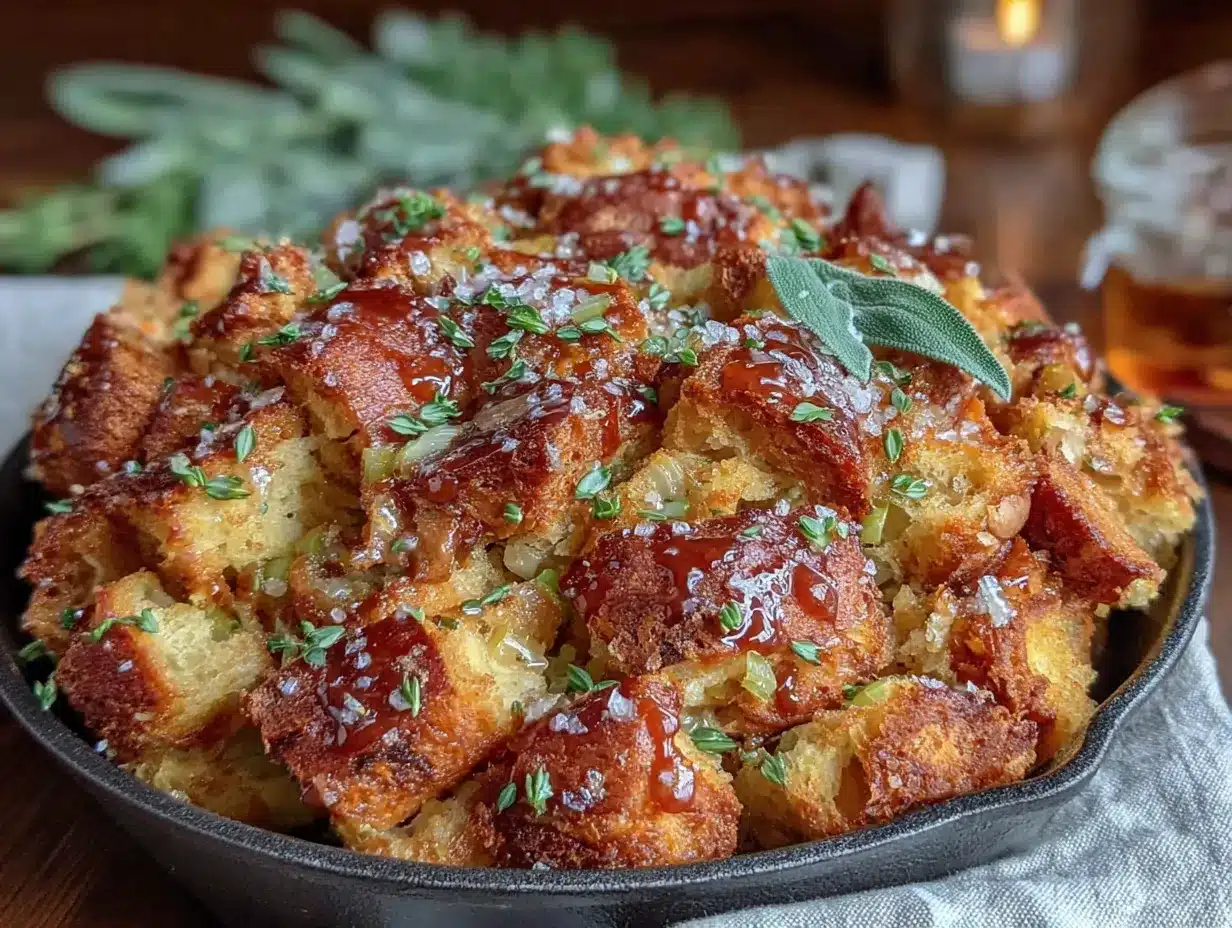
Alright, let’s get cooking! This comes together faster than you think, so have all your ingredients prepped and ready to go before you turn on the heat. Trust me on this one.
- Preheat Your Broiler & Prep the Bread (5 minutes): Position an oven rack about 6 inches from the broiler element and turn your broiler to high. If you’re using fresh bread, spread the cubes on a baking sheet and toast them under the broiler for 2-3 minutes, tossing halfway through, until they are lightly golden and dry. Don’t walk away—broilers work fast! If you’re using stale bread, you can skip this step.
- Brown the Butter (5 minutes): Place your large, oven-safe skillet over medium heat. Add the 1/2 cup of unsalted butter. Let it melt completely, swirling the pan occasionally. It will begin to foam and then the milk solids will start to turn golden. This is where you need to pay close attention. Swirl the pan constantly until the butter turns a deep amber color and smells wonderfully nutty—like toasted hazelnuts. This should take about 4-5 minutes. As soon as it reaches that color, immediately remove the pan from the heat to prevent it from burning. Pour the brown butter into a heat-safe bowl to stop the cooking process. Set it aside.
- Sauté the Aromatics (6-7 minutes): Return the empty skillet to the stove over medium heat. Add a tablespoon of the reserved brown butter (or a drizzle of olive oil) to the pan. Add the diced onion and celery. Cook, stirring occasionally, for about 5-6 minutes, until the vegetables are softened and the onion is translucent. Add the minced garlic and chopped fresh sage. Cook for another minute until fragrant. Be careful not to burn the garlic.
- Combine the Mixture (2 minutes): In your large mixing bowl, combine the bread cubes and the sautéed onion-celery mixture. Pour the remaining brown butter over the top. Toss everything together gently but thoroughly, making sure all the bread cubes are coated in that glorious brown butter.
- Add the Broth & Egg (2 minutes): In a small bowl or measuring cup, whisk together the warm chicken broth and the beaten egg. Pour this mixture evenly over the bread mixture. Gently fold everything together with a spatula until the bread has absorbed most of the liquid. The mixture should be moist but not soupy. Season generously with salt and pepper. Remember, bread needs a fair amount of seasoning!
- Cook the Stuffing (5 minutes on stovetop + 2-3 minutes under broiler): Transfer the entire mixture back into your oven-safe skillet (or a buttered 9×13-inch baking dish). Spread it into an even layer. Place the skillet over medium heat and cook, without stirring, for 3-4 minutes. This helps create a nice crust on the bottom. The top should be just starting to look set. Transfer the skillet to the preheated oven and broil for 2-3 minutes, or until the top is golden brown and crispy. Watch it like a hawk! Broilers can go from golden to burnt in seconds.
- Rest and Serve (2 minutes): Remove the skillet from the oven (use oven mitts—the handle will be scorching hot!). Let the stuffing rest for 2-3 minutes before serving. This allows the custard to set fully and makes it easier to scoop out. Serve hot, directly from the skillet for a rustic presentation.
Sensory Cues: When the brown butter is ready, it should be the color of a new penny and smell intensely nutty. When you sauté the aromatics, the kitchen should smell savory and sweet. When you add the broth, the bread should feel moist but hold its shape, not be swimming in liquid. The final dish should have a beautiful golden-brown crust on top with a soft, tender interior.
Cooking Tips & Techniques
After messing up this recipe more times than I care to admit, I’ve learned a few things that will save you from my mistakes. Here are my best tips for perfect brown butter sage stuffing, every single time.
- The Golden Rule of Brown Butter: Never, ever walk away from browning butter. It goes from perfectly nutty to burnt and bitter in about 15 seconds. Swirl the pan constantly and keep your eyes on it. The moment you see that amber color and smell that nutty aroma, pull it off the heat. I once got distracted by a phone call and ended up with a pan of black, acrid goo. Not a good look.
- Don’t Skip the Broiler: This is the secret to getting that amazing textural contrast—a crispy, golden top with a soft, almost custardy interior. If you don’t have a broiler, you can bake the stuffing at 425°F (220°C) for 10-15 minutes, but the broiler is faster and gives you a better crust. Just keep a close eye on it!
- Use Warm Broth: This is a small step that makes a big difference. Warm liquid is absorbed by the bread much more quickly and evenly than cold liquid. It helps the stuffing come together faster, which is the whole point of a 30-minute recipe. I just microwave my broth for a minute before adding it.
- The Bread Texture Test: Before you add the egg and broth, your bread cubes should feel dry and slightly crunchy. If they are still soft and fresh, they will turn into a gluey paste. That’s why drying the bread is the most important step for the right texture. Don’t skip it!
- Season in Layers: Don’t just add all the salt and pepper at the end. Season the sautéed vegetables with a pinch of salt. Season the bread mixture before you add the broth. Then taste and adjust at the end. Layering the seasoning builds a more complex, well-rounded flavor.
Variations & Adaptations
One of the best things about this stuffing is how easily it adapts to different tastes and dietary needs. Don’t be afraid to make it your own! Here are a few of my favorite variations.
- Add Some Protein: Make it a heartier, main-dish style stuffing by adding 1 cup of cooked, crumbled Italian sausage (sweet or spicy), crispy bacon bits, or shredded rotisserie chicken. Add the meat to the skillet with the sautéed vegetables. This is a fantastic way to use up leftovers.
- Go Nutty & Fruity: For a more festive, holiday-style stuffing, add 1/2 cup of toasted, chopped pecans or walnuts and 1/2 cup of dried cranberries or chopped dried apricots. Add them to the bread mixture before you pour in the broth. The sweetness of the fruit and the crunch of the nuts are a wonderful contrast to the savory brown butter and sage. I made this version for Friendsgiving last year, and it was gone in minutes.
- Make it Vegetarian or Vegan: This recipe is already easy to make vegetarian—just use vegetable broth. For a vegan version, substitute the butter with a high-quality vegan butter (like Miyoko’s or Earth Balance) and use a flax egg (1 tbsp ground flaxseed mixed with 3 tbsp water, let sit for 5 minutes). The flavor will be slightly different, but it will still be delicious and satisfying.
- Gluten-Free Adaptation: This is a simple swap! Just use your favorite gluten-free bread. I recommend a sturdy, crusty gluten-free loaf. Be sure to dry it out well in the oven, as gluten-free bread can be more prone to turning mushy. The rest of the ingredients are naturally gluten-free.
- Add Mushrooms: For an earthy, umami-packed version, sauté 8 ounces of sliced cremini or shiitake mushrooms along with the onions and celery. The mushrooms will soak up the brown butter flavor beautifully. This is my personal go-to variation when I want something extra savory.
Serving & Storage Suggestions
This stuffing is incredibly versatile. Here’s how to serve it up and how to save any leftovers (if you have any, that is!).
Serving: Serve this stuffing hot, straight from the skillet or baking dish. It’s the perfect side dish for a simple roast chicken, a juicy pork tenderloin, or a festive turkey dinner. I also love it alongside a simple pan-seared steak and a green salad for a hearty weeknight meal. For a beautiful presentation, garnish with a few fresh sage leaves or a sprinkle of flaky sea salt right before serving.
Storage: Leftover stuffing can be stored in an airtight container in the refrigerator for up to 4 days. The flavors actually meld and deepen overnight, making leftovers almost better than the first day! I love having it for lunch the next day.
Reheating: The best way to reheat stuffing is in a skillet or on a baking sheet in the oven. To re-crisp the top, spread the leftover stuffing in a single layer on a baking sheet and bake at 350°F (175°C) for 10-15 minutes, or until heated through and the top is crispy again. You can also reheat individual portions in the microwave, but the top won’t be as crispy. If the stuffing seems dry when reheating, add a splash of broth or water before warming it up.
Freezing: This stuffing freezes surprisingly well. Let it cool completely, then transfer it to a freezer-safe container or a zip-top bag. It will keep for up to 3 months. To reheat from frozen, thaw it in the refrigerator overnight, then reheat it in the oven as directed above. You can also bake it from frozen—just add about 15-20 minutes to the reheating time and cover it with foil for the first half to prevent the top from burning.
Nutritional Information & Benefits
While this is definitely a comfort food, it’s not without some redeeming qualities. Here’s a general overview of the nutritional profile for one serving of this stuffing (about 1 cup). Please note that these are estimates and can vary based on the specific ingredients you use.
- Calories: Approximately 350-400 calories per serving.
- Fat: Around 18-22g, primarily from the butter. The good news is that butter from grass-fed cows contains higher levels of beneficial fatty acids like CLA (conjugated linoleic acid).
- Carbohydrates: About 40-45g, mostly from the bread.
- Protein: Roughly 8-10g from the bread, egg, and broth.
- Fiber: Around 2-3g, depending on the bread you use. Using a whole-wheat or multigrain bread will boost this number.
- Key Nutrients: This dish provides a good source of Vitamin A from the butter and Vitamin K from the sage and celery. Sage itself is known for its antioxidant and anti-inflammatory properties.
Dietary Considerations: This recipe can be made gluten-free and vegetarian with simple substitutions. It is not naturally low-carb or keto-friendly due to the bread. If you are watching your sodium intake, be sure to use low-sodium broth and adjust the added salt accordingly. I personally love that this dish, while indulgent, uses whole, recognizable ingredients. It’s a treat, but a wholesome one that nourishes both the body and the soul.
Conclusion
So there you have it. My little piece of bistro heaven, recreated in your own kitchen in just 30 minutes. This Easy Brown Butter Sage Stuffing is more than just a side dish—it’s a testament to the fact that incredible, soul-satisfying food doesn’t have to be complicated or time-consuming. It’s proof that a single technique, like browning butter, can transform humble ingredients into something truly memorable.
I really hope you give this recipe a try. Don’t be intimidated by the brown butter—it’s easier than you think, and the payoff is huge. Make it for a holiday dinner, make it for a random Tuesday night alongside a simple roast chicken. Make it your own. Add some sausage, toss in some dried cranberries, or keep it classic. The best recipes are the ones you make your own.
I’d love to hear from you! Have you ever chased a dish from a closed restaurant? Did you try this recipe? What variations did you make? Drop a comment below and let me know how it turned out. And if you loved it, please share this post with a friend who needs a little comfort food in their life. Happy cooking, friends!
Frequently Asked Questions
Can I use dried sage instead of fresh?
You can, but I really don’t recommend it for this specific recipe. Fresh sage has a bright, peppery, and slightly floral flavor that is a key part of what makes this stuffing so special. Dried sage is more earthy and can sometimes be a bit musty. If you are in a pinch, use 1 tablespoon of dried sage, but the flavor profile will be noticeably different.
My stuffing turned out too dry. What did I do wrong?
This usually happens for one of two reasons: either your bread was too dry (over-toasted) or you didn’t use enough liquid. Make sure your bread cubes are just dry, not hard and crunchy. Also, ensure your broth is warm when you add it, as it absorbs more quickly. If your mixture looks dry before you cook it, add another 1/4 cup of broth.
Can I make this stuffing ahead of time?
Absolutely! You can assemble the entire stuffing (through step 5) up to 24 hours in advance. Cover the skillet or baking dish with plastic wrap and store it in the refrigerator. When you’re ready to cook, let it sit at room temperature for 20 minutes while your oven preheats, then proceed with step 6. You may need to add an extra 5 minutes to the cooking time to ensure it’s heated through.
What’s the best bread to use for stuffing?
A good, crusty artisan bread is your best bet. I love using a French boule or a sourdough loaf. The key is to use bread that has some structure and chew. Avoid soft, pre-sliced sandwich bread, as it will break down and become gluey. A day-old loaf from a bakery is absolutely perfect.
Can I cook this in a slow cooker or Instant Pot?
This recipe is specifically designed for a skillet and broiler to achieve that perfect crispy top and soft interior. While you could technically keep it warm in a slow cooker, you won’t get the same texture. For the Instant Pot, I wouldn’t recommend it—you’ll end up with a steamed, soggy result. Stick with the stovetop and broiler method for the best outcome!
Pin This Recipe!
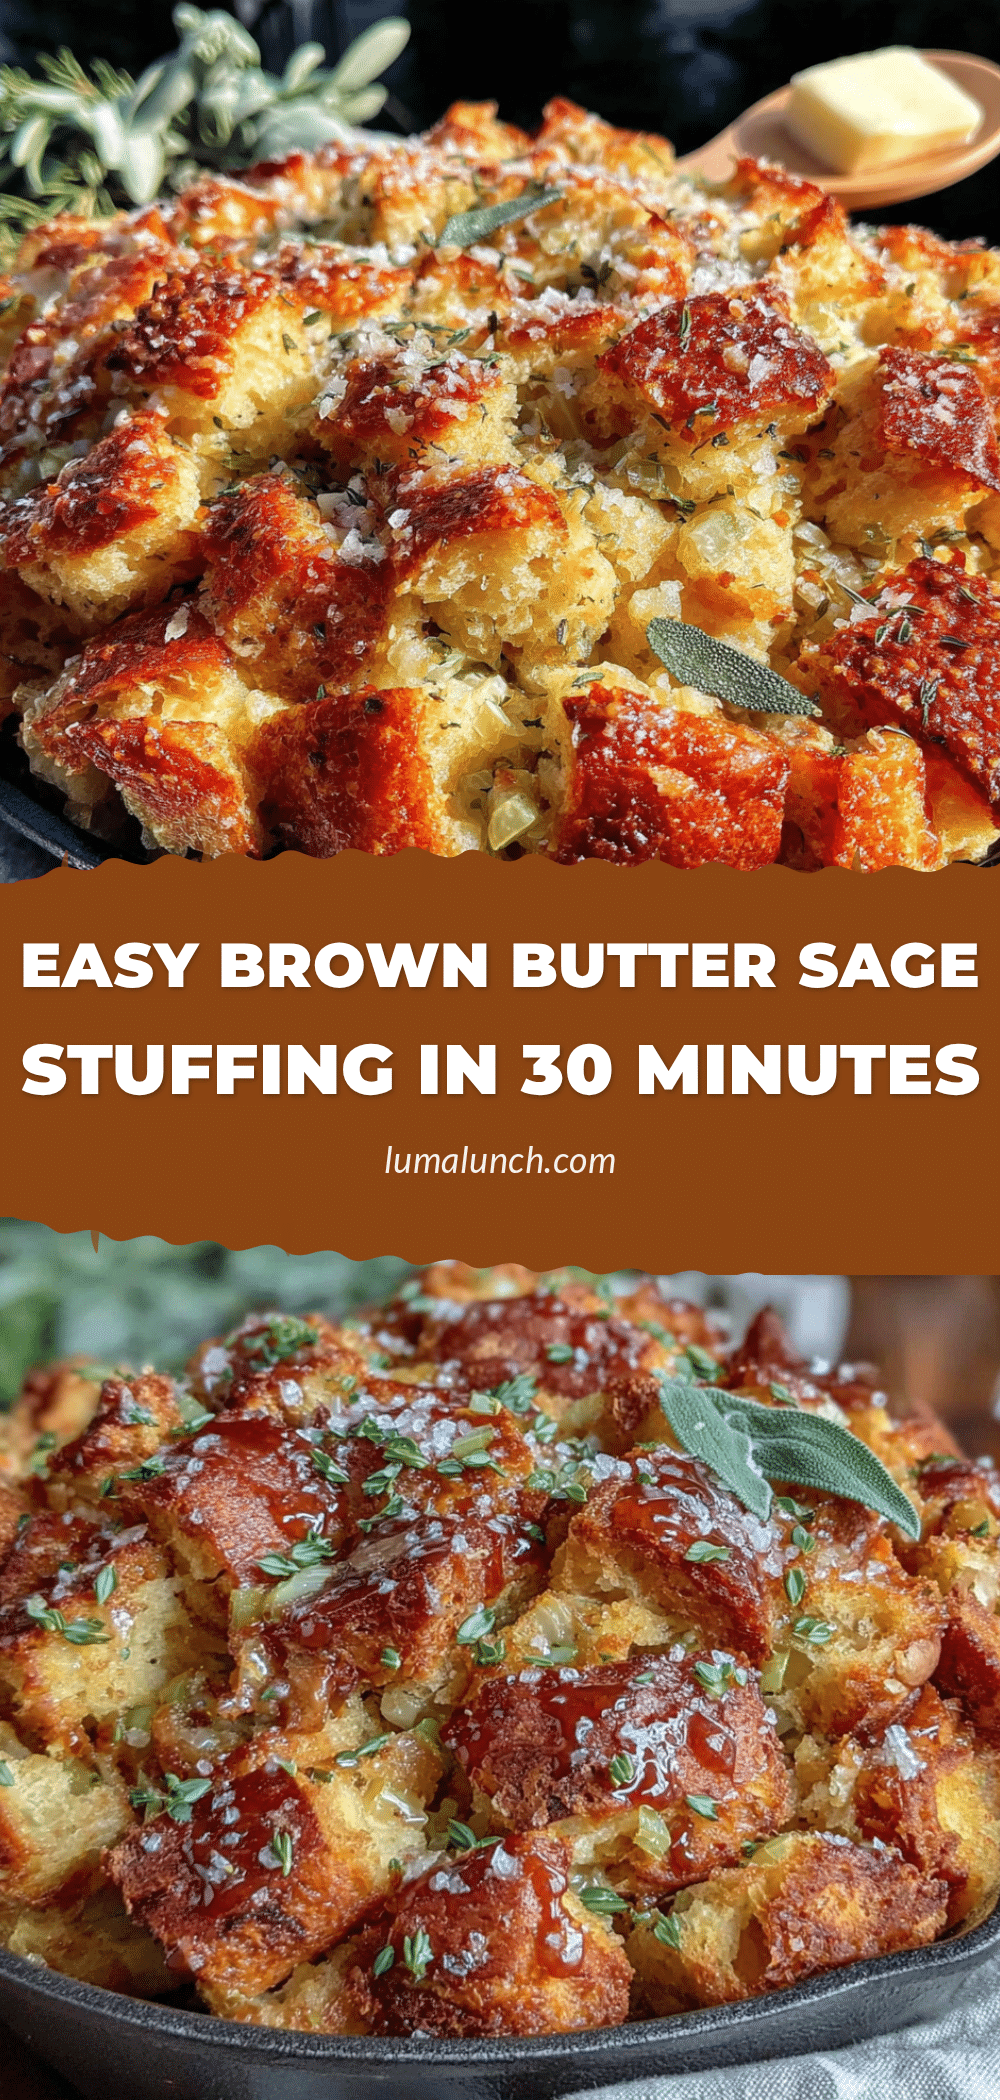
Easy 30-Minute Brown Butter Sage Stuffing Recipe

This Easy Brown Butter Sage Stuffing comes together in just 30 minutes, delivering the nutty, herbaceous flavor of a classic bistro dish without the fuss. Perfect for weeknights or holiday feasts, it features a crispy golden top and a soft, tender interior.
- Prep Time: 10 minutes
- Cook Time: 20 minutes
- Total Time: 30 minutes
- Yield: 6 servings 1x
- Category: Side Dish
- Cuisine: American
Ingredients
- 1 lb (about 8 cups) stale bread, cut into 1-inch cubes
- 1/2 cup (1 stick) unsalted butter
- 1 large yellow onion, finely diced (about 1 1/2 cups)
- 2–3 celery stalks, finely diced (about 1 cup)
- 1/4 cup fresh sage leaves, roughly chopped
- 3 cloves garlic, minced
- 1 1/2 cups chicken or vegetable broth, warmed
- 1 large egg, lightly beaten
- Salt and freshly cracked black pepper, to taste
Instructions
- Preheat your broiler and position an oven rack about 6 inches from the element. If using fresh bread, spread cubes on a baking sheet and toast under the broiler for 2-3 minutes, tossing halfway, until lightly golden and dry. If using stale bread, skip this step.
- Place a large, oven-safe skillet over medium heat. Add the butter and let it melt completely, swirling occasionally. Continue cooking until the butter turns a deep amber color and smells nutty (about 4-5 minutes). Immediately remove from heat and pour the brown butter into a heat-safe bowl to stop cooking.
- Return the empty skillet to medium heat. Add 1 tablespoon of the reserved brown butter (or olive oil). Add the diced onion and celery. Cook, stirring occasionally, for 5-6 minutes until softened and translucent. Add the garlic and sage; cook for 1 more minute until fragrant.
- In a large mixing bowl, combine the bread cubes and the sautéed onion-celery mixture. Pour the remaining brown butter over the top and toss gently to coat all the bread cubes.
- In a small bowl, whisk together the warm broth and beaten egg. Pour evenly over the bread mixture and fold gently until the bread absorbs most of the liquid. Season generously with salt and pepper.
- Transfer the mixture back into the oven-safe skillet (or a buttered 9×13-inch baking dish) and spread into an even layer. Place over medium heat and cook without stirring for 3-4 minutes to create a crust on the bottom. Transfer to the preheated broiler and broil for 2-3 minutes until the top is golden brown and crispy.
- Remove from the oven (handle will be hot) and let rest for 2-3 minutes before serving. Serve hot directly from the skillet.
Notes
Never walk away from browning butter; it can burn quickly. Use warm broth for better absorption. For a crispy top, don’t skip the broiler step. Season in layers for best flavor.
Nutrition
- Serving Size: 1 cup
- Calories: 375
- Sugar: 4
- Sodium: 580
- Fat: 20
- Saturated Fat: 12
- Carbohydrates: 42
- Fiber: 2
- Protein: 9
Keywords: brown butter sage stuffing, easy stuffing recipe, 30-minute stuffing, Thanksgiving stuffing, stovetop stuffing, holiday side dish


