Love this? Save it for later!
Share the inspiration with your friends
I was at the farmers’ market last October, staring at a pile of these funny little tan squash that looked like someone had shrunk a butternut and forgot to color it in. The farmer’s wife—a woman named Gladys with flour dusted on her apron—watched me pick one up and turn it over in my hands. She didn’t say anything at first. Then she leaned over and whispered, “Those are sweeter than candy, honey. No sugar needed.”
Honestly, I almost didn’t buy them. They seemed too small to bother with. But Gladys had that look—the one that says “trust me, I’ve been doing this for forty years”—so I grabbed a bag and figured I’d figure it out later. That night, I roasted one on a whim, and let me tell you, I was not prepared for what happened. The flesh turned this deep, burnt-orange color, and the flavor was so concentrated it tasted like someone had caramelized a pumpkin and turned it into butter. I’ve been obsessed ever since.
That first attempt was a mess, honestly. I cut myself trying to slice through the skin, forgot to flip the pieces halfway through, and ended up with some burnt edges and some raw bits. But even with all that, it was good. Really good. I knew right then this was a recipe I’d be making for years. And after maybe a dozen tries—some burnt, some perfect, some just okay—I landed on this version with brown butter and crispy sage. It’s the one I keep coming back to, the one that makes people close their eyes when they take a bite. Maybe you’ve been there, standing over a hot pan, watching butter foam and turn golden, knowing something special is about to happen.
Why You’ll Love This Recipe
This isn’t your average roasted squash situation. I’ve tested this recipe at least fifteen times—yes, fifteen—to get the balance just right. The brown butter brings this nutty, almost toffee-like depth that makes the squash taste like dessert, while the crispy sage adds a little savory crunch that keeps things interesting. It’s the kind of dish that makes you wonder why you don’t cook with sage more often.
- Simple Ingredients : You only need five main ingredients for this recipe. No fancy trips to specialty stores, no obscure spices. Just squash, butter, sage, salt, and maybe a little maple syrup if you’re feeling fancy.
- Quick & Easy : From start to table in about 45 minutes, and most of that is hands-off oven time. Perfect for those weeknights when you want something cozy but don’t have energy for a production.
- Perfect for Cozy Evenings : This dish was made for cold weather, rainy days, and those times when you need a little warmth on your plate. It’s comfort food that actually feels comforting.
- Impressive Without Stress : It looks fancy enough for Thanksgiving dinner but comes together with almost no effort. Your guests will think you spent hours on it.
- Crowd-Pleaser : I’ve served this to kids who “don’t like squash” and adults who think they’ve tried every squash recipe out there. Every single person has asked for the recipe.
What makes this version different from all those other squash recipes floating around? It’s the technique. Most recipes tell you to just toss everything on a sheet pan and hope for the best. But I’ve learned that taking an extra five minutes to brown the butter first—and using that same pan to crisp the sage—changes everything. The fat gets infused with nutty flavor, the sage turns into these little crunchy gems, and the squash absorbs all of it as it roasts. It’s not complicated, but it’s intentional. And that makes all the difference.
This is the recipe I make when I’ve had a rough day and need something to look forward to. It’s the one I bring to potlucks when I want to impress without trying too hard. It’s comfort food that feels like a hug—warm, buttery, and exactly what you need.
What Ingredients You Will Need
This recipe uses simple, wholesome ingredients to create something that tastes far more complex than it should. The magic happens when these few components work together—the nutty butter, the sweet squash, the earthy sage. Here’s what you’ll need and why each one matters.
- Honeynut squash (2-3 medium) : These little guys are the star of the show. They look like mini butternut squash but they’re sweeter and have a thinner skin, which means you don’t have to peel them. Look for ones that feel heavy for their size with no soft spots. If you can’t find honeynut, butternut squash works fine—just peel it first and cut it into similar-sized pieces.
- Unsalted butter (4 tablespoons, or 1/2 stick) : This is what makes the whole dish sing. When you brown butter, it develops these nutty, toasty notes that plain butter just can’t match. I use unsalted so I can control the salt level myself. Kerrygold is my go-to for its higher fat content, which browns more beautifully.
- Fresh sage leaves (12-15 leaves) : Don’t even think about using dried sage here. Fresh sage gets incredibly crispy when fried in butter, and it adds this earthy, slightly peppery flavor that cuts through the sweetness of the squash. You’ll find fresh sage in the produce section near the other fresh herbs.
- Kosher salt (1 teaspoon, plus more to taste) : I prefer Diamond Crystal kosher salt because it’s less salty by volume than other brands, which gives me more control. If you’re using table salt, start with half the amount and adjust from there.
- Black pepper (1/2 teaspoon, freshly ground) : Freshly ground pepper makes a difference here. The pre-ground stuff just doesn’t have the same pop. Be generous—the pepper helps balance the sweetness.
- Maple syrup (1 tablespoon, optional) : This is completely optional, but if your squash isn’t as sweet as you’d like, a drizzle of maple syrup before roasting can help. I usually skip it during peak squash season when the honeynuts are at their sweetest, but add it in early spring when they’re a bit past their prime.
- Flaky sea salt (for finishing) : This is one of those little touches that makes a big difference. A sprinkle of flaky salt right before serving adds little bursts of saltiness that make the sweetness pop even more. Maldon is my favorite.
That’s it. Five main ingredients plus a couple of optional extras. The beauty of this recipe is that it lets the squash shine—the butter and sage are just there to make it look and taste its best.
Equipment Needed
You don’t need a lot of fancy equipment for this recipe, which is part of why I love it. Here’s what you’ll need:
- Large rimmed baking sheet : A half-sheet pan (about 18×13 inches) works perfectly. The rim is important because the butter and juices will bubble up as the squash roasts, and you don’t want that spilling all over your oven. I’ve made the mistake of using a flat cookie sheet before—don’t be like me.
- Medium skillet or saucepan : For browning the butter. A light-colored pan is actually better here because you can see the butter change color more easily. I use my stainless steel skillet, but a non-stick pan works too.
- Sharp chef’s knife : Squash can be tough to cut through, even with the thin-skinned honeynut varieties. A sharp 8-inch chef’s knife makes the job much safer and easier. If your knife is dull, you’re more likely to slip and cut yourself.
- Cutting board : A sturdy wooden or plastic cutting board that won’t slide around. Put a damp paper towel under it if it’s slipping.
- Vegetable peeler (optional) : You don’t need to peel honeynut squash, but if you’re using butternut as a substitute, a good peeler will save you time. I like the Y-shaped peelers—they’re faster and more comfortable to hold.
- Parchment paper or silicone baking mat : This makes cleanup so much easier and prevents the squash from sticking to the pan. Plus, the caramelized bits won’t get stuck to your pan.
- Spatula or tongs : For flipping the squash halfway through roasting and for removing the crispy sage from the butter.
That’s really all you need. Nothing fancy, nothing expensive. Just good basic tools that any home cook probably already has.
Preparation Method
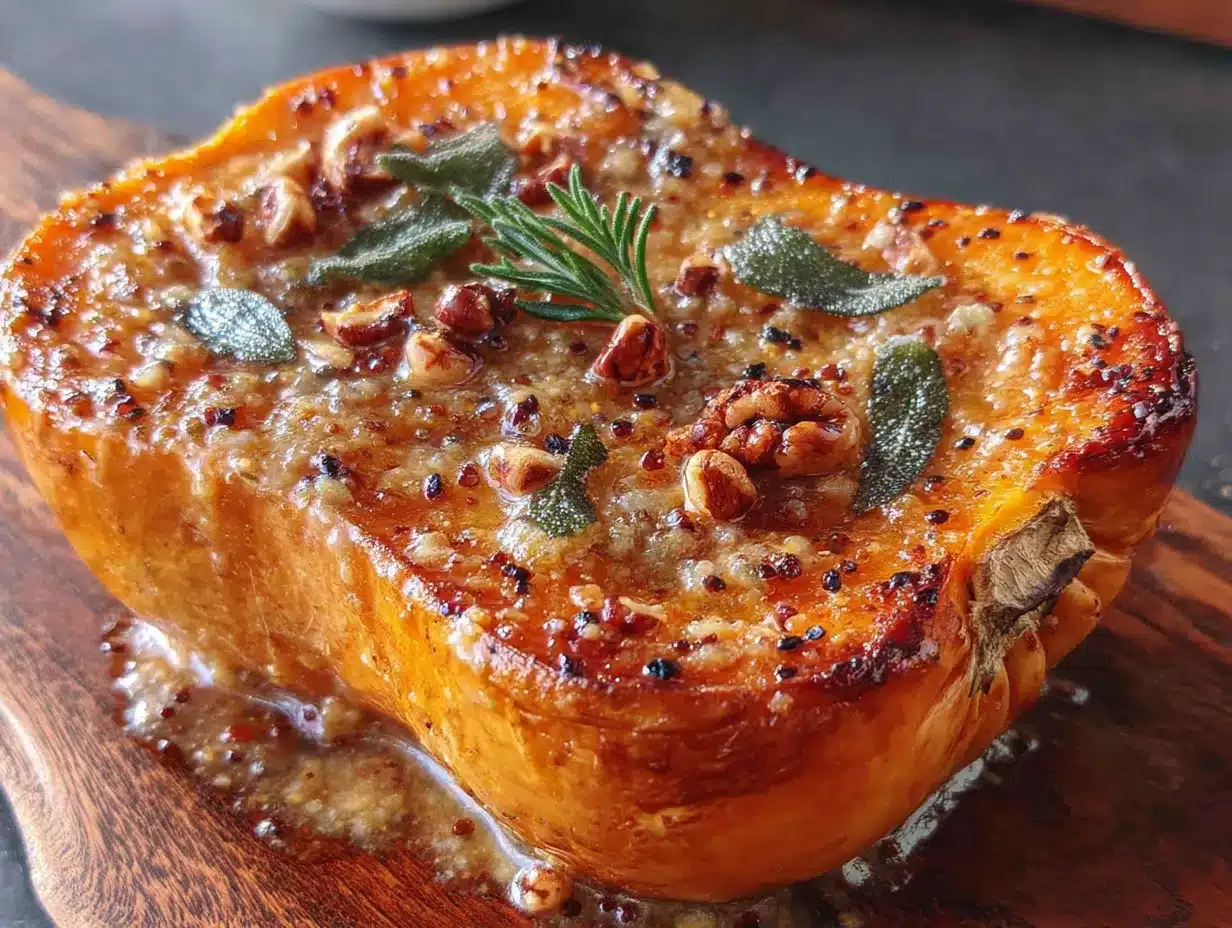
Let me walk you through this step by step. I’ve made this recipe so many times that I could do it in my sleep, but I’ll try to explain it like we’re cooking together in my kitchen.
- Preheat your oven to 400°F (200°C). Get this going first because the oven needs time to come to temperature. While it’s heating up, line your baking sheet with parchment paper or a silicone mat. This step isn’t strictly necessary, but it makes cleanup so much easier that I consider it essential.
- Prepare the squash. Wash the honeynut squash well—remember, we’re not peeling these, so the skin needs to be clean. Cut each squash in half lengthwise using your sharpest knife. Be careful here; squash can be stubborn. If you’re struggling, you can microwave the whole squash for 30 seconds to soften it slightly. Scoop out the seeds and stringy bits with a spoon. Then cut each half into 1-inch thick half-moons. Try to make them roughly the same size so they cook evenly. I usually get about 6-8 pieces per squash.
- Brown the butter. Place your skillet over medium heat and add the butter. Let it melt completely, then swirl the pan occasionally. After a few minutes, the butter will start to foam and bubble. This is normal—don’t panic. Keep watching. The foam will subside, and you’ll see little brown specks forming at the bottom of the pan. The butter will smell nutty and toasty. This whole process takes about 5-7 minutes. The moment it turns golden brown and smells amazing, remove it from the heat immediately. Burnt butter happens fast, so don’t walk away from the pan.
- Crisp the sage. While the butter is still hot, carefully drop in the sage leaves. They’ll sizzle and crisp up in about 10-15 seconds. Use tongs or a fork to flip them once, then remove them to a paper towel-lined plate. They’ll continue to crisp as they cool. Set them aside for later—they’re the finishing touch.
- Coat the squash. Arrange the squash pieces on your prepared baking sheet in a single layer. Don’t overcrowd them—give each piece a little space so they roast instead of steam. Pour the brown butter over the squash, making sure to scrape out all those brown bits from the bottom of the pan (that’s where all the flavor is). Use your hands or a spatula to toss everything together until each piece is well coated. Sprinkle with kosher salt and black pepper. If you’re using the maple syrup, drizzle it over now.
- Roast the squash. Place the baking sheet in the preheated oven and roast for 20 minutes. After 20 minutes, flip each piece over using tongs or a spatula. The undersides should be golden and caramelized. Roast for another 15-20 minutes, until the squash is tender when pierced with a fork and the edges are browned and slightly crispy. The exact time will depend on how thick you cut your pieces and how hot your oven runs. Start checking at 15 minutes.
- Finish and serve. Remove the squash from the oven and let it cool on the pan for 2-3 minutes. Transfer to a serving platter, sprinkle with the crispy sage leaves, and finish with a pinch of flaky sea salt. Serve hot, warm, or at room temperature—it’s delicious at any temperature.
A few things I’ve learned the hard way: Don’t skip the flipping step. I know it’s tempting to just let it roast without touching it, but flipping ensures even caramelization. And don’t crowd the pan—if the pieces are too close together, they’ll steam instead of roast, and you’ll miss out on those gorgeous caramelized edges.
Cooking Tips & Techniques
I’ve made this recipe enough times to have a few battle scars—both literal and figurative. Here’s what I’ve learned so you don’t have to make the same mistakes.
Watch that butter like a hawk. The first time I made brown butter, I got distracted by a phone call and ended up with black butter that smelled like burnt popcorn. Brown butter goes from perfect to ruined in about 30 seconds. The key is to keep the heat at medium—not high—and to swirl the pan constantly once the butter starts foaming. When you see the brown specks appear and smell that nutty aroma, pull it off the heat immediately. Even after you remove it from the burner, the residual heat will continue cooking it, so pour it into a cool bowl if you’re not using it right away.
Cut your squash pieces evenly. This is one of those things that seems obvious but is harder than it sounds. I’ve had batches where some pieces were perfectly caramelized while others were still crunchy. The solution is to be intentional about cutting. Aim for pieces that are all about 1-inch thick. If some pieces have the skinny end and some have the bulbous end, cut the bulbous ends into smaller pieces so they cook at the same rate.
Don’t skip the flaky salt at the end. I know it seems like an unnecessary extra step, but trust me on this. The flaky salt adds these little bursts of saltiness that make the sweetness of the squash and the nuttiness of the brown butter pop. It’s like the final piece of a puzzle—everything comes together.
Make extra crispy sage. Sage leaves shrink a lot when they cook, and they’re so delicious that you’ll want more than you think. I always make double what I think I need because I end up eating half of them straight from the paper towel before they even make it to the plate. They’re like savory potato chips.
Use room temperature squash. If your squash has been sitting in the fridge, let it come to room temperature before roasting. Cold squash takes longer to cook and won’t caramelize as well. Just leave it on the counter while you preheat the oven and prep your other ingredients.
Variations & Adaptations
One of the things I love about this recipe is how adaptable it is. I’ve tried quite a few variations over the years, and here are some of my favorites.
Maple-Chili Version: Add 1/2 teaspoon of red pepper flakes to the brown butter along with the sage, and drizzle a tablespoon of maple syrup over the squash before roasting. The heat from the chili flakes balances the sweetness beautifully. I made this version for a friend who loves spicy food, and she said it was the best thing I’ve ever cooked. High praise.
Garlic and Thyme Variation: Add 3-4 crushed garlic cloves to the butter while it’s browning (remove them before pouring over the squash), and substitute fresh thyme sprigs for the sage. The garlic adds a savory depth that’s perfect for a more dinner-oriented dish. I’ve served this alongside roast chicken, and it was a hit.
Vegan Adaptation: Substitute the butter with a high-quality vegan butter or coconut oil. Brown the oil in the same way, though it won’t develop the same nutty flavor. Add a tablespoon of nutritional yeast to the oil before roasting for a cheesy, nutty flavor that mimics brown butter. I’ve tested this with my vegan sister-in-law, and she gave it her stamp of approval.
Herb Mix-Up: Not a fan of sage? Try rosemary, thyme, or even a mix of oregano and marjoram. Each herb brings a different personality to the dish. Rosemary is more piney and bold, while thyme is more subtle and earthy. I’ve even used tarragon in the spring, which adds a slight anise flavor that’s surprisingly good.
Different Squash Options: If you can’t find honeynut squash, butternut squash is the best substitute. Just peel it first and cut it into 1-inch cubes. Acorn squash also works well, though it’s a bit less sweet. Delicata squash is another great option—like honeynut, you don’t need to peel it.
Serving & Storage Suggestions
This dish is incredibly versatile when it comes to serving. Here’s how I like to enjoy it.
Serving Temperature: This squash is delicious hot out of the oven, but honestly, I might love it even more at room temperature. The flavors seem to deepen and mellow as it cools. It’s also fantastic the next day, cold from the fridge, straight out of the container. Don’t judge me—it’s that good.
Presentation: Arrange the squash pieces on a large platter in a single layer, slightly overlapping. Crumble the crispy sage over the top and finish with a generous pinch of flaky sea salt. If you want to get fancy, drizzle a little extra brown butter or a balsamic reduction over the top. A few fresh sage leaves for garnish never hurt anyone.
What to Serve With It: This dish is a natural side for roast chicken, pork chops, or grilled steak. It also works beautifully alongside a hearty grain salad or as part of a vegetarian main course. I’ve served it with a simple lentil soup and crusty bread for a cozy winter dinner. For Thanksgiving, it’s a perfect alternative to the usual sweet potato casserole.
Storage: Store any leftovers in an airtight container in the refrigerator for up to 5 days. The crispy sage will lose its crunch over time, but the squash itself will still be delicious. I actually like the leftovers better after a day or two because the flavors have had time to meld.
Reheating: The best way to reheat this squash is in a 350°F oven for about 10 minutes, until warmed through. You can also reheat it in a skillet over medium heat with a little extra butter. The microwave works in a pinch, but it will make the squash a bit soggy. If you’re meal prepping, I recommend roasting the squash and storing it without the crispy sage, then adding fresh sage when you reheat.
Nutritional Information & Benefits
While I’m not a nutritionist, I can tell you that this dish is packed with good stuff. Honeynut squash is a nutritional powerhouse—it’s rich in vitamin A (hello, healthy eyes and skin), vitamin C, and fiber. The beta-carotene that gives it that beautiful orange color is a powerful antioxidant that supports immune health.
Here’s an approximate nutritional breakdown per serving (based on 4 servings):
- Calories : 180-200
- Fat : 12g (mostly from the butter)
- Carbohydrates : 20g
- Fiber : 4g
- Protein : 2g
- Vitamin A : 200% of daily value
- Vitamin C : 30% of daily value
Dietary Considerations: This recipe is naturally gluten-free and can be made vegan with the substitutions mentioned above. It’s also relatively low in sugar compared to many squash dishes that rely on brown sugar or maple syrup. The sweetness comes naturally from the squash itself.
Allergen Note: This recipe contains dairy (butter). For a dairy-free version, use a high-quality vegan butter or coconut oil.
I personally love that this dish feels indulgent but is actually quite healthy. It’s the kind of recipe that makes you feel good about eating your vegetables—even if those vegetables are swimming in brown butter.
Conclusion
This brown butter honeynut squash with crispy sage has become my go-to recipe for so many occasions. It’s the dish I bring to Friendsgiving when I want to impress without stress. It’s the side I make for Sunday dinners when I want something that feels special but doesn’t require hours in the kitchen. And it’s the recipe I turn to on cold, rainy evenings when I need a little warmth on my plate.
What I love most about this recipe is how it transforms simple ingredients into something truly memorable. The nutty brown butter, the sweet caramelized squash, the crispy sage—each element plays its part, and together they create something that’s greater than the sum of its parts. It’s proof that you don’t need complicated techniques or exotic ingredients to make something extraordinary.
I’d love to hear how this recipe turns out for you. Did you try any variations? Did you serve it with something amazing? Drop a comment below and let me know. And if you share it on social media, tag me—I love seeing your creations. Happy cooking, friends.
Frequently Asked Questions
Can I use butternut squash instead of honeynut?
Absolutely. Butternut squash is the best substitute. Just peel it first and cut it into 1-inch cubes. You might need to add an extra 5-10 minutes of roasting time since butternut pieces are usually thicker.
Do I have to peel honeynut squash?
Nope! That’s one of the best things about honeynut squash. The skin is thin and tender enough to eat once it’s roasted. Just wash it well before cutting.
Can I make this recipe ahead of time?
Yes. You can roast the squash up to 2 days ahead and store it in the fridge. Reheat it in a 350°F oven for about 10 minutes before serving. Add the crispy sage and flaky salt just before serving.
My brown butter burned. What did I do wrong?
It happens to the best of us. Brown butter goes from perfect to burnt very quickly. Next time, keep the heat at medium, swirl the pan constantly, and remove it from the heat as soon as you see brown specks forming. If it starts smoking, you’ve gone too far.
Can I freeze this dish?
You can freeze the roasted squash (without the crispy sage) for up to 3 months. Thaw it in the fridge overnight and reheat in the oven. The texture won’t be quite as good as fresh, but it’s still delicious. I wouldn’t recommend freezing the crispy sage—it will get soggy.
Pin This Recipe!
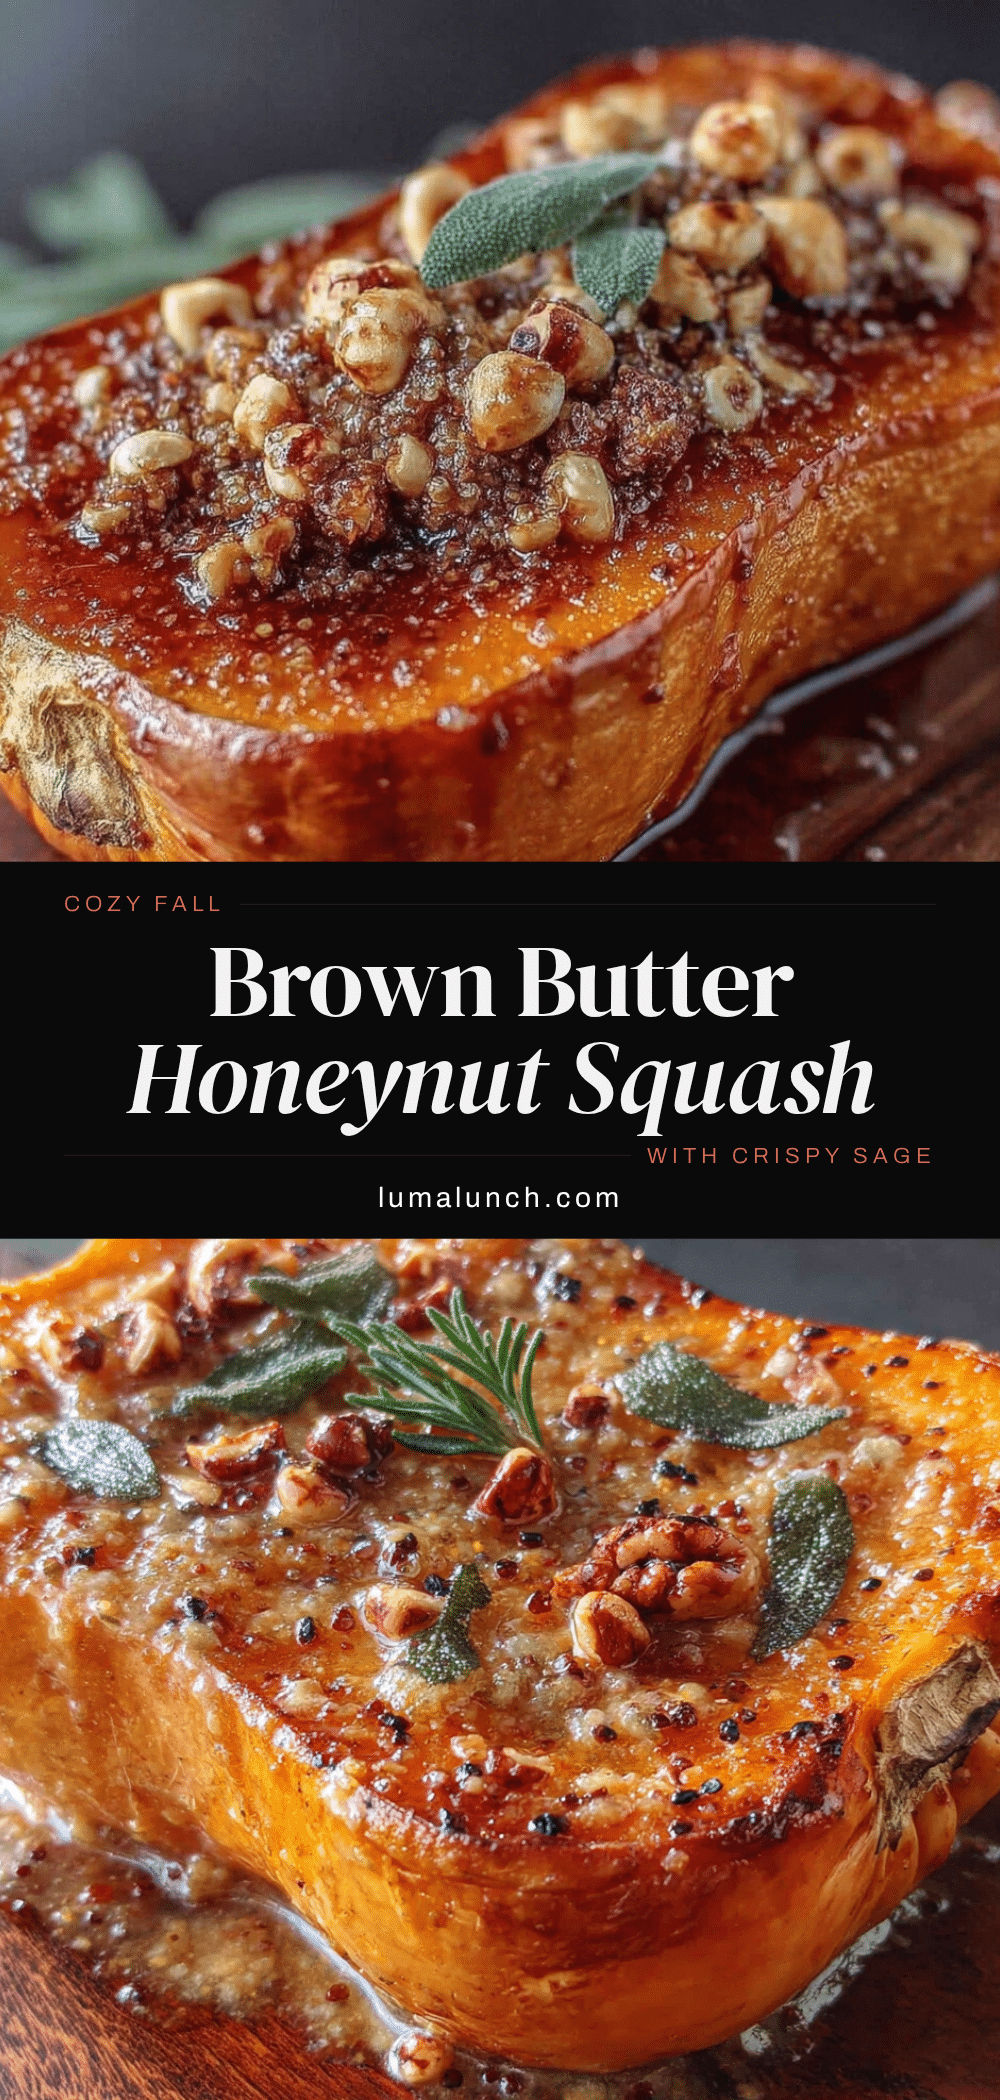
Cozy Brown Butter Honeynut Squash with Crispy Sage

This recipe transforms simple honeynut squash into a caramelized, nutty, and savory side dish with brown butter and crispy sage. It’s quick, easy, and perfect for cozy evenings or holiday gatherings.
- Prep Time: 15 minutes
- Cook Time: 35-40 minutes
- Total Time: 50-55 minutes
- Yield: 4 servings 1x
- Category: Side Dish
- Cuisine: American
Ingredients
- 2–3 medium honeynut squash
- 4 tablespoons unsalted butter (1/2 stick)
- 12–15 fresh sage leaves
- 1 teaspoon kosher salt, plus more to taste
- 1/2 teaspoon freshly ground black pepper
- 1 tablespoon maple syrup (optional)
- Flaky sea salt for finishing
Instructions
- Preheat oven to 400°F (200°C). Line a large rimmed baking sheet with parchment paper or a silicone mat.
- Wash the honeynut squash. Cut each in half lengthwise, scoop out seeds and stringy bits, then cut into 1-inch thick half-moons.
- In a medium skillet over medium heat, melt the butter. Swirl occasionally until it foams, then turns golden brown with brown specks and a nutty aroma (about 5-7 minutes). Remove from heat immediately.
- Drop sage leaves into the hot brown butter; they will sizzle and crisp in 10-15 seconds. Flip once, then transfer to a paper towel-lined plate to cool.
- Arrange squash pieces in a single layer on the prepared baking sheet. Pour brown butter over squash, scraping out all brown bits. Toss to coat evenly. Sprinkle with kosher salt and black pepper. Drizzle with maple syrup if using.
- Roast for 20 minutes. Flip each piece, then roast for another 15-20 minutes until tender and caramelized.
- Let cool on pan for 2-3 minutes. Transfer to a serving platter, sprinkle with crispy sage and flaky sea salt. Serve hot, warm, or at room temperature.
Notes
Watch the brown butter carefully—it goes from perfect to burnt in about 30 seconds. Cut squash pieces evenly for consistent cooking. Don’t skip the flaky salt at the end; it enhances the sweetness. Make extra crispy sage as it shrinks and is delicious. Let squash come to room temperature before roasting for better caramelization.
Nutrition
- Serving Size: 1 serving (about 1/4
- Calories: 180200
- Sugar: 8
- Sodium: 300
- Fat: 12
- Saturated Fat: 7
- Carbohydrates: 20
- Fiber: 4
- Protein: 2
Keywords: brown butter, honeynut squash, crispy sage, roasted squash, fall recipe, Thanksgiving side, easy side dish


