Love this? Save it for later!
Share the inspiration with your friends
Last fall, my neighbor Carlos watched me fumbling with a bag of tortilla chips and a can of pre-shredded cheese, trying to assemble something vaguely resembling nachos for a game day gathering. He didn’t say anything at first. Then he just shook his head, smiled, and said, “Come over tomorrow. I’ll show you how we do it.”
I showed up at his door the next afternoon feeling a little embarrassed, honestly. Here I was, someone who writes about food for a living, and I was about to get a lesson in nacho-making from a retired mechanic who just loved feeding people. Carlos didn’t pull out any fancy equipment or rare ingredients. He just started talking about how his abuela used to make nachos for the whole neighborhood block parties back in Texas, layering things with intention rather than just dumping everything on top.
Three hours later, I had eaten more than I should admit, taken pages of notes on my phone, and completely changed how I thought about this dish. The secret, according to Carlos, was in the queso. Not the jarred stuff, but a real, honest-to-goodness cheese sauce that he whisked together while telling me stories about his garden. I’ve tweaked his method over the past year, adding a few shortcuts for busy weeknights without losing that soulful, homemade quality.
This Best Loaded Nacho Bar with Ground Beef and Queso is the result of that afternoon and about twelve test batches since then. Maybe you’ve been there, standing in the snack aisle wondering why your homemade nachos never taste as good as the ones from a restaurant. Trust me, I get it. But this version changes everything. The beef is seasoned just right, the queso stays silky smooth, and every single chip gets its fair share of toppings. No more sad, bare chips at the bottom of the tray.
Why You’ll Love This Recipe
Let me tell you why this loaded nacho bar has become my go-to for everything from casual Tuesday dinners to Super Bowl parties. First off, it comes together in under 40 minutes, which is a lifesaver when you’re juggling hungry guests and last-minute prep.
- Quick & Easy: From start to finish, you’re looking at about 35 minutes. The ground beef cooks in one skillet while the queso comes together in another. No complicated techniques, no stress.
- Simple Ingredients: You probably have most of these in your kitchen right now. Ground beef, cheese, chips, and a few pantry staples. No fancy grocery store runs required.
- Perfect for Gatherings: This is the kind of dish that makes people hover around the kitchen island, grabbing chips and chatting. It works for game days, birthday parties, or just a fun family dinner.
- Crowd-Pleaser: I’ve served this to picky eaters, spice lovers, and even folks who claimed they “don’t really like nachos.” Every single time, the platter comes back empty.
- Unbelievably Delicious: The combination of seasoned beef, creamy homemade queso, and fresh toppings creates this incredible contrast of textures and flavors. It’s comfort food at its finest.
What makes this version different from every other nacho recipe out there is the queso. Most recipes use processed cheese or a can of nacho cheese sauce. But blending in a little evaporated milk and using freshly shredded cheese gives you that ultra-smooth, velvety texture that doesn’t turn into a clumpy mess as it cools. Plus, the beef gets seasoned with a blend of cumin, smoked paprika, and a tiny pinch of cinnamon. I know that sounds weird, but trust me on this one. It adds a warmth that makes people ask, “What’s in this? It’s amazing.”
This recipe isn’t just good. It is the kind that makes you close your eyes after the first bite. It’s comfort food reimagined, faster and more satisfying than anything you’ll order from a delivery app. Perfect for impressing guests without stress, or turning a simple weeknight into something memorable.
What Ingredients You Will Need
This recipe uses simple, wholesome ingredients to deliver bold flavor and satisfying texture without the fuss. Most of these are pantry staples, and the ones that aren’t are easy to find at any grocery store.
For the Seasoned Ground Beef:
- 1 pound ground beef (80/20 works best for flavor, but 93/7 is fine too)
- 1 tablespoon olive oil
- 1 small yellow onion, finely diced
- 3 cloves garlic, minced
- 1 tablespoon chili powder
- 1 teaspoon ground cumin
- 1 teaspoon smoked paprika
- 1/2 teaspoon dried oregano
- 1/4 teaspoon ground cinnamon (trust me on this one)
- 1/2 teaspoon salt
- 1/4 teaspoon black pepper
- 1/2 cup beef broth or water
For the Homemade Queso:
- 2 tablespoons unsalted butter
- 2 tablespoons all-purpose flour
- 1 cup whole milk
- 1/2 cup evaporated milk (this is the secret to smooth queso)
- 8 ounces sharp cheddar cheese, freshly shredded (about 2 cups)
- 4 ounces Monterey Jack cheese, freshly shredded (about 1 cup)
- 1 (4-ounce) can diced green chiles, drained
- 1/4 teaspoon cayenne pepper (optional, for heat)
- Salt to taste
For the Nacho Bar Toppings:
- 1 large bag (13-16 ounces) restaurant-style tortilla chips
- 1 cup canned black beans, drained and rinsed
- 1 cup cherry tomatoes, diced
- 1 avocado, diced
- 1/2 cup fresh cilantro, chopped
- 1 jalapeño, thinly sliced (seeds removed if you want less heat)
- 1/2 cup sour cream or Mexican crema
- 1/2 cup pickled jalapeños (optional, but I love the tang)
- 1 lime, cut into wedges
A few notes on ingredients. For the cheese, please shred it yourself. Pre-shredded cheese has anti-caking agents that prevent it from melting smoothly, and your queso will end up grainy. I recommend Tillamook or Cabot for cheddar, and any good Monterey Jack works. For the ground beef, I usually go with 80/20 because the extra fat adds flavor, but if you’re using leaner meat, just add a little more olive oil when cooking the onions.
If you want to make this gluten-free, simply swap the all-purpose flour in the queso for a 1:1 gluten-free flour blend. For a dairy-free version, use plant-based butter, oat milk, and dairy-free cheese shreds. Just know the texture won’t be quite as creamy.
Equipment Needed
You don’t need a professional kitchen to pull this off. Here’s what I use every time I make this loaded nacho bar.
- Large skillet: A 12-inch skillet works perfectly for browning the ground beef. Cast iron is my favorite because it holds heat evenly, but a non-stick skillet works just fine.
- Medium saucepan: You’ll need this for the queso. I use a 2-quart saucepan, and it’s the perfect size.
- Whisk: A good whisk is essential for smooth queso. A silicone whisk won’t scratch your pan.
- Cutting board and chef’s knife: For dicing onions, tomatoes, and avocado.
- Box grater: For shredding cheese. A microplane works too, but a box grater is faster.
- Large baking sheet or serving platter: For assembling the nachos. A rimmed baking sheet works best to catch any drips.
- Small bowls: For setting up your nacho bar toppings. I use about 6-8 small bowls.
If you don’t have a whisk, you can use a fork in a pinch, but it takes longer. For the baking sheet, any large oven-safe dish works. I’ve used a cast iron skillet before when I was camping, and it turned out great.
Preparation Method
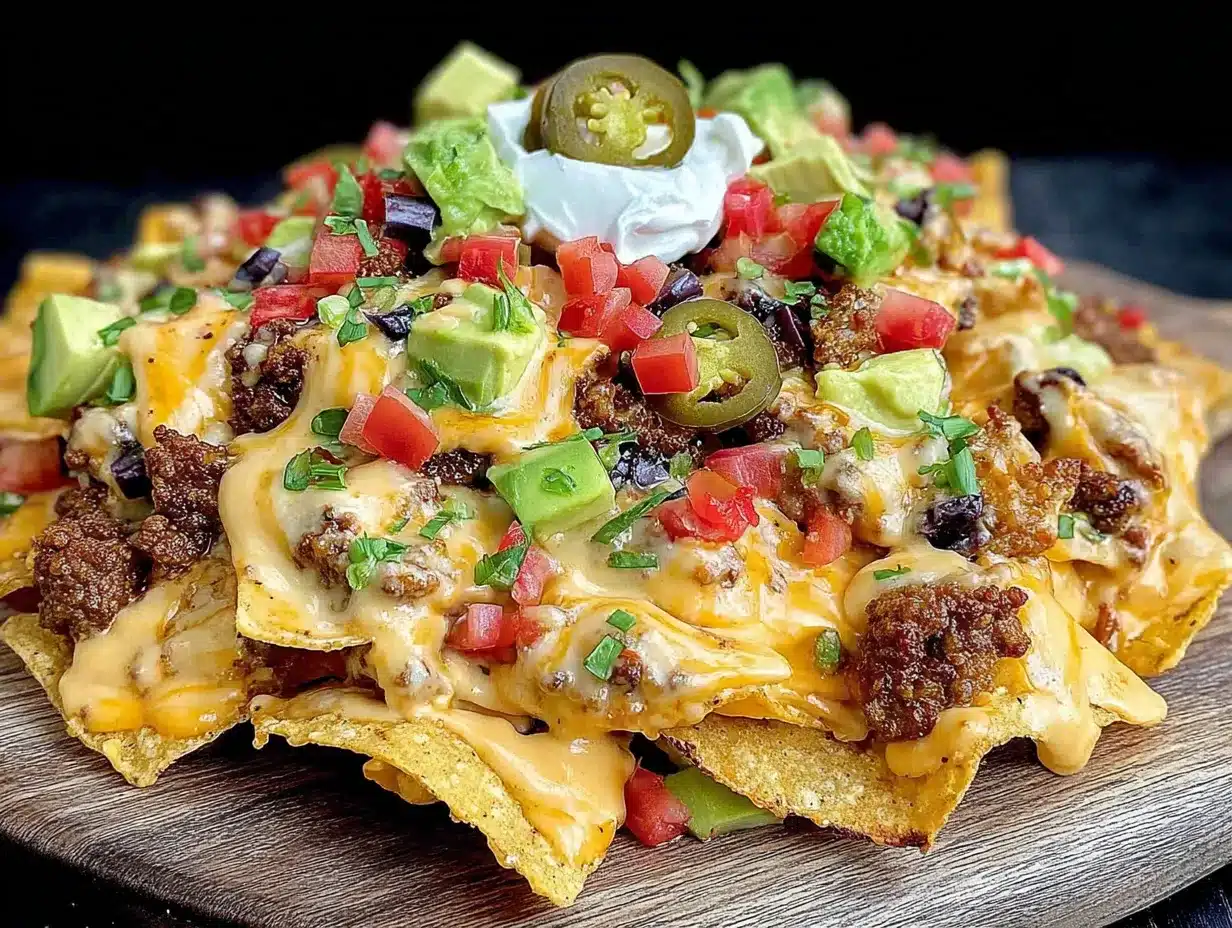
Let me walk you through this step by step. The key to a great loaded nacho bar is timing, and I’ve got that dialed in so everything is hot and ready at the same time.
Step 1: Prep Your Toppings (5 minutes)
Before you start cooking, get all your toppings ready. Dice the tomatoes, chop the cilantro, slice the jalapeño, and cut the avocado. Squeeze a little lime juice over the avocado to keep it from browning. Set everything aside in small bowls. This makes the assembly so much smoother.
Step 2: Cook the Ground Beef (15 minutes)
Heat the olive oil in your large skillet over medium-high heat. Add the diced onion and cook for about 3 minutes until it’s soft and translucent. Add the minced garlic and cook for 30 seconds until fragrant. Then add the ground beef, breaking it up with a wooden spoon. Cook for 5-6 minutes until browned, stirring occasionally.
Once the beef is browned, drain off any excess fat if needed. Return the skillet to the heat and add the chili powder, cumin, smoked paprika, oregano, cinnamon, salt, and pepper. Stir everything together and cook for 1 minute until the spices are fragrant. Pour in the beef broth and let it simmer for 3-4 minutes until most of the liquid has evaporated. You want the beef to be moist but not soupy. Taste and adjust seasoning if needed.
Step 3: Make the Queso (10 minutes)
While the beef is simmering, start the queso. In a medium saucepan, melt the butter over medium heat. Whisk in the flour and cook for 1 minute, stirring constantly. This is your roux, and it should look like a thick paste. Slowly pour in the whole milk while whisking continuously to prevent lumps. Then add the evaporated milk and keep whisking.
Cook the mixture for 3-4 minutes until it thickens enough to coat the back of a spoon. Reduce the heat to low and add the shredded cheese a handful at a time, whisking until each addition is fully melted before adding more. Stir in the drained green chiles and cayenne pepper if using. Taste and add salt as needed. Keep the queso warm on the lowest heat setting, stirring occasionally.
Step 4: Assemble the Nachos (5 minutes)
Preheat your oven to 400°F (200°C). Spread a layer of tortilla chips on your baking sheet. Make sure they’re in a single layer with some overlap, but not piled too high. Spoon half of the seasoned ground beef over the chips, followed by half of the black beans. Drizzle about half of the queso over everything.
Add another layer of chips, the remaining beef and beans, and another drizzle of queso. Reserve some queso for serving on the side. Place the baking sheet in the oven for 5-7 minutes until the chips are warm and the cheese is bubbly. Watch closely so the edges don’t burn.
Step 5: Add Fresh Toppings and Serve
Remove the nachos from the oven and immediately top with diced tomatoes, avocado, cilantro, fresh jalapeño slices, and pickled jalapeños if using. Dollop sour cream over the top and add a few lime wedges on the side. Drizzle the remaining warm queso over everything just before serving. Serve immediately while everything is hot and the chips are still crispy.
Cooking Tips & Techniques
I’ve made this recipe about twenty times now, and I’ve learned a few things the hard way. Here are my best tips to make sure your loaded nacho bar turns out perfect every time.
Don’t skip the roux. The first time I tried making queso without a roux, it turned into a greasy, separated mess. That butter and flour base is what gives the cheese sauce its smooth, stable texture. It only takes an extra minute, and it makes all the difference.
Low heat for the queso. Cheese is delicate. If you cook it over high heat, the proteins seize up and you get a grainy, clumpy sauce. Keep the heat on low when you’re adding the cheese, and be patient. I once rushed this step because I was hungry, and I ended up with a lumpy sauce that I had to toss and start over.
Layer strategically. The biggest mistake people make with nachos is just dumping everything on top. You want every chip to get some love. By layering the chips, beef, beans, and queso, you ensure that even the chips in the middle get coated. Trust me, it’s worth the extra effort.
Watch the oven time. You’re not trying to cook the toppings here, just warm everything through. Five minutes at 400°F is usually perfect. Any longer and the chips start to get soggy, and the fresh toppings lose their brightness. Set a timer and pull them out the second they’re done.
Keep extra queso warm. I always make a little extra queso and keep it warm on the stove. As people eat, they can drizzle more over their individual portions. This prevents the nachos from getting soggy if they sit out for a while.
Variations & Adaptations
One of the best things about this loaded nacho bar is how flexible it is. Here are some ways to switch things up based on what you have on hand or what your crowd prefers.
Vegetarian Version: Skip the ground beef and use two cans of black beans or pinto beans instead. Mash half the beans with a fork and mix them with the same spices. You can also add sautéed bell peppers and onions for extra texture. I tried this for a vegetarian friend, and honestly, I liked it just as much as the original.
Spicy Kick: If you like heat, add a diced jalapeño to the ground beef while it cooks. Use pepper jack cheese instead of Monterey Jack in the queso. And don’t skip the pickled jalapeños on top. The acidity cuts through the richness beautifully.
Chicken Nachos: Swap the ground beef for shredded rotisserie chicken. Just toss the chicken with the same spice blend and a little chicken broth before layering. It’s a great way to use up leftover roasted chicken from earlier in the week.
Breakfast Nachos: This might sound weird, but hear me out. Use breakfast sausage instead of ground beef, add scrambled eggs, and top with salsa verde. I made this for a brunch party once, and people lost their minds.
Low-Carb Option: Skip the tortilla chips and use bell pepper strips or pork rinds instead. Load everything else the same way. It’s not quite the same experience, but it satisfies that nacho craving without the carbs.
Serving & Storage Suggestions
This loaded nacho bar is best served immediately, right when everything is hot and the chips are still crispy. I like to set up a proper nacho bar on my kitchen island with all the toppings in small bowls. Let people build their own plates so everyone gets exactly what they want.
For drinks, a cold Mexican lager like Modelo or Corona pairs perfectly. If you’re going non-alcoholic, a salted limeade or horchata is fantastic. I’ve also served this with margaritas, and let’s just say it was a very happy crowd.
Storage: If you have leftovers, store the components separately. The seasoned beef and queso can be refrigerated in airtight containers for up to 4 days. The chips will get soggy if stored with the toppings, so keep them in their original bag. Fresh toppings like avocado and tomatoes should be eaten the same day.
Reheating: Reheat the beef in a skillet over medium heat with a splash of water or broth. Reheat the queso in a saucepan over low heat, stirring constantly. You might need to add a splash of milk to bring back the smooth texture. Assemble fresh chips with the reheated components and pop them in the oven for a few minutes.
The flavors actually get better overnight. The spices meld together, and the beef becomes even more flavorful. I often make the beef and queso a day ahead when I’m hosting, then just reheat and assemble when guests arrive.
Nutritional Information & Benefits
Here’s a rough estimate per serving, based on about 6 servings from this recipe. Keep in mind that actual values will vary based on exact ingredients and portion sizes.
| Nutrient | Amount Per Serving |
|---|---|
| Calories | 580 |
| Total Fat | 34g |
| Saturated Fat | 16g |
| Cholesterol | 95mg |
| Sodium | 890mg |
| Total Carbohydrates | 38g |
| Dietary Fiber | 6g |
| Sugars | 6g |
| Protein | 32g |
The ground beef provides a solid dose of protein and iron, which is great for energy and muscle health. The black beans add fiber and plant-based protein, plus they’re loaded with antioxidants. The avocado gives you healthy monounsaturated fats that are good for your heart. And the tomatoes and cilantro provide vitamins A and C.
This recipe contains dairy and gluten (from the flour in the queso). For a dairy-free version, use plant-based alternatives as mentioned above. For gluten-free, swap the flour with a gluten-free blend. It’s not a health food by any means, but it’s a balanced meal with real, whole ingredients.
Conclusion
This Best Loaded Nacho Bar with Ground Beef and Queso has become a staple in my kitchen, and I think it’s about to become one in yours too. It’s the kind of recipe that brings people together, whether you’re hosting a game day party or just feeding your family on a Tuesday night. The homemade queso is a game-changer, and the seasoned beef has just the right amount of warmth and depth.
I love how customizable this is. You can make it as simple or as loaded as you want, depending on what you have in your fridge. And honestly, it’s hard to mess up. Even if you forget an ingredient or two, it still tastes amazing. That’s the beauty of nachos, really.
I’d love to hear how yours turn out. Did you try any fun variations? Did your family fight over the last chip? Drop a comment below and let me know. And if you found this helpful, share it with a friend who needs a new go-to party dish. Happy cooking, and don’t forget to save some queso for yourself.
Frequently Asked Questions
Can I make the queso ahead of time?
Yes, you can make the queso up to 2 days in advance. Store it in an airtight container in the refrigerator. When you’re ready to serve, reheat it gently over low heat, whisking in a splash of milk to restore the smooth texture.
What’s the best way to keep the chips from getting soggy?
Layer your nachos strategically and don’t drown them in sauce. Bake them just long enough to warm through, about 5 minutes. Serve extra queso on the side so people can add more to their individual portions. This keeps the base layer crispy.
Can I use pre-shredded cheese for the queso?
I really don’t recommend it. Pre-shredded cheese has additives that prevent it from melting smoothly. Your queso will end up grainy and clumpy. Take the extra 2 minutes to shred your own cheese, and you’ll notice a huge difference in texture.
How do I make this recipe spicier?
Add a diced jalapeño to the ground beef while it cooks, use pepper jack cheese in the queso, and include pickled jalapeños as a topping. You can also add a dash of hot sauce to the beef or queso. Just taste as you go so you don’t overdo it.
What are the best toppings for a nacho bar?
Classic toppings include diced tomatoes, avocado, cilantro, sour cream, jalapeños, and black beans. You can also add sliced olives, pickled onions, pico de gallo, or shredded lettuce. The key is to have a mix of textures and temperatures, hot and cold, creamy and crunchy.
Pin This Recipe!
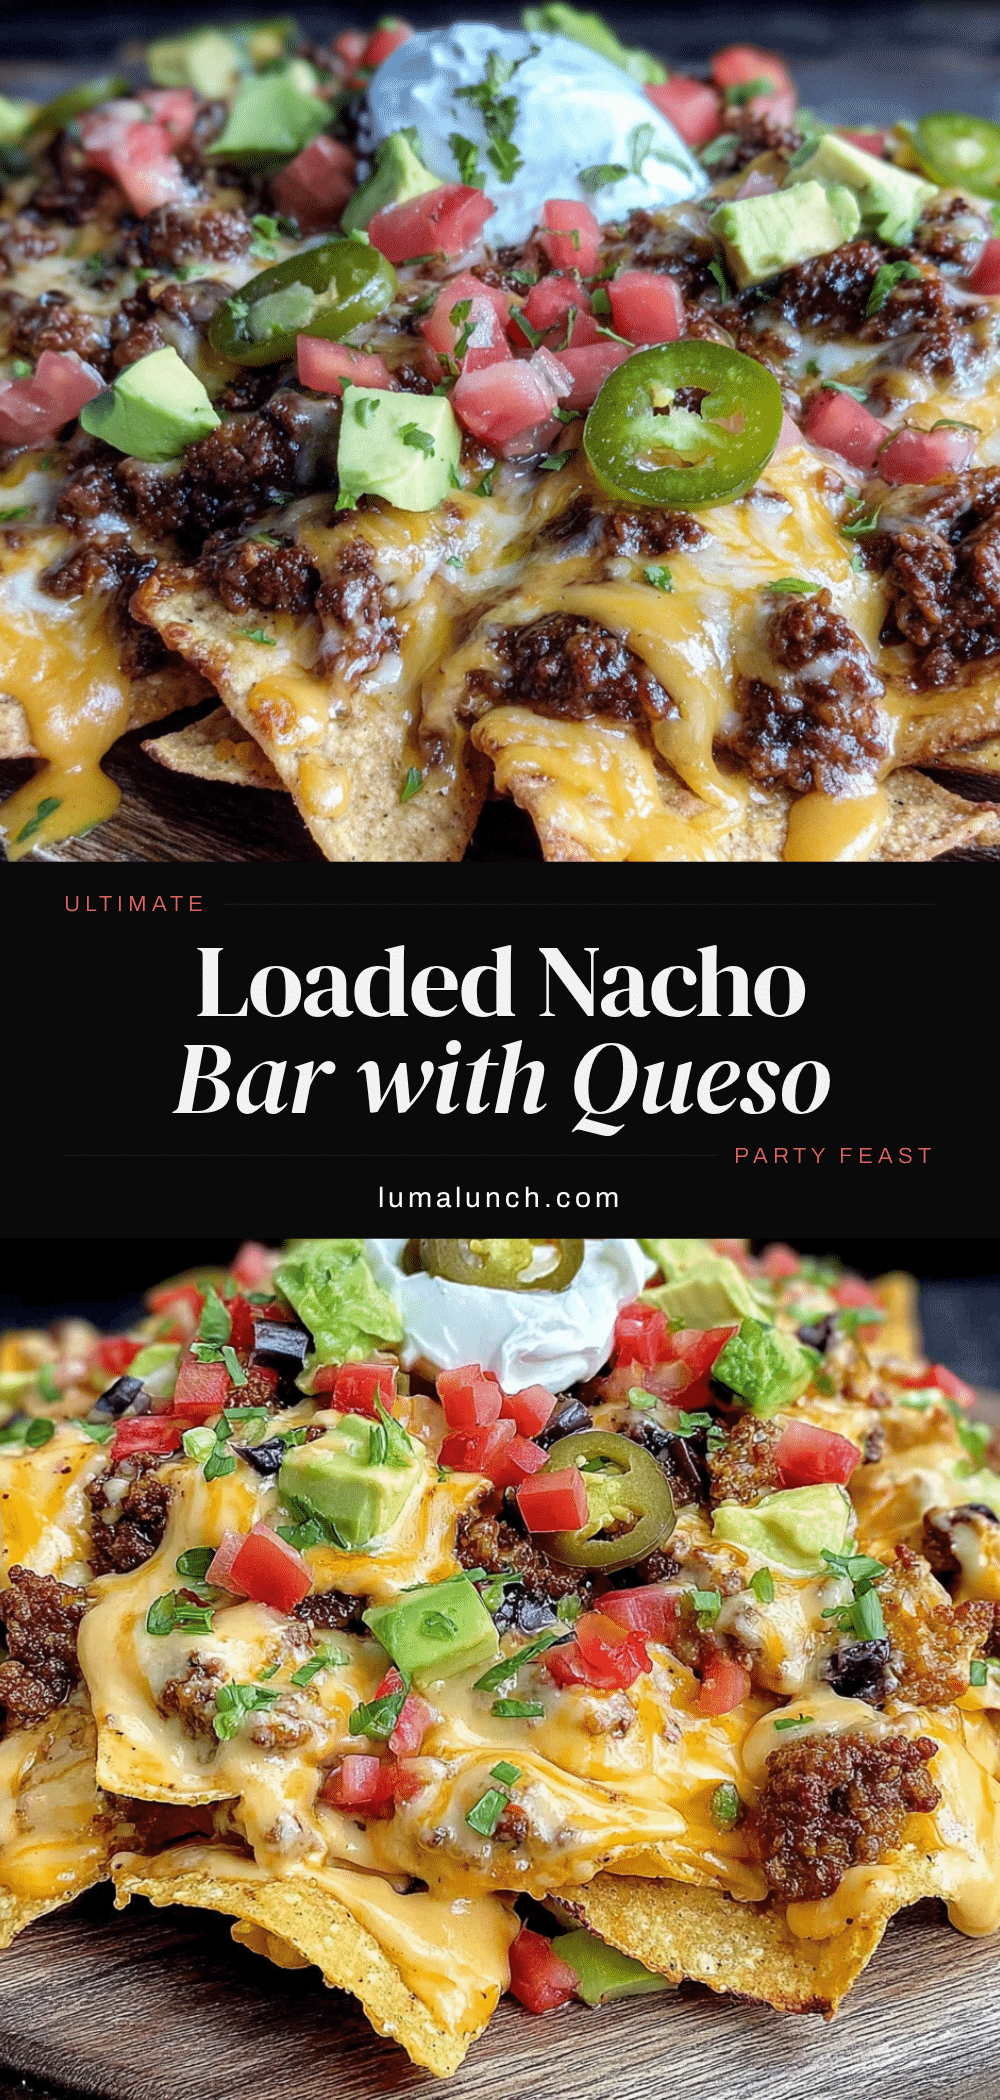
Best Loaded Nacho Bar with Ground Beef and Queso

This loaded nacho bar features perfectly seasoned ground beef, silky homemade queso, and all your favorite toppings. It comes together in under 40 minutes and is perfect for game days, parties, or a fun family dinner.
- Prep Time: 15 minutes
- Cook Time: 20 minutes
- Total Time: 35 minutes
- Yield: 6 servings 1x
- Category: Main Course
- Cuisine: Mexican-American
Ingredients
- 1 pound ground beef (80/20 works best)
- 1 tablespoon olive oil
- 1 small yellow onion, finely diced
- 3 cloves garlic, minced
- 1 tablespoon chili powder
- 1 teaspoon ground cumin
- 1 teaspoon smoked paprika
- 1/2 teaspoon dried oregano
- 1/4 teaspoon ground cinnamon
- 1/2 teaspoon salt
- 1/4 teaspoon black pepper
- 1/2 cup beef broth or water
- 2 tablespoons unsalted butter
- 2 tablespoons all-purpose flour
- 1 cup whole milk
- 1/2 cup evaporated milk
- 8 ounces sharp cheddar cheese, freshly shredded (about 2 cups)
- 4 ounces Monterey Jack cheese, freshly shredded (about 1 cup)
- 1 (4-ounce) can diced green chiles, drained
- 1/4 teaspoon cayenne pepper (optional)
- Salt to taste
- 1 large bag (13–16 ounces) restaurant-style tortilla chips
- 1 cup canned black beans, drained and rinsed
- 1 cup cherry tomatoes, diced
- 1 avocado, diced
- 1/2 cup fresh cilantro, chopped
- 1 jalapeño, thinly sliced (seeds removed for less heat)
- 1/2 cup sour cream or Mexican crema
- 1/2 cup pickled jalapeños (optional)
- 1 lime, cut into wedges
Instructions
- Prep your toppings: Dice the tomatoes, chop the cilantro, slice the jalapeño, and cut the avocado. Squeeze a little lime juice over the avocado to prevent browning. Set everything aside in small bowls.
- Cook the ground beef: Heat olive oil in a large skillet over medium-high heat. Add diced onion and cook for 3 minutes until soft. Add minced garlic and cook for 30 seconds. Add ground beef and cook for 5-6 minutes until browned, breaking it up with a spoon. Drain excess fat if needed.
- Season the beef: Return skillet to heat and add chili powder, cumin, smoked paprika, oregano, cinnamon, salt, and pepper. Stir and cook for 1 minute until fragrant. Pour in beef broth and simmer for 3-4 minutes until most liquid has evaporated. Taste and adjust seasoning.
- Make the queso: In a medium saucepan, melt butter over medium heat. Whisk in flour and cook for 1 minute. Slowly pour in whole milk while whisking continuously, then add evaporated milk. Cook for 3-4 minutes until thickened. Reduce heat to low and add shredded cheese a handful at a time, whisking until melted. Stir in green chiles and cayenne if using. Add salt to taste. Keep warm on low heat.
- Assemble the nachos: Preheat oven to 400°F (200°C). Spread a layer of tortilla chips on a baking sheet. Spoon half the seasoned beef and half the black beans over chips. Drizzle with half the queso. Add another layer of chips, remaining beef and beans, and more queso. Reserve some queso for serving.
- Bake: Place baking sheet in oven for 5-7 minutes until chips are warm and cheese is bubbly. Watch closely to prevent burning.
- Add fresh toppings: Remove from oven and immediately top with diced tomatoes, avocado, cilantro, fresh jalapeño slices, and pickled jalapeños if using. Dollop sour cream over the top and add lime wedges. Drizzle remaining warm queso over everything. Serve immediately.
Notes
Shred your own cheese for the smoothest queso. Pre-shredded cheese contains anti-caking agents that prevent smooth melting. Layer chips strategically so every chip gets toppings. Keep extra queso warm on the stove for individual drizzling. For a vegetarian version, substitute ground beef with two cans of black beans or pinto beans.
Nutrition
- Serving Size: 1 serving (about 1/6
- Calories: 580
- Sugar: 6
- Sodium: 890
- Fat: 34
- Saturated Fat: 16
- Carbohydrates: 38
- Fiber: 6
- Protein: 32
Keywords: nachos, loaded nachos, ground beef nachos, queso, game day food, party food, Mexican appetizer, nacho bar


