Love this? Save it for later!
Share the inspiration with your friends
My husband had claimed to hate pumpkin spice for a solid decade. Ten years of eye-rolling every September when the first pumpkin lattes appeared. He called it “fake fall flavor” and “dessert pretending to be coffee.” I believed him completely. Then last October, I caught him standing at the kitchen counter at 7 AM, pouring my homemade creamer into his mug with the concentration of someone defusing a bomb. He didn’t even notice me watching from the doorway. When he finally took that first sip, he let out this tiny, involuntary sound — a little “mm” that he tried to cover with a cough. I said nothing. But I smiled into my own coffee cup, because honestly, that moment was better than any compliment he could have given me. That morning changed everything in our house, and now this homemade pumpkin spice coffee creamer is the reason my whole family actually looks forward to waking up during the crisp fall months.
Maybe you’ve been there — spending way too much money at the store on those little bottles of seasonal creamer that disappear in three days. Or maybe you’ve checked the ingredient list and wondered what half of those words even mean. I know I did. That’s why I started making my own version. It uses real pumpkin, actual spices, and cream you can pronounce. Let me tell you, once you taste the difference, there’s no going back to the shelf-stable stuff. This recipe turned my pumpkin-spice-skeptic husband into someone who now asks, “Is there more of that fall creamer?” before the leaves have even started changing. And honestly? That’s the kind of magic I can get behind.
Why You’ll Love This Recipe
This isn’t just another coffee creamer recipe. After testing about seven different versions over two years, I landed on this one, and it has become the official creamer of our household every autumn. Here is why it works so well for families like ours:
- Way Cheaper Than Store-Bought: A bottle of fancy pumpkin creamer costs around $5 and lasts maybe a week. This homemade version costs about half that and makes twice as much. Your grocery budget will thank you.
- Real Ingredients Only: No carrageenan, no artificial flavors, no mysterious “natural flavors” that could mean anything. You control exactly what goes in. That matters when you are feeding it to kids who want a little coffee milk on chilly mornings.
- Quick to Make: Fifteen minutes on the stove, and you are done for the week. Seriously. It is faster than running to the store.
- Adjustable Sweetness: My teenager likes it sweeter. My husband prefers it more spicy than sweet. This recipe lets you tweak it both ways without any trouble.
- Lasts for Weeks: Keeps beautifully in the fridge for up to two weeks, which means you can make a batch on Sunday and enjoy it through the chaos of the school week.
The secret here is simmering real pumpkin puree with the cream base. Most recipes skip this step and just use pumpkin pie spice in plain cream. But taking those extra few minutes to steep the actual pumpkin gives this creamer a subtle depth that makes people close their eyes after that first sip. It is comfort in a mug, honestly. And when your kids ask for “that special coffee” on a rainy fall Saturday, you will feel good handing them a cup made with real food.
What Ingredients You Will Need
This recipe uses simple, everyday ingredients to create something that tastes like it came from a fancy coffee shop. Most of these items are probably already in your pantry or fridge, especially during baking season.
- 1 cup heavy cream (adds richness and that silky texture; half-and-half works too if you want it lighter)
- 1 cup whole milk (2% is fine, but whole milk gives the best creamy mouthfeel)
- 1/2 cup sweetened condensed milk (this is your sweetener and thickener all in one; I prefer Eagle Brand for consistency)
- 3 tablespoons pumpkin puree (not pumpkin pie filling — make sure it is 100% pure pumpkin; Libby’s is my go-to)
- 1 teaspoon pumpkin pie spice (store-bought is fine, but I will share my homemade blend below if you want to make your own)
- 1/2 teaspoon vanilla extract (pure vanilla, not imitation, if you can swing it; the flavor difference is noticeable)
- 1/4 teaspoon ground cinnamon (for extra warmth; I use Saigon cinnamon when I have it)
- Pinch of salt (trust me on this — it balances the sweetness and makes the spices pop)
- 1 tablespoon maple syrup (optional) (adds a deeper, more complex sweetness if you like that flavor)
For the Homemade Pumpkin Pie Spice Blend (if you want to make your own):
- 2 tablespoons ground cinnamon
- 2 teaspoons ground ginger
- 1 teaspoon ground nutmeg
- 1/2 teaspoon ground cloves
- 1/2 teaspoon allspice
Mix these together in a small jar and use it anywhere you would use store-bought pumpkin pie spice. It keeps for months and smells incredible. I always make a double batch because I end up using it in everything from oatmeal to pancakes during the fall.
If you are dairy-sensitive, you can swap the heavy cream and milk for full-fat oat milk and canned coconut cream. The texture will be slightly thinner, but the flavor will still be wonderful. Just know that the coconut cream will add a hint of coconut flavor, which actually pairs nicely with the pumpkin spices.
Equipment Needed
Nothing fancy here — this is a low-equipment recipe that any home cook can pull off without specialized tools.
- Small saucepan (2-quart size works perfectly; anything smaller and you risk boiling over)
- Whisk (a silicone whisk is ideal because it won’t scratch your pan)
- Fine-mesh strainer (optional but recommended for the smoothest texture)
- Mason jar or airtight bottle (a 16-ounce jar is the perfect size; I use old maple syrup bottles)
- Measuring cups and spoons (the usual suspects)
- Rubber spatula (to get every last drop of creamer into your storage container)
I have made this creamer in a cheap saucepan from the grocery store and in a fancy All-Clad, and honestly, the results were the same both times. Do not let equipment hold you back. The only thing I would splurge on is a good jar for storage — a wide-mouth mason jar makes pouring and cleaning so much easier. I learned that the hard way after trying to scrub pumpkin residue out of a narrow-neck bottle.
Preparation Method
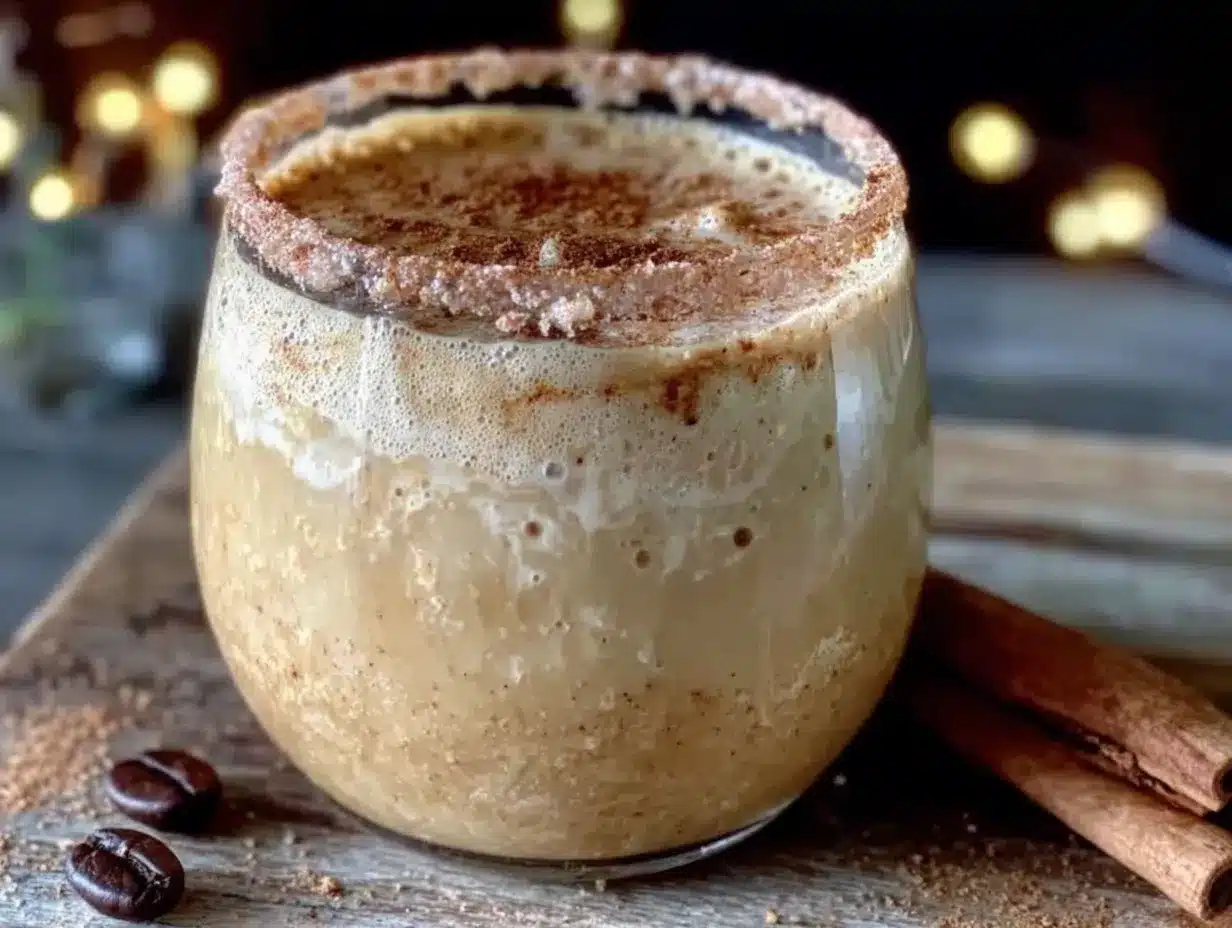
This comes together in about 15 minutes, start to finish. I usually make it while my morning coffee is brewing, and by the time my mug is ready, the creamer is cooling on the counter.
- Combine the base ingredients. In your small saucepan, whisk together the heavy cream, whole milk, and sweetened condensed milk. Turn the heat to medium-low. You want a gentle warmth here, not a boil. Rushing this step can cause the milk to scorch, and nobody wants burnt creamer first thing in the morning.
- Add the pumpkin and spices. Whisk in the pumpkin puree, pumpkin pie spice, cinnamon, and the pinch of salt. Keep whisking until the pumpkin is fully incorporated and no orange streaks remain. This takes about a minute of steady whisking. The mixture should look smooth and unified, like a pale orange cream.
- Heat gently, do not boil. Continue heating the mixture over medium-low for about 5 to 7 minutes, stirring occasionally. You will see tiny bubbles forming around the edges of the pan — that is your cue that it is hot enough. If you see actual boiling or a skin forming on top, your heat is too high. Turn it down immediately. The goal is to let the pumpkin infuse into the cream without the dairy breaking.
- Remove from heat and add vanilla. Take the saucepan off the burner and stir in the vanilla extract (and the maple syrup, if using). The residual heat will bloom the vanilla flavor without cooking it off. Give it a final whisk, and taste it. This is your chance to adjust — add more cinnamon if you want it spicier, or a splash more maple syrup if you prefer it sweeter.
- Strain for smoothness (optional but recommended). Place your fine-mesh strainer over your storage jar or bottle. Pour the creamer through the strainer slowly. This catches any tiny bits of pumpkin fiber or spice clumps that didn’t fully dissolve. If you are in a hurry or do not mind a little texture, you can skip this step. But I find the strained version is noticeably smoother in coffee.
- Cool and store. Let the creamer cool to room temperature before putting the lid on and refrigerating. This takes about 20 to 30 minutes on the counter. Do not rush this — putting warm creamer directly into the fridge can cause condensation inside the jar, which waters it down over time.
- Shake before each use. The spices will settle at the bottom of the jar as it sits. This is completely normal. Just give it a good shake for about five seconds before pouring, and it will be perfectly blended again.
One thing I learned the hard way: do not leave this creamer sitting on the counter all day. I made that mistake once when I was hosting a brunch, and by the afternoon, it had separated and looked sad. It was still safe to eat, but the texture was off. Just keep it in the fridge and pour what you need.
Cooking Tips & Techniques
After making this creamer more times than I can count, I have picked up a few tricks that make the process smoother and the results better.
Low and slow is the rule. The biggest mistake people make is cranking up the heat to speed things along. Dairy is delicate. High heat makes the proteins tighten up and separate, leaving you with a grainy, unappealing texture. Keep the burner at medium-low and be patient. That extra three minutes is worth it.
Whisk more than you think you need to. Pumpkin puree is thick and stubborn. It wants to stay clumped together in little orange blobs. The solution is aggressive whisking in the beginning. I whisk in figure-eights, scraping the bottom and corners of the pan. Once the mixture is smooth, you can relax and just stir occasionally.
Taste and adjust at the end. Everyone’s palate is different. What tastes perfectly spiced to me might be too mild for you. After you remove the pan from heat, dip a spoon in and taste it. Does it need more cinnamon? A pinch more salt? A little extra vanilla? This is your moment to customize. I have a friend who adds a tiny pinch of cayenne pepper to hers, and honestly, it is amazing.
Double the batch if you have a crowd. This recipe makes about 2 cups, which lasts my family of four about a week and a half. If you are hosting Thanksgiving weekend or have houseguests, double everything and use a larger saucepan. It keeps perfectly for two weeks, so leftovers are not a problem.
I once forgot to add the vanilla until after I had already poured the creamer into the jar. I just dumped everything back into the pan, reheated it gently, added the vanilla, and strained it again. It worked fine. So if you make a mistake, do not panic. This recipe is forgiving.
Variations & Adaptations
One of the best things about homemade creamer is how easy it is to change it up. Here are some variations I have tried and loved:
Dairy-Free Version: Substitute the heavy cream with full-fat canned coconut cream and the whole milk with oat milk or unsweetened almond milk. Use sweetened condensed coconut milk instead of the dairy version. The coconut flavor is subtle but lovely, and the oat milk keeps the texture creamy. I made this for a friend who is lactose intolerant, and she said it was better than the original.
Extra Spicy Pumpkin Creamer: If you like your coffee with a serious kick, increase the pumpkin pie spice to 1 1/2 teaspoons and add an extra 1/4 teaspoon of ginger and a pinch of white pepper. This version is fantastic on cold, rainy mornings when you need something warming.
Vanilla Bean Pumpkin Creamer: Split one vanilla bean lengthwise and scrape the seeds into the creamer during the heating step. Let the whole bean steep in the mixture as it warms, then remove it before straining. The tiny vanilla specks floating in your coffee are beautiful, and the flavor is noticeably more complex than extract alone.
Sugar-Free Option: Replace the sweetened condensed milk with an equal amount of heavy cream plus 2 to 3 tablespoons of your preferred sugar-free sweetener (monk fruit or allulose work best). The texture will be thinner, but the flavor is still excellent. My mother-in-law uses this version and says it satisfies her pumpkin spice craving without the sugar crash.
I have also experimented with adding a tablespoon of cocoa powder for a pumpkin mocha creamer. It was good, but honestly, I prefer the pure pumpkin spice version. My teenager loved it, though, so if you have a chocolate lover in your house, it is worth trying.
Serving & Storage Suggestions
This creamer is incredibly versatile. Here is how I serve and store it in my home.
Serving: Pour 2 to 3 tablespoons into a hot cup of coffee and stir. Start with less and add more to taste — some people like just a hint of pumpkin, while others want their coffee to taste like liquid pumpkin pie. I have also drizzled it over warm oatmeal and used it in place of milk in my morning chai. It is amazing in iced coffee too, though you might want to add an extra tablespoon since the cold dulls the sweetness slightly.
Storage: Keep the creamer in a sealed jar in the refrigerator for up to two weeks. I usually write the date on the lid with a piece of tape so I do not have to guess. Do not freeze it — dairy-based creamers separate when thawed and the texture becomes grainy. Just make a fresh batch every week or two.
Reheating: If your coffee is not hot enough to warm the creamer straight from the fridge, microwave your mug of coffee for 20 seconds after adding the creamer. Or you can warm the creamer itself in a small saucepan over low heat for a minute or two. I do not recommend microwaving the creamer in its jar — the glass can crack, and the creamer heats unevenly.
The flavors actually deepen after a day or two in the fridge. The spices meld together and the pumpkin becomes more integrated. So if you can make it a day ahead, even better. I often make a batch on Saturday for the week ahead, and by Tuesday, it tastes like it has been simmering all week.
Nutritional Information & Benefits
Here is the estimated nutrition for a 2-tablespoon serving of this creamer:
| Nutrient | Amount Per Serving |
|---|---|
| Calories | 65 |
| Total Fat | 4.5g |
| Saturated Fat | 3g |
| Carbohydrates | 6g |
| Sugar | 5g |
| Protein | 1g |
Compared to store-bought pumpkin spice creamers that often contain around 70 calories and 10 grams of sugar per serving, this homemade version is a noticeable improvement. The real pumpkin adds a small amount of vitamin A and fiber, which is more than you get from the artificial stuff.
If you are watching your sugar intake, remember that you control the sweetness here. Cutting back on the sweetened condensed milk or using the sugar-free option can drop the sugar content significantly. I have made versions with half the sweetened condensed milk and an extra splash of vanilla, and they were still satisfying.
This creamer is not dairy-free in its standard form, but the adaptations I shared above work beautifully for those with lactose concerns. Always check your spice blends if you have gluten sensitivities — some commercial pumpkin pie spices are processed in facilities that also handle wheat.
Conclusion
This homemade pumpkin spice coffee creamer has become more than just a recipe in our house. It is the smell that tells everyone fall has arrived. It is the reason my kids actually want to get out of bed on school mornings. It is the small victory of watching my husband pour himself a second cup with a satisfied little smile.
I hope you give it a try, even if you have a pumpkin spice skeptic in your own home. Start with a small batch and see what happens. Maybe you will catch someone standing at the kitchen counter, pouring creamer into their mug with that same focused look. And maybe you will smile into your own coffee cup, knowing you made something good with real ingredients and a little bit of patience.
If you make this creamer, I would love to hear how it turned out. Drop a comment below and let me know if your family loved it as much as mine does. Did you add your own twist? Did someone get caught in the act of loving something they swore they hated? Share your story — those are my favorite kind of comments to read.
Until next time, happy fall brewing, friends.
Frequently Asked Questions
Can I use pumpkin pie filling instead of pure pumpkin puree?
I would not recommend it. Pumpkin pie filling already has sugar and spices added, which will throw off the sweetness and spice balance of this recipe. Stick with 100% pure pumpkin puree for the best results. The texture will also be smoother since pie filling has thickeners that can make the creamer gummy.
Why did my creamer separate in my coffee?
This usually happens when the creamer is too cold and the coffee is too hot, or vice versa. Try letting your creamer sit on the counter for five minutes before adding it to your coffee. Also, make sure you are whisking or shaking the creamer well before each use, since the spices and pumpkin naturally settle at the bottom of the jar.
How long does homemade pumpkin creamer really last?
In a sealed jar in the refrigerator, this creamer stays fresh for up to two weeks. I always give mine a sniff test before using it after day 10. If it smells fine and looks smooth, it is good to go. If you see any mold or notice a sour smell, toss it and make a fresh batch.
Can I make this creamer without sweetened condensed milk?
Absolutely. Replace the sweetened condensed milk with an equal amount of heavy cream plus 2 to 3 tablespoons of your preferred sweetener. Maple syrup, honey, or simple syrup all work well. Just keep in mind that liquid sweeteners will make the creamer slightly thinner, so you might want to use a little less coffee to keep your drink from getting watery.
Is this creamer safe for kids to use in their coffee or hot chocolate?
Yes, in moderation. Since this creamer is made with real ingredients and less sugar than store-bought versions, it is a better option for kids who want a little flavor in their morning drink. My teenager adds about a tablespoon to her coffee milk, and my younger one uses it in hot chocolate on chilly afternoons. Just remember that it does contain caffeine if added to coffee, so keep portions small for younger children.
Pin This Recipe!
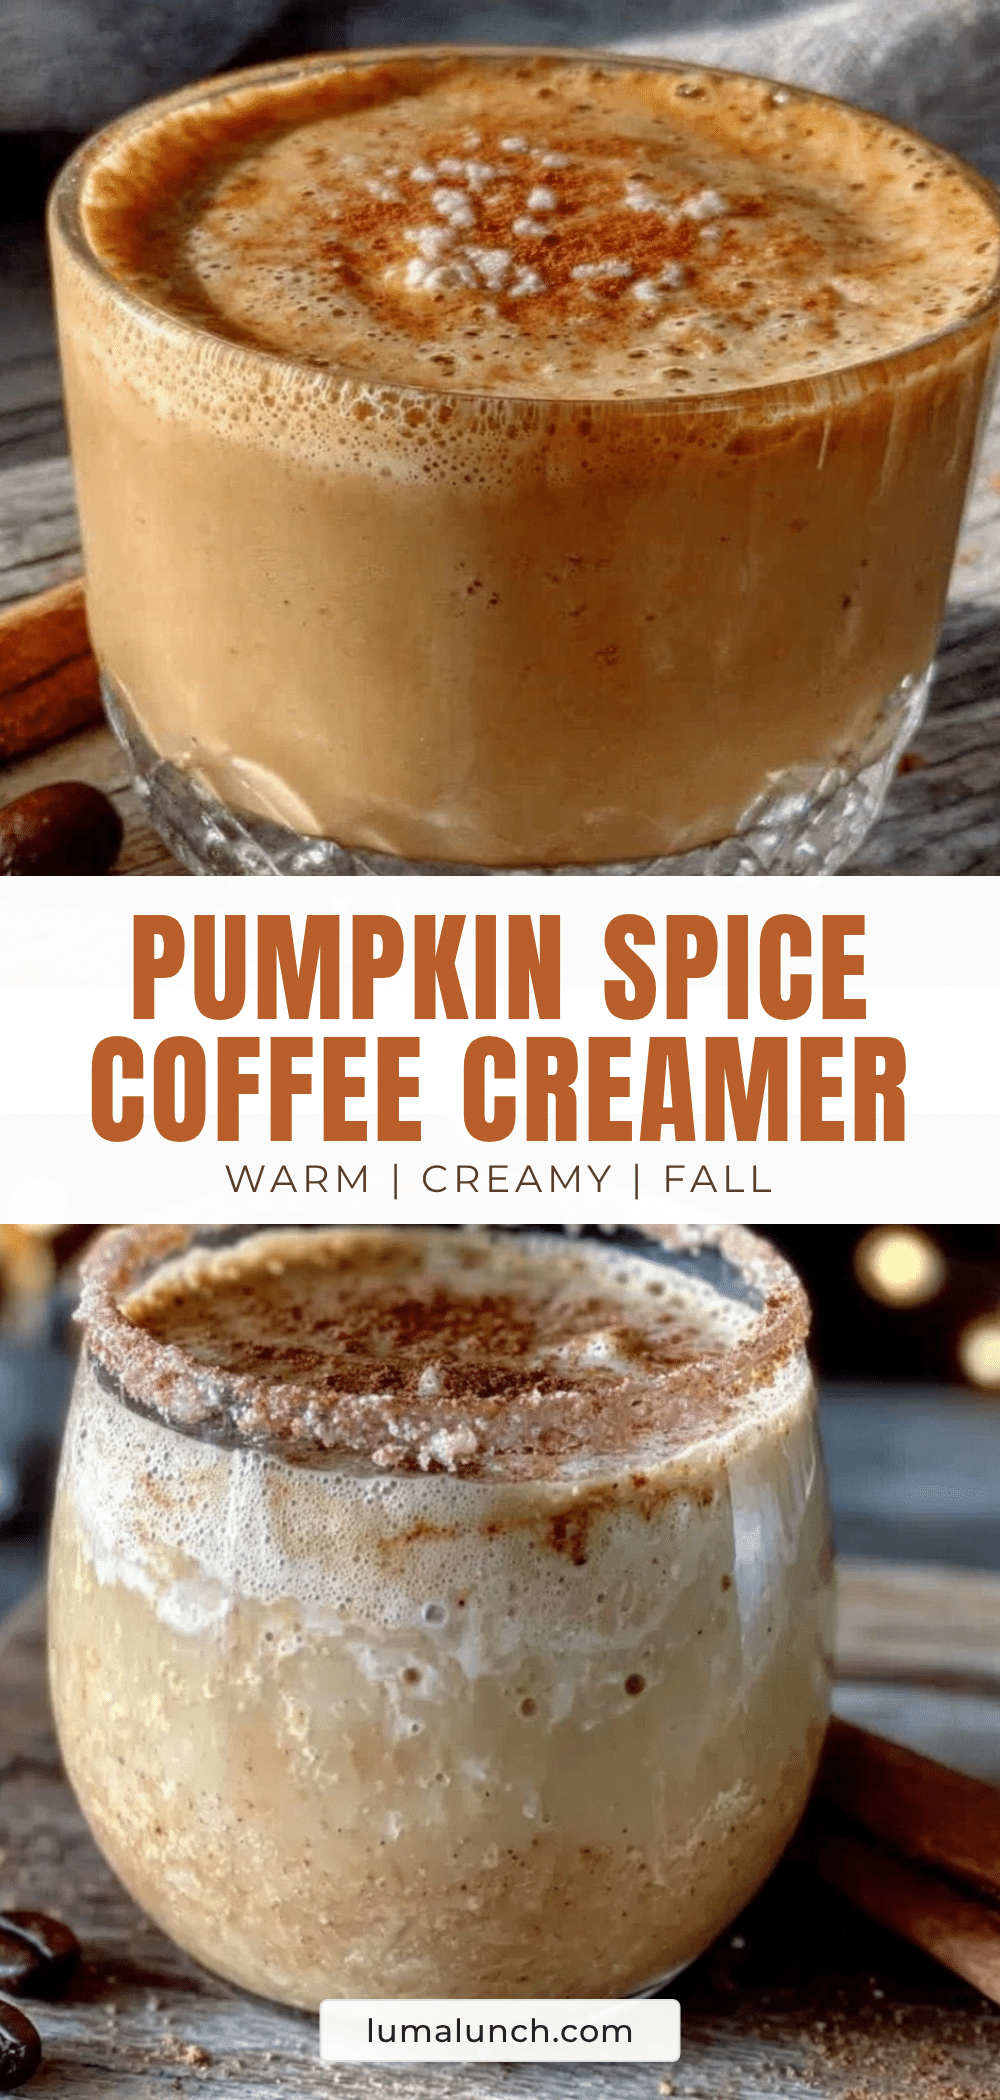
Best Homemade Pumpkin Spice Coffee Creamer – Easy Fall Favorite

This homemade pumpkin spice coffee creamer uses real pumpkin, actual spices, and cream you can pronounce. It’s way cheaper than store-bought, quick to make, and adjustable in sweetness.
- Prep Time: 5 minutes
- Cook Time: 10 minutes
- Total Time: 15 minutes
- Yield: 2 cups (about 16 servings of 2 tablespoons each) 1x
- Category: Condiment
- Cuisine: American
Ingredients
- 1 cup heavy cream
- 1 cup whole milk
- 1/2 cup sweetened condensed milk
- 3 tablespoons pumpkin puree (100% pure pumpkin)
- 1 teaspoon pumpkin pie spice
- 1/2 teaspoon vanilla extract
- 1/4 teaspoon ground cinnamon
- Pinch of salt
- 1 tablespoon maple syrup (optional)
Instructions
- Combine the base ingredients. In a small saucepan, whisk together the heavy cream, whole milk, and sweetened condensed milk. Turn the heat to medium-low.
- Add the pumpkin and spices. Whisk in the pumpkin puree, pumpkin pie spice, cinnamon, and the pinch of salt until fully incorporated and no orange streaks remain.
- Heat gently, do not boil. Continue heating over medium-low for about 5 to 7 minutes, stirring occasionally, until tiny bubbles form around the edges.
- Remove from heat and add vanilla. Stir in the vanilla extract (and maple syrup, if using). Taste and adjust spices or sweetness as desired.
- Strain for smoothness (optional but recommended). Place a fine-mesh strainer over your storage jar and pour the creamer through to catch any bits of pumpkin fiber or spice clumps.
- Cool and store. Let the creamer cool to room temperature (about 20-30 minutes) before putting the lid on and refrigerating.
- Shake before each use. The spices will settle, so shake the jar for about five seconds before pouring.
Notes
Low and slow is the rule to avoid scorching the dairy. Whisk aggressively at the start to incorporate the pumpkin puree. Taste and adjust spices at the end. The creamer keeps for up to two weeks in the refrigerator. Do not freeze. For a dairy-free version, substitute heavy cream with full-fat canned coconut cream, whole milk with oat milk, and sweetened condensed milk with sweetened condensed coconut milk.
Nutrition
- Serving Size: 2 tablespoons
- Calories: 65
- Sugar: 5
- Sodium: 20
- Fat: 4.5
- Saturated Fat: 3
- Carbohydrates: 6
- Protein: 1
Keywords: pumpkin spice, coffee creamer, homemade, fall, pumpkin, dairy-free option, sugar-free option


