Love this? Save it for later!
Share the inspiration with your friends
My neighbor, Mrs. Gable, watched me hacking away at a butternut squash one October afternoon and didn’t say anything at first. Then she just shook her head, disappeared inside her house, and came back holding a small mason jar filled with dark, jewel-toned gummies. “For when the kids bring home every bug from school,” she said, pressing the jar into my hands. I didn’t ask for the recipe that day. Honestly, I was too busy trying not to slice my finger off. But I remembered the taste—sweet, a little tart, and somehow comforting in a way that felt like a warm blanket.
That was three winters ago. Since then, I’ve made batches of these homemade immune-boosting elderberry gummies every single season, especially when the weather turns cold and everyone around me starts sniffling. I’ve tweaked Mrs. Gable’s original version quite a bit, substituting honey for sugar and adding a splash of lemon juice because, let’s face it, the first batch I made was a little too sweet for my liking. She didn’t mind the changes. In fact, she told me that’s the whole point of a recipe—it’s supposed to grow with you.
What I love most about these elderberry gummies is how simple they are to make. You don’t need any fancy equipment, just a saucepan and a silicone mold. And the process? It’s almost meditative. You simmer the dried elderberries with water, strain the liquid, stir in the gelatin, and pour it into little bear-shaped molds. The hardest part is waiting for them to set in the fridge—honestly, that’s the real test of patience. But when you pop one out and it jiggles perfectly, you know it was worth it.
Maybe you’ve been there, standing in the health food aisle, staring at a $20 bottle of elderberry syrup and wondering if it actually works. I have. And that’s exactly why I started making my own. Not only are these gummies more affordable, but you also know exactly what’s going into them. No weird preservatives, no high-fructose corn syrup, just real, whole ingredients that your body recognizes. Plus, they taste so much better than anything you can buy at the store.
This recipe stayed with me because it’s not just about the immune boost—it’s about the ritual. It’s about taking an hour on a Sunday afternoon to do something small but meaningful for yourself and your family. And honestly, that’s why I keep making them. Because every time I pull that jar out of the fridge, I remember Mrs. Gable standing in her garden, handing me a piece of her wisdom along with those little gummies.
Why You’ll Love This Recipe
Let me tell you, after testing this recipe about six times (and failing twice—my first batch was a sticky, gelatinous mess), I’ve landed on a version that just works. These homemade immune-boosting elderberry gummies are everything you want in a wellness snack and more.
- Quick & Easy: Comes together in under 30 minutes of active time. The rest is just fridge time, which you can spend doing literally anything else.
- Simple Ingredients: You only need four main ingredients—dried elderberries, water, gelatin, and honey. No weird additives or trips to a specialty store.
- Perfect for Cold Season: Great for keeping on hand when the kids start school, when you’re traveling, or when you just feel that tickle in your throat.
- Crowd-Pleaser: Even picky eaters love these. The gummy texture makes them feel like candy, so no one complains about taking their “medicine.”
- Unbelievably Delicious: The combination of tart elderberry and sweet honey is honestly addictive. I’ve caught myself eating three or four in one sitting—oops.
What makes this recipe different from all the others out there? It’s the balance. I’ve tested ratios of liquid to gelatin until I found the perfect jiggle—firm enough to hold its shape, but soft enough to melt on your tongue. Plus, I use raw honey instead of processed sugar, which adds its own immune-supporting properties. This isn’t just another gummy recipe; it’s my best version, born from a lot of trial and error.
And here’s the emotional part: this recipe is the kind that makes you feel like you’re taking care of yourself. It’s comfort food reimagined—healthier, faster, but with the same soul-soothing satisfaction. Perfect for impressing your health-conscious friends without any stress, or turning a simple wellness routine into something you actually look forward to.
What Ingredients You Will Need
This recipe uses simple, wholesome ingredients to deliver a powerful immune boost and a satisfyingly chewy texture without any fuss. Most of these are probably already in your pantry or can be found at your local grocery store.
For the Elderberry Base
- 1/2 cup dried elderberries – These are the star of the show. You can find them in bulk bins at health food stores or online. Look for deep purple, plump berries. (I personally buy from Mountain Rose Herbs for consistent quality.)
- 2 cups filtered water – Tap water can contain chlorine, which might affect the flavor. Filtered is best for a clean taste.
- 1 tablespoon fresh lemon juice – This adds a bright, tart note and helps preserve the gummies naturally. (About half a lemon.)
- 1/4 cup raw honey – Raw honey is ideal because it retains its natural enzymes and immune-boosting properties. If you’re vegan, you can substitute maple syrup, though the texture will be slightly softer.
For the Gelling Agent
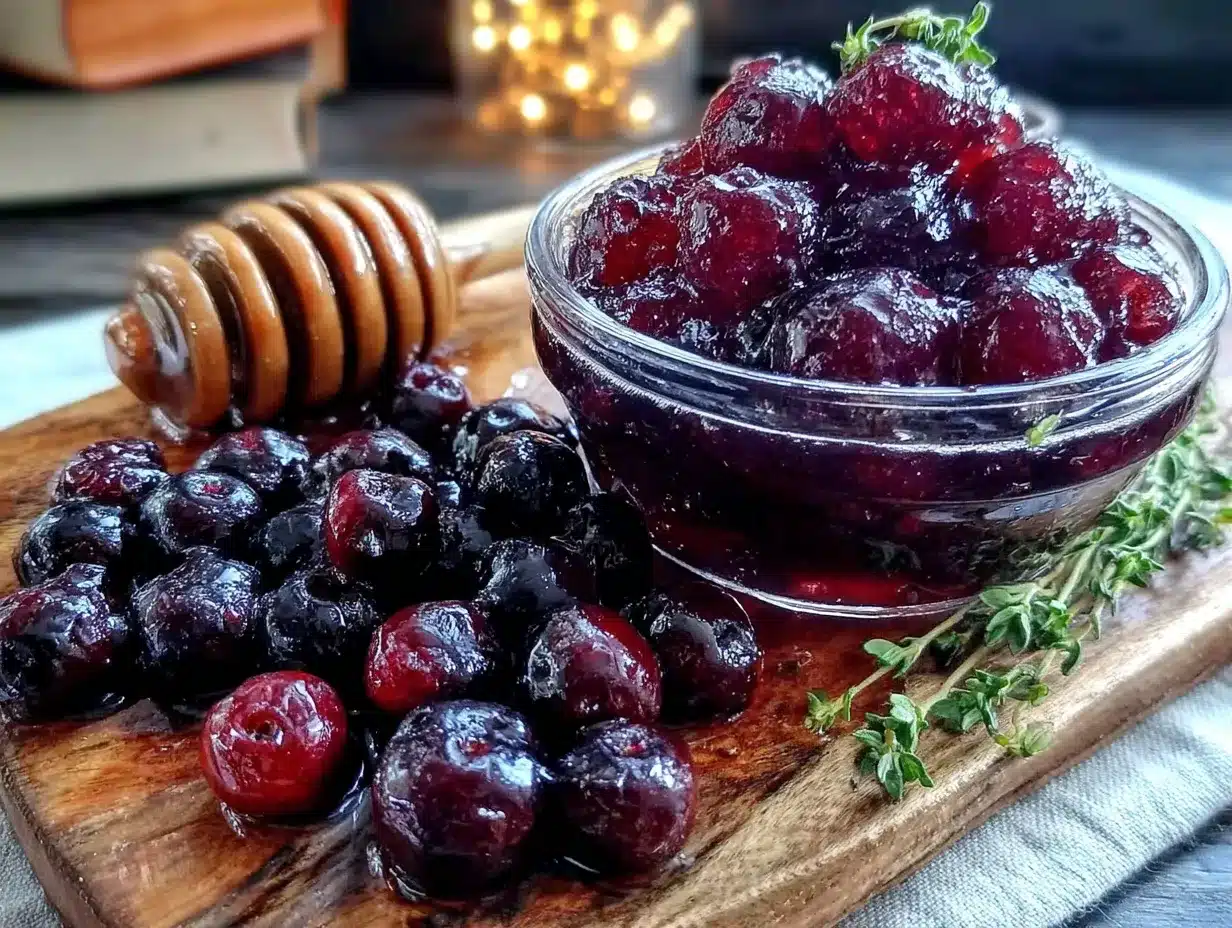
- 1/4 cup cold water – Used to bloom the gelatin so it dissolves smoothly without clumps.
- 3 tablespoons grass-fed gelatin powder – This is non-negotiable for the gummy texture. I recommend Great Lakes Gelatin or Vital Proteins for the best results. Do not use collagen peptides—they won’t set properly.
Optional Add-Ins
- 1 teaspoon ground cinnamon – Adds warmth and has its own antimicrobial properties.
- 1/2 teaspoon ground ginger – Great for digestion and adds a little zing.
- 1/4 teaspoon vitamin C powder – Boosts the immune benefits even further. (I add this when I feel a cold coming on.)
Ingredient Selection Tip: When buying dried elderberries, make sure they are specifically labeled for culinary use. Some elderberries sold for landscaping are not food-grade. Also, look for gelatin that is sourced from grass-fed cows—it’s better for you and has a neutral flavor.
Substitution Guidance: If you’re allergic to honey, swap it with agave nectar or maple syrup. For a completely plant-based version, you can use agar agar powder instead of gelatin, but the texture will be more like a firm jelly than a chewy gummy. I’ve tried it, and honestly, I prefer the gelatin version for that classic gummy feel.
Equipment Needed
You don’t need a professional kitchen to make these homemade immune-boosting elderberry gummies. In fact, you probably already have most of what you need.
- Small saucepan – For simmering the elderberries. A 2-quart size works perfectly.
- Fine-mesh strainer or cheesecloth – To strain out the berries and get a smooth liquid. I’ve used both; a fine-mesh strainer is easier to clean.
- Glass measuring cup or small bowl – For blooming the gelatin.
- Whisk – A small whisk helps incorporate the gelatin without lumps. A fork works in a pinch.
- Silicone gummy molds – These are key for the fun shapes. I use bear-shaped molds, but you can find hearts, stars, or even simple rectangular ones. They’re cheap on Amazon or at craft stores.
- Dropper or small funnel – Makes filling the molds much less messy. I learned the hard way that pouring directly from the saucepan leads to a sticky disaster.
- Baking sheet – To hold the molds steady while you fill them. It also makes transferring to the fridge easier.
Budget-Friendly Tip: If you don’t have silicone molds, you can pour the mixture into a small glass dish and cut it into squares once set. They won’t be as cute, but they’ll taste just as good. I’ve done this when traveling and it works fine.
Maintenance Tip: Clean your silicone molds immediately after use. Soak them in warm, soapy water and use a soft brush to get into the crevices. Avoid using abrasive sponges, which can scratch the surface.
Preparation Method
Alright, let’s get to the fun part. Here’s how to make these elderberry gummies step by step. I’ve included time estimates and little notes from my own kitchen disasters so you can avoid them.
- Simmer the elderberries (15 minutes). Combine the dried elderberries and 2 cups of filtered water in a small saucepan. Bring to a boil over medium-high heat, then reduce the heat to low and let it simmer for about 15 minutes. The liquid will turn a deep, dark purple, and your kitchen will smell like autumn. Don’t let it boil vigorously—you want a gentle simmer to extract all the goodness without burning the berries.
- Strain the liquid (5 minutes). Place a fine-mesh strainer over a glass measuring cup or bowl. Pour the elderberry mixture through the strainer, pressing down on the berries with the back of a spoon to release all the liquid. Discard the berries (compost them if you can). You should have about 1 cup of concentrated elderberry liquid. Let it cool for 5 minutes—if it’s too hot, it can damage the gelatin.
- Bloom the gelatin (5 minutes). In a small bowl, combine the 1/4 cup cold water with the 3 tablespoons grass-fed gelatin powder. Stir gently and let it sit for about 5 minutes. It will become a thick, spongy mass. This step is crucial—if you skip it, your gelatin won’t dissolve properly and you’ll end up with lumpy gummies. Trust me, I’ve been there.
- Combine and warm (3 minutes). Pour the elderberry liquid back into the saucepan and add the honey and lemon juice. Warm it over low heat, stirring occasionally, until the honey dissolves. Do not let it boil—you want it just warm enough to incorporate the gelatin. Remove from heat.
- Incorporate the gelatin (2 minutes). Add the bloomed gelatin to the warm elderberry mixture. Whisk vigorously until the gelatin is completely dissolved and the mixture is smooth. This usually takes about 30 seconds to 1 minute. If you see any lumps, keep whisking. If the mixture starts to cool too much and the gelatin sets, gently reheat it over low heat while whisking.
- Fill the molds (10 minutes). Place your silicone molds on a baking sheet for stability. Use a dropper or a small funnel to carefully fill each cavity. Don’t overfill—leave a tiny bit of space at the top. Work quickly, as the mixture will start to thicken as it cools. If it becomes too thick to pour, briefly warm it again.
- Set in the fridge (2-3 hours). Carefully transfer the baking sheet to the refrigerator. Let the gummies set for at least 2 hours, or until they are firm to the touch. I usually leave them overnight for the best texture. Don’t rush this step—if you try to pop them out too early, they’ll tear.
- Unmold and store (5 minutes). Once set, gently flex the silicone mold to release the gummies. They should pop out easily. If they stick, try placing the mold in the freezer for 5 minutes—that usually does the trick. Store the gummies in an airtight container in the refrigerator.
Sensory Cue: At step 4, the mixture should smell fruity and sweet, with a hint of tartness from the lemon. The color should be a deep, almost blackish-purple. When you whisk in the gelatin at step 5, you’ll notice the mixture becoming slightly thicker and more opaque—that’s the gelatin working its magic.
Personal Efficiency Tip: I like to set up my molds on the baking sheet before I even start cooking. That way, when the mixture is ready, I can fill them immediately without scrambling. It saves a lot of stress.
Cooking Tips & Techniques
After making these homemade immune-boosting elderberry gummies more times than I can count, I’ve picked up a few tricks that make the process smoother and the results more consistent. Let me share them with you.
Don’t Overheat the Gelatin. This is the number one mistake I made in the beginning. Gelatin is a protein, and if you boil it, it loses its gelling power. Always dissolve it in warm—not hot—liquid. If you’re reheating the mixture to thin it out, do it over the lowest possible heat and remove it as soon as it becomes liquid again.
Use a Kitchen Scale for Consistent Results. I know, it sounds fussy, but measuring gelatin by weight rather than volume gives you much more consistent results. 3 tablespoons of gelatin is roughly 30 grams. A scale eliminates the guesswork, especially if you’re doubling the recipe.
Work in Batches if You Have Multiple Molds. If you’re making a large batch, don’t try to fill all the molds at once. The mixture will cool and thicken, making it hard to pour. Instead, fill one mold, pop it in the fridge, and then warm the mixture slightly before filling the next one. It takes a little longer, but the gummies will look much prettier.
Common Mistake: Gummies That Are Too Sticky. If your gummies are sticky to the touch, it means there’s too much moisture. This usually happens if you didn’t simmer the elderberries long enough. Next time, simmer them for the full 15 minutes and make sure you’re pressing all the liquid out of the berries. You can also roll the finished gummies in a little arrowroot powder or cornstarch to keep them from sticking together.
Timing Strategy: I like to make these on a Sunday evening. The active time is only about 30 minutes, and then they set overnight. By Monday morning, I have a week’s worth of gummies ready to go. It’s a small investment of time that pays off all week long.
Variations & Adaptations
One of the best things about this recipe is how easy it is to adapt. Here are a few variations I’ve tried and loved.
Dietary Variations
- Vegan Version: Replace the gelatin with 2 tablespoons of agar agar powder. The process is similar—bloom the agar in cold water, then dissolve it in the warm elderberry liquid. Note that agar sets much faster and at room temperature, so you’ll need to work quickly. The texture is firmer and less chewy, but still delicious.
- Low-Sugar Version: Omit the honey and use 10-15 drops of stevia extract instead. The gummies will be less sweet, but the elderberry flavor really shines through. I made this for my dad, who’s diabetic, and he loved them.
Flavor Variations
- Spiced Elderberry Gummies: Add 1 teaspoon of ground cinnamon and 1/2 teaspoon of ground ginger to the elderberry liquid while it simmers. The spices complement the tartness beautifully and add extra immune support.
- Tropical Twist: Replace 1/2 cup of the water with pineapple or mango juice. The natural sweetness means you can reduce the honey. I tried this last summer and it was a hit with the kids.
Customization Ideas
- Extra Immune Boost: Stir in 1/4 teaspoon of vitamin C powder and 1/4 teaspoon of zinc picolinate powder after the gelatin has dissolved. These can affect the texture slightly, so don’t overdo it.
- Herbal Infusion: Add a tablespoon of dried echinacea or astragalus root to the elderberries while they simmer. Strain it out with the berries. This gives the gummies an even stronger immune-supporting profile.
Personal Favorite: My go-to variation is the spiced version. I add a pinch of black pepper, which helps the body absorb the beneficial compounds in the elderberries. It sounds weird, but trust me—it works.
Serving & Storage Suggestions
These homemade immune-boosting elderberry gummies are best enjoyed cold, straight from the fridge. The texture is firm but chewy, and the cool temperature makes them feel extra refreshing.
Serving Temperature: Serve them chilled. If you leave them out at room temperature for too long, they’ll start to soften and lose their shape. I keep a small jar in the fridge and grab a couple whenever I feel like I need a boost.
Presentation: For a fun presentation, arrange the gummies on a small plate or in a glass jar. You can dust them lightly with arrowroot powder to prevent sticking and give them a frosted look. They make great gifts too—I’ve given jars of these to friends and family, and they’re always a hit.
Storage: Store the gummies in an airtight container in the refrigerator for up to 2 weeks. I use a glass mason jar with a tight-fitting lid. If you notice any condensation forming inside the jar, blot the gummies dry with a paper towel to prevent mold.
Freezing: You can freeze these gummies for up to 3 months. Place them in a single layer on a baking sheet and freeze until solid, then transfer them to a freezer-safe bag. Thaw them in the refrigerator overnight before eating. The texture might be slightly softer after freezing, but they’re still delicious.
Reheating: These are meant to be eaten cold, so no reheating needed. However, if you’ve frozen them, just let them thaw in the fridge. Don’t microwave them—they’ll melt into a sticky puddle.
Flavor Development: Interestingly, these gummies taste even better after a day or two in the fridge. The flavors meld together, and the texture becomes more uniform. So don’t worry if they seem a little soft on day one—they’ll firm up beautifully.
Nutritional Information & Benefits
Here’s a rough estimate of the nutritional content per serving (about 4 gummies). Keep in mind that this can vary based on the exact ingredients and brands you use.
| Nutrient | Amount per Serving |
|---|---|
| Calories | 45 |
| Total Fat | 0g |
| Carbohydrates | 10g |
| Sugars | 8g (from honey) |
| Protein | 3g |
| Vitamin C | 2% DV |
| Iron | 1% DV |
Health Benefits: Elderberries are packed with antioxidants and flavonoids that support the immune system. They’ve been shown to reduce the duration and severity of cold symptoms. The honey adds antibacterial properties, while the gelatin supports joint health and skin elasticity. It’s a little powerhouse of wellness in every bite.
Dietary Considerations: This recipe is gluten-free, dairy-free, and nut-free. It contains no artificial colors or preservatives. If you’re using honey, it’s not suitable for infants under 1 year old due to the risk of botulism. For a vegan option, use agar agar and maple syrup.
Personally, I love that these gummies let me take control of my family’s health in a way that feels good, not like a chore. Every time I pop one, I know I’m doing something small but meaningful for my body.
Conclusion
These homemade immune-boosting elderberry gummies are proof that taking care of yourself doesn’t have to be complicated or boring. With just a handful of simple ingredients and about 30 minutes of your time, you can create a delicious, functional snack that supports your health all season long.
I’ve shared this recipe with so many friends, and every single one of them has made it their own—some add extra ginger, others skip the honey, and one friend even adds a splash of orange juice. That’s the beauty of this recipe: it’s a starting point, not a rigid set of rules. Feel free to tweak it, play with it, and make it yours.
Honestly, this recipe has become a staple in my kitchen, and I hope it becomes one in yours too. There’s something special about pulling a jar of homemade gummies out of the fridge, knowing exactly what went into them and why. It’s a small act of love for yourself and the people you care about.
So go ahead—give it a try! I’d love to hear how your batch turns out. Leave a comment below and let me know if you added any fun twists, or share a photo of your gummies on Pinterest. And if you’re looking for more simple, wholesome recipes, don’t forget to check out my easy homemade chicken bone broth for another immune-supporting staple. Happy cooking!
Frequently Asked Questions
Can I use fresh elderberries instead of dried?
I wouldn’t recommend it for this recipe. Fresh elderberries have a much higher water content, which can throw off the liquid-to-gelatin ratio. Dried elderberries provide a more concentrated flavor and consistent results. Plus, fresh elderberries need to be cooked thoroughly to be safe for consumption.
How many gummies should I eat per day?
For immune support, I usually recommend 2-4 gummies per day for adults, and 1-2 for children. They’re not a medicine, but a supplement to a healthy diet. Listen to your body—if you’re feeling great, you don’t need to overdo it.
Can I use flavored gelatin instead of plain?
You could, but it would change the flavor profile significantly. Flavored gelatins often contain added sugar, artificial flavors, and colors. I prefer plain grass-fed gelatin because it lets the elderberry flavor shine and keeps the recipe clean.
Why are my gummies too hard?
This usually means you used too much gelatin or cooked the mixture too long, causing evaporation. Next time, measure your gelatin precisely (use a scale if you have one) and don’t let the mixture boil after adding the gelatin. If they’re already made, you can try blending them into a smoothie—waste not!
Can I make these without a mold?
Absolutely. Pour the mixture into a small glass dish lined with parchment paper, let it set, and then cut it into squares with a sharp knife. They won’t be as cute, but they’ll taste the same. I’ve done this many times when I couldn’t find my molds.
Pin This Recipe!
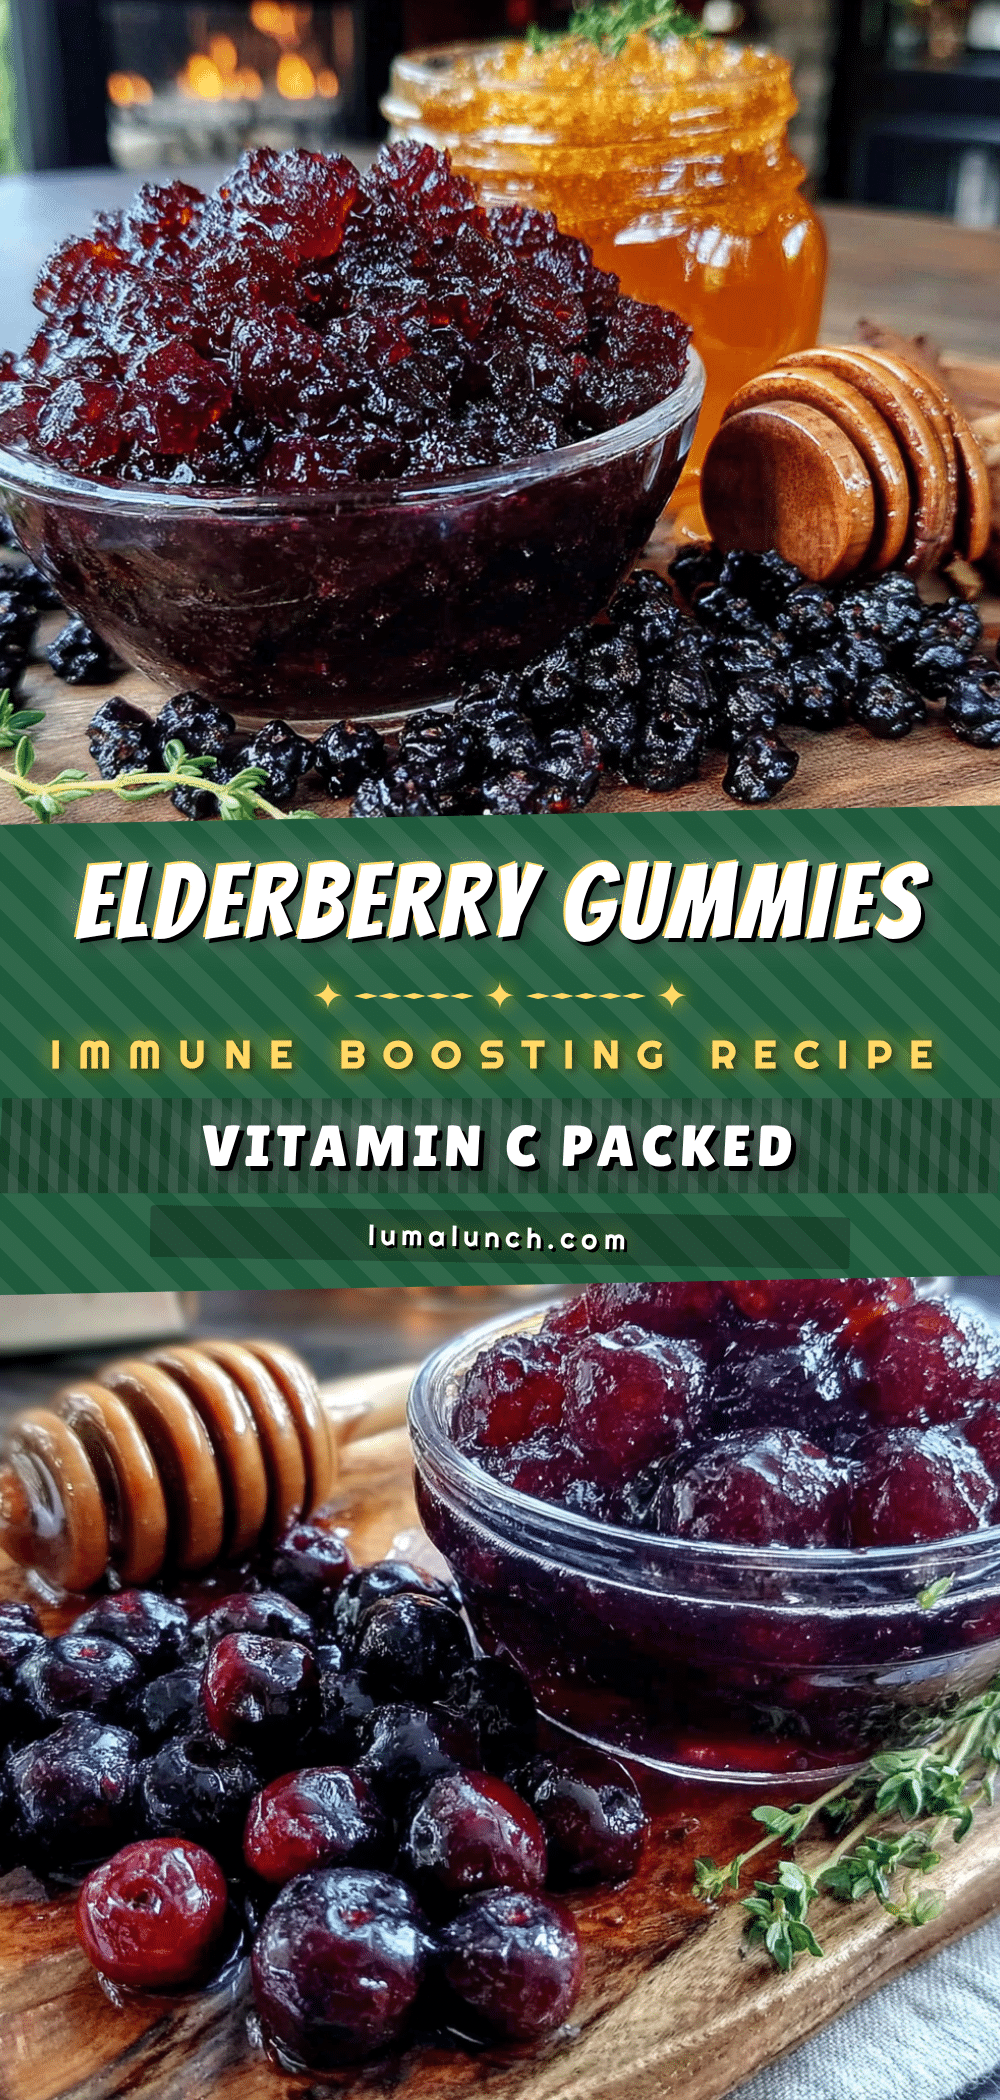
Best Homemade Immune-Boosting Elderberry Gummies – Easy Recipe
These homemade elderberry gummies are a simple, delicious way to support your immune system during cold season. Made with just a few wholesome ingredients, they’re a fun and effective wellness snack for the whole family.
- Prep Time: 15 minutes
- Cook Time: 15 minutes
- Total Time: 30 minutes (plus 2-3 hours setting time)
- Yield: 4 servings 1x
- Category: Snack
- Cuisine: American
Ingredients
- 1/2 cup dried elderberries
- 2 cups filtered water
- 1 tablespoon fresh lemon juice
- 1/4 cup raw honey
- 1/4 cup cold water
- 3 tablespoons grass-fed gelatin powder
- 1 teaspoon ground cinnamon (optional)
- 1/2 teaspoon ground ginger (optional)
- 1/4 teaspoon vitamin C powder (optional)
Instructions
- Simmer the elderberries: Combine dried elderberries and 2 cups filtered water in a small saucepan. Bring to a boil over medium-high heat, then reduce heat to low and simmer for 15 minutes. The liquid will turn deep purple.
- Strain the liquid: Place a fine-mesh strainer over a glass measuring cup or bowl. Pour the elderberry mixture through the strainer, pressing on the berries with a spoon to extract all liquid. Discard berries. You should have about 1 cup of concentrated liquid. Let cool for 5 minutes.
- Bloom the gelatin: In a small bowl, combine 1/4 cup cold water with 3 tablespoons gelatin powder. Stir gently and let sit for 5 minutes until it becomes a thick, spongy mass.
- Combine and warm: Pour the elderberry liquid back into the saucepan. Add honey and lemon juice. Warm over low heat, stirring occasionally, until honey dissolves. Do not boil. Remove from heat.
- Incorporate the gelatin: Add the bloomed gelatin to the warm elderberry mixture. Whisk vigorously until completely dissolved and smooth, about 30 seconds to 1 minute. If lumps form, gently reheat while whisking.
- Fill the molds: Place silicone molds on a baking sheet. Use a dropper or small funnel to fill each cavity, leaving a tiny space at the top. Work quickly as mixture thickens. If too thick, briefly warm again.
- Set in the fridge: Transfer baking sheet to refrigerator. Let gummies set for at least 2 hours, or until firm. Overnight is best for texture.
- Unmold and store: Gently flex the silicone mold to release gummies. If they stick, place mold in freezer for 5 minutes. Store in an airtight container in the refrigerator.
Notes
Do not boil the gelatin mixture as it will lose its gelling power. For vegan version, use agar agar powder and maple syrup. Gummies can be frozen for up to 3 months. If gummies are too sticky, roll in arrowroot powder or cornstarch.
Nutrition
- Serving Size: 4 gummies
- Calories: 45
- Sugar: 8
- Carbohydrates: 10
- Protein: 3
Keywords: elderberry gummies, immune-boosting, homemade gummies, elderberry recipe, wellness snack, gelatin gummies, honey gummies


