Love this? Save it for later!
Share the inspiration with your friends
For fifteen years, my cousin Mark claimed he hated chocolate chip cookies. Said they were boring. Said they were for kids. Said he’d rather skip dessert altogether than eat “another basic cookie.” Then last Halloween, I made a batch of these spider web cookies just for myself—a little seasonal fun, nothing serious—and caught him standing at the kitchen counter at 11 PM, eating his third one with the lights off, thinking nobody would notice. I turned on the light and he just froze, crumbs on his shirt, trying to look casual. “These aren’t real chocolate chip cookies,” he mumbled. “These are different.”
And honestly? He wasn’t wrong. These quick spider web chocolate chip cookies look like they took serious effort—like you spent hours piping intricate designs and carefully arranging decorations. But here’s the thing: the spider web pattern comes together in about thirty seconds per cookie, using a technique I stumbled on by accident when I was trying to frost cookies for a party and ran out of time. You drag a toothpick through melted chocolate chips, and suddenly you’ve got webs that look professionally done. I mean, I actually laughed out loud the first time I tried it because it seemed too simple to work.
The cookies themselves are soft in the middle with slightly crisp edges—the kind of texture that makes you close your eyes on the first bite. And the chocolate web on top adds this extra layer of richness that somehow makes the whole thing feel more decadent without being overwhelming. Maybe you’ve been there—wanting to make something festive for Halloween but dreading the cleanup and complicated decorating steps. That was me every October until I figured this out. Now these are the cookies I bring to every pumpkin carving party and trunk-or-treat event, and people always ask for the recipe. I keep making them because they deliver that moment of surprise when someone realizes the fancy-looking cookie they’re eating came together in under thirty minutes with ingredients they already had.
Why You’ll Love This Recipe
Let me be straight with you—I’ve tested a lot of Halloween cookie recipes over the years, and most of them fall into two categories: either they look amazing but take two hours to decorate, or they’re quick but look like a five-year-old made them. These spider web chocolate chip cookies break that pattern completely. Here’s why they work so well for busy weeknights and last-minute Halloween treats:
- Quick & Easy: From start to finish, these cookies take about 25 minutes. The spider web design adds maybe 2 minutes total to your decorating time. No frosting bags, no piping tips, no complicated techniques.
- Simple Ingredients: You probably have everything in your kitchen right now. Butter, sugar, eggs, flour, chocolate chips—the usual suspects. The spider web effect uses the same chocolate chips you’re already baking with.
- Perfect for Halloween Weeknights: These are ideal for those nights when the kids need a treat for a school party tomorrow and you forgot until 9 PM. Or when you’re hosting a last-minute Halloween gathering and want something that looks impressive without the stress.
- Crowd-Pleaser: Kids love the spider web design, and adults appreciate that they taste like real chocolate chip cookies—not overly sweet, not artificial tasting. I’ve watched these disappear at every event I’ve brought them to.
- Unbelievably Delicious: The cookie base is my go-to recipe that I’ve been perfecting for years. It’s soft, chewy, and has that slight saltiness that makes chocolate chip cookies truly addictive. The chocolate web on top adds a textural contrast that takes them to another level.
What makes these different from every other Halloween cookie recipe out there? It’s the technique. Most spider web cookies use royal icing or frosting, which means you’re waiting for layers to dry and dealing with runny consistency. My method uses melted chocolate chips—the same ones already in the cookie dough—so you’re not buying extra ingredients or waiting for anything to set before serving. Plus, the chocolate web stays slightly shiny, which makes the cookies look even more professional.
This recipe isn’t just good—it’s the kind that makes you feel like you pulled off something impressive without actually working that hard. And honestly, isn’t that the best kind of recipe to have in your back pocket?
What Ingredients You Will Need
This recipe uses simple, pantry-friendly ingredients to create cookies that look fancy but come together fast. Most of these are probably already in your kitchen, which is exactly what you want on a busy weeknight when you’re trying to get treats made before bedtime.
For the Cookie Dough
- 1 cup (2 sticks) unsalted butter, softened – Make sure it’s truly softened, not melted. I leave mine out for about 45 minutes before starting. (Using salted butter works too—just reduce the added salt to ¼ teaspoon.)
- ¾ cup granulated sugar – White sugar gives these cookies that slight crispness on the edges.
- ¾ cup packed light brown sugar – Brown sugar adds moisture and that chewy texture we’re after. Dark brown sugar works if that’s what you have, but the cookies will be slightly darker.
- 2 large eggs, room temperature – Cold eggs can make the dough seize up. If you forgot to take them out early, place them in a bowl of warm water for 5 minutes.
- 1 teaspoon vanilla extract – Pure vanilla makes a difference here, but imitation works fine for a weeknight bake.
- 2 ¼ cups all-purpose flour – Spoon and level your flour—don’t scoop straight from the bag or you’ll end up with dry cookies.
- 1 teaspoon baking soda – Make sure it’s fresh. If it doesn’t fizz when you drop a pinch in vinegar, it’s time for a new box.
- ½ teaspoon salt – I use fine sea salt. The salt balances the sweetness and makes the chocolate flavor pop.
- 2 cups semi-sweet chocolate chips, divided – I recommend Ghirardelli or Nestlé Toll House for consistent melting. You’ll use 1 ½ cups in the dough and reserve ½ cup for the spider web design.
For the Spider Web Design
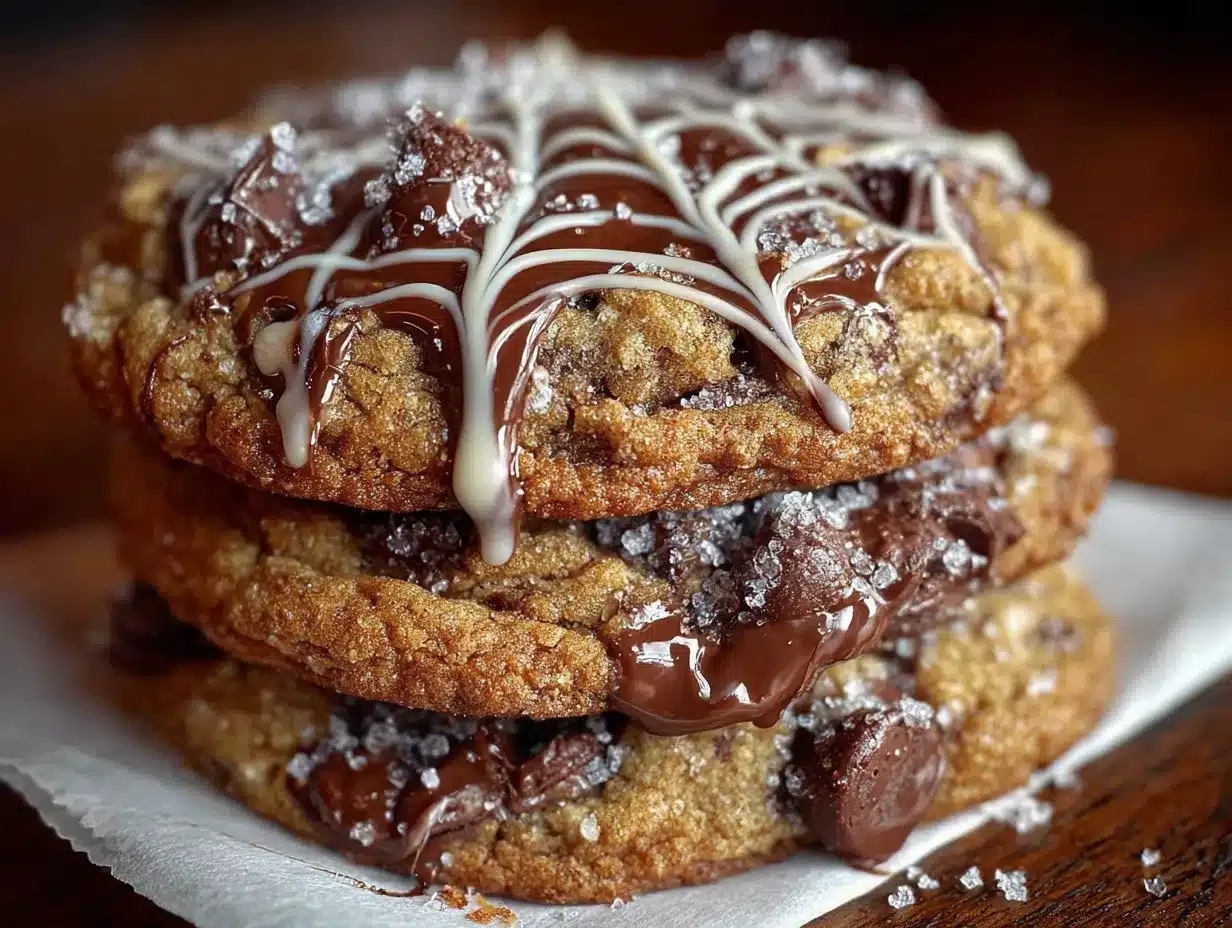
- Reserved ½ cup semi-sweet chocolate chips – These get melted down for the web pattern. No need to buy white chocolate or candy melts—the same chips you’re baking with work perfectly.
- 1 teaspoon coconut oil or vegetable shortening (optional) – Adding this to the melted chocolate makes it slightly thinner and easier to drizzle. Not essential, but it helps if your chocolate is a little thick.
Ingredient Notes & Substitutions
If you’re dairy-free, use plant-based butter sticks (not the spreadable kind in a tub) and dairy-free chocolate chips. I’ve tested this with Earth Balance and Enjoy Life chocolate chips, and the results were solid. For a gluten-free version, swap the all-purpose flour with a 1:1 gluten-free baking flour blend—I like King Arthur’s or Bob’s Red Mill. Just know the cookies might spread a tiny bit more, so chill the dough for 15 minutes before baking.
One thing I’ve learned the hard way: don’t use mini chocolate chips for the spider web design. They melt unevenly and make the drizzling process frustrating. Stick with regular-sized chips for both the dough and the decoration.
Equipment Needed
- Large mixing bowl – Any bowl works, but I prefer a wide one for easy mixing.
- Electric hand mixer or stand mixer – You can mix by hand if your arm needs a workout, but a mixer makes creaming the butter and sugar much faster.
- Baking sheets – Two standard baking sheets work perfectly. If you only have one, let it cool completely between batches.
- Parchment paper or silicone baking mats – Parchment paper is cheaper and works great. Silicone mats are reusable and give slightly more even browning.
- Small microwave-safe bowl – For melting the chocolate chips for the spider webs.
- Toothpicks – The star of the show! Regular wooden toothpicks work best. Don’t use skewers or chopsticks—they’re too thick.
- Cooling rack – Letting cookies cool completely before decorating is crucial. If you don’t have a rack, a clean cutting board works in a pinch.
- Cookie scoop (optional but helpful) – A 1.5-tablespoon scoop gives you evenly sized cookies that bake uniformly. I use mine every time.
I bought a cheap set of toothpicks from the dollar store, and honestly, they work better than the fancy bamboo ones I ordered online. Sometimes basic is better.
Preparation Method
- Preheat your oven to 375°F (190°C). Line two baking sheets with parchment paper or silicone mats. Getting the oven fully preheated is important—if you put cookies in a partially heated oven, they’ll spread too much before they set.
- Cream the butter and sugars together. In your large mixing bowl, beat the softened butter, granulated sugar, and brown sugar together on medium speed for about 2-3 minutes until the mixture looks light and fluffy. You’ll see it change color to a pale tan. Scrape down the sides of the bowl once halfway through. Don’t rush this step—proper creaming incorporates air that helps the cookies rise.
- Add the eggs and vanilla. Crack both eggs into the bowl, add the vanilla extract, and beat on low speed until just combined. Overmixing here can make the cookies tough. If you see little butter lumps, that’s okay—they’ll work themselves out.
- Mix the dry ingredients separately. In a separate bowl, whisk together the flour, baking soda, and salt. This ensures the baking soda is evenly distributed so you don’t get one cookie that’s flat and another that’s puffy.
- Combine wet and dry ingredients. Gradually add the flour mixture to the butter mixture, mixing on low speed. Add it in three batches, mixing just until the flour disappears after each addition. When you think it’s almost done, stop the mixer and finish folding by hand with a spatula. This prevents overmixing.
- Fold in 1 ½ cups of chocolate chips. Reserve the remaining ½ cup for the spider webs. Use your spatula to gently fold the chips into the dough. Make sure they’re evenly distributed—nobody wants a cookie with all the chips in one bite.
- Scoop the dough onto baking sheets. Using your cookie scoop or a tablespoon, drop rounded balls of dough onto the prepared baking sheets, spacing them about 2 inches apart. Each ball should be about 1.5 tablespoons of dough. I fit 8 cookies per standard baking sheet.
- Bake for 8-10 minutes. The cookies should look golden around the edges but still soft and slightly underdone in the center. This is the sweet spot for chewy cookies. If you like crispier cookies, bake for 11-12 minutes. The cookies will continue to set on the hot baking sheet after you take them out.
- Cool on the baking sheet for 5 minutes. This is important—moving them too soon will cause them to fall apart. After 5 minutes, transfer them to a wire cooling rack to cool completely. Don’t skip this step because the spider web design requires completely cooled cookies. Warm cookies will melt the chocolate into a puddle instead of creating clean lines.
- Melt the reserved chocolate chips. Place the remaining ½ cup of chocolate chips in a small microwave-safe bowl. Microwave in 20-second intervals, stirring between each, until the chocolate is smooth and fully melted. This usually takes about 40-60 seconds total. If the chocolate seems too thick for drizzling, stir in 1 teaspoon of coconut oil or vegetable shortening to thin it out.
- Create the spider web design. Here’s the fun part. Dip a toothpick into the melted chocolate and drizzle a small circle in the center of each cookie—about the size of a dime. Then drag the toothpick outward from the center to the edge, creating 4-6 lines that radiate like spokes on a wheel. Finally, drag the toothpick in curved lines between the spokes to create the web effect. Start from the center and work outward. Each cookie takes about 15-20 seconds. Don’t overthink it—imperfect webs look more authentic anyway.
- Let the chocolate set. Allow the cookies to sit at room temperature for about 10-15 minutes until the chocolate hardens. If you’re in a hurry, pop them in the refrigerator for 5 minutes. The chocolate will lose its shine slightly as it sets, which is totally normal.
Cooking Tips & Techniques
The first time I tried making spider web cookies, I made the mistake of decorating them while they were still warm. The melted chocolate just pooled into a brown blob, and I ended up with cookies that looked like they’d been in a mud fight. Let me save you that frustration.
Temperature is everything. Your cookies need to be completely cool before you add the chocolate web. I usually bake the cookies first, let them cool while I clean up, and then do the decorating. This also means I can make the cookies a day ahead and decorate them right before serving, which is perfect for busy Halloween schedules.
Don’t overmelt your chocolate. Chocolate burns easily and becomes grainy when overheated. Always use short microwave bursts and stir between each one. If you see the chocolate starting to look dull or thick, you’ve gone too far—start over with fresh chips. I’ve ruined more chocolate than I’d like to admit this way.
Practice on a piece of parchment first. Before you start decorating your actual cookies, do a few practice webs on parchment paper. This helps you figure out the right chocolate consistency and how much pressure to apply with the toothpick. Plus, you get to eat the practice webs as a snack.
Work in an assembly line. Instead of decorating one cookie at a time, do all the center circles first, then all the spokes, then all the web curves. This keeps your rhythm going and makes the process faster. I can decorate an entire batch of 24 cookies in about 8 minutes this way.
If the chocolate starts to thicken while you’re working, pop it back in the microwave for 5 seconds. It should be fluid enough to drizzle easily but not so thin that it runs off the cookie. You’re looking for a honey-like consistency.
Variations & Adaptations
White Chocolate Spider Webs: For a more dramatic contrast, use white chocolate chips instead of semi-sweet for the web design. The white against the golden cookie is striking. Just be careful with white chocolate—it burns even faster than dark chocolate. Add a teaspoon of coconut oil to help it melt smoothly.
Spooky Color Additions: Stir a few drops of orange or purple food coloring into the cookie dough for a festive twist. Gel food coloring works better than liquid because it doesn’t change the dough’s consistency. I’ve made orange-tinted dough that looked amazing with the dark chocolate webs on top.
Gluten-Free Version: Substitute the all-purpose flour with a 1:1 gluten-free baking blend. I’ve tested this with King Arthur’s Measure for Measure flour, and the texture was surprisingly close to the original. Add an extra tablespoon of milk if the dough seems too dry.
Vegan Adaptation: Use plant-based butter sticks and a flax egg (1 tablespoon ground flaxseed mixed with 3 tablespoons water, left to sit for 5 minutes). Choose dairy-free chocolate chips for both the dough and the decoration. The cookies will be slightly less chewy but still delicious.
Extra Chocolatey Version: Replace ¼ cup of the all-purpose flour with ¼ cup of unsweetened cocoa powder. This gives you chocolate cookies with chocolate spider webs—a double chocolate situation that chocolate lovers go crazy for. Reduce the baking time by 1 minute since cocoa cookies tend to dry out faster.
I once made a batch with crushed candy cane pieces sprinkled on top of the spider webs for a Christmas twist. They looked ridiculous in October, but my neighbor loved them so much she asked for the recipe. Sometimes breaking the rules works out.
Serving & Storage Suggestions
These spider web chocolate chip cookies are best served at room temperature. The chocolate web should be fully set and slightly firm to the touch—not sticky or soft. If you’re serving them at a party, arrange them on a platter with the spider webs facing up so everyone can see the design. They make a great centerpiece for a Halloween dessert table.
For a fun presentation, stack them in a clear jar tied with orange ribbon, or place them on a black plate for maximum contrast. Kids love finding the spider web pattern, and adults appreciate the effort even though it took almost none.
Storage: Store these cookies in an airtight container at room temperature for up to 5 days. Layer them with parchment paper between each layer to prevent the chocolate webs from sticking together. Don’t refrigerate them—the cold will make the cookies dry out and the chocolate may develop white streaks (bloom) from temperature changes.
Freezing: You can freeze the undecorated cookies for up to 3 months. Bake and cool them completely, then place them in a freezer-safe bag with the air pressed out. When you’re ready to serve, thaw them at room temperature for about 30 minutes, then add the spider web design. This is my go-to strategy for Halloween—I bake the cookies weeks ahead and decorate them the morning of the party.
Reheating: If you like warm cookies (who doesn’t?), pop one in the microwave for 8-10 seconds. The chocolate web will soften slightly but still hold its shape. Just don’t overheat or the chocolate will melt into a puddle again.
The flavors actually develop overnight—the cookies become slightly softer and the chocolate flavor deepens. I’ve found that day-old cookies taste even better than fresh ones, if you can believe that.
Nutritional Information & Benefits
Per cookie (based on 24 cookies): Approximately 185 calories, 10g fat, 24g carbohydrates, 2g protein, 14g sugar. These are estimates and will vary based on exact ingredients and portion sizes.
While these are definitely a treat (let’s not pretend otherwise), there are a few redeeming qualities. Dark chocolate contains antioxidants called flavonoids that support heart health. The butter provides vitamin A, and eggs contribute protein and B vitamins. The brown sugar adds a small amount of molasses, which contains trace minerals like calcium and potassium.
For those with dietary concerns: this recipe contains dairy, eggs, gluten, and soy (in most chocolate chips). For allergen-friendly versions, see the variations section above. If you’re watching your sugar intake, you can reduce the granulated sugar to ½ cup and the brown sugar to ½ cup—the cookies will be less sweet but still work structurally.
I’m not a nutritionist, and I don’t pretend these are health food. But I do believe that having a quick, easy treat to make for family and friends has emotional benefits that outweigh the sugar content. Sometimes a homemade cookie is exactly what a stressful weeknight needs.
Conclusion
These quick spider web chocolate chip cookies prove that you don’t need hours of decorating time or special equipment to create something that looks impressive. The toothpick technique is honestly one of the simplest kitchen tricks I’ve ever discovered, and it never fails to get compliments. Every time I bring these to a Halloween gathering, someone asks if I took a decorating class or if I used a special stencil. Nope—just a toothpick and some melted chocolate chips.
What I love most about this recipe is that it respects your time. You’re busy. You have a million things to do. The last thing you need is a complicated recipe that makes you feel stressed instead of satisfied. These cookies come together fast, look fantastic, and taste like the classic chocolate chip cookies you grew up loving. They’re the perfect solution for those last-minute Halloween moments when you want to contribute something homemade without losing your evening.
I’d love to hear how yours turn out. Did you try a fun variation? Did your kids help with the decorating? Drop a comment below and share your spider web creations. And if you’re looking for more quick weeknight treats, check out my easy pumpkin bread recipe that uses the same no-fuss approach. Happy Halloween, and happy baking!
Frequently Asked Questions
Can I make the dough ahead of time?
Absolutely. You can prepare the cookie dough up to 3 days in advance and keep it covered in the refrigerator. Let it sit at room temperature for about 10 minutes before scooping and baking—cold dough spreads less, so your cookies will be thicker. You can also freeze the dough balls on a baking sheet, then transfer them to a freezer bag for up to 3 months. Bake from frozen, adding 1-2 minutes to the baking time.
Why did my chocolate seize up when I melted it?
Chocolate seizes when it comes into contact with even a tiny amount of water. Make sure your bowl and utensils are completely dry before you start melting. Also, avoid overheating—chocolate burns easily. If your chocolate does seize, you can sometimes rescue it by stirring in a tablespoon of coconut oil or heavy cream (if you’re not dairy-free). If that doesn’t work, start fresh with new chips.
Can I use milk chocolate chips instead of semi-sweet?
Yes, but the spider web design will be less visible against the golden cookie because milk chocolate is lighter in color. Semi-sweet or dark chocolate creates better contrast. If you only have milk chocolate, consider adding a drop of black food coloring to darken it slightly, or use white chocolate for the webs instead for a more dramatic look.
How do I keep the spider webs from smearing?
Let the chocolate set completely before stacking or storing the cookies. At room temperature, this takes about 15-20 minutes. If you’re in a hurry, pop them in the refrigerator for 5 minutes. Once set, layer the cookies with parchment paper between each layer if stacking them in a container. Avoid touching the chocolate design directly.
Can I use this spider web technique on other cookies?
Definitely! This technique works on any flat, sturdy cookie. Try it on sugar cookies, shortbread, or peanut butter cookies. Just make sure the cookie surface is flat enough for the chocolate to sit on without running off. I’ve used this method on my classic sugar cookies with great results—the white chocolate webs look especially beautiful on pink or blue tinted sugar cookies.
Pin This Recipe!
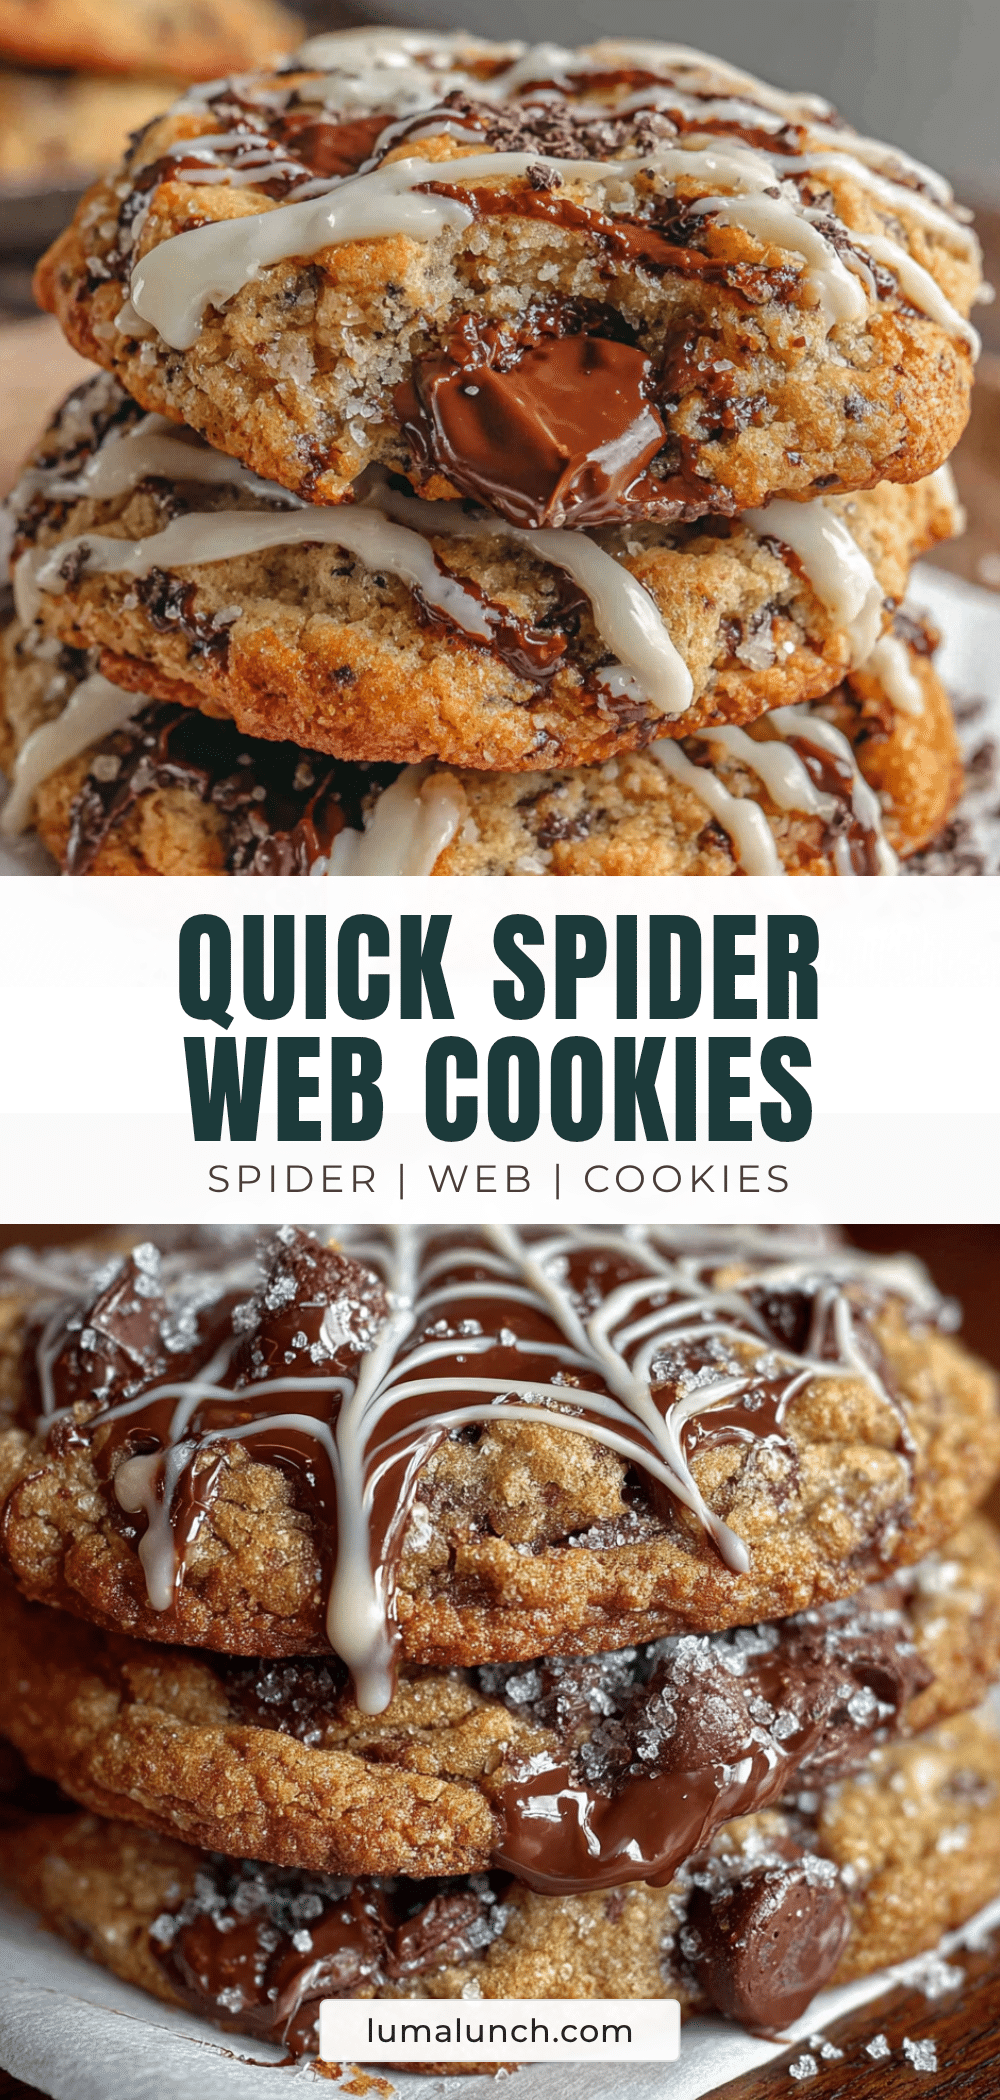
Best Easy Spider Web Chocolate Chip Cookies Recipe

These quick spider web chocolate chip cookies look like they took serious effort, but the spider web pattern comes together in about thirty seconds per cookie using a toothpick and melted chocolate chips. Soft in the middle with slightly crisp edges, they’re perfect for Halloween weeknights and last-minute treats.
- Prep Time: 15 minutes
- Cook Time: 10 minutes
- Total Time: 25 minutes
- Yield: 24 cookies 1x
- Category: Dessert
- Cuisine: American
Ingredients
- 1 cup (2 sticks) unsalted butter, softened
- ¾ cup granulated sugar
- ¾ cup packed light brown sugar
- 2 large eggs, room temperature
- 1 teaspoon vanilla extract
- 2 ¼ cups all-purpose flour
- 1 teaspoon baking soda
- ½ teaspoon salt
- 2 cups semi-sweet chocolate chips, divided (1 ½ cups for dough, ½ cup for spider web design)
- 1 teaspoon coconut oil or vegetable shortening (optional, for thinning melted chocolate)
Instructions
- Preheat your oven to 375°F (190°C). Line two baking sheets with parchment paper or silicone mats.
- Cream the butter and sugars together: In a large mixing bowl, beat the softened butter, granulated sugar, and brown sugar together on medium speed for about 2-3 minutes until light and fluffy. Scrape down the sides once halfway through.
- Add the eggs and vanilla: Crack both eggs into the bowl, add the vanilla extract, and beat on low speed until just combined.
- Mix the dry ingredients separately: In a separate bowl, whisk together the flour, baking soda, and salt.
- Combine wet and dry ingredients: Gradually add the flour mixture to the butter mixture, mixing on low speed in three batches, mixing just until the flour disappears after each addition. Finish folding by hand with a spatula.
- Fold in 1 ½ cups of chocolate chips: Reserve the remaining ½ cup for the spider webs. Gently fold the chips into the dough until evenly distributed.
- Scoop the dough onto baking sheets: Using a cookie scoop or tablespoon, drop rounded balls of dough (about 1.5 tablespoons each) onto the prepared baking sheets, spacing them about 2 inches apart.
- Bake for 8-10 minutes: The cookies should look golden around the edges but still soft and slightly underdone in the center. For crispier cookies, bake for 11-12 minutes.
- Cool on the baking sheet for 5 minutes, then transfer to a wire cooling rack to cool completely.
- Melt the reserved chocolate chips: Place the remaining ½ cup of chocolate chips in a small microwave-safe bowl. Microwave in 20-second intervals, stirring between each, until smooth and fully melted (about 40-60 seconds total). If too thick, stir in 1 teaspoon of coconut oil or vegetable shortening.
- Create the spider web design: Dip a toothpick into the melted chocolate and drizzle a small circle in the center of each cookie (about the size of a dime). Then drag the toothpick outward from the center to the edge, creating 4-6 radiating lines. Finally, drag the toothpick in curved lines between the spokes to create the web effect, starting from the center and working outward.
- Let the chocolate set: Allow the cookies to sit at room temperature for about 10-15 minutes until the chocolate hardens. If in a hurry, refrigerate for 5 minutes.
Notes
Temperature is everything: cookies must be completely cool before adding the chocolate web. Don’t overmelt chocolate; use short microwave bursts. Practice on parchment first. Work in an assembly line for efficiency. If chocolate thickens, microwave for 5 seconds. Store in an airtight container at room temperature for up to 5 days. Freeze undecorated cookies for up to 3 months.
Nutrition
- Serving Size: 1 cookie
- Calories: 185
- Sugar: 14
- Sodium: 120
- Fat: 10
- Saturated Fat: 6
- Carbohydrates: 24
- Fiber: 1
- Protein: 2
Keywords: spider web cookies, chocolate chip cookies, Halloween cookies, easy Halloween treats, quick cookies, toothpick design, festive cookies