Love this? Save it for later!
Share the inspiration with your friends
I was standing in line at the hardware store, of all places, holding a bag of lightbulbs I’d probably forget to install, when the woman behind me started talking about pizza. She was maybe seventy, holding a single key and looking like she had better places to be. “You know what my grandkids love?” she said, not really asking. “Making faces out of pizza. Scary ones.” She told me how they use olives for eyes and pepperoni for crooked smiles, and how the kids spend more time arranging the toppings than actually eating them. I stood there, lightbulbs in hand, completely captivated by the idea of mini Halloween pizza faces.
Honestly, I almost forgot to pay. I drove home thinking about how simple it was—no fancy templates, no special tools, just a bit of dough and some creative chaos. I tried it that same weekend, and let me tell you, the kitchen looked like a tornado hit it. There was flour on the dog, cheese on the ceiling (don’t ask), and my youngest had made a pizza face that looked suspiciously like our mailman. But the laughter? That was worth every bit of the mess.
These mini Halloween pizza faces are the kind of recipe that sticks with you because they’re not really about the food. They’re about the moment when a kid places an olive just right and yells, “Look, he’s winking at me!” Maybe you’ve been there—trying to find something fun for a Halloween party that doesn’t involve a bag of candy and a sugar crash. This is it. It’s messy, it’s silly, and it’s the best kind of chaos you can have in a kitchen.
Why You’ll Love This Recipe
I’ve tested this recipe about a dozen times now, tweaking the dough thickness and the cheese-to-sauce ratio until it hit that sweet spot between sturdy enough for little hands and delicious enough for adults to sneak a few. As a recipe developer, I learned that the best kid-friendly recipes are the ones where the mess is part of the fun, not a problem to solve. These mini pizzas deliver on every front.
- Quick & Easy: From start to finish, these come together in under 30 minutes. Perfect for a last-minute Halloween activity or a weeknight dinner that feels like a party.
- Simple Ingredients: You probably have most of these in your fridge already. No fancy grocery trips needed—just basic pizza stuff and a few fun toppings.
- Perfect for Halloween Parties: Whether it’s a classroom celebration, a playdate, or a spooky family dinner, these little faces steal the show every time.
- Crowd-Pleaser: Kids love making them, and adults love eating them. I’ve seen picky eaters devour these because they built them themselves.
- Unbelievably Delicious: The combination of crispy edges, melty cheese, and savory toppings is pure comfort food magic. It’s not just cute—it’s genuinely good pizza.
What makes this recipe different from the rest is the technique. Instead of using pre-made crusts that get soggy, we’re using a simple homemade dough that holds its shape perfectly. The seasoning is balanced so the toppings shine without overwhelming the pizza. This isn’t just another version of kid-friendly pizza—it’s the version that makes you close your eyes after the first bite. It’s comfort food reimagined for a spooky occasion, but with the same soul-soothing satisfaction you expect from a great slice.
What Ingredients You Will Need
This recipe uses simple, wholesome ingredients to deliver bold flavor and satisfying texture without the fuss. Most of these are pantry staples, so you can whip these up on a whim.
For the Pizza Dough
- 2 cups all-purpose flour (plus extra for dusting)
- 1 packet (2 ¼ teaspoons) active dry yeast
- ¾ cup warm water (around 110°F)
- 1 tablespoon olive oil
- 1 teaspoon sugar
- ½ teaspoon salt
For the Sauce
- ½ cup canned crushed tomatoes (I recommend San Marzano for best flavor)
- 1 clove garlic, minced
- 1 teaspoon dried oregano
- ½ teaspoon salt
- 1 tablespoon olive oil
For the Toppings (The Fun Part)
- 1 cup shredded mozzarella cheese
- ¼ cup black olives, sliced (for eyes and mouths)
- ¼ cup pepperoni slices (for noses and crazy eyebrows)
- ¼ cup bell peppers, cut into small triangles or strips (for ears or horns)
- ¼ cup cherry tomatoes, halved (for bloody cheeks or scary spots)
- Optional: sliced mushrooms, corn kernels, or any other veggie your kids love
For the dough, I’ve found that using bread flour instead of all-purpose gives a chewier texture, but all-purpose works just fine. If you’re in a rush, you can use pre-made pizza dough from the store—just look for one that’s not too thin. The key is sturdy enough dough to hold the face without collapsing.
When it comes to cheese, low-moisture mozzarella is your best bet. It melts beautifully without making the pizza soggy. If you want a sharper flavor, mix in a bit of cheddar. For a dairy-free option, use vegan mozzarella shreds—they melt surprisingly well.
Equipment Needed
You don’t need a fancy kitchen to make these mini Halloween pizza faces. Here’s what you’ll need:
- Baking sheet: A standard 13×18 inch sheet works great. Line it with parchment paper for easy cleanup.
- Rolling pin: For rolling out the dough evenly. A wine bottle works in a pinch—I’ve done it.
- Round cookie cutter: About 3-4 inches in diameter. A drinking glass with a thin rim works just as well.
- Small bowl: For mixing the sauce.
- Chef’s knife: For slicing olives and veggies. Let the kids use butter knives for safety.
- Pastry brush: For brushing olive oil on the crust edges.
- Cooling rack: Optional, but helps the pizzas stay crispy if you’re making a batch.
I’ve made these with just a baking sheet and a glass before, and they turned out great. Don’t overthink the equipment—use what you have. If you’re making these with a group of kids, having multiple cookie cutters speeds things up.
Preparation Method
Let’s get into the fun part. I’ve broken this down into clear steps so even the youngest helpers can follow along.
Step 1: Make the Dough
In a small bowl, combine the warm water, sugar, and yeast. Let it sit for 5 minutes until it gets foamy—this means the yeast is alive and ready. In a large bowl, mix the flour and salt. Pour in the yeast mixture and olive oil. Stir until a shaggy dough forms. Turn it out onto a floured surface and knead for about 5 minutes until smooth and elastic. The dough should feel soft and slightly tacky, not sticky. If it’s too sticky, add a tablespoon of flour at a time. Place it in a greased bowl, cover with a kitchen towel, and let it rise for 15 minutes. Yes, only 15 minutes—this is a quick dough.
Step 2: Preheat and Prep
Preheat your oven to 425°F (220°C). While it’s heating, line your baking sheet with parchment paper. This makes cleanup a breeze and prevents sticking.
Step 3: Make the Sauce
In a small bowl, mix the crushed tomatoes, minced garlic, oregano, salt, and olive oil. Taste it and adjust the seasoning—maybe a pinch of black pepper if you like. Set it aside. This sauce is simple but flavorful, letting the toppings do the talking.
Step 4: Roll and Cut the Dough
Divide the dough into 8 equal pieces. On a floured surface, roll each piece into a circle about ¼ inch thick. Use your cookie cutter or glass to cut out rounds. Gather the scraps, re-roll, and cut more until you have 8-10 mini pizza bases. Place them on the prepared baking sheet, spacing them about an inch apart.
Step 5: Assemble the Faces
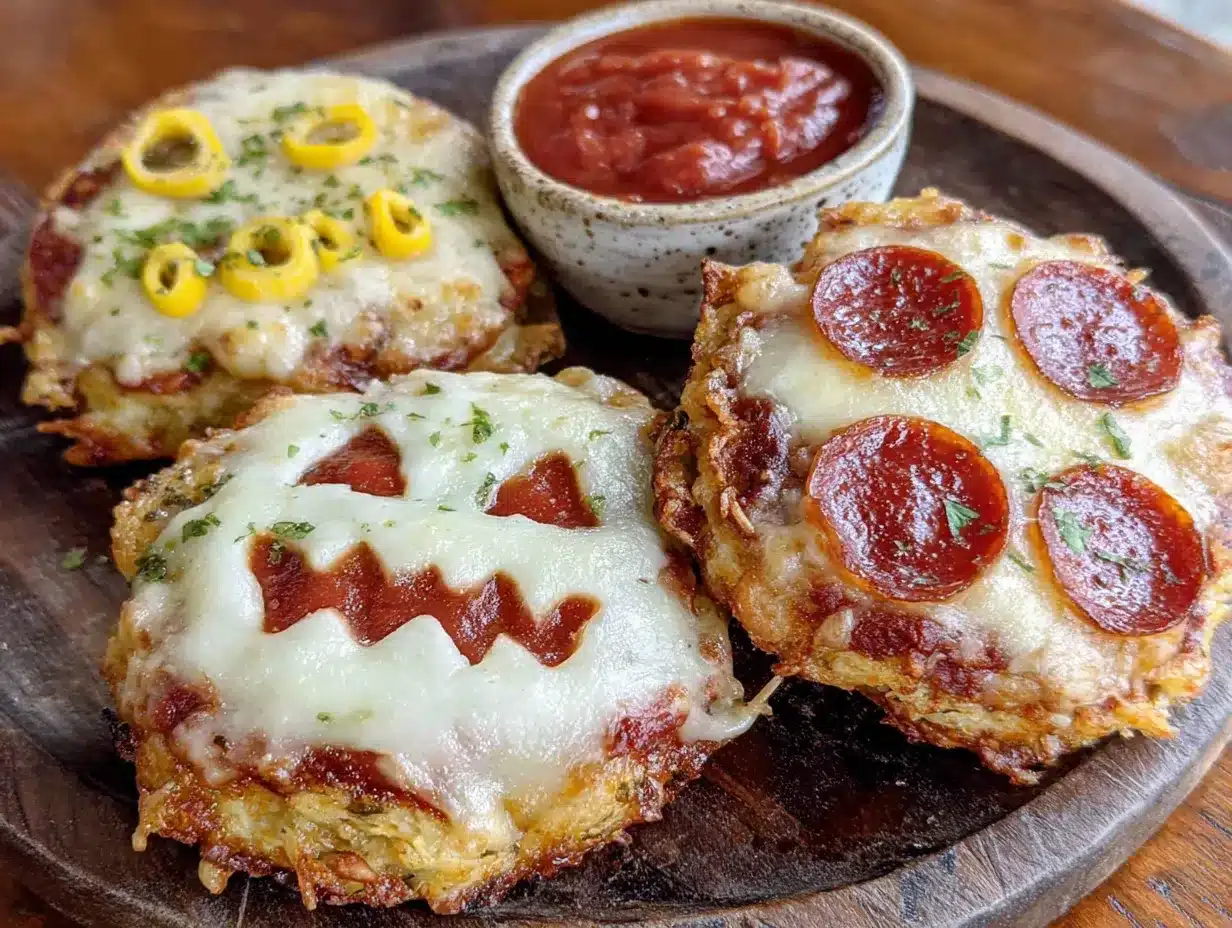
Spread a thin layer of sauce on each pizza base, leaving a small border for the crust. Sprinkle a generous amount of mozzarella cheese over the sauce. Now comes the creative part. Use the toppings to build faces:
- Eyes: Place two olive slices for classic monster eyes. For a crazier look, use half a cherry tomato for bulging eyes.
- Mouth: Arrange pepperoni slices in a zigzag for a jagged smile. Or use bell pepper strips for a creepy frown.
- Nose: A small triangle of bell pepper or a single olive slice works perfectly.
- Horns or Hair: Use strips of bell pepper or mushroom slices for horns. For hair, scatter corn kernels around the top.
- Scars or Warts: Dot the face with small pieces of olive or tomato for a truly spooky look.
Let the kids go wild. I’ve seen pizza faces with three eyes, no mouth, and what looked like a unibrow made of pepperoni. Embrace the chaos—it’s part of the fun.
Step 6: Bake to Perfection
Bake the pizzas for 10-12 minutes, until the cheese is bubbly and the edges are golden brown. The kitchen will smell amazing at this point. Let them cool on the baking sheet for 2 minutes before transferring to a cooling rack. This helps the cheese set so the faces don’t slide off.
Step 7: Serve and Enjoy
Serve the mini pizza faces warm. Watch the kids’ faces light up as they see their creations come out of the oven. I like to arrange them on a platter with the “scariest” face in the middle for a fun centerpiece.
Cooking Tips & Techniques
Over the years, I’ve learned a few tricks that make these mini pizzas even better. Here’s what I wish someone had told me the first time.
Don’t overwork the dough. I made that mistake early on—kneading it until it was tough and chewy. You want it soft and pliable. Five minutes of gentle kneading is plenty. If the dough springs back when you roll it, let it rest for another 5 minutes.
Watch the sauce amount. Too much sauce makes the pizzas soggy, especially with the small bases. A thin layer is all you need. Think of it as a flavor base, not a soup.
Pre-bake the bases for extra crispiness. If you want a crunchier crust, bake the plain dough rounds for 3 minutes before adding sauce and toppings. This is a game-changer if you’re using pre-made dough that tends to be soft.
Let the kids handle the messy parts. I know it’s tempting to take over when the sauce gets everywhere, but letting them spread the sauce with the back of a spoon builds confidence. Yes, there will be sauce on the counter. Yes, it’s worth it.
Use room temperature cheese. Cold cheese doesn’t melt evenly. Take the mozzarella out of the fridge 15 minutes before you start. It makes a noticeable difference in the final texture.
Multitask like a pro. While the dough is rising, prep all your toppings. Slice the olives, cut the peppers, arrange everything in little bowls. This makes the assembly step go smoothly, especially with impatient little hands waiting.
Variations & Adaptations
One of the best things about this recipe is how flexible it is. Here are some variations I’ve tried and loved.
Gluten-Free Version
Use a gluten-free pizza dough mix or a cauliflower crust. The texture will be slightly different, but the faces still hold up. Just watch the baking time—gluten-free crusts often need a few extra minutes.
Vegan Option
Swap the mozzarella for vegan cheese shreds and use a plant-based pepperoni. The sauce is already vegan. I’ve used cashew-based cheese before, and it melted beautifully. Just avoid the ones with too much coconut oil—they can get greasy.
Spooky Sweet Version
For a dessert twist, use a sweet pizza dough (add an extra tablespoon of sugar to the dough) and top with Nutella, sliced bananas, and strawberry “blood” drizzle. The kids go crazy for these. I made them for a Halloween party last year, and they disappeared in minutes.
Mini Calzone Faces
Instead of open-faced pizzas, fold the dough over the filling to create calzones. Cut small slits for eyes and a mouth before baking—the cheese will peek through like a ghost. This is great for older kids who want a bigger challenge.
Breakfast Pizza Faces
Use the same dough but top with scrambled eggs, bacon bits, and cheddar cheese. Make the faces with bacon strips for hair and olive eyes. It’s a fun Halloween morning treat that’s surprisingly filling.
Serving & Storage Suggestions
These mini pizza faces are best served warm, right out of the oven. The cheese is perfectly melty, and the crust has that satisfying crunch. Arrange them on a large platter with a bowl of extra sauce for dipping. I like to add a few “spooky” elements to the table—fake spiders or a pumpkin centerpiece—to keep the Halloween vibe going.
For drinks, serve them with apple cider, sparkling water with a splash of cranberry juice (looks like blood!), or a simple glass of milk. If you’re hosting a party, set up a “pizza face bar” with all the toppings in separate bowls and let guests build their own. It’s interactive and keeps everyone entertained.
Leftovers? Store them in an airtight container in the refrigerator for up to 3 days. The crust will soften slightly, but they’re still delicious. To reheat, pop them in a 350°F oven for 5 minutes or in an air fryer at 350°F for 3 minutes. Avoid the microwave—it makes the crust chewy and the toppings soggy.
I’ve also frozen these successfully. Place the baked and cooled pizzas on a baking sheet in the freezer for an hour, then transfer them to a freezer bag. They’ll keep for up to 2 months. Reheat directly from frozen in a 375°F oven for 8-10 minutes. Perfect for a quick Halloween snack anytime.
The flavors actually develop a bit overnight—the sauce melds with the cheese, and the herbs become more pronounced. I’ve been known to make a double batch just for the leftovers.
Nutritional Information & Benefits
Each mini pizza face (based on 8 servings) contains approximately:
- Calories: 180
- Protein: 8g
- Carbohydrates: 22g
- Fat: 7g
- Fiber: 2g
- Sodium: 320mg
These little pizzas are surprisingly balanced. The mozzarella provides calcium and protein, while the tomato sauce is rich in lycopene, an antioxidant linked to heart health. The veggies add fiber and vitamins—even if they’re arranged as scary eyebrows. By making them at home, you control the sodium and fat content, which is a win over store-bought frozen pizzas.
For a lower-carb option, use a cauliflower crust and load up on veggie toppings. For extra protein, add turkey pepperoni or a sprinkle of nutritional yeast. These are also easily adaptable for gluten-free or dairy-free diets, making them inclusive for Halloween gatherings.
I love that this recipe lets kids eat something fun without a ton of processed ingredients. It’s a small win for parents who want to keep the Halloween spirit alive without the sugar overload.
Conclusion
These mini Halloween pizza faces are more than just a recipe—they’re a memory in the making. I think back to that hardware store conversation every time I make them, and I smile. The woman with the key had no idea she was passing along a tradition that would fill my kitchen with laughter and flour.
I hope you give these a try, whether it’s for a Halloween party, a rainy afternoon activity, or just a Tuesday night that needs a little spooky magic. Customize them however you like—add extra toppings, make them silly instead of scary, or let the kids take the lead. That’s the beauty of this recipe: there’s no wrong way to make a pizza face.
I’d love to hear how yours turn out. Drop a comment below with your favorite pizza face creation, or tag me in your photos on social media. Did your kids make a three-eyed monster? A pizza ghost? A pepperoni vampire? Share it all—I genuinely want to see. And if you try a variation I haven’t thought of, let me know. This recipe is always evolving, and you might just inspire the next version.
Happy Halloween, and happy pizza-making. May your faces be spooky and your cheese be stretchy.
Frequently Asked Questions
Can I use pre-made pizza dough for this recipe?
Absolutely. Store-bought pizza dough works great and saves time. Look for a brand that’s not too thin—some refrigerated doughs are meant for thin crust and might not hold the toppings well. Let the dough come to room temperature before rolling for easier handling.
How do I prevent the pizza faces from getting soggy?
The key is a light hand with the sauce. Use just a thin layer, and make sure your cheese is low-moisture. Pre-baking the dough rounds for 3 minutes before adding toppings also helps create a barrier that keeps the crust crispy.
Can I make these ahead of time for a party?
Yes! You can prepare the dough and toppings up to a day in advance. Store the dough in the refrigerator wrapped in plastic wrap, and keep the toppings in separate containers. Assemble and bake just before serving for the best texture. Or bake them fully and reheat in the oven at 350°F for 5 minutes.
What if my kids have food allergies?
This recipe is easy to adapt. Use gluten-free flour or a pre-made gluten-free crust for celiac concerns. For dairy allergies, use vegan cheese shreds or skip the cheese entirely and load up on veggie toppings. Nut-free options are easy since this recipe doesn’t call for nuts.
How do I get the pizza faces to look more detailed?
Use small kitchen scissors to cut pepperoni into shapes like triangles for teeth or strips for hair. Pitted black olives can be sliced into thin rounds for eyes or cut into half-moons for mouths. For really intricate designs, use a paring knife to carve shapes out of bell pepper slices. Practice makes perfect—and imperfect faces are just as fun.
Pin This Recipe!
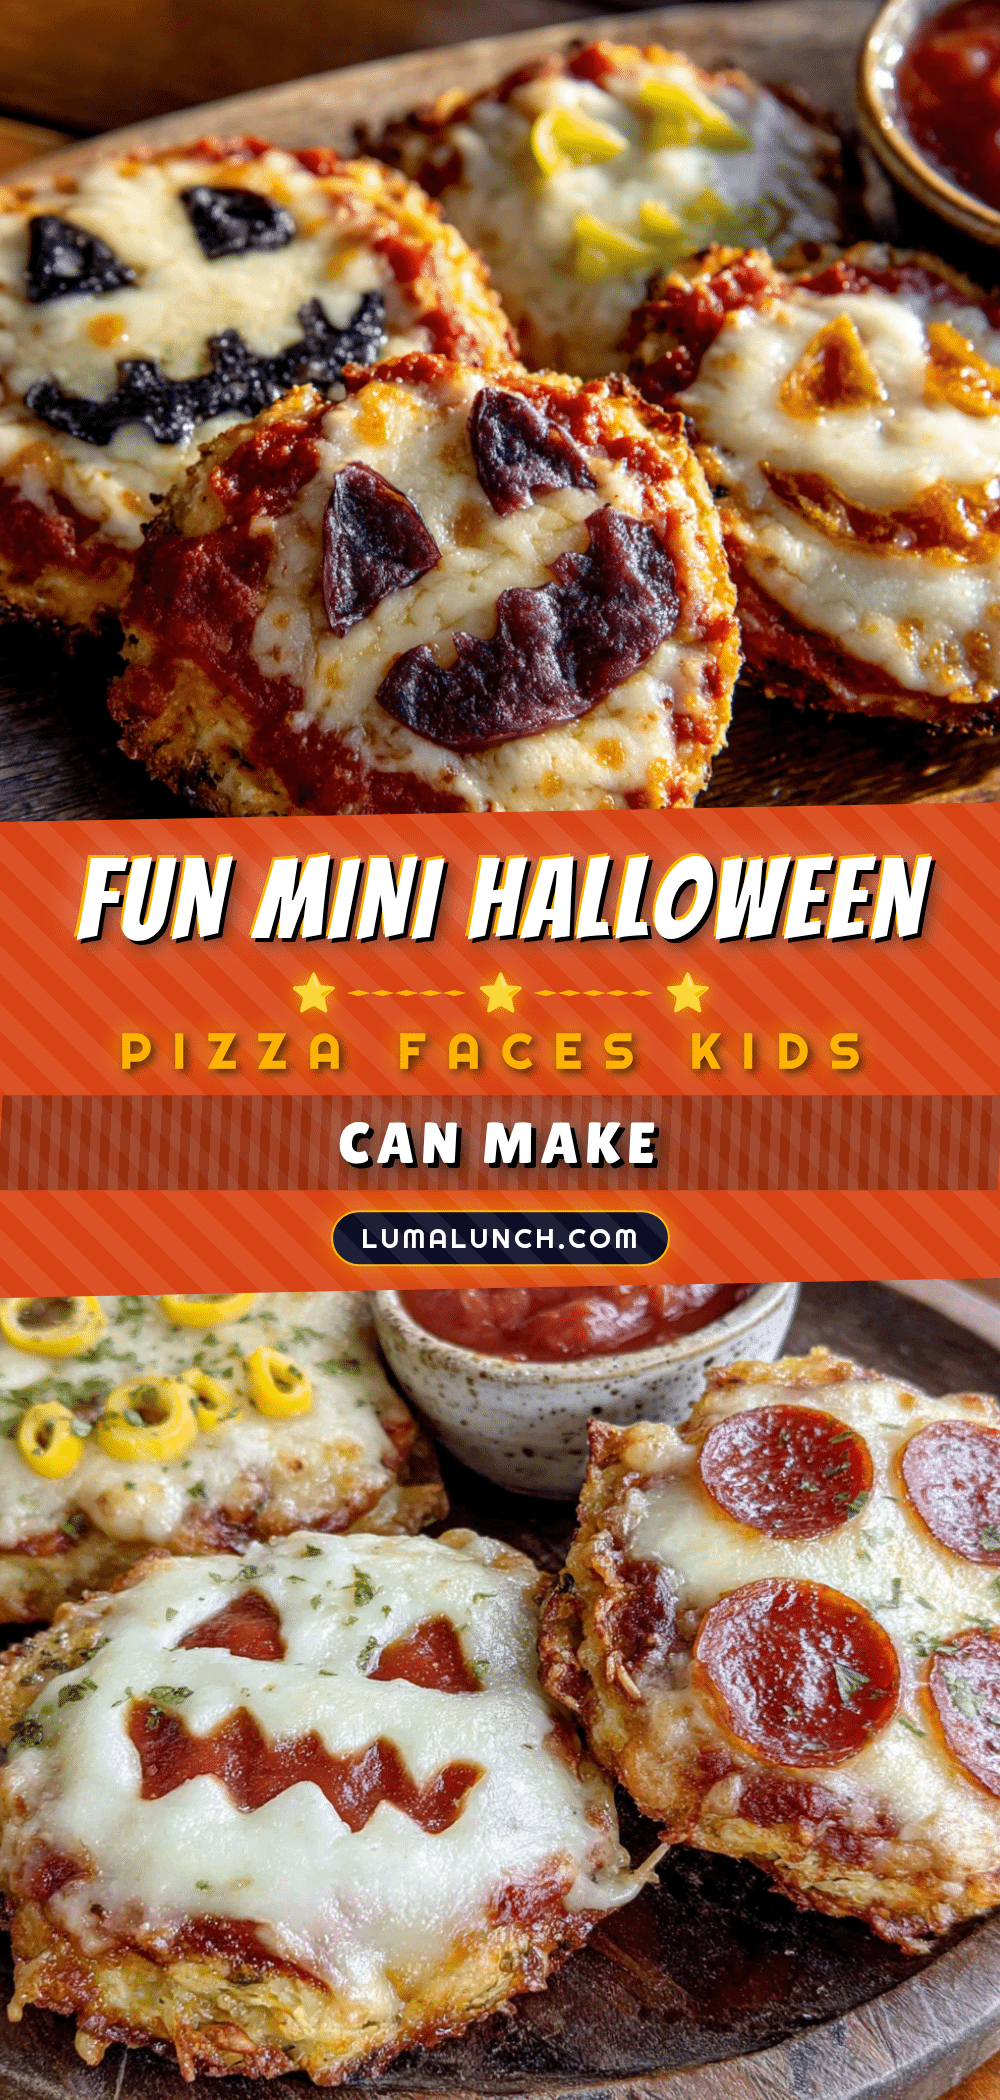
Best Easy Mini Halloween Pizza Faces Kids Can Make
These mini Halloween pizza faces are a fun, kid-friendly recipe that lets children create spooky faces using pizza dough, sauce, cheese, and toppings like olives and pepperoni. Perfect for Halloween parties or a creative weeknight dinner, they come together in under 30 minutes and are sure to bring laughter and deliciousness to your table.
- Prep Time: 15 minutes
- Cook Time: 12 minutes
- Total Time: 27 minutes
- Yield: 8 servings 1x
- Category: Main Course
- Cuisine: American
Ingredients
- 2 cups all-purpose flour (plus extra for dusting)
- 1 packet (2 ¼ teaspoons) active dry yeast
- ¾ cup warm water (around 110°F)
- 1 tablespoon olive oil
- 1 teaspoon sugar
- ½ teaspoon salt
- ½ cup canned crushed tomatoes (San Marzano recommended)
- 1 clove garlic, minced
- 1 teaspoon dried oregano
- ½ teaspoon salt
- 1 tablespoon olive oil
- 1 cup shredded mozzarella cheese
- ¼ cup black olives, sliced
- ¼ cup pepperoni slices
- ¼ cup bell peppers, cut into small triangles or strips
- ¼ cup cherry tomatoes, halved
- Optional: sliced mushrooms, corn kernels, or other veggies
Instructions
- In a small bowl, combine warm water, sugar, and yeast. Let sit for 5 minutes until foamy.
- In a large bowl, mix flour and salt. Pour in yeast mixture and olive oil. Stir until a shaggy dough forms.
- Turn dough onto a floured surface and knead for about 5 minutes until smooth and elastic. Place in a greased bowl, cover, and let rise for 15 minutes.
- Preheat oven to 425°F (220°C). Line a baking sheet with parchment paper.
- In a small bowl, mix crushed tomatoes, minced garlic, oregano, salt, and olive oil to make the sauce. Set aside.
- Divide dough into 8 equal pieces. On a floured surface, roll each piece into a circle about ¼ inch thick. Use a round cookie cutter or glass to cut out rounds. Gather scraps, re-roll, and cut more until you have 8-10 mini pizza bases.
- Place bases on prepared baking sheet, spacing about an inch apart.
- Spread a thin layer of sauce on each base, leaving a small border for the crust. Sprinkle mozzarella cheese over the sauce.
- Use toppings to build faces: olive slices for eyes, pepperoni for mouths, bell pepper for noses or horns, cherry tomatoes for cheeks or spots. Let kids get creative.
- Bake for 10-12 minutes until cheese is bubbly and edges are golden brown.
- Let cool on baking sheet for 2 minutes, then transfer to a cooling rack.
- Serve warm and enjoy!
Notes
For extra crispy crust, pre-bake dough rounds for 3 minutes before adding toppings. Use low-moisture mozzarella to avoid sogginess. Let kids handle spreading sauce and arranging toppings for maximum fun. Store leftovers in an airtight container in the refrigerator for up to 3 days; reheat in a 350°F oven for 5 minutes or air fryer at 350°F for 3 minutes.
Nutrition
- Serving Size: 1 mini pizza face
- Calories: 180
- Sugar: 3
- Sodium: 320
- Fat: 7
- Saturated Fat: 3
- Carbohydrates: 22
- Fiber: 2
- Protein: 8
Keywords: Halloween pizza, mini pizza, kid-friendly, Halloween recipe, pizza faces, easy pizza, spooky pizza


