Love this? Save it for later!
Share the inspiration with your friends
My youngest had refused pumpkin seeds for years. “They taste like cardboard,” she’d announce every October, wrinkling her nose as I scooped the slippery guts from our jack-o’-lanterns. Three Halloweens. That’s how long she held her position. Then last November, I was making a small batch just for myself—tossing them with salt and a whisper of cayenne—when I turned around from the sink to find her standing at the counter. She had already grabbed a handful and was chewing thoughtfully. “These are actually good,” she said, like she was admitting something embarrassing. I didn’t say a word. I just slid the baking sheet her way and watched her prove herself wrong, one crunchy seed at a time. Maybe you’ve been there with a food your kid swore they hated.
That moment stuck with me. Not because I was right (though, honestly, it felt good), but because it reminded me that sometimes the version of a food we think we hate just hasn’t met the right recipe yet. These crispy spiced pumpkin seeds are that recipe. They’re salty, a little smoky, and so crunchy you can hear them crackle across the kitchen. I make them every time we carve pumpkins now, and I always double the batch. The first batch disappears before I can even get them into a storage container.
Let me tell you—if you’ve been tossing your pumpkin seeds in the trash or just boiling them into oblivion, you’re missing out. This method is simple, uses stuff you already have in your pantry, and turns a humble byproduct into the kind of snack that makes everyone hover around the kitchen island. I learned the hard way that not all pumpkin seeds are created equal. The first time I tried roasting them straight from the pumpkin, they came out soggy and sad. But this method? It’s a game changer. Here’s how to make the best crispy spiced pumpkin seeds you’ve ever had—and yes, even the pickiest eaters will come around.
Why You’ll Love This Recipe
I’ve tested this recipe more times than I care to admit. I’ve burned batches, undercooked batches, and made batches so salty they were practically inedible. Through all those trials, I’ve landed on a method that works every single time. Here’s why this version stands out:
- Kid-Approved and Budget-Friendly: These seeds cost pennies to make compared to store-bought snacks. My kids now ask for them instead of chips, which feels like a parenting win I’ll take.
- Quick & Easy: From pumpkin to snack in under 45 minutes. Most of that time is hands-off baking, so you can clean up the pumpkin carving mess while they crisp up.
- Simple Ingredients: You probably have everything in your pantry right now—salt, oil, a few spices. No fancy trips to specialty stores required.
- Perfect for Fall Gatherings: These make an excellent snack for Halloween parties, Thanksgiving appetizers, or just a cozy afternoon at home.
- Crowd-Pleaser: I’ve brought these to potlucks and watched grown adults fight over the last handful. They disappear fast.
- Unbelievably Crunchy: The secret is in the boil—yes, you read that right. Boiling the seeds before roasting changes everything. It makes them crisp all the way through instead of just on the outside.
What makes this recipe different from the rest? It’s the boiling step. Most recipes skip it, but I learned from a chef friend that boiling the seeds in salted water helps the seasoning penetrate the shell and ensures that every single seed comes out perfectly crunchy. No chewy centers, no burnt edges. Just pure, addictive crunch.
Honestly, this recipe is the kind that makes you close your eyes after the first bite. It’s comfort food in its simplest form—salty, crunchy, and deeply satisfying. And the best part? It’s made from something you were probably going to throw away. That feels good, doesn’t it?
What Ingredients You Will Need
This recipe uses simple, wholesome ingredients that come together to create something truly special. I’ve tested these ratios over and over, and this combination delivers the perfect balance of salt, spice, and crunch. Here’s what you’ll need:
- Fresh pumpkin seeds – about 1 ½ cups, scooped straight from a medium-sized pumpkin. You can also use seeds from butternut squash or acorn squash. The fresher, the better.
- Water – 4 cups for boiling. This is the magic step that makes them extra crispy.
- Salt – 2 tablespoons for the boiling water, plus ½ teaspoon for seasoning after roasting. I use fine sea salt for even distribution.
- Olive oil – 1 tablespoon. You can substitute with melted coconut oil or avocado oil if that’s what you have. (I’ve used both, and they work great.)
- Garlic powder – ½ teaspoon. This adds a savory depth that kids somehow never complain about.
- Smoked paprika – ½ teaspoon. This is my secret weapon. It gives the seeds a subtle smoky flavor that makes them irresistible. Regular paprika works too, but smoked is better.
- Cayenne pepper – ¼ teaspoon (optional). For the adults who want a little heat. I leave this out when making them strictly for the kids, but my older one actually requests it now.
- Black pepper – ¼ teaspoon, freshly ground if possible.
- Cinnamon – ¼ teaspoon (optional). I know this sounds weird, but hear me out. A tiny bit of cinnamon with the smoked paprika creates this warm, complex flavor that’s absolutely addictive. Try it once, and you’ll understand.
Ingredient Selection Tips: When you’re scooping seeds from a pumpkin, try to get as much of the stringy pulp off as possible before rinsing. I’ve found that seeds from sugar pumpkins (the smaller ones meant for cooking) tend to be plumper and roast more evenly. But honestly, any pumpkin works. I’ve used seeds from our carving pumpkins for years, and they turn out great. Just make sure to rinse them thoroughly in a colander under cold water until the pulp is mostly gone. A little bit of stringiness left is fine—it’ll cook off in the oven.
Substitution Guidance: If you’re watching your sodium, you can reduce the salt in the boiling water to 1 tablespoon. The seeds will still be flavorful, just less salty. For a completely different flavor profile, try swapping the smoked paprika for curry powder or chili powder. I’ve made a batch with za’atar before, and it was incredible. Don’t be afraid to experiment—these seeds are forgiving.
Equipment Needed
You don’t need much for this recipe, which is part of why I love it. Here’s what you’ll want to have on hand:
- Medium saucepan – for boiling the seeds. Any pot works, but make sure it’s big enough to hold the seeds and water without overflowing.
- Colander or strainer – for rinsing the seeds clean. A fine-mesh strainer works best to catch all those tiny seeds.
- Kitchen towel or paper towels – for drying the seeds after boiling. I use a clean dish towel, but paper towels work in a pinch. Just be gentle—the seeds are delicate after boiling.
- Baking sheet – a rimmed baking sheet works best to prevent seeds from rolling off. I’ve used a half-sheet pan for years, and it’s the perfect size.
- Parchment paper – optional but recommended for easy cleanup. The seeds can stick slightly to the pan without it.
- Mixing bowl – for tossing the seeds with oil and spices. A medium bowl is plenty big.
- Spatula or wooden spoon – for stirring the seeds while they roast.
Budget-Friendly Options: If you don’t have parchment paper, you can grease the baking sheet lightly with oil instead. It works fine, just requires a bit more scrubbing afterward. I’ve also used a cast-iron skillet to roast seeds before, and it gives them an extra-crispy bottom. Just watch them closely because cast iron retains heat differently.
One thing I learned the hard way: don’t use a non-stick baking sheet without parchment. The seeds can leave behind residue that’s a pain to clean. Trust me on this one.
Preparation Method
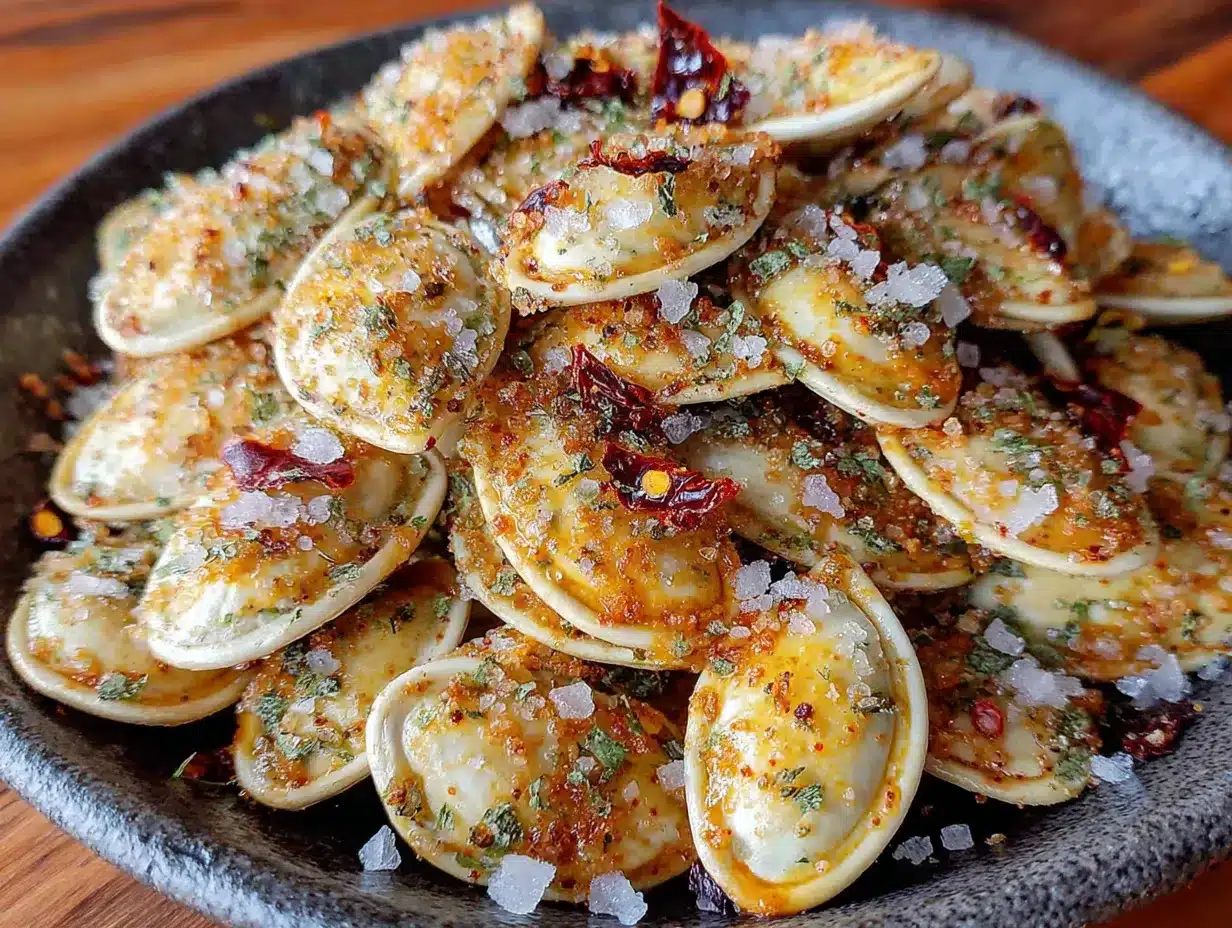
Alright, let’s get to the good part. Here’s how to make the best crispy spiced pumpkin seeds you’ve ever had. Follow these steps, and you’ll have a snack that disappears in minutes.
- Preheat your oven to 350°F (175°C). Line a rimmed baking sheet with parchment paper if you’re using it. Getting the oven hot before you start ensures even roasting from the moment the seeds go in.
- Clean the seeds. Separate the pumpkin seeds from the stringy pulp as best you can. Place them in a colander and rinse under cold running water, using your fingers to rub off any remaining pulp. Don’t stress about getting every bit off—a little pulp adds flavor. Drain well.
- Boil the seeds. Bring 4 cups of water and 2 tablespoons of salt to a boil in a medium saucepan. Add the rinsed pumpkin seeds and boil for exactly 10 minutes. This step is non-negotiable. The boiling salt water penetrates the seeds, seasoning them from the inside out and ensuring they roast up crispy instead of chewy. I learned this trick from a pastry chef who used it for nuts, and it changed everything.
- Drain and dry. After 10 minutes, drain the seeds in a colander. Spread them out on a clean kitchen towel or layers of paper towels. Pat them gently to remove as much moisture as possible. You want them mostly dry, not soaking wet. Let them sit for 5 minutes to air-dry slightly.
- Season the seeds. Transfer the dried seeds to a mixing bowl. Add 1 tablespoon of olive oil, ½ teaspoon garlic powder, ½ teaspoon smoked paprika, ¼ teaspoon black pepper, and ¼ teaspoon cinnamon (if using). If you’re adding cayenne, add it now. Toss everything together until the seeds are evenly coated. The smell at this point is incredible—smoky, warm, and inviting.
- Spread on baking sheet. Pour the seasoned seeds onto your prepared baking sheet. Spread them into a single, even layer. Don’t overcrowd them—if they’re piled on top of each other, they’ll steam instead of roast, and you’ll lose that crunch. If you have a lot of seeds, use two baking sheets.
- Roast for 20-25 minutes. Place the baking sheet in the preheated oven. Roast for 10 minutes, then remove the sheet and stir the seeds with a spatula. Return to the oven and roast for another 10-15 minutes. Start checking at the 20-minute mark. The seeds are done when they’re golden brown and you can hear them crackle slightly when you shake the pan. They’ll continue to crisp up as they cool, so don’t overbake them.
- Cool completely. Remove the baking sheet from the oven and let the seeds cool right on the pan. This takes about 15-20 minutes. Resist the urge to eat them immediately—they’re hot and will burn your mouth. I know from experience. Once they’re cool, sprinkle with the remaining ½ teaspoon of salt, tossing to distribute evenly.
- Enjoy! Transfer to a bowl and watch them disappear. Or store them in an airtight container—more on that below.
Sensory Cues: At the 10-minute mark, you should smell the garlic and paprika starting to bloom. The seeds will look slightly wet still, but they’ll dry out in the second half of roasting. When they’re done, they’ll be a deep golden color, and you’ll hear a faint crackling sound when you stir them. That’s the sound of success.
Troubleshooting Tip: If your seeds come out chewy instead of crispy, they either weren’t dried enough before roasting or they needed more time in the oven. Next time, pat them drier and roast them an extra 5 minutes. If they come out burnt, reduce your oven temperature to 325°F next time—every oven runs a little differently.
Cooking Tips & Techniques
I’ve made more batches of pumpkin seeds than I can count, and I’ve learned a few things along the way. Here are my best tips for getting perfect results every time:
Don’t skip the boil. I know it’s an extra step, and I know it seems unnecessary. But trust me—this is what separates crispy seeds from sad, chewy ones. The boiling process softens the seed shells just enough that they crisp up evenly in the oven. I tried skipping it once to save time, and I regretted it immediately.
Dry them thoroughly. This is the step most people mess up. After boiling, the seeds are waterlogged. If you put them in the oven wet, they’ll steam instead of roast. Take the extra few minutes to pat them dry with a towel. I sometimes let them sit on the towel for 10 minutes before seasoning.
Watch the oven like a hawk. Pumpkin seeds go from perfectly golden to burnt in about 60 seconds. I learned this the hard way when I walked away to answer the phone and came back to a smoky kitchen. Set a timer, and check them at the 20-minute mark. Every oven is different, so your timing might vary.
Double the batch. Seriously. These seeds disappear fast, and they store beautifully. I always make at least two baking sheets worth. The second batch usually gets eaten within 24 hours anyway, but at least I tried.
Season while warm. After they come out of the oven, sprinkle the extra salt on while the seeds are still warm. The residual heat helps the seasoning stick. If you wait until they’re completely cool, the salt just falls off.
One mistake I still make: Overcrowding the pan. I know better, but sometimes I’m in a hurry and I dump all the seeds on one sheet. They come out uneven every single time. Don’t be like me. Use two pans if you need to.
Variations & Adaptations
One of the best things about this recipe is how customizable it is. Here are some variations I’ve tried and loved:
Sweet & Spicy: Skip the garlic powder and smoked paprika. Instead, toss the seeds with 1 tablespoon of maple syrup, ½ teaspoon of cinnamon, and ¼ teaspoon of cayenne. Roast at 325°F for 15-18 minutes, watching carefully because the sugar can burn. These are dangerously addictive.
Everything Bagel: After tossing the seeds with oil, sprinkle them with 1 tablespoon of everything bagel seasoning (poppy seeds, sesame seeds, garlic flakes, onion flakes, and salt). Roast as directed. These taste just like everything bagels but in crunchy seed form. My kids fight over these.
Cheesy Ranch: After roasting, toss the warm seeds with 1 tablespoon of ranch seasoning mix and 2 tablespoons of nutritional yeast (for a cheesy flavor without actual cheese). This is a great option if you’re dairy-free but still want that savory, tangy kick.
Curry Spiced: Replace the smoked paprika with 1 teaspoon of curry powder and add ¼ teaspoon of turmeric. The golden color is beautiful, and the flavor is warm and complex. I made these for a Diwali party once, and they were the first thing to disappear.
Dietary Adaptations: This recipe is naturally gluten-free and dairy-free. For a lower-sodium version, reduce the salt in the boiling water to 1 tablespoon and skip the final salt sprinkle. For a nut-free snack (if you’re serving these alongside other snacks), just make sure your spices are from a trustworthy source that doesn’t process nuts.
My personal favorite variation: I once added a tablespoon of honey to the oil and spice mixture before tossing. The honey caramelized slightly in the oven, creating these little clusters of sweet-and-salty seeds. I ate the entire batch in one sitting. No regrets.
Serving & Storage Suggestions
These crispy spiced pumpkin seeds are incredibly versatile. Here’s how to serve and store them:
Serving Temperature: They’re best at room temperature, but I’ve been known to eat them straight from the oven (after they’ve cooled enough not to burn my tongue). They stay crispy for days if stored properly.
Presentation Ideas: Serve them in a simple bowl for snacking, or use them as a crunchy topping for soups and salads. I love sprinkling them over butternut squash soup or a simple green salad with apple slices and goat cheese. The smoky flavor pairs beautifully with sweet and savory dishes.
Complementary Dishes: These seeds are perfect alongside other fall snacks like apple slices with peanut butter, roasted chickpeas, or even a cheese board. They also make a great addition to trail mix—just toss them in with dried cranberries, dark chocolate chips, and almonds.
Storage Instructions: Store cooled seeds in an airtight container at room temperature. They’ll stay crispy for up to 2 weeks—if they last that long. I use a mason jar or a glass container with a tight-fitting lid. Don’t store them in the refrigerator; the moisture will make them soft.
Freezer Option: You can freeze these seeds in a freezer-safe bag for up to 3 months. Thaw them at room temperature, and they’ll crisp right back up. I’ve done this with big batches after Halloween, and they taste just as good months later.
Reheating Tip: If your seeds lose their crunch over time, spread them on a baking sheet and pop them in a 300°F oven for 5 minutes. Let them cool completely, and they’ll be crispy again. This works like magic.
How Flavors Develop: The seeds are actually best the day after you make them. The flavors meld together overnight, and the crunch stabilizes. I’ve found that they taste even better on day two, which is a great excuse to make them ahead of time.
Nutritional Information & Benefits
I’m not a nutritionist, but I’ve done my research on these little powerhouses. Here’s what you’re getting in a ¼-cup serving (about 30 grams) of these crispy spiced pumpkin seeds:
- Calories: Approximately 150-170 calories per serving
- Protein: About 7-8 grams – that’s more protein than an egg!
- Healthy Fats: 13-15 grams, mostly unsaturated fats that are good for your heart
- Fiber: 2-3 grams per serving, which helps with digestion
- Magnesium: Pumpkin seeds are one of the best natural sources of magnesium, which supports muscle function and sleep quality
- Zinc: A significant amount, which is great for immune health – especially important during cold and flu season
- Iron: About 2-3 mg per serving, which helps with energy levels
Dietary Considerations: This recipe is naturally gluten-free, dairy-free, and vegan. It’s also low in sugar (less than 1 gram per serving) and contains no artificial ingredients. The main allergen to be aware of is the seeds themselves—if someone has a seed allergy, this isn’t for them.
Health Benefits: I love that this snack is actually good for you. My kids get a protein-packed snack that keeps them full between meals, and I feel good about giving it to them. The magnesium content is a bonus—it’s supposed to help with sleep, and honestly, I’ve noticed my youngest sleeps better on days she eats these. Could be a coincidence, but I’ll take it.
Personal Wellness Perspective: I try to keep our snacks as whole-food-based as possible, and these seeds fit perfectly into that philosophy. They’re a treat that doesn’t come with a side of guilt. Plus, making them from scratch means I know exactly what’s in them—no preservatives, no weird additives, just real food.
Conclusion
These crispy spiced pumpkin seeds have become a fall tradition in our house, and I have a feeling they’ll become one in yours too. They’re proof that the best snacks often come from the most unexpected places—in this case, the inside of a pumpkin you were about to toss.
I love this recipe because it’s forgiving, adaptable, and deeply satisfying. It turns a kitchen byproduct into something everyone fights over. It saves money, reduces food waste, and fills your home with the warm, smoky smell of fall. What’s not to love?
I encourage you to make these your own. Play with the spices, try different variations, and don’t be afraid to experiment. The first batch might not be perfect (mine wasn’t), but that’s part of the fun. And when you nail it—when you pull that baking sheet out of the oven and hear the seeds crackle—you’ll know it was worth it.
If you make these crispy spiced pumpkin seeds, I’d love to hear about it. Drop a comment below and let me know how they turned out, what variations you tried, or if your picky eater finally came around. And if you have a favorite pumpkin seed seasoning blend, share it—I’m always looking for new ideas. Happy snacking!
Frequently Asked Questions
Can I use store-bought raw pumpkin seeds instead of fresh?
Absolutely! Raw, unsalted pumpkin seeds (also called pepitas) work perfectly. You can skip the cleaning step, but I still recommend boiling them in salted water for 10 minutes before roasting. That boiling step is key for getting that crispy texture.
Why did my pumpkin seeds turn out chewy instead of crispy?
This usually happens for one of two reasons: either you didn’t dry them thoroughly enough after boiling, or they needed more time in the oven. Next time, pat them really dry with a towel and roast them an extra 5-10 minutes. Also, make sure they’re spread in a single layer on the baking sheet—overcrowding traps steam.
Can I make these in an air fryer?
Yes! Air fryers work great for pumpkin seeds. After boiling and drying, toss them with oil and spices as directed. Air fry at 350°F for 10-12 minutes, shaking the basket halfway through. Start checking at the 8-minute mark because air fryers run hot. They’ll be even crispier than oven-roasted!
How do I get the pumpkin seeds clean without spending forever?
The easiest method is to place the seeds and pulp in a large bowl of water. Use your hands to separate the seeds from the pulp—the seeds will float to the top, and the pulp will sink. Scoop the seeds out with a slotted spoon and rinse them in a colander. This takes about 5 minutes and saves a lot of frustration.
Can I double this recipe?
Definitely! This recipe doubles or triples beautifully. Just make sure to use two baking sheets so the seeds are in a single layer. You might need to add a few minutes to the roasting time if you’re doing a larger batch, so keep an eye on them. I always double the batch because they disappear so fast.
Pin This Recipe!
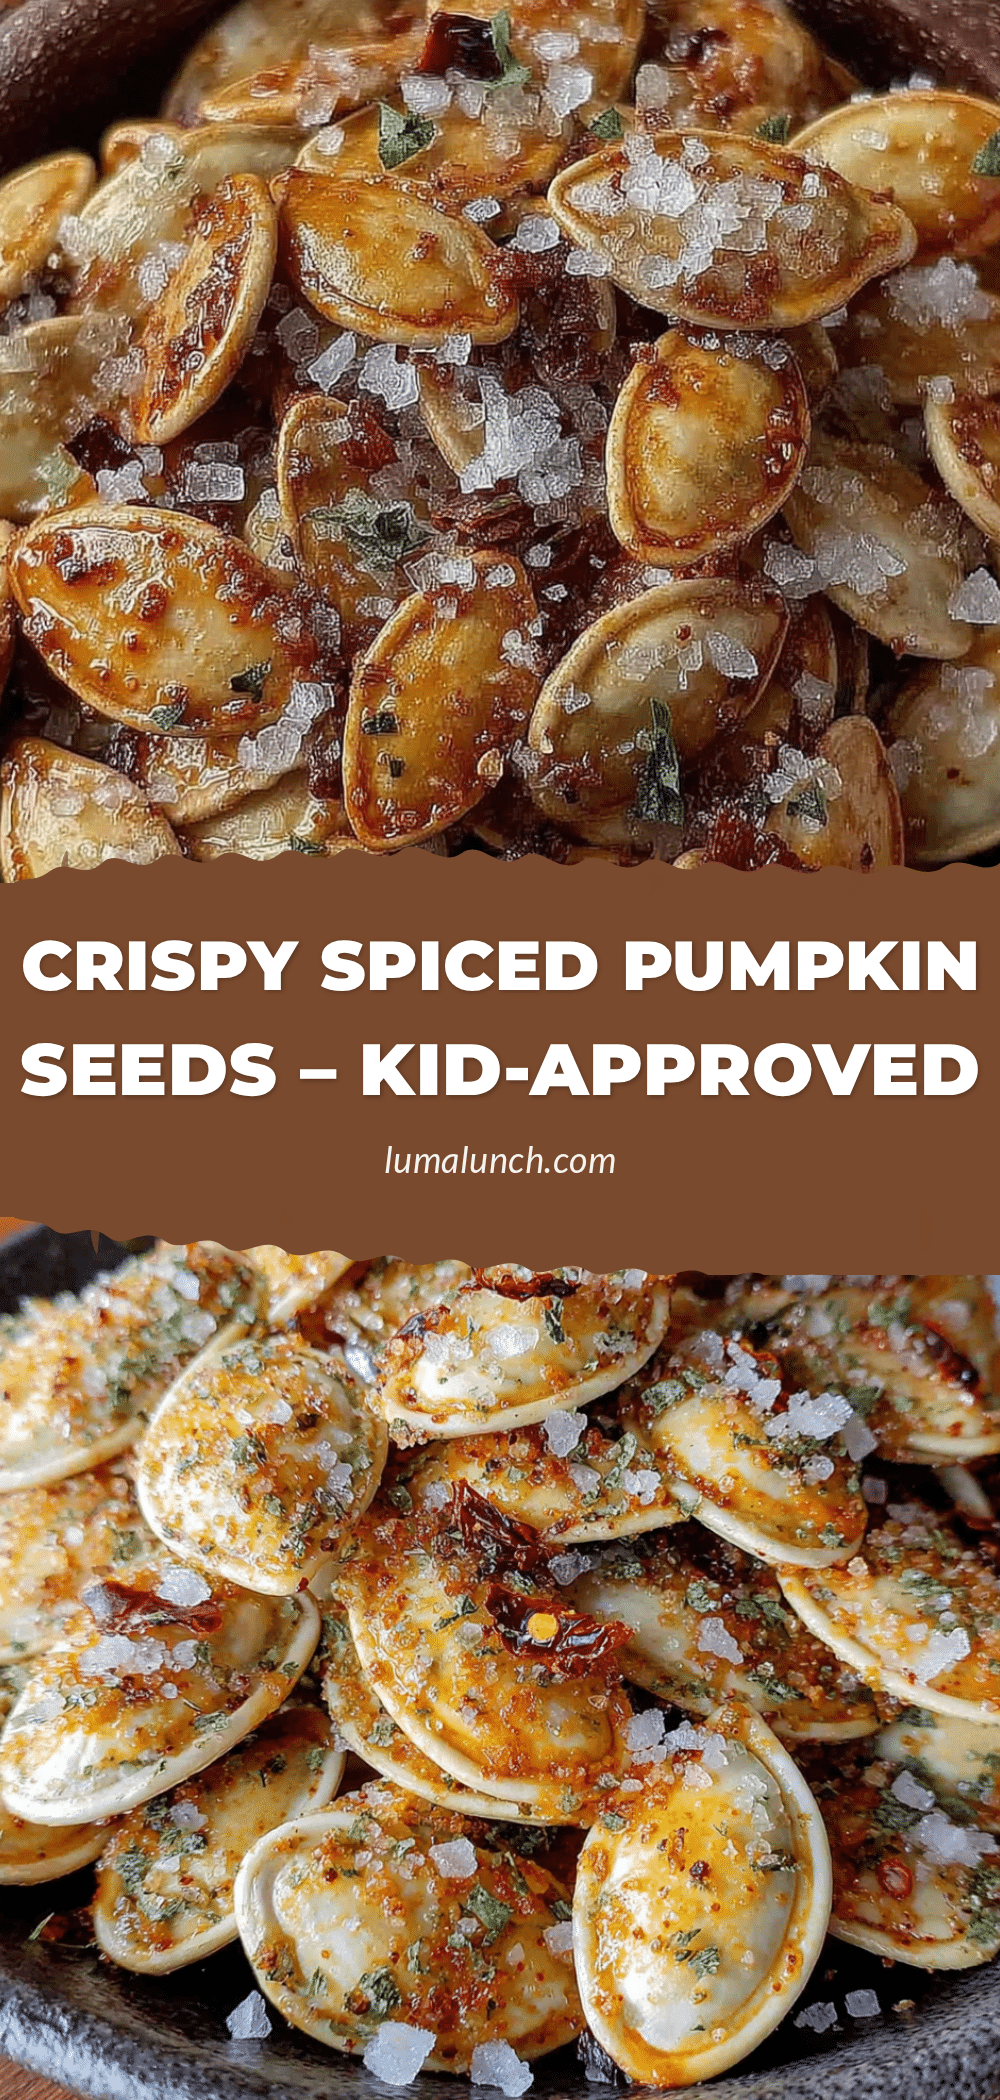
Best Crispy Spiced Pumpkin Seeds: Easy Kid-Approved Snack

These crispy spiced pumpkin seeds are salty, a little smoky, and so crunchy you can hear them crackle across the kitchen. Made with simple pantry ingredients, they turn a humble pumpkin byproduct into an addictive snack that even picky eaters will love.
- Prep Time: 15 minutes
- Cook Time: 25 minutes
- Total Time: 40 minutes
- Yield: 4 servings 1x
- Category: Snack
- Cuisine: American
Ingredients
- 1 ½ cups fresh pumpkin seeds (from a medium pumpkin)
- 4 cups water
- 2 tablespoons salt (for boiling water)
- ½ teaspoon salt (for seasoning after roasting)
- 1 tablespoon olive oil (or melted coconut oil/avocado oil)
- ½ teaspoon garlic powder
- ½ teaspoon smoked paprika
- ¼ teaspoon cayenne pepper (optional)
- ¼ teaspoon black pepper (freshly ground)
- ¼ teaspoon cinnamon (optional)
Instructions
- Preheat your oven to 350°F (175°C). Line a rimmed baking sheet with parchment paper if using.
- Clean the seeds: Separate pumpkin seeds from stringy pulp, rinse in a colander under cold water, and drain well.
- Boil the seeds: Bring 4 cups of water and 2 tablespoons of salt to a boil in a medium saucepan. Add the rinsed seeds and boil for exactly 10 minutes.
- Drain and dry: Drain the seeds in a colander. Spread them on a clean kitchen towel or paper towels, pat gently to remove moisture, and let air-dry for 5 minutes.
- Season the seeds: Transfer dried seeds to a mixing bowl. Add 1 tablespoon olive oil, ½ teaspoon garlic powder, ½ teaspoon smoked paprika, ¼ teaspoon black pepper, and ¼ teaspoon cinnamon (if using). Add cayenne if desired. Toss until evenly coated.
- Spread on baking sheet: Pour seasoned seeds onto the prepared baking sheet in a single, even layer. Avoid overcrowding; use two sheets if needed.
- Roast for 20-25 minutes: Roast for 10 minutes, then stir. Return to oven and roast another 10-15 minutes until golden brown and crackling when shaken.
- Cool completely: Let seeds cool on the baking sheet for 15-20 minutes. They will continue to crisp up.
- Enjoy: Sprinkle with remaining ½ teaspoon salt while warm, toss to distribute, and serve. Store in an airtight container.
Notes
Don’t skip the boiling step—it ensures crispy seeds. Dry seeds thoroughly after boiling to avoid steaming. Watch the oven closely as seeds can burn quickly. Double the batch for larger gatherings. Season while warm for better adherence.
Nutrition
- Serving Size: ¼ cup (about 30 gram
- Calories: 160
- Sugar: 1
- Sodium: 200
- Fat: 14
- Saturated Fat: 2
- Carbohydrates: 5
- Fiber: 2
- Protein: 8
Keywords: crispy pumpkin seeds, spiced pumpkin seeds, kid-approved snack, fall snack, roasted pumpkin seeds, easy pumpkin seeds, healthy snack, gluten-free snack, vegan snack


