Love this? Save it for later!
Share the inspiration with your friends
I wasn’t trying to find a new Halloween recipe. Honestly, I’d stopped by my neighbor’s house on a random Tuesday afternoon to grab a garden stake I’d lent her months ago. She’d texted me a photo of it leaning against her garage, so I figured I’d just swing by, grab it, and leave.
But the second she opened the door, I stopped in my tracks. The air smelled faintly of vanilla and sugar, but not in a heavy, baking-cake way. It was cleaner, lighter—almost like the smell of a warm, dry cloud. “What is that?” I asked, probably sounding a little too eager. She just shrugged, wiping her hands on her jeans. “Oh, just some meringues I’m messing around with. Trying to make them look like little ghosts for the kids’ class party.”
She led me into her kitchen, and there they were—dozens of tiny, perfect white peaks cooling on a sheet pan. They looked like a tiny, adorable ghost army had decided to take a nap. She was so casual about it, like she hadn’t just created something that looked like it belonged in a fancy patisserie window. She even had a little bit of melted chocolate on her counter, ready to pipe on faces. “They’re so easy,” she said, shooing me away when I asked for the recipe. “It’s just egg whites and sugar.”
I left with my garden stake and a newfound obsession. Maybe you’ve been there—you taste something so simple and perfect, and you can’t stop thinking about it. These ghost meringue cookies aren’t just cute; they’re that perfect, airy, melt-in-your-mouth texture that feels like you’re eating a sweet, sugary cloud. That’s why I kept making them. They’re the Halloween treat that doesn’t leave you feeling weighed down.
Why You’ll Love This Recipe
Let me tell you, after making these ghost meringue cookies about a dozen times (my first batch was a sad, sticky puddle), I’ve figured out exactly what makes them work. They’re not fussy, but they do have a few secrets I’m going to share with you. Here’s why this is the only recipe you’ll need.
- Quick & Easy: The active prep time is maybe 15 minutes. The oven does all the heavy lifting after that. Perfect when you need a last-minute treat for a school party or a spooky movie night.
- Simple Ingredients: You only need four things: egg whites, sugar, cream of tartar, and vanilla. You probably have all of them right now. No weird candy melts or special food coloring required.
- Perfect for Halloween: They are the cutest thing on any dessert table. They look impressive, but they’re secretly the easiest thing to make. Kids love them, and adults love that they’re not a sugar bomb.
- Crowd-Pleaser: Gluten-free? Check. Low-fat? Check. Unbelievably delicious? Double check. They disappear faster than anything else on the platter.
- Unbelievably Delicious: The texture is what gets everyone. It’s crisp on the outside, then it just dissolves on your tongue. It’s like eating a sweet, vanilla-scented whisper.
What makes this recipe different? It’s the technique. I’m going to show you how to get that stiff, glossy meringue that holds its shape perfectly. No weeping, no cracking, just pure, pillowy ghosts. I’ve tested it with a hand mixer and a stand mixer, and I’ll tell you which works best. This isn’t just another version—it’s the one that works every single time.
Honestly, this is the kind of recipe that makes you close your eyes after the first bite. It’s that good. It’s comfort food reimagined for a holiday that usually means a ton of heavy chocolate and caramel. These are light, airy, and totally satisfying. Perfect for impressing guests without any stress.
What Ingredients You Will Need
This recipe uses simple, wholesome ingredients to deliver that perfect, ethereal texture. You don’t need anything fancy, just a few pantry staples that work together in a magical way. Let’s break down exactly what you need and why it matters.
For the Ghost Meringues
- 4 large egg whites, room temperature (this is crucial! Cold eggs won’t whip up as high. Separate them when they’re cold, then let them sit on the counter for 30 minutes)
- 1 cup (200g) granulated sugar (not powdered sugar! Granulated sugar dissolves into the egg whites to create that stable structure. I prefer a standard brand like Domino)
- 1/4 teaspoon cream of tartar (this is the secret weapon. It stabilizes the egg whites and helps them hold their shape. Don’t skip it!)
- 1 teaspoon vanilla extract (use pure vanilla extract for the best flavor. The imitation stuff can leave a weird aftertaste)
For the Faces (Decoration)
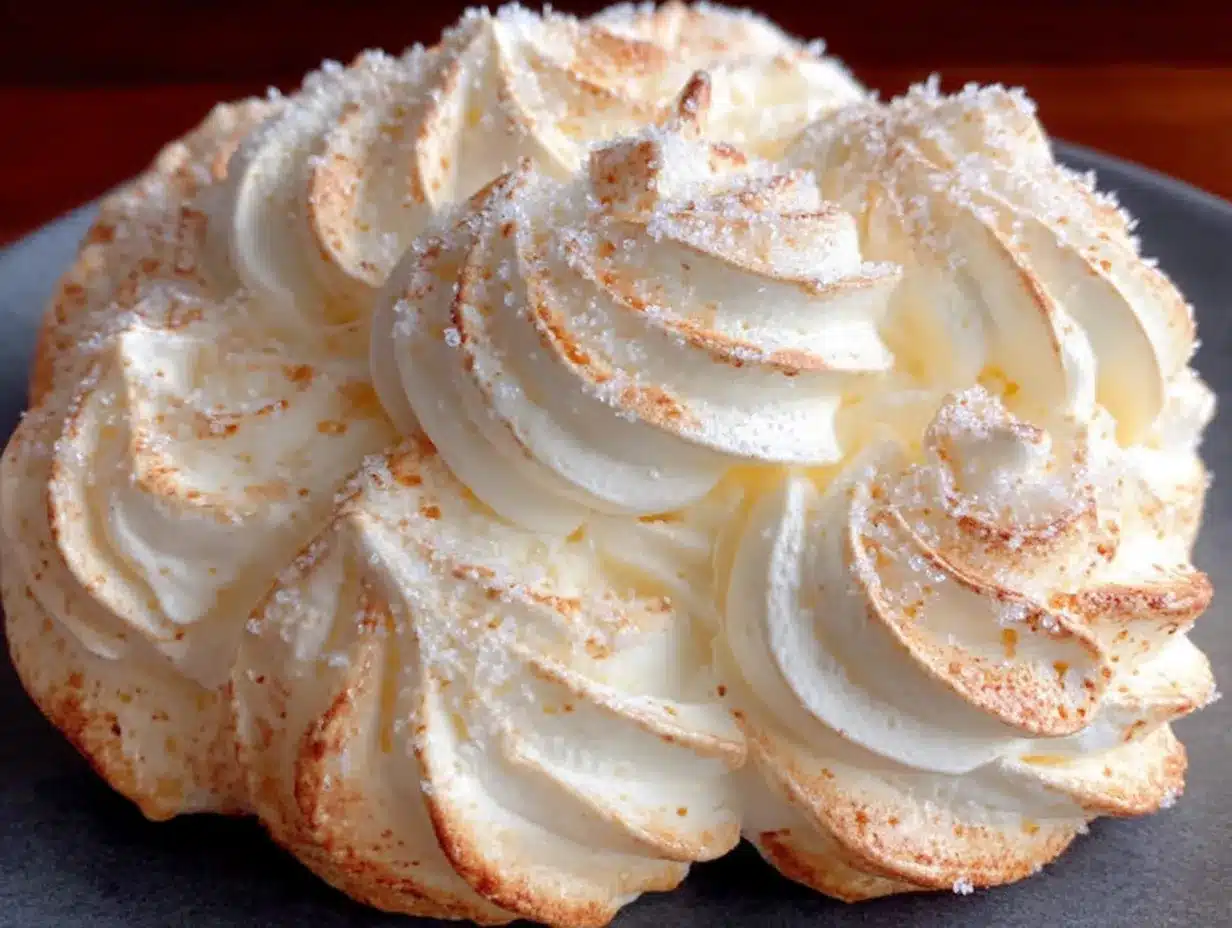
- 1/4 cup semi-sweet or dark chocolate chips (you’ll melt these to pipe on the eyes and mouths. Dark chocolate gives a nice contrast against the white meringue)
- Optional: 1 teaspoon coconut oil (this helps thin the melted chocolate for easier piping)
Ingredient Selection Tips: For the best results, use fresh eggs. Older egg whites actually whip up better, but if your eggs are very fresh, just make sure they’re at room temperature. If you’re worried about salmonella (though the meringues get baked), you can use pasteurized egg whites from a carton, but I find they don’t whip up quite as voluminously. For a dairy-free option, these are naturally dairy-free since there’s no butter or milk involved!
Substitution Guidance: You can swap the vanilla extract for almond extract or peppermint extract for a different flavor profile. Just use half the amount, as those extracts are much stronger. If you don’t have cream of tartar, you can use 1 teaspoon of lemon juice or white vinegar instead. It does the same job of stabilizing the egg whites.
Equipment Needed
You don’t need a professional pastry kitchen for these ghost meringue cookies. Here’s what you’ll need and a few tips I’ve learned along the way.
- Electric mixer (a stand mixer with a whisk attachment is ideal, but a hand mixer works perfectly fine. I’ve made these with both. The stand mixer is easier because you can walk away, but the hand mixer gets the job done in about the same amount of time)
- Large mixing bowl (make sure it’s completely clean and dry. Any trace of grease or yolk will ruin your meringue. I wipe mine down with a little lemon juice on a paper towel just to be safe)
- Baking sheet (a standard half-sheet pan works great)
- Parchment paper or silicone baking mat (parchment paper is cheap and works perfectly. Silicone mats are reusable and also work great. Do not use wax paper!)
- Piping bag with a round tip (I use a Wilton #12 tip. If you don’t have a piping bag, you can use a sturdy zip-top bag with the corner snipped off. It’s not as precise, but it works in a pinch)
- Small microwave-safe bowl (for melting the chocolate for the faces)
- Small piping bag or toothpick (for piping the chocolate faces. A toothpick is actually my preferred method for the tiny eyes)
Preparation Method
Alright, let’s get to the fun part. I’m going to walk you through this step-by-step. Follow these instructions, and you’ll have perfect little ghosts every time. I’ve included all the little tricks I learned from my failed batches.
- Preheat and Prep: Preheat your oven to 200°F (93°C). Yes, that low! Line your baking sheet with parchment paper. This low temperature is what dries the meringues out without browning them. If your oven runs hot, you might want to go down to 190°F (88°C).
- Whip the Egg Whites: Place your room-temperature egg whites and cream of tartar in your clean, dry mixing bowl. Start beating on medium speed. You’ll see them go from clear and liquidy to frothy and white. This takes about 2-3 minutes with a stand mixer, a bit longer with a hand mixer. They should look like soapy bubbles.
- Add the Sugar Slowly: This is the most important step. With the mixer running on medium-high speed, start adding your sugar one tablespoon at a time. I know it’s tedious, but don’t dump it all in at once. If you add it too fast, the sugar won’t dissolve properly, and you’ll end up with gritty, weeping meringues. Wait about 15-20 seconds between each spoonful.
- Whip to Stiff Peaks: Once all the sugar is in, turn the mixer up to high speed. Whip for another 5-7 minutes. You’re looking for stiff, glossy peaks. How do you know? Stop the mixer and lift the whisk. The meringue should stand up in a point that doesn’t flop over. It should look like fluffy shaving cream. Another test: rub a tiny bit between your fingers. If it feels smooth and not gritty, the sugar is fully dissolved. If it feels grainy, keep whipping for another minute or two. Add the vanilla extract in the last 30 seconds of whipping.
- Pipe the Ghosts: Transfer your meringue to your piping bag fitted with the round tip. Hold the bag straight up and down, about 1/2 inch above the baking sheet. Squeeze out a blob about 1.5 inches wide, then pull straight up to create a little peak. That peak is the top of your ghost’s head! Space them about an inch apart—they don’t spread much, but you want a little breathing room for air circulation.
- Bake Low and Slow: Place the baking sheet in the preheated oven. Bake for 60-75 minutes. You’re not really “baking” them; you’re drying them out. They are done when they are firm to the touch and can be easily lifted off the parchment paper. They should not be brown at all. If they start to brown, your oven is too hot. Turn it down immediately.
- Cool Completely: Turn the oven off and crack the door open. Let the meringues cool inside the oven for at least an hour. This gradual cooling prevents them from cracking from a sudden temperature change. Trust me, I’ve pulled them out too early, and they all cracked. Let them sit.
- Decorate the Faces: Once the meringues are completely cool, melt your chocolate chips in a small microwave-safe bowl. Microwave in 20-second bursts, stirring in between, until smooth. If the chocolate is too thick, stir in the coconut oil. Dip a toothpick into the melted chocolate and carefully dot on two tiny eyes and a little mouth. You can also use a tiny piping bag with a very small tip. Don’t stress about making them perfect—ghosts are supposed to look a little wonky!
Cooking Tips & Techniques
I’ve made every mistake in the book with meringues, so you don’t have to. Here are the most important things I’ve learned.
The Humidity Enemy: Meringues hate humidity. If it’s a rainy or super humid day, don’t make these. The sugar absorbs moisture from the air, and your meringues will turn sticky and soft. Wait for a dry day. I learned this the hard way when I made a batch during a summer thunderstorm. They never got crisp.
Don’t Overwhip: You can overwhip meringue! If you whip it too long after adding the sugar, the egg white proteins can break down, and the mixture will start to look grainy and curdled. It will also start to separate and “weep” liquid. If you see liquid pooling in your bowl, you’ve gone too far. Start over. It’s sad, but it happens.
The Bowl Matters: I cannot stress this enough. Your bowl and whisk must be 100% clean and free of any grease. Even a tiny bit of egg yolk will prevent the whites from whipping up. I like to wipe my bowl and whisk with a cut lemon half before I start, just to be absolutely sure. It’s a little trick from an old pastry chef I used to watch on TV.
Timing and Multitasking: The actual active time for this recipe is very short. I like to get my eggs out to come to room temperature while I’m making dinner. Then, after dinner, I whip them up, pipe them out, and pop them in the oven. They bake while I’m cleaning up the kitchen. It’s a perfect way to end the evening.
Consistency is Key: For perfectly consistent ghosts, try to pipe them all the same size. If some are tiny and some are huge, the small ones will be done way before the big ones. I like to draw little circles on my parchment paper as a guide, then flip it over so the pencil doesn’t touch the meringue.
Variations & Adaptations
Once you’ve mastered the basic ghost meringue cookies, the possibilities are endless. Here are a few ways I’ve played around with the recipe.
Flavor Variations
Peppermint Ghosts: Swap the vanilla extract for 1/2 teaspoon of peppermint extract. These are amazing for a winter-themed party or a Christmas cookie exchange. You can even crush up a candy cane and sprinkle it on top before baking (though the color will change slightly).
Chocolate Ghosts: Sift 2 tablespoons of unsweetened cocoa powder into the sugar before you start adding it to the egg whites. You’ll get a pale brown ghost that looks like a little chocolate cloud. Pipe white chocolate faces on them for a fun twist.
Fruity Ghosts: Add a few drops of food coloring (gel is best, as liquid can deflate the meringue) to make pastel ghosts. Raspberry or strawberry extract instead of vanilla is also delicious. Think of them as little fruit-flavored clouds.
Dietary Adaptations
These are naturally gluten-free and dairy-free, which makes them a winner for so many people. If you need them to be egg-free, unfortunately, meringues are impossible to make without eggs. It’s the egg whites that create the structure. You could try aquafaba (the liquid from a can of chickpeas), but the texture is slightly different and requires a different technique.
Different Shapes
Who says they have to be ghosts? You can pipe the meringue into any shape you like. Tiny little kisses, swirls, or even little pumpkins (pipe a round blob, then use a toothpick to score lines on the side). For Halloween, I’ve also made little bats by piping two small triangles for wings on either side of a round body. It’s a fun way to use up extra meringue.
Serving & Storage Suggestions
These ghost meringue cookies are best served at room temperature. The texture is perfectly crisp and airy. I love arranging them on a simple white platter for Halloween parties—they look so dramatic against the white. You can also pile them in a glass jar tied with a ribbon for a homemade gift that looks incredibly thoughtful.
What to Serve With Them: These are fantastic on their own, but they’re also amazing crumbled over a bowl of vanilla ice cream or pumpkin mousse. The crisp texture is a wonderful contrast to something creamy. For a Halloween dessert board, arrange them alongside brownies, caramel apples, and some dark chocolate bark. They add a light, airy element to a usually heavy spread.
Storage Instructions: This is the most important part. Meringues are very sensitive to moisture. Store them in an airtight container at room temperature. Do not put them in the refrigerator! The fridge is humid and will make them sticky. Layered between sheets of parchment paper, they will stay crisp for up to two weeks. I’ve kept a batch for almost three weeks, and they were still perfect.
Freezer Instructions: You can freeze baked meringues! Place them in a single layer in a freezer-safe container, with parchment paper between layers. They will keep for up to 3 months. Thaw them at room temperature in the closed container to prevent condensation from making them sticky. Do not thaw them in the fridge.
Reheating: You never need to reheat meringues. If they somehow lose their crispness (maybe you left the container open on a humid day), you can re-crisp them by placing them back in a 200°F (93°C) oven for 15-20 minutes. Let them cool completely in the oven before storing again.
Nutritional Information & Benefits
Let’s be real: these are a treat. But compared to a lot of Halloween candy and cookies, they’re actually pretty light. One ghost meringue cookie (without chocolate decoration) has roughly:
- Calories: 20-25
- Fat: 0g
- Carbohydrates: 5-6g
- Protein: 0.5g
- Sugar: 5-6g
Health Benefits of Key Ingredients: The main ingredient, egg whites, are pure protein and contain no fat or cholesterol. They’re a good source of riboflavin and selenium. Of course, we’re adding a lot of sugar, so this isn’t a health food. But if you’re going to have a treat, this is one of the lighter options out there. They’re naturally gluten-free, dairy-free, and nut-free, making them a safe choice for many people with dietary restrictions.
Dietary Considerations: These are not suitable for vegans or those with egg allergies. They are suitable for those following a gluten-free, dairy-free, or low-fat diet. The sugar content is high, so they are not suitable for low-sugar or keto diets.
My personal perspective? I love that I can offer a treat that doesn’t leave me feeling sluggish. A couple of these after dinner satisfies my sweet tooth without the heavy feeling I get from a brownie or a slice of cake. They’re a perfect little indulgence.
Conclusion
So there you have it—the best light & airy ghost meringue cookies you’ll ever make. They’re the recipe that proves simple ingredients, when treated with a little care, can create something truly magical. They’re not just cute; they’re genuinely delicious, with that perfect, melt-in-your-mouth texture that makes you reach for another one.
I really hope you give these a try. Don’t be intimidated by the meringue! The first time you see those stiff, glossy peaks form, you’ll feel like a total pastry chef. And when you pull that tray of perfect little ghosts out of the oven? Pure satisfaction. Customize them however you like—different flavors, different faces, different shapes. Make them your own.
I’d love to hear how they turn out for you! Did you try a fun variation? Did your kids love making the faces? Drop a comment below and let me know. And if you share a photo on Pinterest or Instagram, tag me—I love seeing your creations. Happy Halloween, and happy baking!
Frequently Asked Questions
Why did my meringue cookies turn out sticky?
Sticky meringues are usually a sign of humidity. They absorbed moisture from the air either during baking or storage. Make sure you bake them on a dry day and store them in a completely airtight container. You can try re-crisping them in a low oven (200°F) for 15-20 minutes.
Can I use liquid egg whites from a carton?
You can, but I don’t recommend it for this recipe. Carton egg whites are pasteurized, which can affect their ability to whip up to stiff peaks. They also often contain stabilizers that can change the texture. Fresh egg whites from whole eggs give you the best volume and stability.
How do I know when the meringues are done baking?
The meringues are done when they are firm to the touch and easily lift off the parchment paper. They should feel dry and light, not tacky. They should not have any brown color. If you’re unsure, err on the side of longer baking time. It’s better to over-dry them than under-dry them.
Can I make these ghost meringue cookies ahead of time?
Absolutely! In fact, they’re perfect for making ahead. Baked and stored properly in an airtight container, they will stay crisp for up to two weeks. This makes them ideal for party planning. You can make them a week in advance and just add the chocolate faces the day of your event.
My meringue won’t get stiff. What did I do wrong?
There are a few common culprits. First, make sure your bowl and whisk are completely clean and free of grease. Second, make sure no trace of egg yolk got into the whites. Even a tiny speck can prevent them from whipping. Third, make sure your eggs are at room temperature. Cold egg whites don’t whip up as well. Finally, make sure you’re adding the sugar slowly. Adding it too fast can deflate the structure.
Pin This Recipe!
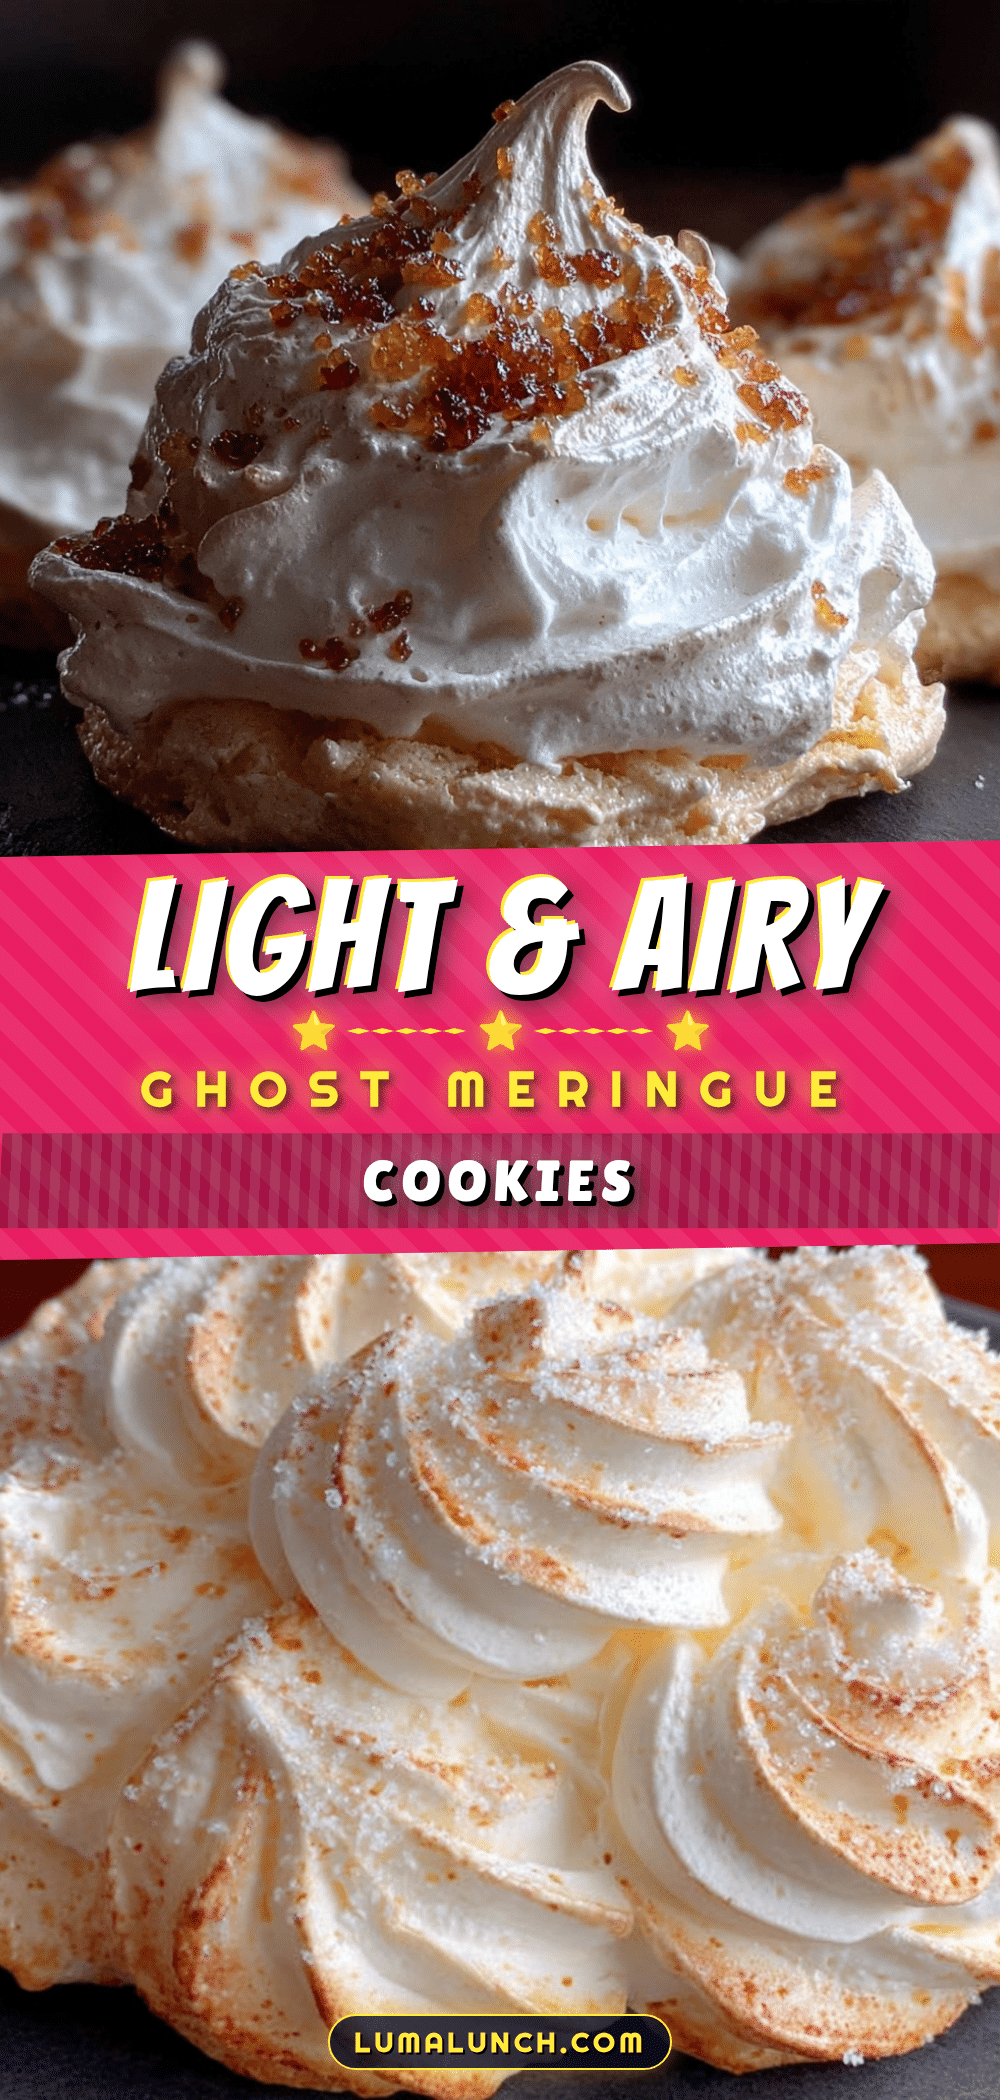
Best Light & Airy Ghost Meringue Cookies Recipe
These ghost meringue cookies are light, airy, and melt-in-your-mouth delicious. Perfect for Halloween, they are easy to make with simple ingredients and are naturally gluten-free and dairy-free.
- Prep Time: 15 minutes
- Cook Time: 60-75 minutes
- Total Time: 1 hour 30 minutes to 1 hour 45 minutes
- Yield: 24 servings 1x
- Category: Dessert
- Cuisine: American
Ingredients
- 4 large egg whites, room temperature
- 1 cup (200g) granulated sugar
- 1/4 teaspoon cream of tartar
- 1 teaspoon vanilla extract
- 1/4 cup semi-sweet or dark chocolate chips
- Optional: 1 teaspoon coconut oil
Instructions
- Preheat your oven to 200°F (93°C). Line a baking sheet with parchment paper.
- Place room-temperature egg whites and cream of tartar in a clean, dry mixing bowl. Beat on medium speed until frothy and white, about 2-3 minutes.
- With the mixer running on medium-high speed, add sugar one tablespoon at a time, waiting 15-20 seconds between each addition.
- Once all sugar is added, increase speed to high and whip for 5-7 minutes until stiff, glossy peaks form. The meringue should stand up in a point and feel smooth between your fingers. Add vanilla extract in the last 30 seconds.
- Transfer meringue to a piping bag fitted with a round tip. Pipe 1.5-inch wide blobs onto the prepared baking sheet, pulling straight up to create a peak. Space them about 1 inch apart.
- Bake for 60-75 minutes, until firm to the touch and easily lifted off the parchment. They should not brown.
- Turn off the oven and crack the door open. Let meringues cool inside the oven for at least 1 hour.
- Once completely cool, melt chocolate chips in a microwave-safe bowl in 20-second bursts, stirring until smooth. Add coconut oil if needed to thin. Use a toothpick or small piping bag to dot on eyes and a mouth.
Notes
Meringues are sensitive to humidity; avoid making them on rainy or humid days. Ensure bowl and whisk are completely clean and grease-free. Do not overwhip meringue. Store in an airtight container at room temperature for up to 2 weeks. Do not refrigerate.
Nutrition
- Serving Size: 1 ghost meringue coo
- Calories: 2025
- Sugar: 56
- Sodium: 10
- Carbohydrates: 56
- Protein: 0.5
Keywords: ghost meringue cookies, Halloween cookies, meringue cookies, light and airy cookies, gluten-free cookies, dairy-free cookies


