Love this? Save it for later!
Share the inspiration with your friends
The first time I attempted a gluten-free Thanksgiving stuffing, I nearly gave up halfway through. It was three years ago, and I was standing in my tiny kitchen with a bag of gluten-free bread that felt more like cardboard than anything edible. My neighbor, an older woman named Rosa who grew up in a big Italian family, watched me through her kitchen window as I crumbled the dry bread into a bowl with visible frustration. She didn’t say anything at first. Then she appeared at my door with a wooden spoon in hand and a knowing smile. “You’re overthinking it,” she said. “Stuffing isn’t about the bread. It’s about what you put in the bread.” She showed me how to build flavor layer by layer—sautéed onions until they were practically caramelized, fresh herbs chopped by hand, and a broth that had been simmering for hours. That conversation changed everything about how I approach this dish.
That year, I made my first gluten-free stuffing that actually tasted like the real deal. I mean, honestly, I was shocked. The texture was there—crispy on top, soft and tender underneath—and the flavor was so rich that nobody at the table even noticed it was gluten-free. Since then, I’ve refined the recipe, tested it with different breads, and learned a few tricks that make all the difference. Maybe you’ve been there too, staring at a bag of gluten-free bread wondering if you’ll ever get that perfect stuffing texture. Let me tell you, it’s possible. You just need the right approach and a little patience.
This best gluten-free Thanksgiving stuffing with herbs has become my signature dish. Every year, someone asks for the recipe, and every year, I tweak it just a little—adding a touch more sage, swapping in a different type of apple, or adjusting the broth ratio depending on the bread. It’s the kind of recipe that evolves with you, and honestly, that’s what makes it so special. It’s not just a dish. It’s a conversation that started with a neighbor who cared enough to knock on my door.
Why You’ll Love This Recipe
Let me be straight with you—finding a gluten-free stuffing that actually works is harder than it should be. I’ve tested dozens of versions over the years, and most of them fall into one of two categories: either they’re dry and crumbly, or they turn into a gummy, dense mess. This recipe is different because it’s built on a foundation of tested techniques and real-world experience. I’ve made this for Thanksgiving dinners, Friendsgiving gatherings, and even random Tuesday nights when I needed comfort food. It never disappoints.
- Simple Ingredients: No fancy grocery trips needed. You likely already have most of these items in your pantry, and the gluten-free bread is easy to find at any major supermarket.
- Perfect for Thanksgiving: This stuffing brings all the traditional flavor without the gluten. It’s a crowd-pleaser that even non-gluten-free eaters will love.
- Crowd-Pleaser: I’ve served this to groups of 20 people, and every single time, someone asks if it’s really gluten-free. That’s the kind of reaction you want.
- Unbelievably Delicious: The combination of fresh herbs, caramelized vegetables, and perfectly toasted bread creates a stuffing that’s next-level comfort food. The texture is spot on—crispy edges with a soft, tender center.
- Make-Ahead Friendly: You can prep this the day before and bake it fresh on Thanksgiving. It actually gets better as the flavors meld together overnight.
What makes this recipe different from the rest is the technique. Instead of just tossing bread with broth and hoping for the best, I toast the bread cubes first to give them structure, then I build a rich, herb-infused base that soaks into every piece without turning it to mush. The secret is using the right ratio of liquid to bread and letting the stuffing rest before baking. It sounds simple, but it makes all the difference.
This is the kind of recipe that makes you close your eyes after the first bite. It’s comfort food reimagined—healthier, faster, and with the same soul-soothing satisfaction. Perfect for impressing guests without stress, or turning a simple meal into something memorable.
What Ingredients You Will Need
This recipe uses simple, wholesome ingredients to deliver bold flavor and satisfying texture without the fuss. Most of these items are pantry staples or easy to find at your local grocery store. The key is using fresh herbs and good-quality gluten-free bread.
- Gluten-free bread (1 large loaf, about 16 ounces, cut into ¾-inch cubes): I recommend Canyon Bakehouse or Udi’s for best texture. Look for a sturdy, whole-grain style bread that won’t fall apart when toasted. (Avoid soft, airy gluten-free breads—they turn into paste.)
- Unsalted butter (6 tablespoons, plus more for greasing): Adds richness and helps the herbs bloom. You can substitute with vegan butter or olive oil for a dairy-free version.
- Yellow onion (1 large, diced): Provides a savory base. Sweet onions also work well here.
- Celery stalks (3 large, diced): Essential for that classic stuffing crunch and flavor.
- Garlic cloves (4, minced): Adds depth. Fresh garlic is non-negotiable here—don’t use the jarred stuff.
- Fresh sage (2 tablespoons, finely chopped): The star herb for Thanksgiving stuffing. Dried sage works in a pinch, but fresh is better. (Use 1 teaspoon dried if substituting.)
- Fresh thyme (1 tablespoon, leaves stripped from stems): Adds an earthy, floral note. Dried thyme works too—use 1 teaspoon.
- Fresh rosemary (1 tablespoon, finely chopped): Piney and aromatic. Be careful not to overdo it—it can be strong.
- Fresh parsley (¼ cup, chopped): Brightens the dish and adds freshness.
- Chicken or vegetable broth (2 cups, warmed): Use low-sodium so you can control the salt. For a richer flavor, use turkey broth if you have it on hand.
- Large eggs (2, lightly beaten): Helps bind the stuffing together. For a vegan version, use a flax egg (2 tablespoons ground flaxseed mixed with 6 tablespoons water).
- Salt (1 teaspoon, plus more to taste): I use fine sea salt.
- Black pepper (½ teaspoon, freshly ground): Adds a gentle warmth.
- Dried cranberries (½ cup, optional): Adds a pop of sweetness and color. I love the contrast with the savory herbs.
- Toasted pecans or walnuts (½ cup, optional): Adds crunch and nuttiness. Toast them in a dry pan for 3-4 minutes until fragrant.
Ingredient Selection Tips: When choosing gluten-free bread, look for one that’s sturdy and has a good crumb structure. Avoid breads that are too soft or airy—they’ll absorb too much liquid and turn gummy. I’ve had the best luck with Canyon Bakehouse 7-Grain bread. For the herbs, fresh is absolutely worth it here. The dried versions just don’t deliver the same punch. If you’re in a pinch, use half the amount of dried herbs, but honestly, fresh makes this dish sing.
Equipment Needed
You don’t need a lot of fancy equipment to make this stuffing, which is part of what makes it so approachable. Here’s what you’ll need:
- Large baking dish (9×13-inch): This is the standard size for a full batch. For a smaller gathering, use an 8×8-inch dish and halve the recipe.
- Large skillet or sauté pan: For cooking the vegetables and herbs. A 12-inch skillet works perfectly.
- Large mixing bowl: To combine all the ingredients. You need enough room to toss everything together without spilling.
- Baking sheet: For toasting the bread cubes. A rimmed baking sheet is ideal to prevent pieces from rolling off.
- Chef’s knife and cutting board: For chopping vegetables and herbs. A sharp knife makes this job so much easier.
- Wooden spoon or spatula: For stirring the vegetable mixture.
- Measuring cups and spoons: For accurate measurements. I cannot stress this enough—stuffing is all about ratios.
- Aluminum foil: For covering the dish during the first part of baking to prevent over-browning.
Personal Note on Equipment: I used to skip toasting the bread cubes because I thought it was an unnecessary step. Honestly, I was wrong. That extra 10 minutes makes the difference between stuffing that holds its shape and stuffing that turns into a sad, soggy pile. Also, if you don’t have a 9×13-inch dish, you can use a cast-iron skillet. It actually gives you crispier edges, which I personally love.
Preparation Method
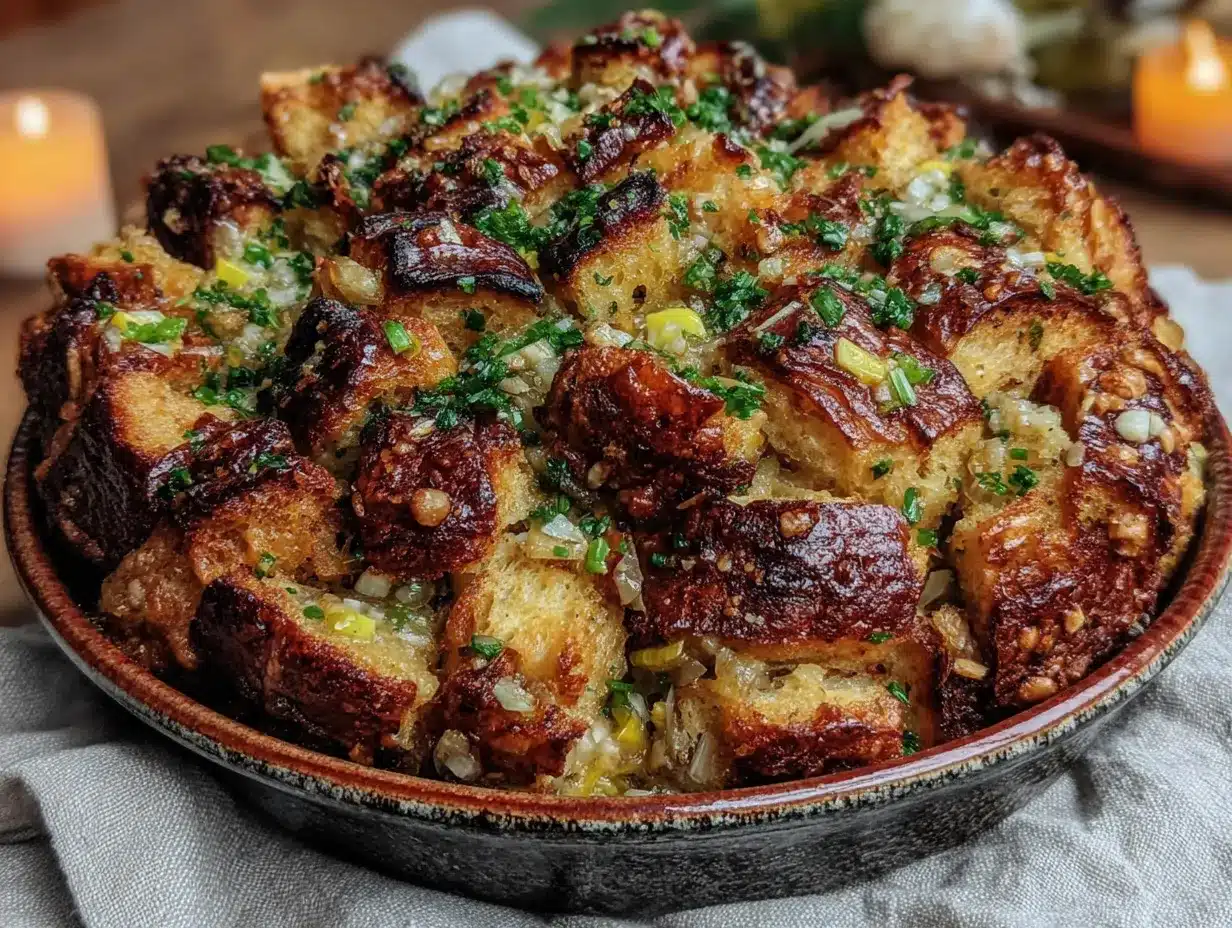
Let’s walk through this step by step. I’ve broken it down so you can follow along without feeling overwhelmed. Take your time, and don’t rush the toasting step—it’s the foundation of the whole dish.
- Preheat your oven to 350°F (175°C). Spread the gluten-free bread cubes in a single layer on a large rimmed baking sheet. Bake for 10-12 minutes, stirring halfway through, until the cubes are dry and lightly golden. They should feel firm to the touch but not hard. Set aside to cool. (This step removes excess moisture and gives the bread structure so it doesn’t turn to mush.)
- While the bread toasts, melt 4 tablespoons of butter in a large skillet over medium heat. Add the diced onion and celery. Cook, stirring occasionally, for 8-10 minutes until the vegetables are soft and the onions are translucent. Don’t rush this—you want them to release their natural sweetness. Season with a pinch of salt.
- Add the minced garlic, sage, thyme, and rosemary to the skillet. Cook for 1-2 minutes until fragrant. The smell at this point is incredible—it’s like Thanksgiving in a pan. Remove from heat and let it cool slightly.
- In a very large mixing bowl, combine the toasted bread cubes and the cooked vegetable-herb mixture. Add the fresh parsley and dried cranberries and pecans if using. Toss gently to distribute everything evenly. Be careful not to break the bread cubes—you want some texture.
- In a separate bowl or liquid measuring cup, whisk together the warm broth, beaten eggs, remaining 2 tablespoons of melted butter, salt, and pepper. Pour this mixture evenly over the bread mixture. Use a spatula to gently fold everything together until all the bread cubes are moistened. Let it sit for 10 minutes. This resting time is crucial—it allows the bread to absorb the liquid evenly.
- Preheat your oven to 375°F (190°C). Grease a 9×13-inch baking dish with butter or non-stick spray. Transfer the stuffing mixture to the dish and spread it into an even layer. Don’t pack it down too firmly—you want some air gaps for texture.
- Cover the dish with aluminum foil and bake for 25 minutes. Then remove the foil and bake for another 20-25 minutes until the top is golden brown and crispy. The edges should be slightly crunchy, and the center should be tender but not wet. If you want extra crispy edges, broil for 2-3 minutes at the end, but watch it closely so it doesn’t burn.
- Let the stuffing rest for 5-10 minutes before serving. This allows the structure to set so it holds together when you scoop it out. Garnish with additional fresh parsley if desired.
Troubleshooting Tip: If your stuffing seems too dry after baking, it likely didn’t have enough liquid. Next time, add an extra ¼ cup of broth. If it’s too wet or gummy, you may have used a softer bread or added too much liquid. The key is to let the bread cubes absorb the liquid before baking—if there’s standing liquid in the bowl, you’ve added too much.
Cooking Tips & Techniques
I’ve made this stuffing more times than I can count, and I’ve learned a few things the hard way. Here are my best tips to help you avoid the mistakes I made.
Toast the bread thoroughly. This is non-negotiable. Gluten-free bread is naturally more delicate than wheat bread, so toasting it removes excess moisture and gives it structure. If you skip this step, your stuffing will turn into a dense, gummy mess. I learned this the hard way my second year making it—never again.
Use warm broth. Cold broth won’t absorb as evenly into the bread cubes. Warm it on the stovetop or in the microwave for 30-45 seconds before mixing. This small step makes a big difference in texture.
Don’t overmix. When you add the liquid mixture, fold gently until just combined. Overmixing breaks down the bread cubes and creates a pasty texture. You want some pieces to remain intact for that perfect stuffing texture.
Let it rest before baking. That 10-minute rest after adding the liquid is crucial. It allows the bread to absorb the broth evenly. If you bake it immediately, you’ll end up with dry spots and soggy spots. Trust me on this one.
Double the recipe for a crowd. This recipe serves about 8 people as a side dish. For larger gatherings, I double everything and bake it in two 9×13-inch dishes. Just adjust the baking time slightly—add 5-10 minutes since there’s more volume.
Make it ahead. You can assemble the stuffing the day before, cover it, and refrigerate it. When you’re ready to bake, add 10-15 minutes to the covered baking time since it’s starting from cold. The flavors actually get better overnight.
Variations & Adaptations
This recipe is incredibly versatile. Here are some ways to make it your own.
Dairy-Free Version: Substitute the butter with olive oil or a high-quality vegan butter. I’ve used Miyoko’s vegan butter with great results. The flavor is slightly different but still delicious.
Vegan Version: Use vegetable broth and replace the eggs with a flax egg (2 tablespoons ground flaxseed mixed with 6 tablespoons water, let sit for 5 minutes). The texture will be slightly less firm, but it still holds together beautifully.
Add Sausage or Mushrooms: For a heartier stuffing, brown 1 pound of gluten-free Italian sausage or 8 ounces of sliced mushrooms before cooking the vegetables. Remove them from the skillet and add them back in when you combine everything. I love this version for a main dish stuffing.
Apple and Pear Variation: Add 1 diced apple and 1 diced pear to the vegetable mixture during the last 3 minutes of cooking. The sweetness pairs beautifully with the herbs. I tried this last year on a whim, and it was a huge hit.
Herb Swap: If you don’t have fresh herbs, use 1 teaspoon each of dried sage, thyme, and rosemary. Add them with the garlic. The flavor won’t be as bright, but it still works. Just don’t skip the parsley—it adds necessary freshness.
Serving & Storage Suggestions
This stuffing is best served warm, straight from the oven. The contrast between the crispy top and the tender interior is what makes it so special.
Serving Temperature: Serve it hot, but let it rest for 5-10 minutes after baking. This allows the structure to set so it doesn’t fall apart when you scoop it. I like to garnish with a sprinkle of fresh parsley and a few extra toasted pecans on top for presentation.
Complementary Dishes: This stuffing pairs beautifully with roasted turkey, mashed potatoes, green bean casserole, and cranberry sauce. For a non-Thanksgiving meal, try it alongside roasted chicken or pork chops. It also works as a stuffing for roasted squash or bell peppers.
Storage Instructions: Store leftovers in an airtight container in the refrigerator for up to 4 days. The flavors actually deepen over time, so it’s even better the next day. To reheat, place it in a 350°F oven for 10-15 minutes until warmed through. You can also microwave individual portions, but the top won’t be as crispy.
Freezing Instructions: This stuffing freezes beautifully. Let it cool completely, then transfer it to a freezer-safe container or zip-top bag. It will keep for up to 3 months. To reheat, thaw overnight in the refrigerator, then bake at 350°F for 20-25 minutes until heated through. I always make a double batch and freeze one for later.
Flavor Development: Like many dishes, this stuffing tastes better the next day. The herbs meld together, and the bread absorbs all the flavors. If you can, make it a day ahead and reheat it. You won’t regret it.
Nutritional Information & Benefits
Here’s the estimated nutritional breakdown for one serving (based on 8 servings):
| Nutrient | Amount per Serving |
|---|---|
| Calories | 285 |
| Total Fat | 14g |
| Saturated Fat | 7g |
| Cholesterol | 65mg |
| Sodium | 520mg |
| Total Carbohydrates | 32g |
| Dietary Fiber | 4g |
| Sugars | 6g |
| Protein | 7g |
Health Benefits: This stuffing is made with whole food ingredients that offer real nutritional value. The fresh herbs—sage, thyme, rosemary, and parsley—are packed with antioxidants and anti-inflammatory compounds. Celery provides fiber and vitamin K, while onions offer prebiotics that support gut health. Using gluten-free bread makes this dish accessible for those with celiac disease or gluten sensitivity, and you can easily adapt it to be dairy-free or vegan.
Dietary Considerations: This recipe is gluten-free and can be made dairy-free and vegan with simple substitutions. It contains eggs (unless using a flax egg) and butter (unless using a dairy-free alternative). The optional nuts add healthy fats and protein.
Conclusion
This best gluten-free Thanksgiving stuffing with herbs is more than just a recipe—it’s a reminder that the best dishes come from shared moments and a willingness to try again. I still think about Rosa every time I make it, standing at my door with that wooden spoon and her no-nonsense attitude. She taught me that stuffing isn’t about perfection. It’s about building flavor with patience and love.
I hope you give this recipe a try, whether it’s for Thanksgiving, a cozy Sunday dinner, or just because you’re craving something warm and comforting. Don’t be afraid to make it your own—swap in your favorite herbs, add some dried fruit, or load it up with sausage. The beauty of this dish is that it adapts to whatever you have on hand.
If you make this stuffing, I’d love to hear about it. Leave a comment below and tell me how it turned out. Did you add your own twist? Did your family guess it was gluten-free? Share your stories—I read every single one. And if you’re looking for more gluten-free holiday inspiration, check out my gluten-free Thanksgiving guide for the full menu.
Happy cooking, and remember—the best stuffing is the one made with love.
Frequently Asked Questions
Can I use any gluten-free bread for this stuffing?
Not all gluten-free breads are created equal. You want a sturdy, whole-grain style bread that holds its shape when toasted. Avoid soft, airy breads like gluten-free brioche or sandwich bread that’s too delicate. I’ve had the best results with Canyon Bakehouse 7-Grain or Udi’s Hearty Whole Grain. If your bread is too soft, the stuffing will turn gummy.
Can I make this stuffing ahead of time?
Absolutely. You can assemble the stuffing the day before, cover it, and refrigerate it. When you’re ready to bake, add 10-15 minutes to the covered baking time since it’s starting from cold. The flavors actually meld together beautifully overnight. Just don’t add the egg until you’re ready to bake—it helps with texture.
How do I prevent my gluten-free stuffing from being dry?
Dry stuffing usually means one of two things: either the bread wasn’t toasted enough, or there wasn’t enough liquid. Make sure your bread cubes are thoroughly dried out in the oven before mixing. Also, use warm broth and let the mixture rest for 10 minutes before baking so the bread can absorb the liquid evenly. If it still seems dry, add an extra ¼ cup of broth next time.
Can I freeze this stuffing?
Yes! Let the stuffing cool completely, then transfer it to a freezer-safe container or zip-top bag. It will keep for up to 3 months. To reheat, thaw overnight in the refrigerator, then bake at 350°F for 20-25 minutes until heated through. I always make a double batch and freeze one for later—it’s a lifesaver during the busy holiday season.
What can I use instead of eggs in this recipe?
For a vegan or egg-free version, use a flax egg: mix 2 tablespoons of ground flaxseed with 6 tablespoons of water and let it sit for 5 minutes until it forms a gel-like consistency. You can also use a commercial egg replacer. The texture will be slightly less firm, but it still holds together well. Just don’t skip the resting time before baking—it helps the mixture set.
Pin This Recipe!
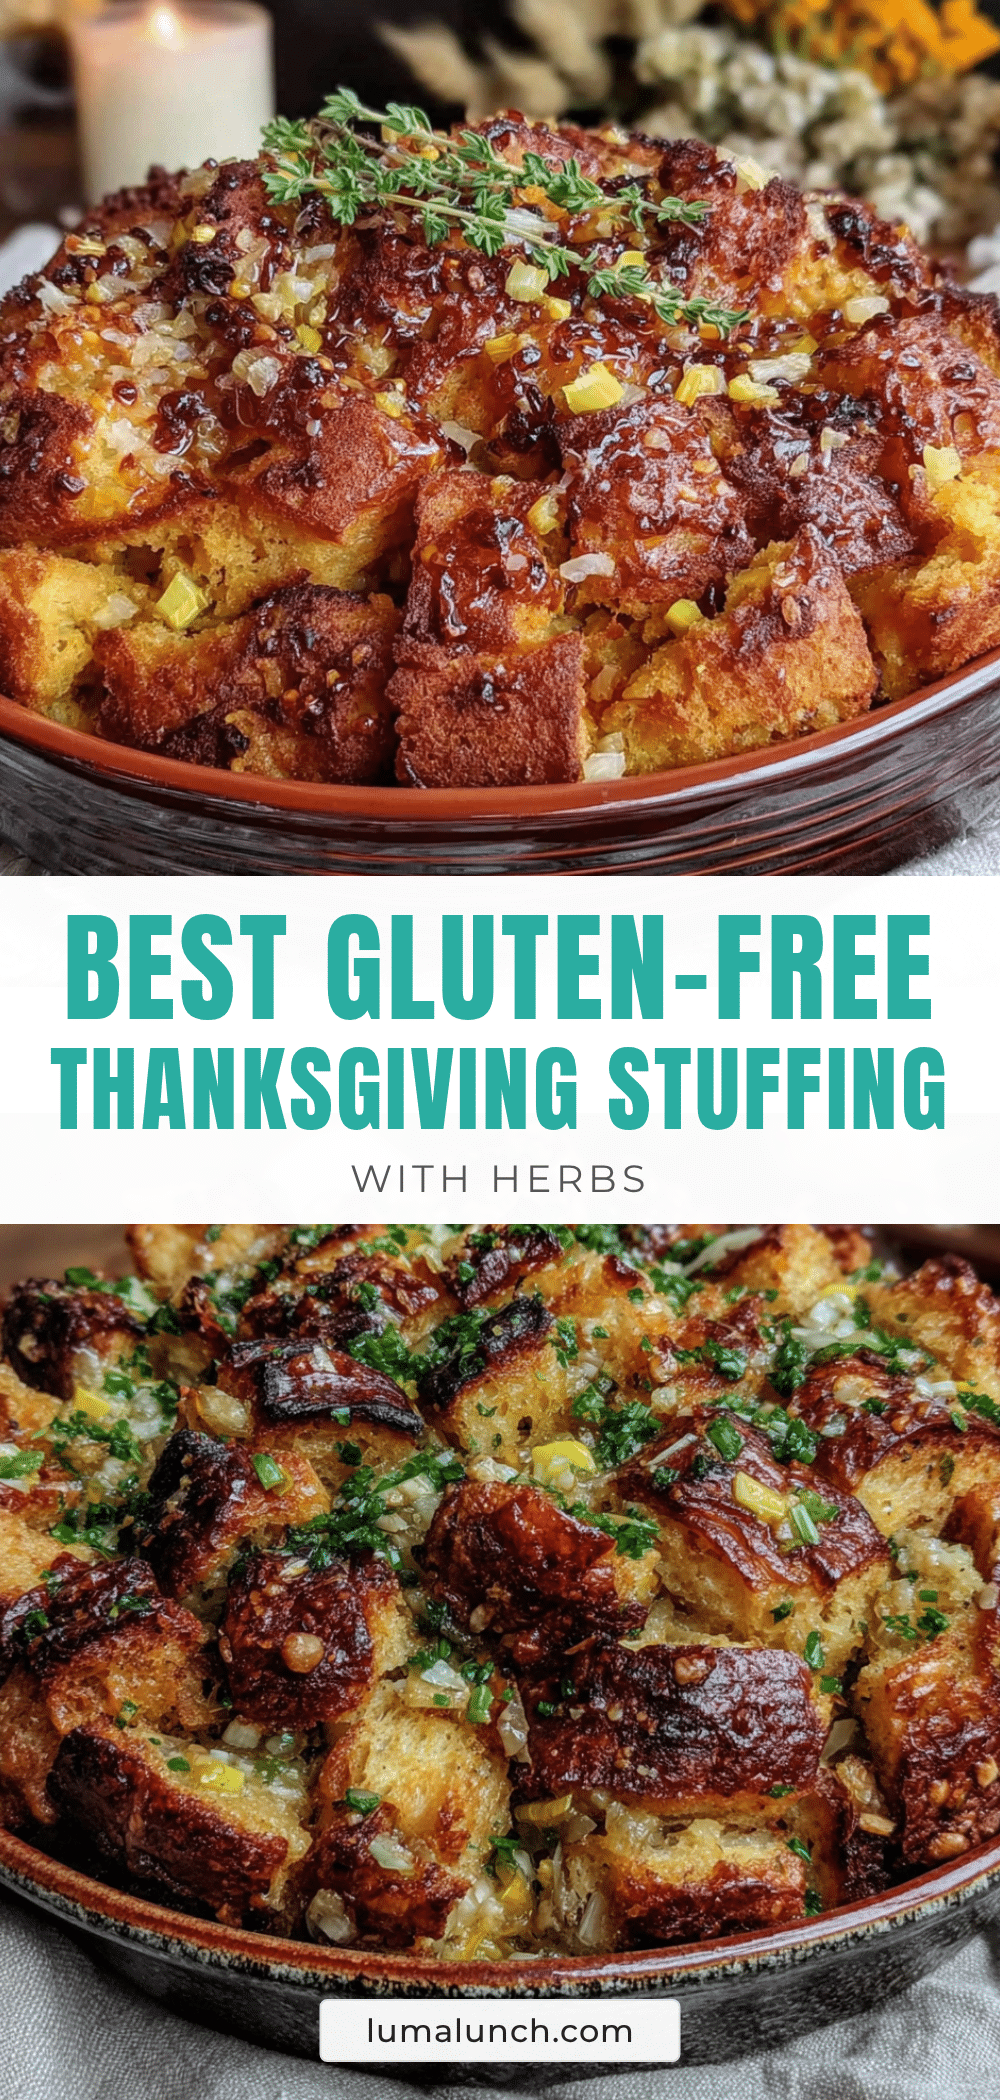
Best Gluten-Free Thanksgiving Stuffing | Easy Herb Recipe

This best gluten-free Thanksgiving stuffing with herbs is a crowd-pleaser that even non-gluten-free eaters will love. It features crispy edges, a soft tender center, and rich herb flavor built layer by layer.
- Prep Time: 20 minutes
- Cook Time: 55 minutes
- Total Time: 1 hour 15 minutes
- Yield: 8 servings 1x
- Category: Side Dish
- Cuisine: American
Ingredients
- 1 large loaf gluten-free bread (about 16 ounces), cut into ¾-inch cubes
- 6 tablespoons unsalted butter, plus more for greasing
- 1 large yellow onion, diced
- 3 large celery stalks, diced
- 4 garlic cloves, minced
- 2 tablespoons fresh sage, finely chopped
- 1 tablespoon fresh thyme leaves
- 1 tablespoon fresh rosemary, finely chopped
- ¼ cup fresh parsley, chopped
- 2 cups chicken or vegetable broth, warmed
- 2 large eggs, lightly beaten
- 1 teaspoon fine sea salt
- ½ teaspoon freshly ground black pepper
- ½ cup dried cranberries (optional)
- ½ cup toasted pecans or walnuts (optional)
Instructions
- Preheat oven to 350°F (175°C). Spread bread cubes in a single layer on a large rimmed baking sheet. Bake for 10-12 minutes, stirring halfway, until dry and lightly golden. Set aside to cool.
- Melt 4 tablespoons butter in a large skillet over medium heat. Add onion and celery. Cook, stirring occasionally, for 8-10 minutes until soft and translucent. Season with a pinch of salt.
- Add minced garlic, sage, thyme, and rosemary to the skillet. Cook for 1-2 minutes until fragrant. Remove from heat and let cool slightly.
- In a very large mixing bowl, combine toasted bread cubes and cooked vegetable-herb mixture. Add fresh parsley and dried cranberries and pecans if using. Toss gently.
- In a separate bowl, whisk together warm broth, beaten eggs, remaining 2 tablespoons melted butter, salt, and pepper. Pour over bread mixture and fold gently until all cubes are moistened. Let rest for 10 minutes.
- Preheat oven to 375°F (190°C). Grease a 9×13-inch baking dish. Transfer stuffing mixture to dish and spread into an even layer. Do not pack down.
- Cover with aluminum foil and bake for 25 minutes. Remove foil and bake for another 20-25 minutes until top is golden brown and crispy. For extra crispy edges, broil for 2-3 minutes.
- Let stuffing rest for 5-10 minutes before serving. Garnish with additional fresh parsley if desired.
Notes
Toast the bread thoroughly to prevent a gummy texture. Use warm broth for even absorption. Let the mixture rest for 10 minutes before baking. For make-ahead, assemble the day before, cover, and refrigerate; add 10-15 minutes to covered baking time. For dairy-free, substitute butter with olive oil or vegan butter. For vegan, use vegetable broth and a flax egg (2 tablespoons ground flaxseed mixed with 6 tablespoons water).
Nutrition
- Serving Size: 1 serving
- Calories: 285
- Sugar: 6
- Sodium: 520
- Fat: 14
- Saturated Fat: 7
- Carbohydrates: 32
- Fiber: 4
- Protein: 7
Keywords: gluten-free stuffing, Thanksgiving stuffing, herb stuffing, gluten-free Thanksgiving, easy stuffing recipe


