Love this? Save it for later!
Share the inspiration with your friends
There used to be a tiny bakery called “The Midnight Morsel” tucked away on Elm Street that made the most incredible spiderweb brownies every October. When they closed their doors three years ago—honestly, it felt like losing an old friend. I spent that whole first autumn trying to recreate their magic, and let me tell you, the first few attempts were… well, they were edible, but they weren’t right. After twelve tries—twelve, I counted—I finally got it. These spooky spiderweb brownies with white chocolate drizzle are the result of that obsession, and they taste exactly like those cozy October afternoons I thought I’d lost forever.
The brownies are fudgy and rich, with that perfect crackly top that every good brownie needs. Then comes the white chocolate drizzle, carefully piped into a web pattern that makes everyone at the party stop and stare. I made these for my neighbor Carol’s Halloween get-together last year, and she actually asked me to write down the recipe on the spot. That’s when I knew I had cracked the code. There’s something about that contrast—dark, chocolatey brownie against creamy white chocolate—that just screams Halloween. Maybe you’ve been there, searching for that one recipe that makes your holiday spread feel special without requiring a culinary degree. These spiderweb brownies are it.
Why You’ll Love This Recipe
I’ve tested this recipe more times than I care to admit, and each batch taught me something new. The first time, I used melted butter instead of oil—too greasy. The second time, I overmixed the batter and ended up with cakey brownies instead of fudgy ones. But now? This version is absolutely foolproof, and here’s why you’ll fall for it too:
- Quick & Easy: From start to finish, these come together in about 45 minutes. Perfect for last-minute Halloween parties or when the kids suddenly announce they need treats for school tomorrow.
- Simple Ingredients: You probably have most of these in your pantry right now. No fancy chocolate, no specialty flours—just honest, everyday baking staples.
- Perfect for Halloween: These spiderweb brownies are the star of any spooky spread. They look impressive but require zero artistic talent to decorate.
- Crowd-Pleaser: Kids go wild for the web design, and adults appreciate that they’re not overly sweet. I’ve watched entire pans disappear in under twenty minutes.
- Unbelievably Delicious: The texture is exactly what you want—dense and fudgy in the middle, with that delicate crackly crust on top. The white chocolate adds just enough sweetness without overpowering the cocoa.
What makes these different from every other spiderweb brownie recipe out there? It’s the technique. I use a combination of cocoa powder and melted chocolate for deeper flavor, plus a tiny splash of espresso powder that doesn’t make them taste like coffee but makes the chocolate taste more like itself. The white chocolate drizzle has a secret ingredient too—a teaspoon of coconut oil that keeps it from seizing up and makes the web lines silky smooth. This isn’t just another Halloween recipe; it’s the one that’ll have people asking for the link all season long.
What Ingredients You Will Need
This recipe uses simple, wholesome ingredients to deliver that perfect fudgy texture and spooky presentation. Most of these are pantry staples, which means you can whip up a batch of these spiderweb brownies whenever the Halloween mood strikes.
For the Brownies
- Unsalted butter, melted (1/2 cup, or 113g) — I use Kerrygold for its rich flavor, but any good butter works
- Granulated sugar (1 cup, or 200g)
- Large eggs (2, room temperature) — cold eggs can make the batter seize up
- Vanilla extract (1 teaspoon, or 5ml)
- Cocoa powder (1/3 cup, or 40g, unsweetened) — Dutch-process gives a darker color, natural works fine too
- All-purpose flour (1/2 cup, or 60g)
- Salt (1/4 teaspoon)
- Baking powder (1/4 teaspoon)
- Semisweet chocolate chips (1/2 cup, or 90g) — Ghirardelli is my go-to for consistent melting
- Espresso powder (1/2 teaspoon, optional but recommended) — intensifies the chocolate without adding coffee flavor
For the Spiderweb Drizzle
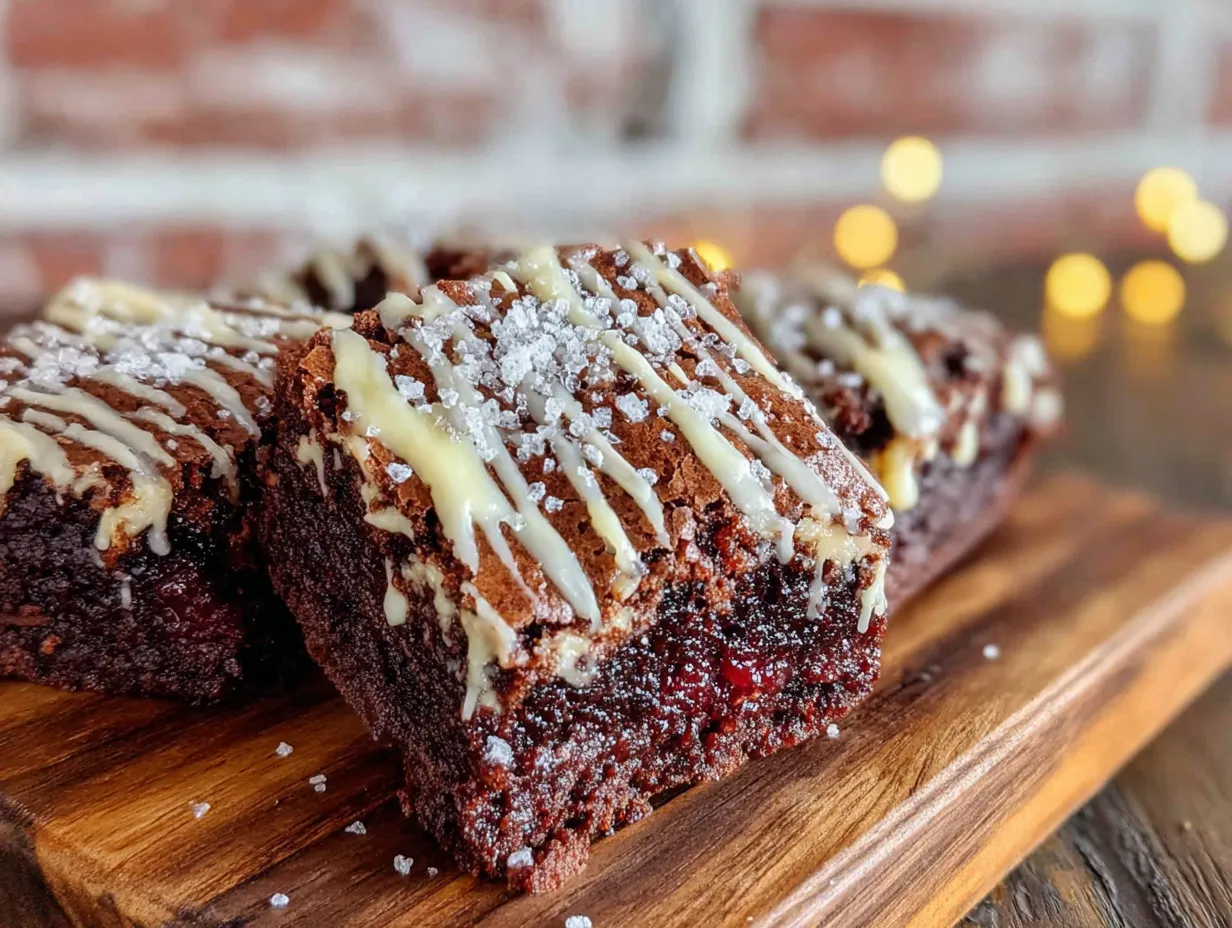
- White chocolate chips (1/2 cup, or 90g) — use a good brand like Ghirardelli or Guittard; cheap white chocolate can be grainy
- Coconut oil (1 teaspoon, or 5ml) — this is the secret to smooth, pipeable white chocolate
- Dark chocolate chips (2 tablespoons, or 30g, for the spider) — optional, but adds a cute finishing touch
For the cocoa powder, I prefer using Ghirardelli’s unsweetened variety because it has a deep, almost smoky flavor that pairs beautifully with the white chocolate. If you’re using natural cocoa powder, your brownies will be slightly lighter in color but just as delicious. The espresso powder is entirely optional, but honestly, it makes a noticeable difference—it doesn’t make the brownies taste like coffee, it just makes the chocolate taste more like itself. I learned that trick from a pastry chef friend who swears by it for all her chocolate recipes.
If you need substitutions, here are a few that work well: Use coconut oil instead of butter for a dairy-free version, though the texture will be slightly different. For gluten-free spiderweb brownies, swap the all-purpose flour with a 1:1 gluten-free baking blend. And if you don’t have white chocolate chips, you can chop up a white chocolate bar instead—just make sure it’s real white chocolate, not candy melts, which have a different consistency.
Equipment Needed
You don’t need much to make these spiderweb brownies, which is part of their charm. Here’s what you’ll need:
- 8×8 inch baking pan — this is the perfect size for fudgy brownies. I’ve used my trusty Pyrex dish for years, but metal pans work great too
- Parchment paper — non-negotiable for easy removal. Let the edges hang over the sides so you can lift the whole slab out
- Mixing bowls — one large, one small
- Whisk — for the wet ingredients
- Rubber spatula — for folding in the chocolate chips without overmixing
- Small piping bag or zip-top bag — for the white chocolate drizzle. I use a zip-top bag with a tiny corner snipped off
- Toothpick or skewer — for creating the spiderweb pattern
- Microwave-safe bowl — for melting the white chocolate. A double boiler works too, but the microwave is faster
If you don’t have an 8×8 pan, a 9×9 will work—just reduce the baking time by about 5 minutes and check early. I learned that the hard way when I grabbed the wrong pan and ended up with slightly thin brownies. They were still delicious, just not as thick as I wanted. Also, if you don’t have a piping bag, don’t stress—a sandwich bag with a tiny hole cut in the corner works perfectly. I’ve been using the same method for years and it never fails.
Preparation Method
Making these spiderweb brownies is straightforward, but there are a few tricks I’ve picked up along the way that make all the difference. Follow these steps carefully, and you’ll have a pan of perfectly spooky brownies every time.
- Preheat and prepare: Preheat your oven to 350°F (175°C). Line your 8×8 pan with parchment paper, leaving overhang on two opposite sides. This makes lifting the brownies out so much easier later—trust me on this one.
- Melt the butter: In a large microwave-safe bowl, melt the 1/2 cup of butter in 30-second intervals. Let it cool for about 2 minutes—you don’t want it hot enough to cook the eggs when you add them.
- Mix the wet ingredients: Add the granulated sugar to the melted butter and whisk until combined. It’ll look grainy, that’s normal. Crack in the two eggs, one at a time, whisking well after each. Stir in the vanilla extract. The mixture should be smooth and glossy at this point.
- Combine the dry ingredients: In a separate small bowl, whisk together the cocoa powder, flour, salt, baking powder, and espresso powder (if using). This ensures everything is evenly distributed before adding to the wet mix.
- Fold it together: Add the dry ingredients to the wet mixture and fold gently with a rubber spatula. Stop as soon as you can’t see any more flour streaks—overmixing leads to cakey brownies instead of fudgy ones. Fold in the semisweet chocolate chips last.
- Bake: Pour the batter into your prepared pan and spread it evenly. Bake for 22-25 minutes, or until a toothpick inserted in the center comes out with a few moist crumbs attached. If it comes out clean, you’ve overbaked them. The edges should look set and slightly pulled away from the pan.
- Cool completely: This is the hardest part, I know. Let the brownies cool in the pan for about 15 minutes, then transfer to a wire rack to cool completely. If you try to add the white chocolate drizzle while they’re still warm, it’ll melt and run everywhere. I speak from experience—I was too impatient once and ended up with a white chocolate puddle instead of a web.
- Make the white chocolate drizzle: Once the brownies are completely cool, place the white chocolate chips and coconut oil in a microwave-safe bowl. Microwave in 20-second intervals, stirring between each, until smooth. Don’t overheat—white chocolate burns easily and turns grainy.
- Create the spiderweb: Transfer the melted white chocolate to your piping bag or zip-top bag and snip off a tiny corner. Pipe a spiral pattern starting from the center of the brownies and working outward. Don’t worry about perfection—spiderwebs are supposed to look organic.
- Drag the web: Take a toothpick or skewer and start from the center. Gently drag it through the white chocolate lines toward the edge. Repeat this 6-8 times around the spiral, spacing the drags evenly. You’ll see the web pattern emerge as the white chocolate gets pulled into arcs.
- Add the spider (optional): Melt the dark chocolate chips the same way you melted the white chocolate. Pipe a small spider body on top of the web, then add eight tiny legs. This is completely optional but adds a cute touch that kids especially love.
- Let the drizzle set: Allow the white chocolate to set completely before cutting. This takes about 30 minutes at room temperature, or 15 minutes in the fridge. I usually pop them in the fridge while I clean up the kitchen.
One thing I want to emphasize—when you’re dragging the toothpick through the white chocolate, don’t press too hard. You want to gently pull the chocolate, not cut through it. The first time I made these, I pressed so hard that I scraped the brownie surface and ended up with messy streaks instead of clean web lines. Light, gentle strokes are the key.
Cooking Tips & Techniques
After making these spiderweb brownies more times than I can count, I’ve collected a few tips that separate good brownies from great ones. Here’s what I’ve learned through trial and error:
Don’t overbake. This is the number one mistake people make with brownies. They look underdone when they come out of the oven, but they continue cooking as they cool. Pull them out when a toothpick comes out with moist crumbs, not wet batter. If you wait until the toothpick is clean, you’ll have dry, crumbly brownies. I ruined an entire batch for a Halloween party once because I thought they needed “just two more minutes.” They didn’t.
Room temperature eggs matter. Cold eggs can cause the butter to seize up, creating a lumpy batter. If you forgot to take your eggs out ahead of time, place them in a bowl of warm water for 5 minutes before using. This small step makes a noticeable difference in the texture.
Use a light hand with the white chocolate. When melting white chocolate, low and slow is the way to go. I use 50% power on my microwave and stir every 15 seconds. If it starts to look thick or grainy, you’ve overheated it—unfortunately, there’s no saving it at that point. The teaspoon of coconut oil helps prevent this, but it’s not a miracle worker.
Multitask strategically. While the brownies are baking, measure out your white chocolate chips and coconut oil. While they’re cooling, clean your dishes. This way, by the time the brownies are ready to decorate, you’re not scrambling to find your piping bag or wondering where you put the toothpicks. I learned this the hard way when I had melted white chocolate ready but couldn’t find my scissors to cut the zip-top bag.
Practice the web pattern on parchment first. If you’re nervous about the spiderweb design, pipe a practice spiral on a piece of parchment paper and drag it with a toothpick. It takes about 30 seconds and gives you the confidence to do it perfectly on the actual brownies. I did this the second time I made these, and it made a huge difference.
Variations & Adaptations
One of the things I love about these spiderweb brownies is how adaptable they are. Here are some variations I’ve tried and loved:
Peanut butter spiderweb: Swap the white chocolate drizzle for melted peanut butter mixed with a little coconut oil. The salty-sweet combination is incredible, and the peanut butter creates a beautiful web pattern. My neighbor Carol requested this version for her Super Bowl party, and it was a hit.
Vegan spiderweb brownies: Replace the butter with coconut oil (use 1/2 cup), substitute the eggs with flax eggs (2 tablespoons ground flaxseed mixed with 6 tablespoons water, let sit for 5 minutes), and use dairy-free chocolate chips. The texture is slightly different—a bit more cakey—but still delicious. I made these for my sister who’s vegan, and she couldn’t stop eating them.
Mint chocolate spiderweb: Add 1/2 teaspoon of peppermint extract to the brownie batter and use green-tinted white chocolate for the web. The mint and chocolate combination is perfect for the holiday season, and the green web adds a festive touch. I made these for a Christmas party last year, and people kept asking if they were from a bakery.
Gluten-free option: Substitute the all-purpose flour with a 1:1 gluten-free baking blend. I’ve tested this with Bob’s Red Mill and King Arthur’s gluten-free flour, and both work well. Just be careful not to overmix, as gluten-free batters can get gummy if overworked.
Extra spooky version: Add orange food coloring to the white chocolate drizzle to make it look like a pumpkin web. Or use black cocoa powder in the brownie batter for an almost-black color that makes the white web pop even more. I tried this for a Halloween baking contest and won second place—the judge said the presentation was “hauntingly beautiful.”
Serving & Storage Suggestions
These spiderweb brownies are best served at room temperature, which lets the white chocolate web stay firm while the brownie stays fudgy. If you’ve refrigerated them, let them sit out for about 20 minutes before serving. I like to cut them into squares using a sharp knife, wiping the blade clean between cuts for neat edges. For Halloween parties, I arrange them on a black platter with a few fake spiders scattered around for effect.
These pair beautifully with a cold glass of milk or a hot cup of coffee. The bitterness of the coffee contrasts perfectly with the sweet white chocolate. If you’re serving them at a party, set out small cups of hot apple cider alongside—the combination is surprisingly good and very autumnal.
For storage, place the brownies in an airtight container at room temperature for up to 3 days. If you need to stack them, put a sheet of parchment paper between layers to protect the white chocolate web. I’ve made the mistake of stacking them without parchment, and the webs stuck together and broke apart. Live and learn.
You can freeze these spiderweb brownies for up to 3 months. Here’s the trick: freeze them on a baking sheet in a single layer until the white chocolate is solid, then transfer to a freezer-safe container with parchment between layers. To thaw, let them sit at room temperature for about an hour. The white chocolate might lose a bit of its shine, but the flavor stays intact. I usually make a double batch in October and freeze one pan for Thanksgiving—it’s like finding a Halloween treat in November.
The flavors actually develop over time. Day-old brownies taste even richer than fresh ones, as the cocoa has time to meld with the other ingredients. I’ve found that the spiderweb pattern holds up best on the first day, but the taste is at its peak on day two. So if you’re making these for a party, bake them a day ahead and add the web just before serving.
Nutritional Information & Benefits
Let’s be honest—these are a treat, not a health food. But here’s the estimated nutritional breakdown per brownie (assuming 16 servings): approximately 220 calories, 12g fat, 28g carbohydrates, 3g protein, and 18g sugar. The white chocolate drizzle adds about 30 calories per serving.
That said, there are a few bright spots. Cocoa powder is rich in antioxidants called flavonoids, which have been linked to heart health and reduced inflammation. Dark chocolate contains iron, magnesium, and zinc—though the amounts in a single brownie are modest. The eggs provide protein and B vitamins, and if you use high-quality butter, you’re getting a small amount of vitamin A.
For those with dietary concerns, these brownies contain dairy, eggs, and gluten. If you’re avoiding dairy, use the vegan variation I mentioned earlier. For gluten-free needs, the flour substitution works well. And if you’re watching your sugar intake, you can reduce the granulated sugar to 3/4 cup—the brownies will be slightly less sweet but still delicious. I’ve tested this myself, and while the texture is a bit different, the spiderweb effect works just the same.
I personally believe that treats like these have a place in a balanced diet. They’re for celebrations, for sharing, for those moments when you want to create something special. One brownie won’t derail your health goals, but it might make your Halloween party unforgettable. And honestly, that’s worth something.
Conclusion
These spiderweb brownies with white chocolate drizzle are more than just a Halloween dessert—they’re a way to bring a little magic into your kitchen. They’re the recipe I turn to when I want to impress without stress, when I need something that looks like it took hours but actually came together in under an hour. The fudgy chocolate base, the creamy white chocolate web, that satisfying moment when you drag the toothpick through and watch the pattern emerge—it never gets old.
I hope you give these a try, and I hope they become as special to you as they are to me. Maybe you’ll serve them at a Halloween party, or maybe you’ll make them on a random Tuesday in October just because you can. Either way, I’d love to hear how they turn out. Did you add a spider? Did you try the mint version? Did your kids help with the web pattern? Drop a comment below and let me know—I read every single one, and your stories make my day.
Happy Halloween, and happy baking!
Frequently Asked Questions
Can I use a boxed brownie mix for these spiderweb brownies?
Absolutely! If you’re short on time, a good-quality boxed mix works perfectly. Just prepare the brownies according to the package directions, let them cool completely, and then add the white chocolate spiderweb on top. The web pattern looks just as impressive on boxed brownies as it does on homemade ones.
Why did my white chocolate seize up when I melted it?
White chocolate is notoriously finicky. It seizes when it gets too hot or when even a tiny drop of water gets into the bowl. To prevent this, use a completely dry bowl and melt the chocolate in short bursts at 50% power. The teaspoon of coconut oil helps stabilize it, but if it does seize, unfortunately there’s no saving it—you’ll need to start over with fresh chocolate.
Can I make these spiderweb brownies ahead of time?
Yes! You can bake the brownies up to 2 days ahead and store them in an airtight container at room temperature. Add the white chocolate web on the day you plan to serve them for the best presentation. The web pattern stays fresh for about 24 hours before it starts to soften slightly.
How do I get clean cuts without breaking the spiderweb?
Use a sharp knife and wipe it clean between each cut. For the cleanest edges, chill the brownies in the refrigerator for 15 minutes before cutting—the white chocolate will be firmer and less likely to crack. I also recommend cutting the brownies while they’re still on the parchment paper, then lifting each piece out individually.
My spiderweb pattern didn’t turn out well. What went wrong?
There are a few common issues. If your white chocolate was too thick, it won’t drag properly—add a tiny bit more coconut oil to thin it out. If you pressed too hard with the toothpick, you might have cut through the chocolate instead of dragging it. And if the brownies were still warm, the white chocolate melted into the surface instead of sitting on top. Let the brownies cool completely, use a light hand, and practice on parchment first if you’re nervous.
Pin This Recipe!
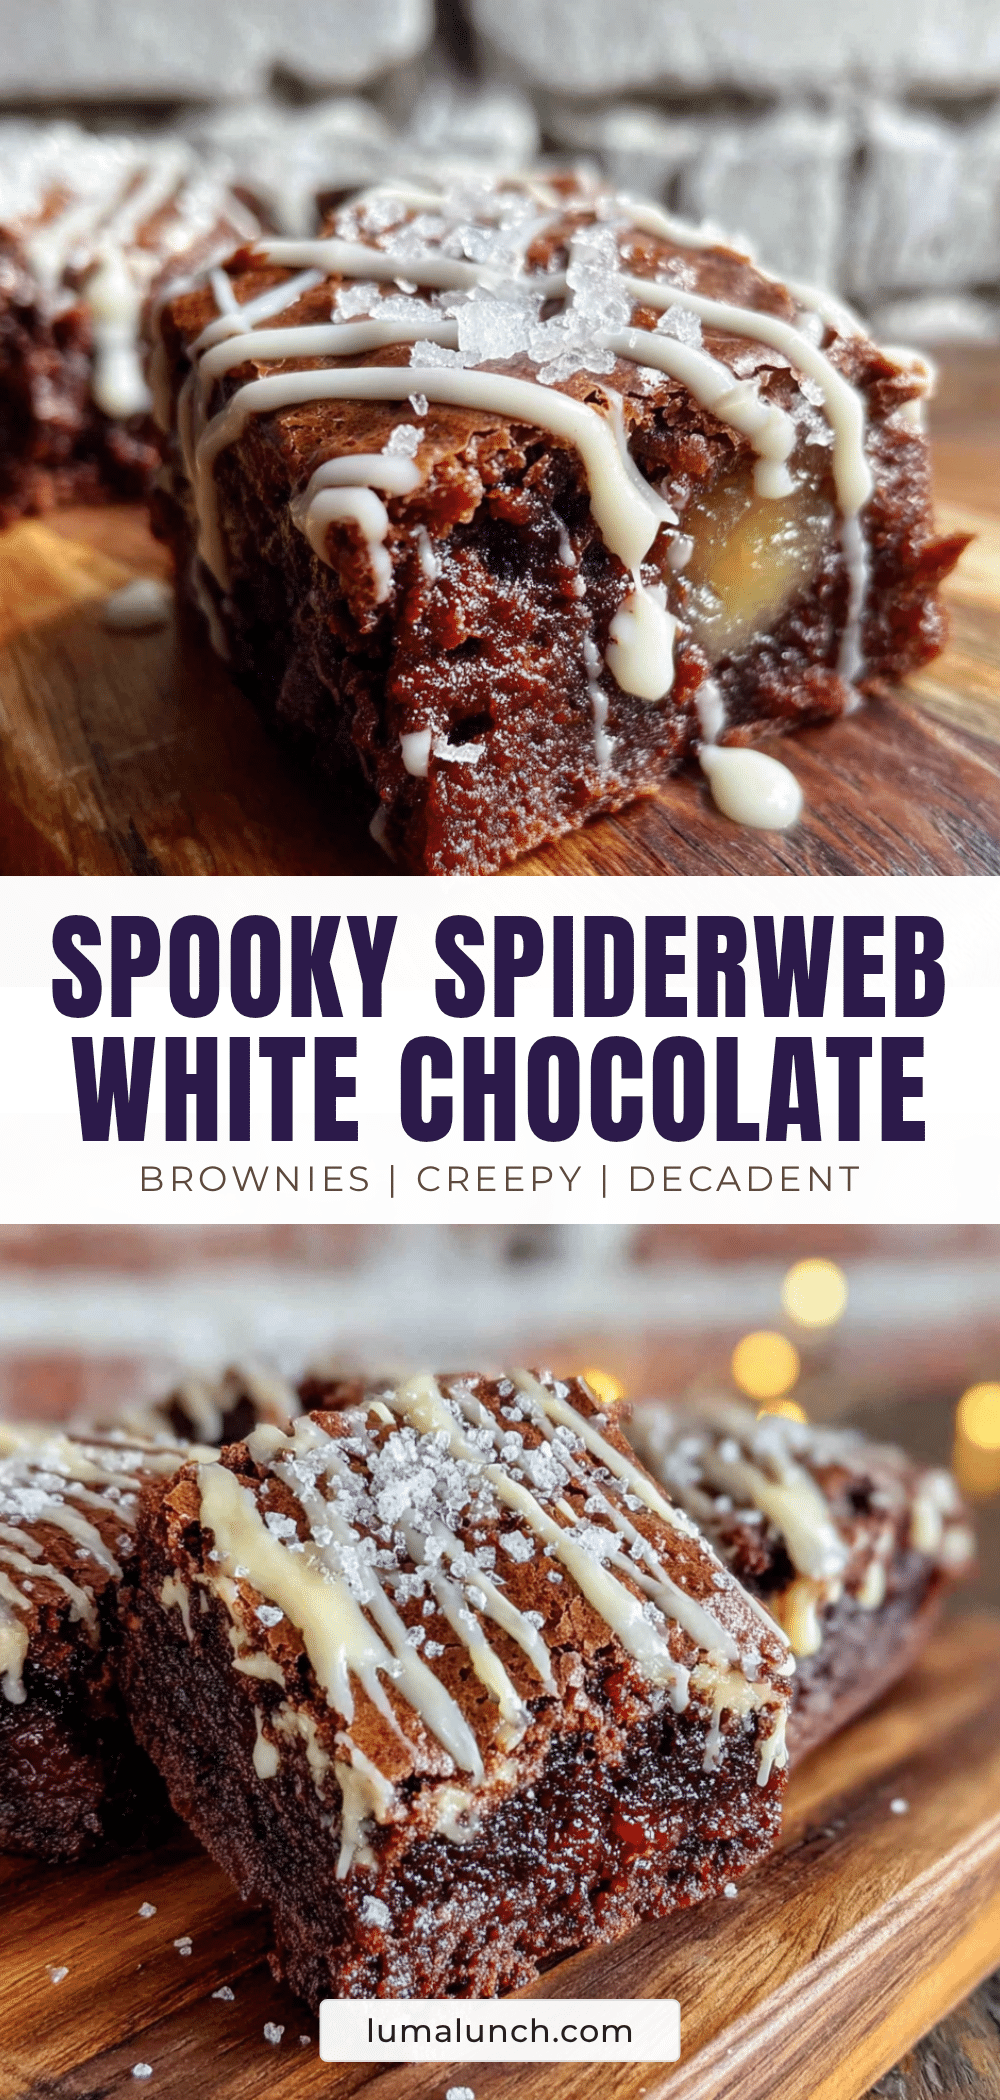
Spooky Spiderweb Brownies: Easy White Chocolate Drizzle Recipe
Fudgy, rich brownies topped with a delicate white chocolate spiderweb pattern. This foolproof recipe is perfect for Halloween parties and requires no artistic talent to decorate.
- Prep Time: 15 minutes
- Cook Time: 25 minutes
- Total Time: 45 minutes
- Yield: 16 servings 1x
- Category: Dessert
- Cuisine: American
Ingredients
- 1/2 cup unsalted butter, melted
- 1 cup granulated sugar
- 2 large eggs, room temperature
- 1 teaspoon vanilla extract
- 1/3 cup unsweetened cocoa powder
- 1/2 cup all-purpose flour
- 1/4 teaspoon salt
- 1/4 teaspoon baking powder
- 1/2 cup semisweet chocolate chips
- 1/2 teaspoon espresso powder (optional)
- 1/2 cup white chocolate chips
- 1 teaspoon coconut oil
- 2 tablespoons dark chocolate chips (optional, for spider)
Instructions
- Preheat oven to 350°F (175°C). Line an 8×8 inch baking pan with parchment paper, leaving overhang on two opposite sides.
- In a large microwave-safe bowl, melt the butter in 30-second intervals. Let cool for 2 minutes.
- Add sugar to melted butter and whisk until combined. Add eggs one at a time, whisking well after each. Stir in vanilla extract.
- In a separate small bowl, whisk together cocoa powder, flour, salt, baking powder, and espresso powder (if using).
- Add dry ingredients to wet mixture and fold gently with a rubber spatula until just combined. Fold in semisweet chocolate chips.
- Pour batter into prepared pan and spread evenly. Bake for 22-25 minutes, until a toothpick inserted in center comes out with moist crumbs.
- Cool brownies in pan for 15 minutes, then transfer to a wire rack to cool completely.
- Once brownies are completely cool, place white chocolate chips and coconut oil in a microwave-safe bowl. Microwave in 20-second intervals, stirring between each, until smooth.
- Transfer melted white chocolate to a piping bag or zip-top bag and snip off a tiny corner. Pipe a spiral pattern starting from the center of the brownies outward.
- Using a toothpick or skewer, start from the center and gently drag through the white chocolate lines toward the edge. Repeat 6-8 times around the spiral, spacing evenly.
- If desired, melt dark chocolate chips and pipe a small spider body and eight legs on top of the web.
- Let white chocolate set completely before cutting, about 30 minutes at room temperature or 15 minutes in the refrigerator.
Notes
Don’t overbake; pull brownies when toothpick has moist crumbs. Use room temperature eggs. Melt white chocolate slowly at 50% power to prevent seizing. Practice web pattern on parchment first if nervous. For clean cuts, chill brownies 15 minutes before cutting and wipe knife between cuts.
Nutrition
- Serving Size: 1 brownie
- Calories: 220
- Sugar: 18
- Sodium: 95
- Fat: 12
- Saturated Fat: 7
- Carbohydrates: 28
- Fiber: 2
- Protein: 3
Keywords: spiderweb brownies, Halloween brownies, white chocolate drizzle, fudgy brownies, easy Halloween dessert


