Love this? Save it for later!
Share the inspiration with your friends
Mrs. Jensen watched me wrestle with a rolling pin and a stubborn lump of dough in her sunny kitchen and didn’t say anything at first. Then she quietly handed me a well-worn, flour-dusted wooden rolling pin and said, “Try this — it was my grandmother’s, and it just knows how to handle dough.” That moment, simple as it was, came with a small plate of perfectly iced alphabet sugar cookies. No big fuss, no ceremony — just the way neighbors share things when they really want to pass something on. The cookies were shaped like letters, each one decorated with bright royal icing, and they spelled out little messages of encouragement. I remember how the icing glistened in the afternoon light and how the cookies tasted like childhood and kindness all at once.
Honestly, I wasn’t sure I could replicate those cookies at home, especially with the royal icing that seemed so delicate. But Mrs. Jensen’s recipe and quiet tips stuck with me. It’s not just the recipe itself but the way it came to me — through a genuine, no-pressure exchange that felt more like a conversation than a lesson. Maybe you’ve been there, trying to bake something special for a teacher gift or a meaningful occasion and hoping it turns out just right. This recipe for perfect alphabet sugar cookies with royal icing is the result of those afternoons, a little trial and error, and lots of sweet memories. It’s one I keep returning to when I want a gift that feels personal, thoughtful, and a little bit magical.
Why You’ll Love This Recipe
After making these alphabet sugar cookies countless times, I can confidently say this recipe is a keeper — and here’s why you’ll want to have it in your baking arsenal:
- Quick & Easy: Comes together in about 45 minutes, so it’s perfect for those last-minute teacher gifts or when time’s tight but you want to impress.
- Simple Ingredients: No need for fancy or hard-to-find items. Most of these ingredients are pantry staples you probably already have on hand.
- Perfect for Gifting: These cookies make a charming, personalized present for teachers, kids, or anyone who appreciates a sweet, thoughtful touch.
- Crowd-Pleaser: The crisp yet tender cookie texture combined with the smooth royal icing always gets compliments from both kids and adults.
- Unbelievably Delicious: The balance between buttery sugar cookie and sweet, glossy icing is just right — not too sweet, just comfort food done well.
What sets this recipe apart? It’s the royal icing technique that yields a smooth, hard-drying finish without cracking or dullness. Plus, the dough is designed to hold its shape perfectly, so your letters come out crisp and clear. I’ve found that using a mix of almond and vanilla extracts adds subtle depth to the flavor, and piping the icing with a small round tip keeps the details neat but not intimidating for a home baker. This recipe isn’t just sugar cookies with letters; it’s a little canvas for messages that brighten a teacher’s day.
What Ingredients You Will Need
This recipe uses straightforward, wholesome ingredients to create cookies that hold their shape and royal icing that dries beautifully shiny. Here’s what you’ll need:
- For the Sugar Cookie Dough:
- 2 ¾ cups (345 g) all-purpose flour, sifted
- 1 teaspoon baking powder
- ½ teaspoon salt
- 1 cup (227 g) unsalted butter, softened (I like using Plugrá for its creamy texture)
- 1 ½ cups (300 g) granulated sugar
- 1 large egg, room temperature
- 1 tablespoon pure vanilla extract
- ½ teaspoon almond extract (optional, adds a lovely aroma)
- For the Royal Icing:
- 3 tablespoons meringue powder
- 4 cups (480 g) powdered sugar, sifted
- 6-8 tablespoons water (adjust for consistency)
- Gel food coloring (optional, for decorating letters)
Pro tip: For the best cookie structure, make sure your butter is softened but not melted. If you’re making these during warmer months, chilling the dough slightly before rolling can help prevent spreading. Also, I recommend using a trusted brand of meringue powder like Wilton for a reliable royal icing that dries hard and glossy.
Equipment Needed
- Mixing bowls (preferably glass or stainless steel for ease of cleaning)
- Electric mixer or stand mixer with paddle attachment (makes creaming butter and sugar a breeze)
- Rolling pin (a smooth wooden one works well; Mrs. Jensen’s old rolling pin gave me inspiration!)
- Alphabet cookie cutters (various sizes available online or in baking stores)
- Baking sheets lined with parchment paper or silicone mats
- Cooling racks to let cookies rest evenly
- Piping bags and small round piping tips (#1 or #2 recommended) for precise royal icing application
- Sifter for flour and powdered sugar (helps avoid lumps)
If you don’t have alphabet cutters, you can use a small paring knife to carefully cut out letters freehand — takes a bit more patience but is totally doable. For piping, I’ve also used disposable plastic bags with a tiny corner snipped off when I was in a pinch, so no specialty equipment is required to get started. Keeping your tools clean and dry is key, especially for royal icing, which can be sensitive to moisture.
Preparation Method
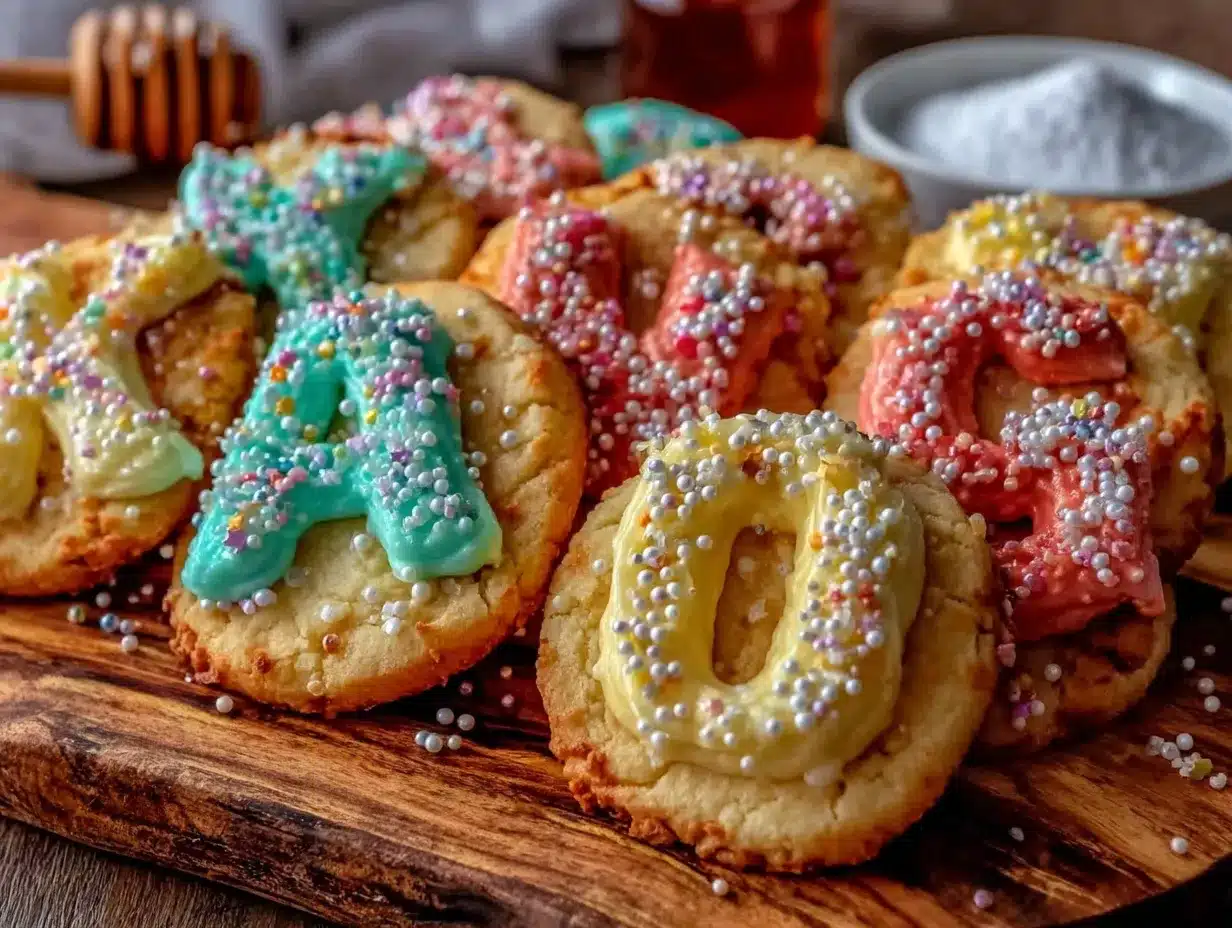
- Mix dry ingredients: In a medium bowl, whisk together 2 ¾ cups sifted all-purpose flour, 1 teaspoon baking powder, and ½ teaspoon salt. Set aside.
- Cream butter and sugar: In a large mixing bowl, beat 1 cup softened unsalted butter and 1 ½ cups granulated sugar with a mixer on medium speed until light and fluffy, about 3-4 minutes. The texture should be creamy and pale.
- Add egg and extracts: Beat in 1 large room-temperature egg, 1 tablespoon vanilla extract, and ½ teaspoon almond extract until fully combined. You’ll notice the mixture becomes smoother and silkier.
- Combine wet and dry: Gradually add the dry ingredients to the butter mixture, mixing on low speed until just combined. Don’t overmix — the dough should come together but stay soft.
- Chill the dough: Wrap the dough in plastic wrap and refrigerate for at least 1 hour. This step helps the dough firm up, making it easier to roll and cut shapes that hold their form.
- Preheat oven and prepare pans: Set oven to 350°F (175°C). Line baking sheets with parchment paper or silicone mats.
- Roll and cut: On a lightly floured surface, roll out the chilled dough to about ¼ inch (6 mm) thickness. Use your alphabet cookie cutters to cut out letters. Gather scraps, reroll, and repeat until all dough is used.
- Bake: Place cutouts on prepared baking sheets about 1 inch (2.5 cm) apart. Bake for 8-10 minutes until edges are just starting to turn golden. Watch carefully — overbaking dries cookies out.
- Cool: Let cookies rest on the baking sheet for 2 minutes, then transfer to wire racks to cool completely before decorating.
- Make royal icing: In a clean bowl, combine 3 tablespoons meringue powder and 4 cups sifted powdered sugar. Add 6-8 tablespoons water gradually, beating on low speed until icing reaches stiff peak consistency. Add gel coloring if desired.
- Decorate: Fill piping bags fitted with small round tips with icing. Outline each letter first, then flood the center with thinned icing if you like. Let icing dry completely (several hours or overnight) before stacking or packaging.
Quick tip: If your dough feels sticky while rolling, sprinkle a little extra flour but don’t overdo it — too much flour can make cookies tough. When piping, keep a damp cloth over your royal icing bowl to prevent it from drying out between letters.
Cooking Tips & Techniques
Working with sugar cookie dough and royal icing can be a bit tricky, but here are some lessons I learned the hard way:
- Don’t rush chilling: I once tried skipping the dough chill and ended up with misshapen letters that spread too much. An hour in the fridge really makes a difference.
- Use fresh meringue powder: Old or expired powder can result in runny icing. Keep yours sealed tight and stored in a cool, dry place.
- Consistency is key for icing: Thick icing is great for outlining; thinner icing works best for flooding. Test your icing by dragging a spoon through it — it should smooth out within 10 seconds.
- Practice piping on parchment: Before decorating cookies, practice your letters on parchment paper. It helps steady your hand and boosts confidence.
- Multitasking tip: While cookies bake, prepare your icing. This way, you’re ready to decorate as soon as cookies cool, speeding up the process.
Don’t worry if your first batch isn’t perfect. I’ve had plenty of cracked icing and uneven letters, but honestly, those “imperfect” cookies often have the most charm when gifted. Let the process be fun, and you’ll get better each time.
Variations & Adaptations
Here are some ways to make the perfect alphabet sugar cookies truly your own:
- Dietary substitutions: Use almond flour or a gluten-free blend instead of all-purpose flour for gluten sensitivity. Substitute dairy-free butter and coconut yogurt for a vegan version.
- Seasonal twists: Swap vanilla and almond extracts for citrus zest (like lemon or orange) to brighten flavors in spring and summer.
- Flavorful accents: Add a pinch of cinnamon or nutmeg to the dough for a cozy fall vibe. Or fold in finely chopped peppermint for winter holidays.
- Alternative decorating: Instead of royal icing, try melted white chocolate or colored candy melts for a different finish.
- Personal touch: I once created a batch with edible gold dust on the icing letters for a teacher’s retirement — it looked stunning and felt extra special.
Serving & Storage Suggestions
These alphabet sugar cookies are best served at room temperature, so the royal icing is fully set and crisp to the bite. Arrange them in a pretty box or cellophane bag with a ribbon for gifting. They pair wonderfully with a hot cup of tea or a cold glass of milk (trust me, the combo never gets old).
To store, place cookies in an airtight container layered with parchment paper between each layer. They keep well at room temperature for up to 5 days. For longer storage, freeze the decorated cookies in a single layer on a baking sheet, then transfer them to a freezer bag. Thaw at room temperature before serving.
The flavors and textures mellow beautifully over a day, so if you can, make them a day ahead of time. That way, the icing hardens perfectly, and the cookie flavor deepens, making your gift taste even more thoughtful.
Nutritional Information & Benefits
While these cookies are definitely a treat, here’s the lowdown on their nutritional profile per serving (about one cookie): approximately 120 calories, 5 g fat, 18 g carbohydrates, and 1 g protein. The use of real butter adds richness and some fat-soluble vitamins, while the powdered sugar offers quick energy.
The royal icing is mostly sugar and meringue powder, so it’s best enjoyed in moderation. For those watching gluten intake, you can easily make a gluten-free version by substituting the flour. These cookies are free from nuts unless you add almond extract or other variations, so they’re generally safe for many allergies.
From a wellness perspective, baking these cookies at home means you control the ingredients, avoiding preservatives and artificial colors. Plus, the joy and connection baked into these cookies? That’s a benefit no nutrition label can measure.
Conclusion
These perfect alphabet sugar cookies with royal icing are more than just a sweet treat — they’re a way to send a message, literally and lovingly. Whether for teacher gifts, special occasions, or just because, they show you care with every letter and every bite. Customize the colors, flavors, and messages to fit your style and occasion, and let the simple joy of baking bring a little magic to your kitchen.
I keep coming back to this recipe because it’s a warm reminder of those afternoons with Mrs. Jensen and the quiet gift of kindness passed along with flour and sugar. Give it a try, and let me know how your cookies turn out — I’d love to hear about your own lettered messages and baking stories!
FAQs
How do I prevent my sugar cookies from spreading too much?
Make sure to chill the dough for at least an hour before rolling. Also, avoid over-flouring the surface as that can change dough consistency. Baking at the right temperature (350°F/175°C) and not overbaking helps keep the shape intact.
Can I make royal icing ahead of time?
Yes! Royal icing can be made a day ahead. Store it in an airtight container and cover the surface with plastic wrap to prevent drying out. Stir it before use and add a few drops of water if it thickened too much.
What’s the best way to color royal icing?
Gel food coloring works best because it doesn’t change icing consistency. Add color a little at a time until you reach the desired shade. Avoid liquid food coloring, which can thin the icing.
Can I freeze decorated sugar cookies?
Absolutely! Freeze them on a baking sheet in a single layer until firm, then transfer to a freezer bag. Thaw at room temperature for a few hours before serving to keep icing intact.
Are these cookies suitable for kids to decorate?
Yes! The dough recipe is simple and kid-friendly. You can prepare the royal icing in different colors and let kids pipe or flood the cookies. Just supervise when handling piping bags for best results.
For a fun twist on homemade gifts, you might enjoy pairing these cookies with a warm cup of homemade homemade hot chocolate or a batch of crispy garlic chicken for a cozy tea party feel.
Pin This Recipe!
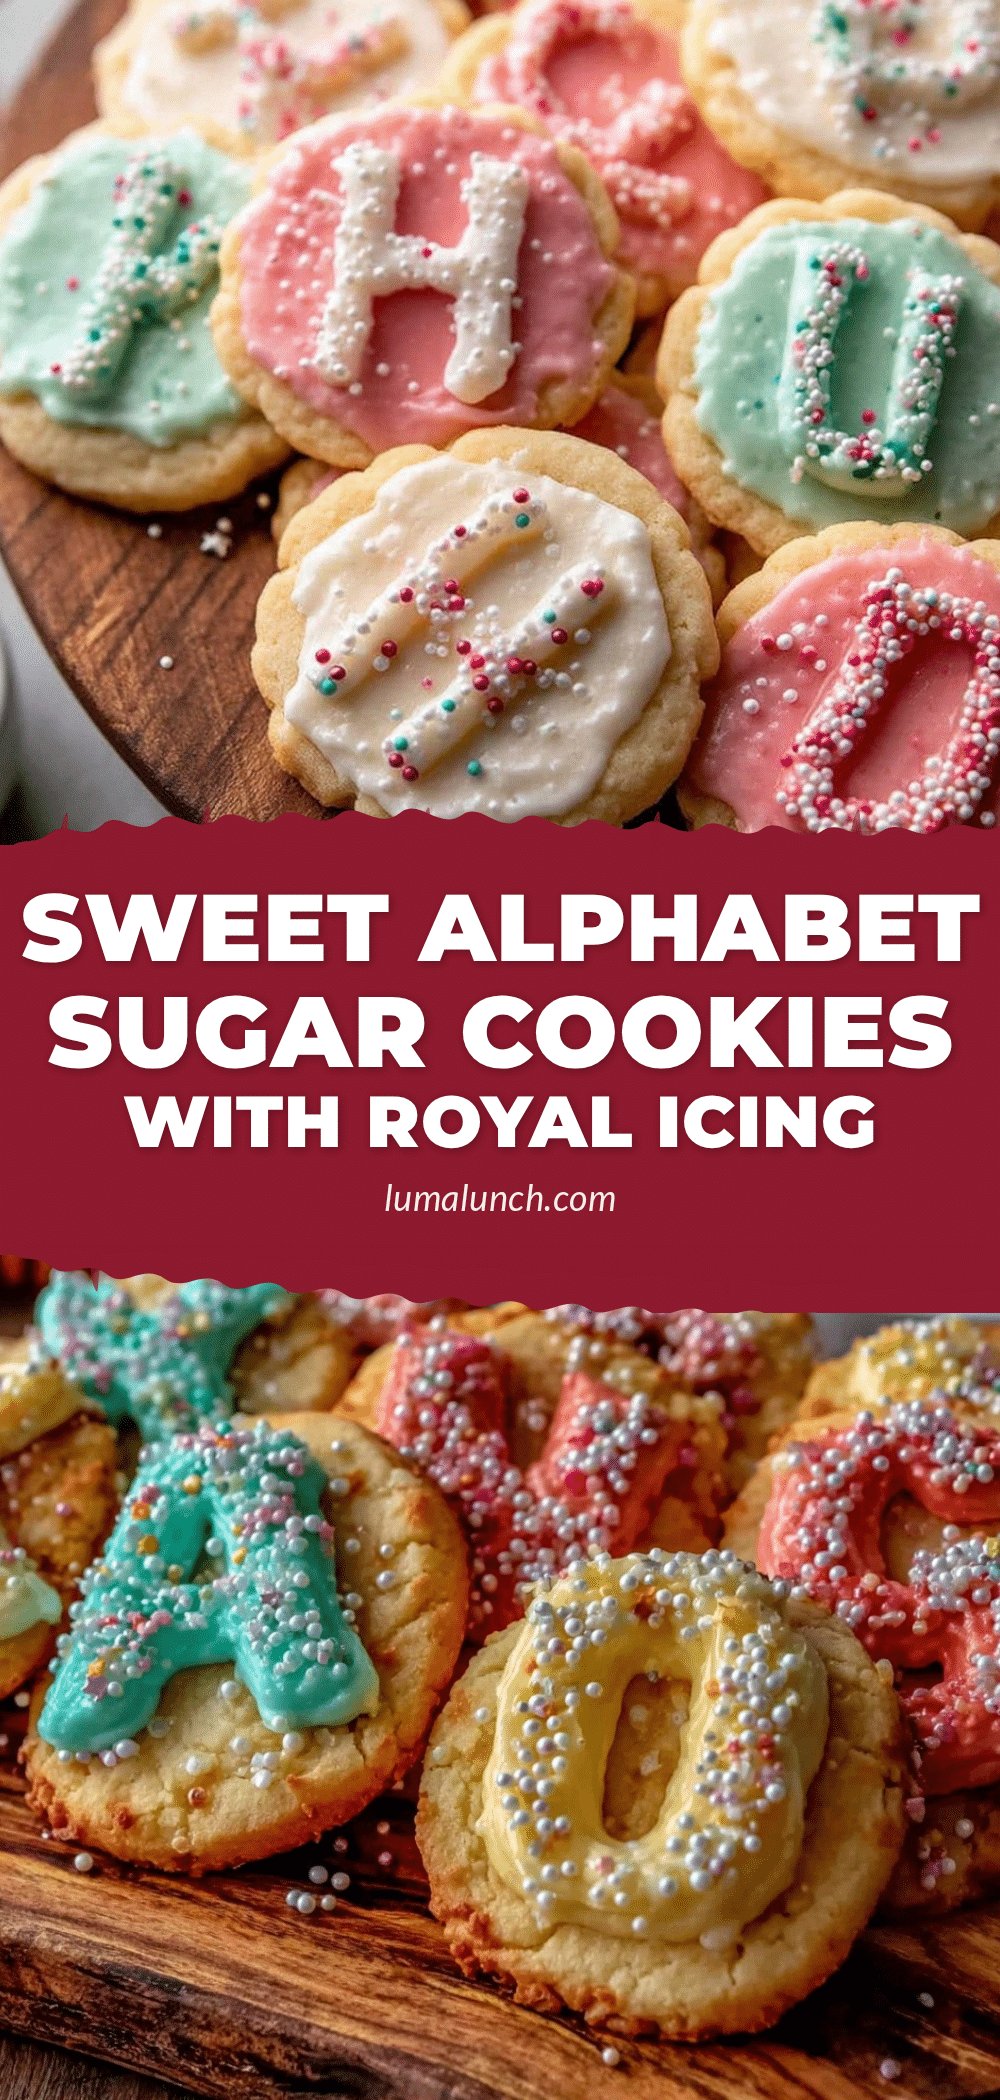
Perfect Alphabet Sugar Cookies Recipe Easy Royal Icing for Teacher Gifts

This recipe creates crisp, tender alphabet sugar cookies decorated with smooth, glossy royal icing, perfect for personalized teacher gifts or special occasions.
- Prep Time: 15 minutes
- Cook Time: 10 minutes
- Total Time: 1 hour 25 minutes
- Yield: About 24 cookies 1x
- Category: Dessert
- Cuisine: American
Ingredients
- 2 ¾ cups (345 g) all-purpose flour, sifted
- 1 teaspoon baking powder
- ½ teaspoon salt
- 1 cup (227 g) unsalted butter, softened
- 1 ½ cups (300 g) granulated sugar
- 1 large egg, room temperature
- 1 tablespoon pure vanilla extract
- ½ teaspoon almond extract (optional)
- 3 tablespoons meringue powder
- 4 cups (480 g) powdered sugar, sifted
- 6–8 tablespoons water (adjust for consistency)
- Gel food coloring (optional)
Instructions
- In a medium bowl, whisk together 2 ¾ cups sifted all-purpose flour, 1 teaspoon baking powder, and ½ teaspoon salt. Set aside.
- In a large mixing bowl, beat 1 cup softened unsalted butter and 1 ½ cups granulated sugar with a mixer on medium speed until light and fluffy, about 3-4 minutes.
- Beat in 1 large room-temperature egg, 1 tablespoon vanilla extract, and ½ teaspoon almond extract until fully combined.
- Gradually add the dry ingredients to the butter mixture, mixing on low speed until just combined. Do not overmix.
- Wrap the dough in plastic wrap and refrigerate for at least 1 hour.
- Preheat oven to 350°F (175°C). Line baking sheets with parchment paper or silicone mats.
- On a lightly floured surface, roll out the chilled dough to about ¼ inch (6 mm) thickness. Use alphabet cookie cutters to cut out letters. Gather scraps, reroll, and repeat.
- Place cutouts on prepared baking sheets about 1 inch (2.5 cm) apart. Bake for 8-10 minutes until edges just start to turn golden.
- Let cookies rest on the baking sheet for 2 minutes, then transfer to wire racks to cool completely.
- In a clean bowl, combine 3 tablespoons meringue powder and 4 cups sifted powdered sugar. Gradually add 6-8 tablespoons water, beating on low speed until stiff peak consistency is reached. Add gel coloring if desired.
- Fill piping bags fitted with small round tips with icing. Outline each letter first, then flood the center with thinned icing if desired.
- Let icing dry completely (several hours or overnight) before stacking or packaging.
Notes
Chill dough for at least 1 hour to prevent spreading. Use fresh meringue powder for best royal icing results. Practice piping on parchment paper before decorating cookies. Keep royal icing covered with a damp cloth to prevent drying out during use.
Nutrition
- Serving Size: 1 cookie
- Calories: 120
- Fat: 5
- Carbohydrates: 18
- Protein: 1
Keywords: alphabet sugar cookies, royal icing, teacher gifts, sugar cookies, easy cookie recipe, holiday cookies, personalized cookies


