Love this? Save it for later!
Share the inspiration with your friends
“I wasn’t planning on making dessert that day,” I admitted to my friend Lisa as we both stared at the clock, realizing it was nearly dinner time and the neighborhood potluck was just a couple of hours away. The truth is, I had forgotten to pick up anything sweet, and honestly, I was scrambling. That’s when I remembered a scribbled note I’d found tucked inside an old cookbook at a thrift store a few weeks earlier. It mentioned a simple, no-fuss strawberry cheesecake bar recipe that promised big flavor without the oven time or fancy ingredients.
So there we were, in my cozy kitchen, armed with a cracked mixing bowl and some basic pantry staples, whipping up these easy no-bake strawberry cheesecake bars. The crust was buttery and crumbly, the cheesecake layer smooth and tangy, and the strawberry topping bright and fresh—just the right balance of sweet and tart. I spilled a bit of cream cheese on the counter (of course), but that didn’t stop us from getting them ready in under 30 minutes flat.
What really surprised me was how this simple recipe, costing less than $2 per square, stole the show that evening. Neighbors kept asking for seconds, and I caught my skeptical aunt sneaking one when she thought no one was looking. Maybe you’ve been there—needing a quick, budget-friendly dessert that looks put together but doesn’t require a master’s degree in baking. Well, let me tell you, this recipe has stayed with me ever since. And now, I’m excited to share it with you!
Why You’ll Love This Recipe
Having tested this easy no-bake strawberry cheesecake bars recipe multiple times (including during that frantic potluck night), I can confidently say it’s one of those rare treats that hits every mark. Here’s why it stands out:
- Quick & Easy: Ready in under 30 minutes with no oven needed, perfect for last-minute cravings or busy evenings.
- Simple Ingredients: No specialty stores required—you probably already have most of these in your pantry or fridge.
- Budget-Friendly: Each square costs less than $2, making it great for gatherings without breaking the bank.
- Crowd-Pleaser: Loved by kids and adults alike; it’s the kind of dessert people rave about without fuss.
- Fresh & Flavorful: The strawberry topping adds a bright, juicy contrast to the creamy cheesecake layer, making it irresistibly delicious.
What really makes this recipe different is the no-bake technique combined with a perfectly balanced crust and topping. I found that blending the cream cheese until ultra-smooth and letting the crust chill long enough brings texture and flavor to the next level. This isn’t just another cheesecake bar—it’s my go-to when I want something that feels special but requires minimal effort.
Honestly, there’s something comforting about slicing into these bars and seeing those layers come together. It’s the kind of dessert that makes you close your eyes after the first bite, savoring that creamy, fruity goodness. Whether you’re impressing guests or just treating yourself on a quiet night, these strawberry cheesecake bars deliver every time.
What Ingredients You Will Need
This recipe uses straightforward, wholesome ingredients that come together to create a rich, creamy dessert with a bright strawberry finish. Most are pantry staples or easy to find in any grocery store.
- For the Crust:
- 1 ½ cups graham cracker crumbs (about 10 full sheets, crushed) — I prefer using Honey Maid for that classic flavor
- 6 tablespoons unsalted butter, melted (adds richness and helps bind the crust)
- 2 tablespoons granulated sugar (balances the buttery crust)
- For the Cheesecake Layer:
- 16 ounces (450g) cream cheese, softened to room temperature (use full-fat for best texture)
- ½ cup powdered sugar, sifted (for smooth sweetness)
- 1 teaspoon vanilla extract (pure if possible for aroma)
- 1 cup heavy cream, cold (whipped to soft peaks for lightness)
- For the Strawberry Topping:
- 2 cups fresh strawberries, hulled and sliced (frozen can be used but fresh is best for texture)
- 2 tablespoons granulated sugar (to macerate the berries)
- 1 teaspoon lemon juice (adds brightness)
- Optional: 1 tablespoon cornstarch mixed with 2 tablespoons water (if you prefer a thicker topping)
For a seasonal twist, you can swap strawberries with blueberries or raspberries. If you need a dairy-free option, try coconut cream instead of heavy cream and a vegan cream cheese alternative. I’ve also found that using a store-brand powdered sugar works just fine here, so no need to splurge unless you want that extra silky mouthfeel.
Equipment Needed
- 8×8-inch (20×20 cm) square baking pan — glass or metal works well; I use glass because it’s easy to see the layers
- Mixing bowls — one large for the cheesecake, one medium for the crust
- Electric mixer or stand mixer — helps get the cream cheese super smooth and the cream whipped just right; hand-whisking is possible but takes longer
- Spatula — for folding and spreading layers evenly
- Measuring cups and spoons — precise measurements make a difference here
- Plastic wrap or aluminum foil — to cover the bars during chilling
If you don’t have an electric mixer, no worries! I’ve made these bars with a sturdy whisk and some elbow grease (though it took a bit longer). For a budget-friendly option, you can find basic hand mixers online for under $20, which are great for desserts like this.
Preparation Method
- Prepare the crust: In a medium bowl, combine 1 ½ cups graham cracker crumbs, 6 tablespoons melted unsalted butter, and 2 tablespoons granulated sugar. Stir until the mixture resembles wet sand. (Tip: Press firmly into the bottom of your 8×8-inch pan using the back of a spoon or a flat-bottomed glass.) Chill in the fridge for at least 10 minutes to set. This helps prevent a crumbly crust later.
- Make the cheesecake layer: In a large bowl, beat 16 ounces softened cream cheese with ½ cup sifted powdered sugar and 1 teaspoon vanilla extract until smooth and creamy. (If you see lumps, keep mixing—it’ll get there!)
- Whip the cream: In a separate bowl, beat 1 cup cold heavy cream until soft peaks form. (Avoid over-whipping; you want it fluffy, not grainy.)
- Fold the whipped cream into the cream cheese mixture: Use a spatula to gently fold in the whipped cream, preserving as much air as possible. This makes the cheesecake layer light and airy.
- Spread the cheesecake layer: Remove the crust from the fridge and evenly spread the cheesecake mixture on top. Smooth the surface with a spatula. Return to the fridge while preparing the topping.
- Prepare the strawberry topping: In a small bowl, toss 2 cups sliced strawberries with 2 tablespoons sugar and 1 teaspoon lemon juice. Let sit for about 10 minutes to macerate (release their juices). If you want a thicker topping, stir in the cornstarch slurry and microwave for 20-30 seconds until slightly thickened, then cool.
- Assemble and chill: Spoon the strawberry topping evenly over the cheesecake layer. Cover the entire pan with plastic wrap or foil and refrigerate for at least 3 hours (overnight is best) to let everything set.
- Slice and serve: Use a sharp knife dipped in hot water (wiped dry between cuts) to slice into squares. This helps get clean edges without smudging the layers.
During my first attempt, I got a bit impatient and sliced too early—the bars were a little soft and messy. Waiting the full chill time really makes a difference. Also, keeping the cream cheese at room temperature before mixing is a game-changer for smoothness.
Cooking Tips & Techniques
Making no-bake strawberry cheesecake bars might look simple, but a few tricks help nail the texture and flavor every time.
- Soften your cream cheese properly: Take it out of the fridge an hour before mixing. Cold cream cheese can leave lumps, and no one wants lumpy cheesecake!
- Press the crust firmly: Use steady pressure to compact the graham cracker base. This stops it from falling apart when you cut the bars.
- Don’t rush the chilling: The cheesecake layer needs time to firm up. At least 3 hours, preferably overnight, is best.
- Whip cream to soft peaks: This ensures the cheesecake layer is light but still holds together. Over-whipping can cause graininess and separation.
- Use a warm knife for slicing: Run your knife under hot water and dry it before slicing. This simple step helps cut clean lines without dragging the layers.
One time, I got distracted by a phone call mid-prep and forgot to chill the crust before adding the cheesecake layer. The result was a crumbly mess that didn’t hold together. Lesson learned: multitasking in the kitchen is an art, but some steps need your full attention!
Variations & Adaptations
This recipe is super flexible, so you can tweak it to suit your taste or dietary needs:
- Berry swap: Use blueberries, raspberries, or a mix of berries instead of strawberries for a seasonal twist.
- Gluten-free crust: Substitute graham crackers with gluten-free cookies or almond flour mixed with a bit of coconut oil.
- Dairy-free version: Use vegan cream cheese and coconut cream instead of heavy cream. The texture is slightly different but still delicious.
- Chocolate drizzle: Add a drizzle of melted dark chocolate over the top before chilling for an indulgent touch.
- Less sweet: Reduce the sugar in the crust or topping if you prefer a more tart or subtle sweetness.
Personally, I once made these bars with a lemon curd topping instead of strawberries, and it turned out surprisingly fresh and zesty—perfect for spring gatherings.
Serving & Storage Suggestions
Serve these strawberry cheesecake bars chilled for the best texture and flavor. They’re perfect as a light dessert after dinner or a sweet treat alongside afternoon tea.
Pair with a cup of coffee or a glass of sparkling lemonade to complement the creamy and fruity layers. I’ve also enjoyed them with a scoop of vanilla ice cream for a decadent twist.
Store leftover bars in an airtight container in the refrigerator for up to 4 days. They keep well and the flavors actually deepen after a day. For longer storage, freeze the bars wrapped tightly in plastic wrap and foil for up to 2 months. Thaw overnight in the fridge before serving.
When reheating, it’s best to enjoy these bars cold or at room temperature since they’re no-bake and could become too soft if warmed.
Nutritional Information & Benefits
Each square of these easy no-bake strawberry cheesecake bars is roughly 200 calories, making it a satisfying yet modest treat. The cream cheese provides a good source of protein and calcium, while the fresh strawberries offer antioxidants and vitamin C.
This dessert is gluten-free if you choose gluten-free graham crackers or cookie substitutes. It’s definitely indulgent but balanced with fresh fruit, so it’s a nice option when you want something sweet without going overboard.
From a wellness perspective, I appreciate that this recipe uses real ingredients without preservatives and can be easily adjusted for dietary needs, whether that’s lowering sugar or opting for dairy-free versions.
Conclusion
This easy no-bake strawberry cheesecake bars recipe is a lifesaver for busy days when you want to impress without stress. Its simple ingredients and quick prep make it accessible for cooks of all levels, while the fresh strawberry topping adds a bright, satisfying finish that everyone loves.
Feel free to customize it to your taste or dietary needs—this recipe welcomes creativity and personal touches. For me, it’s become a staple dessert, the kind I reach for when I want something comforting, delicious, and just a little bit special.
If you try these bars, I’d love to hear how you made them your own! Drop a comment or share your variations—I’m always excited to see new takes on this classic.
Happy baking (or rather, no-baking)!
Frequently Asked Questions
Can I use frozen strawberries for the topping?
Yes, you can use frozen strawberries. Just thaw and drain them well to avoid excess liquid. Fresh strawberries do give the best texture, though.
How long do these bars need to chill before serving?
At least 3 hours in the fridge is recommended for the cheesecake layer to set properly. Overnight chilling gives the best results.
Can I make these bars ahead of time?
Absolutely! They keep well refrigerated for up to 4 days and can be frozen for longer storage.
Is it possible to make these bars dairy-free?
Yes, swap cream cheese for a vegan alternative and use coconut cream instead of heavy cream. The texture will be a bit different but still tasty.
What can I use instead of graham crackers for the crust?
You can use digestive biscuits, gluten-free cookies, or even crushed nuts mixed with a bit of butter for a different crust texture.
Pin This Recipe!
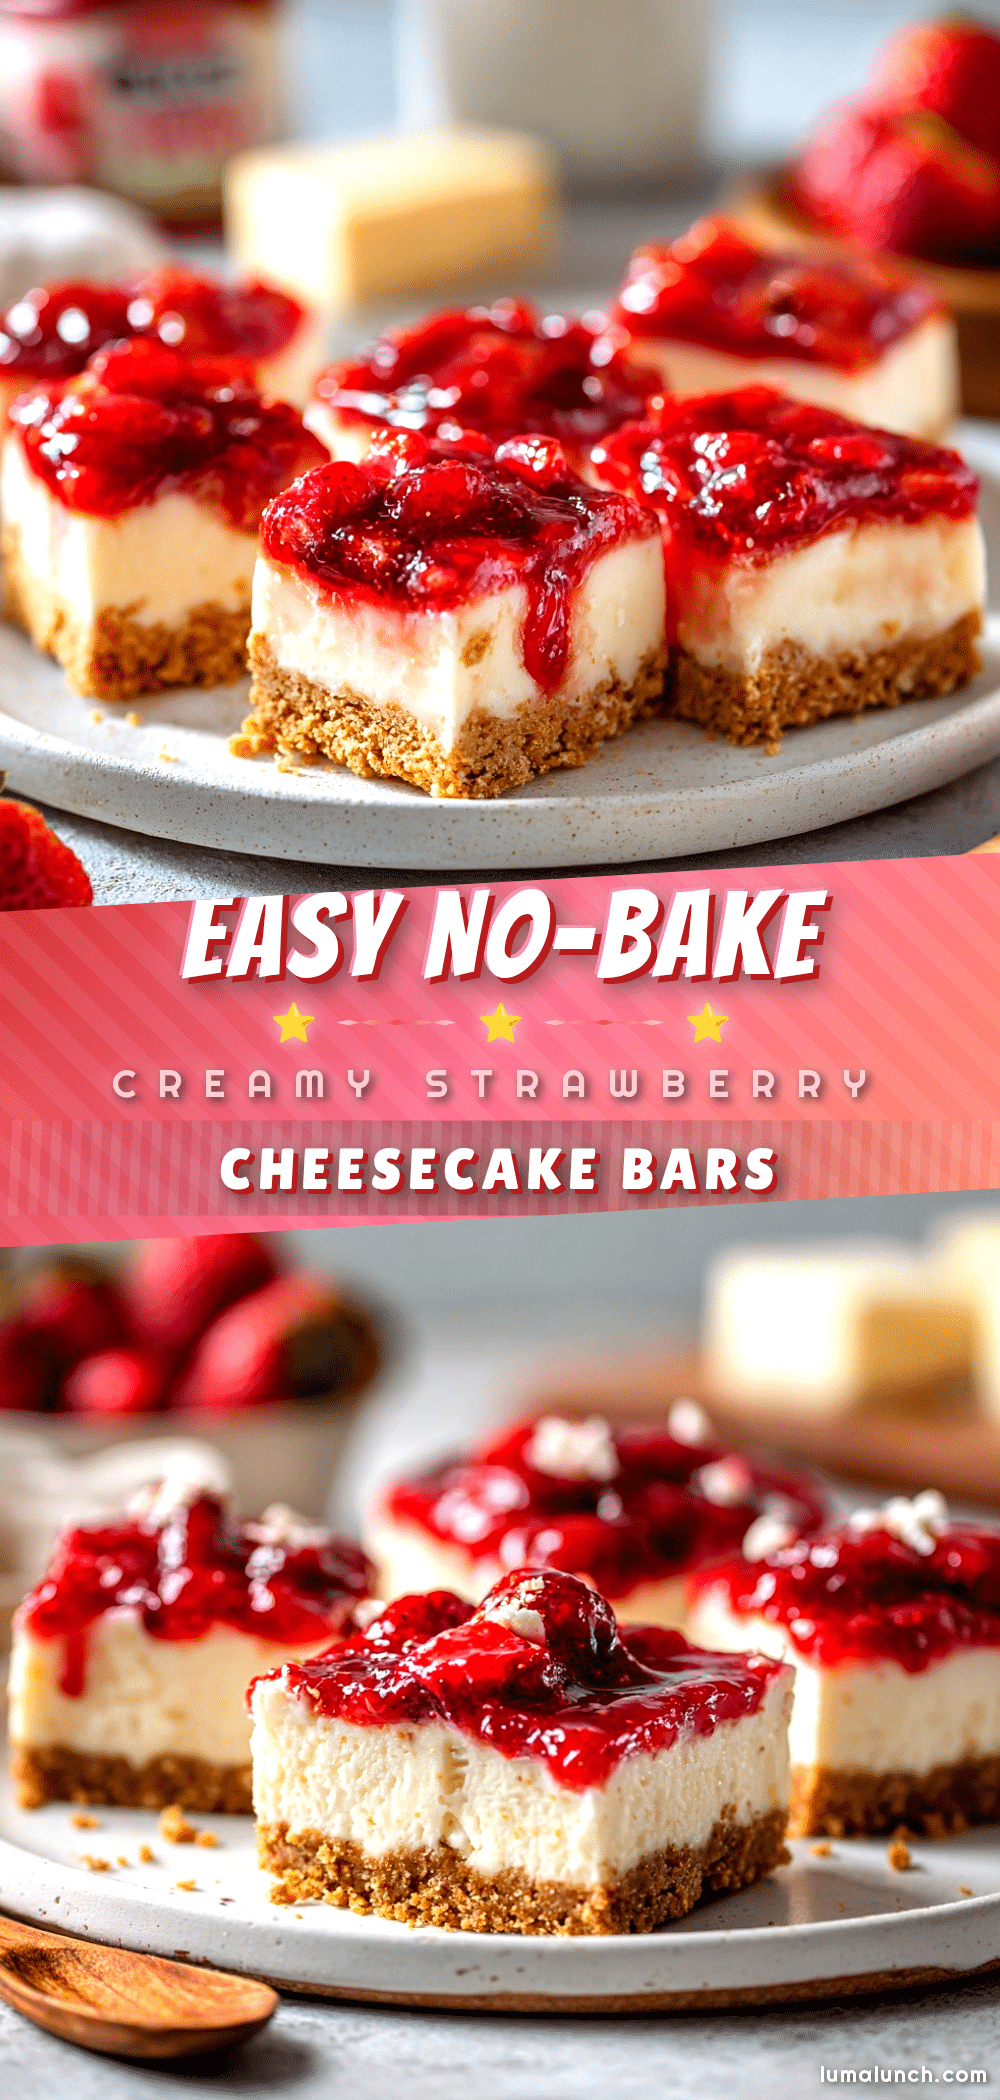
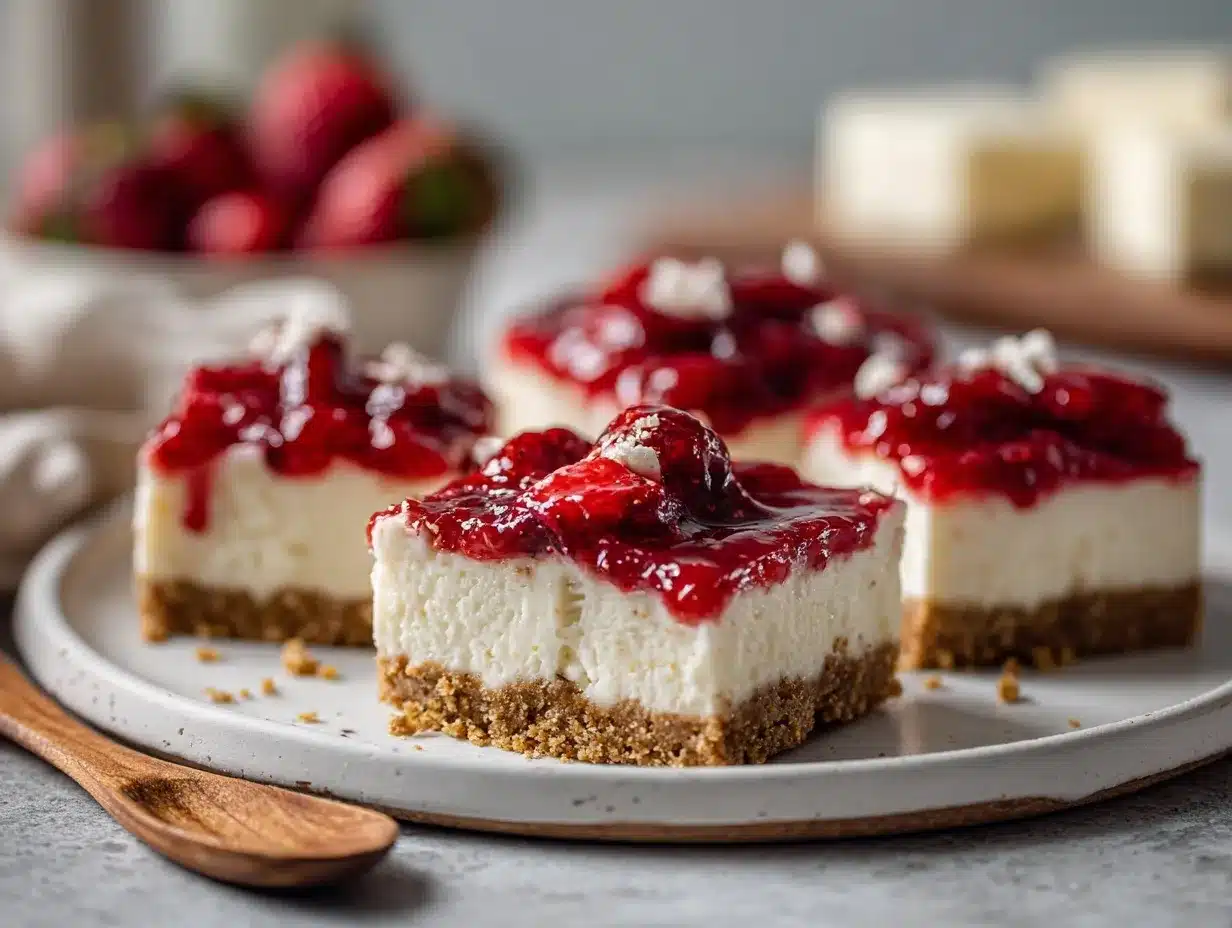
Easy No-Bake Strawberry Cheesecake Bars
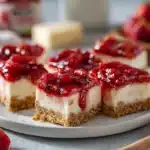
A quick and budget-friendly no-bake dessert featuring a buttery graham cracker crust, smooth cream cheese layer, and fresh strawberry topping. Ready in under 30 minutes and perfect for any occasion.
- Prep Time: 15 minutes
- Cook Time: 0 minutes
- Total Time: 3 hours 15 minutes
- Yield: 16 servings 1x
- Category: Dessert
- Cuisine: American
Ingredients
- 1 ½ cups graham cracker crumbs (about 10 full sheets, crushed)
- 6 tablespoons unsalted butter, melted
- 2 tablespoons granulated sugar
- 16 ounces cream cheese, softened to room temperature
- ½ cup powdered sugar, sifted
- 1 teaspoon vanilla extract
- 1 cup heavy cream, cold
- 2 cups fresh strawberries, hulled and sliced
- 2 tablespoons granulated sugar
- 1 teaspoon lemon juice
- Optional: 1 tablespoon cornstarch mixed with 2 tablespoons water
Instructions
- Prepare the crust: In a medium bowl, combine graham cracker crumbs, melted butter, and granulated sugar. Stir until mixture resembles wet sand. Press firmly into the bottom of an 8×8-inch pan. Chill in the fridge for at least 10 minutes.
- Make the cheesecake layer: In a large bowl, beat softened cream cheese with powdered sugar and vanilla extract until smooth and creamy.
- Whip the cream: In a separate bowl, beat cold heavy cream until soft peaks form.
- Fold the whipped cream into the cream cheese mixture gently to keep it light and airy.
- Spread the cheesecake layer evenly over the chilled crust. Smooth the surface and return to the fridge.
- Prepare the strawberry topping: Toss sliced strawberries with sugar and lemon juice. Let sit for 10 minutes to macerate. For thicker topping, stir in cornstarch slurry and microwave for 20-30 seconds, then cool.
- Spoon the strawberry topping evenly over the cheesecake layer. Cover with plastic wrap or foil and refrigerate for at least 3 hours or overnight.
- Slice and serve: Use a sharp knife dipped in hot water and dried between cuts to slice into squares.
Notes
Soften cream cheese to room temperature before mixing to avoid lumps. Press crust firmly to prevent crumbling. Chill bars for at least 3 hours or overnight for best texture. Use a warm knife dipped in hot water for clean slicing. Frozen strawberries can be used but fresh is preferred for texture.
Nutrition
- Serving Size: 1 bar (1/16 of the 8
- Calories: 200
- Sugar: 13
- Sodium: 150
- Fat: 14
- Saturated Fat: 8
- Carbohydrates: 18
- Fiber: 1
- Protein: 4
Keywords: no-bake, strawberry cheesecake bars, easy dessert, budget-friendly, quick dessert, no oven, creamy, fresh strawberries