Love this? Save it for later!
Share the inspiration with your friends
“I wasn’t planning on making birria tacos that night,” I admit, chuckling to myself. It was a chilly Thursday evening, and the power had flickered off for a good ten minutes. With the fridge looking sparse and my stomach growling louder by the minute, I rummaged through the pantry, hoping for something quick and satisfying. That’s when I stumbled upon a forgotten tin of dried chilies and a small cut of beef tucked in the corner of the freezer. Honestly, I thought, “Why not give this old recipe a shot?”
The sizzle when the tortillas hit the hot skillet was the soundtrack of my impromptu kitchen adventure. I improvised the spices, borrowed a few tricks from a street vendor I once met at a local market, and managed to crisp up those tacos to golden perfection without breaking the bank. The best part? Each crispy birria taco cost me under $2. You know that feeling when a simple meal unexpectedly turns into your favorite comfort food? That’s exactly what happened here, and since then, these crispy budget birria tacos have been my go-to craving fix.
Maybe you’ve been there too—wanting delicious, authentic flavors without the hefty price tag or complicated prep. Let me tell you, this recipe stays with you. It’s quick, affordable, and honestly, better than most places I’ve paid way more for. So, grab your skillet, because I’m about to share how you can make crispy budget birria tacos that taste amazing and won’t empty your wallet.
Why You’ll Love This Recipe
Having tested this recipe countless times—on lazy weeknights, busy weekends, and even during last-minute gatherings—I can confidently say it ticks all the boxes for a crowd-pleasing, wallet-friendly meal. Here’s why it’s become a staple in my kitchen:
- Quick & Easy: Comes together in under an hour, ideal for those nights when you want great flavor without a big time commitment.
- Simple Ingredients: Uses pantry staples and affordable cuts of meat, so no need for fancy grocery store trips.
- Perfect for Casual Gatherings: Whether it’s game night or a relaxed weekend feast, these tacos always impress without stress.
- Crowd-Pleaser: Kids and adults alike can’t get enough of the crispy texture paired with that rich, savory birria flavor.
- Unbelievably Delicious: The combination of tender, slow-cooked beef with crisped tortillas is just next-level comfort food.
What makes these crispy budget birria tacos different? It’s the balance—simple seasoning, slow cooking for melt-in-your-mouth texture, and a quick crisp on the tortillas that seals the deal. I’ve swapped out pricey cuts for economical beef chuck without sacrificing flavor. Plus, a quick homemade consommé for dipping takes it from good to unforgettable.
This recipe isn’t just about feeding your hunger; it’s about satisfying that craving for authentic, hearty food that feels special but stays friendly to your budget. Honestly, it’s the kind of meal that makes you close your eyes after the first bite and smile. If you’ve ever loved birria tacos but hesitated because of cost or complexity, this is your new favorite hack.
What Ingredients You Will Need
This recipe stays true to birria’s rich and hearty flavor while keeping things budget-friendly and straightforward. Most of these ingredients are kitchen staples or easy to find at your local grocery store or market.
- For the Birria Meat:
- 2 pounds (900g) beef chuck roast, cut into chunks (affordable, tender when slow-cooked)
- 4-5 dried guajillo chilies, stems and seeds removed (adds deep flavor and mild heat)
- 2 dried ancho chilies, stems and seeds removed (for smokiness)
- 1 medium white onion, quartered (builds savory depth)
- 4 garlic cloves, smashed
- 2 bay leaves
- 1 teaspoon dried oregano
- 1 teaspoon ground cumin
- 1/2 teaspoon ground cinnamon (just a hint to round out flavors)
- 1 tablespoon apple cider vinegar (brightens the sauce)
- Salt and black pepper to taste
- 4 cups (1 liter) beef broth or water
- For the Tacos:
- 12 small corn tortillas (look for fresh or good-quality frozen; I prefer Masienda brand for best texture)
- 1 cup shredded Oaxaca or mozzarella cheese (optional but melts beautifully for that crispy cheese crust)
- Cooking oil (vegetable or canola) for frying
- For Serving:
- Chopped white onion
- Fresh cilantro, chopped
- Lime wedges
- Homemade birria consommé (reserved cooking liquid for dipping)
Substitution tips: If you’re aiming for gluten-free, these tacos fit right in. For a dairy-free twist, skip the cheese or use a plant-based alternative. No beef broth? Water works fine with extra seasoning.
Equipment Needed
- Large heavy-bottomed pot or Dutch oven for slow-cooking the birria
- Blender or food processor to puree the chili sauce
- Fine mesh strainer (optional but helpful for a smooth consommé)
- Large skillet or griddle for crisping the tacos
- Tongs or spatula for flipping (I like silicone-tipped tongs for control and preventing tortilla tears)
- Measuring cups and spoons
If you don’t have a Dutch oven, any heavy pot with a lid will do. A slow cooker can also work if you want a hands-off approach (just adjust the cooking time accordingly). For budget-friendly options, look for secondhand kitchen tools or borrow from friends—it makes a difference when you’re just starting out.
Preparation Method
- Prepare the chilies: Place dried guajillo and ancho chilies in a bowl and cover with hot water. Let them soak for 15 minutes until softened.
- Make the chili sauce: Drain the chilies and add them to a blender along with quartered onion, garlic cloves, oregano, cumin, cinnamon, apple cider vinegar, salt, and pepper. Blend until smooth. If needed, add a little beef broth or water to help blend.
- Brown the beef: Heat a tablespoon of oil in your pot over medium-high heat. Add beef chunks in batches, browning all sides for about 5 minutes per batch. Remove and set aside.
- Simmer the birria: Return all beef to the pot, pour the chili sauce over, add bay leaves, and beef broth (or water) to cover the meat. Bring to a boil, then reduce heat to low. Cover and simmer gently for 2 to 2.5 hours, or until beef is fork-tender. Stir occasionally and skim any excess fat.
- Shred the beef: Remove beef from the pot and shred with two forks. Return shredded meat to the pot and stir to coat in the flavorful sauce.
- Prepare the consommé: Strain the cooking liquid through a fine mesh sieve to remove solids. Keep warm for dipping.
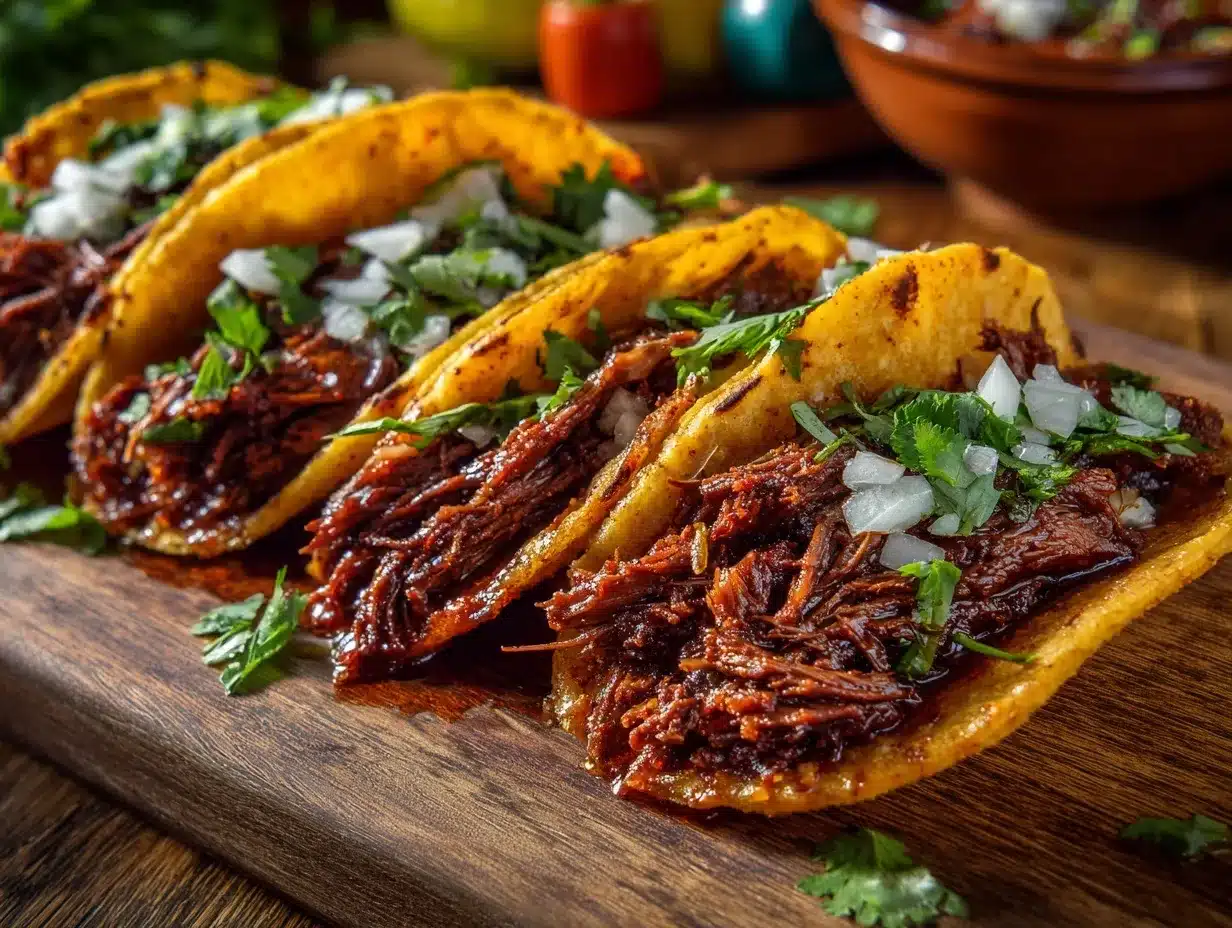
- Assemble the tacos: Heat a skillet over medium heat and add a little oil. Dip a tortilla briefly in the consommé, then place it in the skillet. Add shredded beef and a sprinkle of cheese on one half, fold the tortilla, and cook 2-3 minutes per side until crispy and cheese is melted.
- Serve: Remove tacos from skillet, garnish with chopped onion and cilantro, and serve with lime wedges and consommé on the side.
Tip: If you notice the tortillas tearing, don’t worry—it happens! Just gently press them together with your spatula. Also, keep an eye on the oil temperature; too hot and the tortillas burn, too low and they get soggy.
Cooking Tips & Techniques
One trick I learned the hard way is to soak the dried chilies properly. Rushing this step results in gritty sauce, and nobody wants that. Soaking them for at least 15 minutes softens their skins and brings out the deep, smoky flavors essential for authentic birria.
When browning the beef, don’t overcrowd the pan. This prevents proper searing and can lead to boiling instead of browning, which dulls the flavor.
Slow simmering is crucial; it breaks down the tough connective tissues, turning cheap cuts into tender, juicy meat. If you’re short on time, a pressure cooker can cut this down significantly, but for that traditional texture, slow and steady wins the race.
When crisping the tacos, a light dip in consommé before frying adds moisture and flavor but be careful not to soak too long or the tortillas will fall apart.
Lastly, multitasking is your friend here—while the birria simmers, prep your toppings and set the table. By the time the meat’s ready, you’re all set to assemble and enjoy!
Variations & Adaptations
- Vegetarian Birria Tacos: Replace beef with shredded jackfruit or mushrooms. Use vegetable broth and keep the chili sauce the same. The texture won’t be identical but still delightfully satisfying.
- Spicy Kick: Add a chopped chipotle pepper in adobo sauce to the blender for extra heat and smokiness.
- Slow Cooker Method: Brown the beef and prepare the sauce as usual, then combine everything in a slow cooker and cook on low for 6-8 hours.
- Cheese Options: Swap Oaxaca cheese for a sharper Chihuahua cheese or omit entirely for a dairy-free version.
- Seasonal Twist: Add roasted poblano peppers or fresh diced tomatoes to the sauce during blending for a fresh summer vibe.
Personally, I tried adding a splash of orange juice to the sauce once—it gave a subtle sweetness that balanced the heat beautifully. Give it a shot if you like a hint of citrus!
Serving & Storage Suggestions
Serve these crispy budget birria tacos hot and fresh for the best crunch. Present them with a small bowl of consommé for dipping—that’s where the magic really shines. Lime wedges and fresh cilantro add brightness and freshness.
They pair wonderfully with simple sides like Mexican rice, refried beans, or a crisp cabbage slaw. And if you want a drink, a cold cerveza or tangy agua fresca makes a perfect match.
Leftovers? Store the shredded birria meat and consommé separately in airtight containers in the fridge for up to 4 days. Reheat gently on the stove or microwave, adding a splash of consommé to keep the meat juicy.
For frozen storage, place meat and consommé in freezer-safe bags or containers for up to 3 months. Thaw overnight in the fridge before reheating. The tortilla crispiness is best enjoyed fresh, but you can quickly re-crisp them in a dry skillet.
Flavors actually deepen after a day or two, so if you can resist temptation, leftovers make even better tacos the next day!
Nutritional Information & Benefits
Each crispy budget birria taco contains approximately 250-300 calories, depending on cheese and oil used. The beef chuck provides a good dose of protein and essential minerals like iron and zinc.
The dried chilies are rich in antioxidants and add vitamin A, while fresh onions and cilantro contribute vitamins C and K. Using corn tortillas keeps it gluten-free and adds fiber.
This recipe is a balanced comfort food that doesn’t rely on expensive cuts or complicated ingredients, making it accessible for many dietary preferences. If you prefer lower fat, reduce the oil for frying and skip the cheese.
Conclusion
This crispy budget birria tacos recipe is proof that delicious, authentic Mexican flavors don’t need to cost a fortune or take all day. It’s simple enough for weeknights but special enough to bring friends together.
Feel free to tweak the spice level, cheese, or cooking method to suit your preferences—there’s plenty of room to make this your own. I love how this recipe brings me back to that unexpected kitchen moment when a little creativity and thriftiness turned into something truly memorable.
If you try these tacos, I’d love to hear how they turned out or any fun twists you’ve added. Sharing food stories is part of what makes cooking so joyful, after all! So go ahead, roll up your sleeves, and enjoy your crispy, budget-friendly birria tacos!
FAQs
Can I make birria tacos without dried chilies?
You can, but the dried chilies give birria its signature smoky, rich flavor. If you can’t find guajillo or ancho chilies, try using chili powder blends or chipotle peppers as a substitute, but the taste will be different.
What’s the best cut of meat for budget birria tacos?
Beef chuck roast is ideal because it’s affordable and becomes tender with slow cooking. Other options include brisket or short ribs, but those might be pricier.
How do I store leftover birria meat and consommé?
Keep the meat and consommé separate in airtight containers in the fridge for up to 4 days. Reheat gently with a little consommé to maintain moisture.
Can I freeze the birria meat and sauce?
Yes! Freeze in freezer-safe containers for up to 3 months. Thaw overnight in the fridge before reheating.
Is it necessary to dip the tortillas in consommé before frying?
It’s traditional and adds flavor and moisture, but if you prefer crispier tacos, you can skip this step. Just be mindful the tortillas might be less tender inside.
For more delicious and budget-friendly Mexican dishes, you might enjoy my crispy garlic chicken or a fresh take on spicy chipotle stew that pairs perfectly with homemade tortillas.
Pin This Recipe!
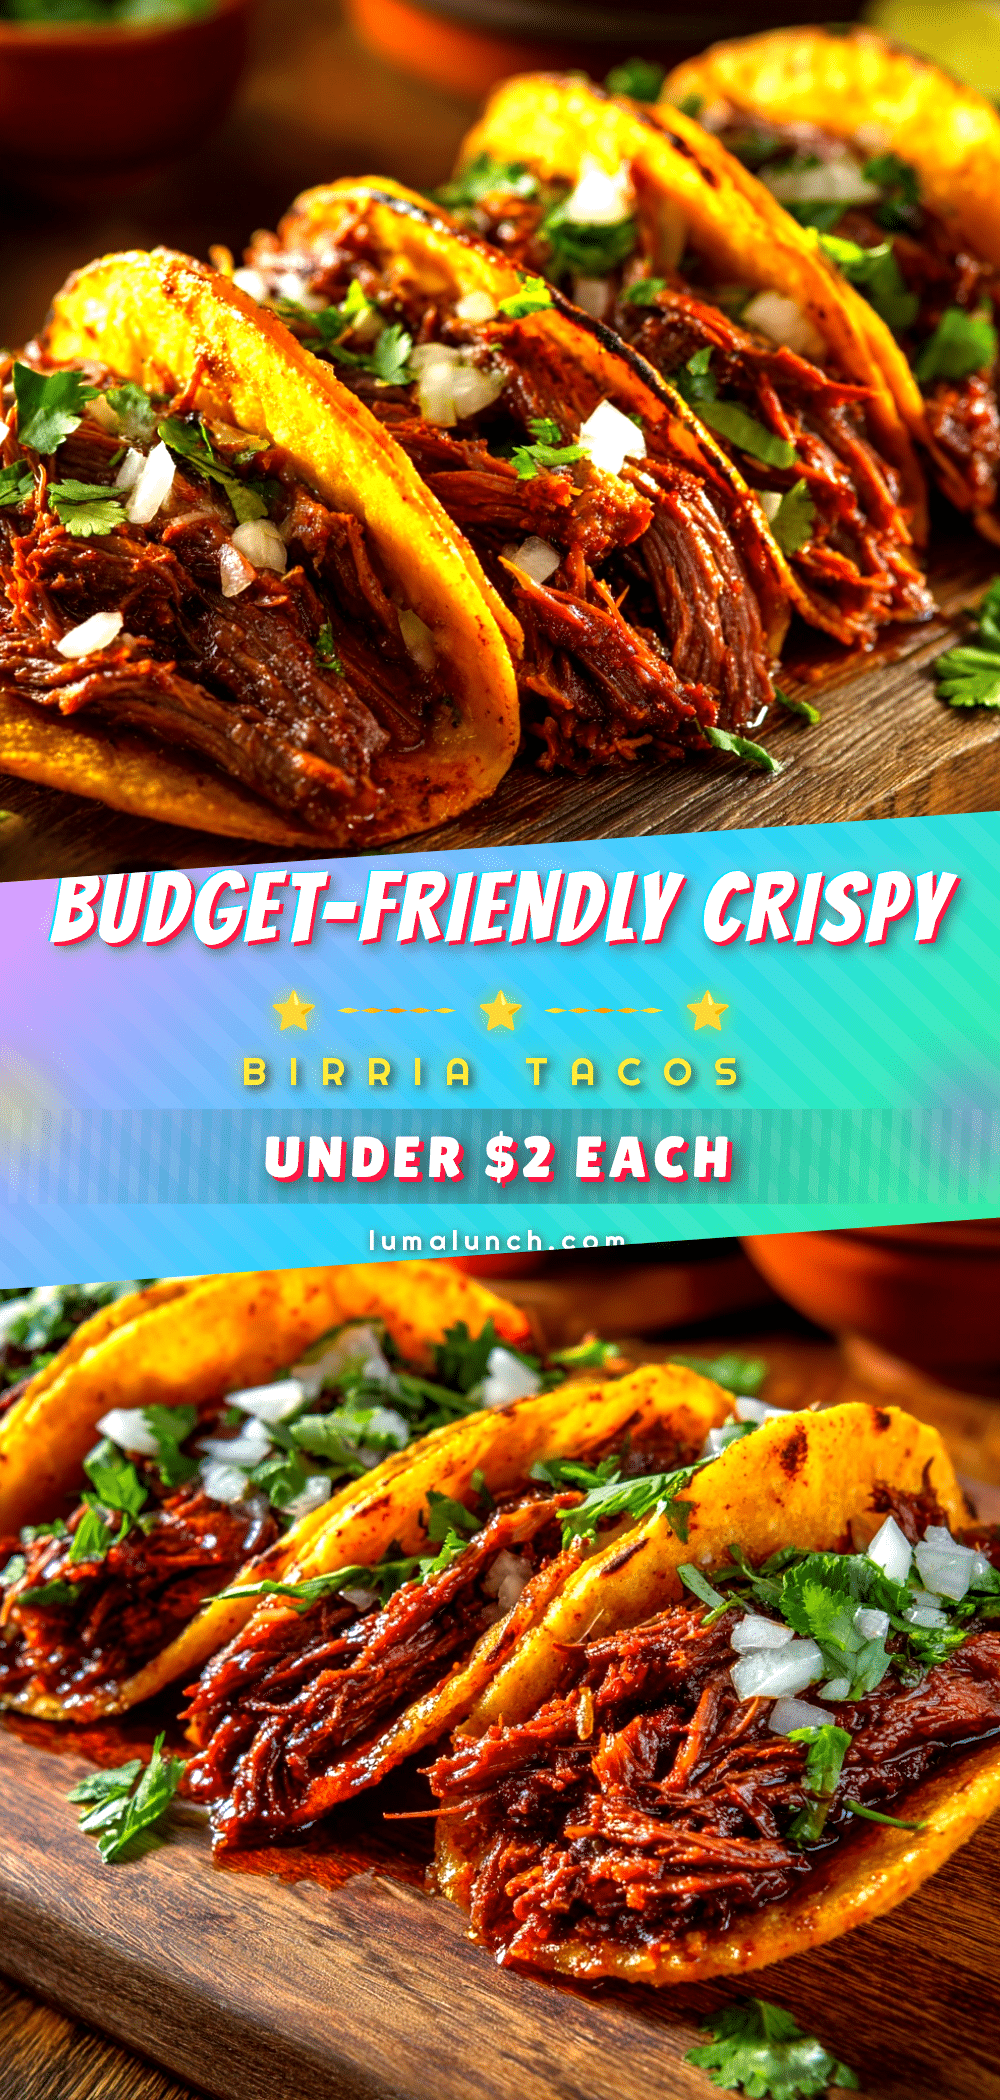
Crispy Budget Birria Tacos Under 2 Dollars Easy Homemade Recipe

A quick, affordable, and delicious recipe for crispy birria tacos made with budget-friendly beef chuck and homemade consommé, perfect for satisfying authentic Mexican flavors without breaking the bank.
- Prep Time: 20 minutes
- Cook Time: 2 hours 30 minutes
- Total Time: 2 hours 50 minutes
- Yield: 12 tacos (about 4 servings) 1x
- Category: Main Course
- Cuisine: Mexican
Ingredients
- 2 pounds beef chuck roast, cut into chunks
- 4–5 dried guajillo chilies, stems and seeds removed
- 2 dried ancho chilies, stems and seeds removed
- 1 medium white onion, quartered
- 4 garlic cloves, smashed
- 2 bay leaves
- 1 teaspoon dried oregano
- 1 teaspoon ground cumin
- 1/2 teaspoon ground cinnamon
- 1 tablespoon apple cider vinegar
- Salt and black pepper to taste
- 4 cups beef broth or water
- 12 small corn tortillas
- 1 cup shredded Oaxaca or mozzarella cheese (optional)
- Cooking oil (vegetable or canola) for frying
- Chopped white onion (for serving)
- Fresh cilantro, chopped (for serving)
- Lime wedges (for serving)
- Homemade birria consommé (reserved cooking liquid for dipping)
Instructions
- Place dried guajillo and ancho chilies in a bowl and cover with hot water. Let soak for 15 minutes until softened.
- Drain chilies and add to a blender with quartered onion, garlic cloves, oregano, cumin, cinnamon, apple cider vinegar, salt, and pepper. Blend until smooth, adding beef broth or water if needed.
- Heat 1 tablespoon oil in a large pot over medium-high heat. Brown beef chunks in batches for about 5 minutes per batch. Remove and set aside.
- Return beef to the pot, pour chili sauce over, add bay leaves and beef broth or water to cover. Bring to a boil, then reduce heat to low. Cover and simmer gently for 2 to 2.5 hours until beef is fork-tender, stirring occasionally and skimming excess fat.
- Remove beef and shred with two forks. Return shredded meat to the pot and stir to coat in sauce.
- Strain cooking liquid through a fine mesh sieve to make consommé. Keep warm for dipping.
- Heat a skillet over medium heat and add a little oil. Dip a tortilla briefly in consommé, place in skillet, add shredded beef and cheese on one half, fold tortilla, and cook 2-3 minutes per side until crispy and cheese melts.
- Remove tacos from skillet, garnish with chopped onion and cilantro, and serve with lime wedges and consommé on the side.
Notes
Soak dried chilies for at least 15 minutes to avoid gritty sauce. Do not overcrowd the pan when browning beef to ensure proper searing. Slow simmering is key for tender meat. Dip tortillas briefly in consommé before frying for moisture and flavor but avoid soaking too long to prevent tearing. Cheese is optional and can be substituted or omitted for dairy-free versions.
Nutrition
- Serving Size: 3 tacos per serving
- Calories: 275
- Sugar: 2
- Sodium: 600
- Fat: 15
- Saturated Fat: 5
- Carbohydrates: 20
- Fiber: 3
- Protein: 20
Keywords: birria tacos, budget recipe, crispy tacos, beef birria, homemade birria, Mexican tacos, affordable meals, slow-cooked beef