Love this? Save it for later!
Share the inspiration with your friends
I wasn’t expecting baking advice from my accountant, but there I was, sorting through a pile of receipts in his cluttered office, listening to him describe exactly how to make Pan de Muerto. Mr. Henderson, who I’d only ever seen in sensible cardigans and wire-rimmed glasses, was suddenly animated, his hands sketching the shape of a bread roll in the air. “The trick,” he said, leaning forward with a conspiratorial whisper, “is to make it fast. My wife’s family in Oaxaca would laugh, but sometimes you just need the taste without the all-day project.” I mean, honestly, who expects a tax guy to be your recipe hookup? He scribbled the basics on the back of an old envelope—his handwriting surprisingly elegant—and I tucked it into my bag, half-convinced I’d never actually try it.
Fast forward to a chilly Tuesday evening last October. I was staring at my pantry, craving something warm and fragrant, when I found that crumpled envelope. The Día de los Muertos decorations were already up at the local market, and I felt that familiar pull to make something that felt meaningful but didn’t require a full day of kneading and waiting. Maybe you’ve been there—that moment when you want tradition but your schedule is screaming “no.” So I gave it a shot. The dough came together in under ten minutes, which felt like a minor miracle. I accidentally over-floured my counter and had to scrape dough off my watch, but honestly, that tiny mess was worth it for what came out of the oven.
This Quick Pan de Muerto has become my go-to for the season. It’s not the hours-long version your abuela might make, but it has that same soft, orange-scented soul. The bread is tender, slightly sweet, and perfect for dipping in hot chocolate or coffee. I keep making it because it proves you don’t need a whole day to honor a tradition. Sometimes, a quick version made with love is exactly what the moment calls for.
Why You’ll Love This Recipe
This isn’t just another bread recipe—it’s a weeknight miracle that brings the spirit of Día de los Muertos to your table without the all-day commitment. I’ve tested this version at least a dozen times, tweaking the hydration and proofing times until it became something I’d confidently serve to friends who know the real deal. Let me tell you, it passed the “skeptical neighbor” test with flying colors.
- Quick & Easy: From start to finish, this bread is ready in about 90 minutes. Most of that is hands-off rising time, so you can tidy the kitchen or, let’s be honest, scroll your phone.
- Simple Ingredients: You probably have everything already. Flour, butter, eggs, sugar, yeast, and orange zest. No special trips to a specialty store.
- Perfect for Día de los Muertos: Whether you’re building an ofrenda or just want to connect with the tradition, this bread fits the occasion without needing a whole production.
- Crowd-Pleaser: The soft, brioche-like texture and subtle orange flavor win over kids and adults. I’ve seen a toddler polish off two pieces.
- Unbelievably Delicious: The combination of orange zest and a touch of anise (if you’re brave enough to add it) is next-level comfort. It’s the kind of bread that makes you close your eyes after the first bite.
What makes this recipe different? It’s the technique. By using a slightly warmer proofing environment and cutting the second rise short, you get that soft, pillowy crumb in a fraction of the time. This isn’t just another version—it’s the version for busy people who still want something beautiful and meaningful. It’s comfort food reimagined: faster, but with the same soul-soothing satisfaction. Perfect for impressing guests without the stress, or turning a simple Tuesday into something memorable.
What Ingredients You Will Need
This recipe uses simple, wholesome ingredients to deliver that signature Pan de Muerto flavor without the fuss. Most of these are pantry staples, which is exactly what you want on a busy weeknight.
- All-purpose flour, 3 cups (360g) — I prefer King Arthur for consistent results, but any brand works. Spoon and level your flour for accuracy.
- Active dry yeast, 2 ¼ teaspoons (one packet) — Make sure it’s fresh. If you’re unsure, proof it in warm water first.
- Warm milk, ½ cup (120ml), heated to about 110°F — Not too hot, or you’ll kill the yeast. Think warm bath temperature.
- Granulated sugar, ⅓ cup (65g) — This gives the bread its subtle sweetness.
- Unsalted butter, ¼ cup (55g), softened — I use Challenge or Kerrygold for richer flavor.
- Large eggs, 2, at room temperature — This is important for proper emulsification. Cold eggs can shock the dough.
- Orange zest, from 1 large orange — Use a microplane for the best texture. Avoid the white pith.
- Orange blossom water, 1 teaspoon (optional but recommended) — This adds that floral note that makes Pan de Muerto authentic. Look for it near the cocktail mixers or international aisle.
- Salt, ½ teaspoon — Just regular table salt.
- Anise seed, ½ teaspoon (optional) — Some traditional recipes call for this. I love it, but skip it if you’re not sure.
For the Topping:
- Unsalted butter, 2 tablespoons (28g), melted
- Granulated sugar, ¼ cup (50g) — For that classic sparkly coating.
- Orange zest, from ½ orange — Mixed into the sugar for extra flavor.
Ingredient Selection Tips: Look for oranges that feel heavy for their size—they have more juice and zest. If you can’t find orange blossom water, you can use 1 teaspoon of fresh orange juice and a drop of vanilla extract as a substitute. For a dairy-free version, use warm water instead of milk and vegan butter. The texture will be slightly less rich, but still delicious.
Equipment Needed
You don’t need a fancy bakery setup for this. I’ve made this bread in a tiny apartment kitchen with a hand-me-down mixer, and it turned out beautifully.
- Stand mixer with dough hook — This is the easiest way to knead, but you can definitely do it by hand. It’ll take about 10 minutes of arm work.
- Large mixing bowl — For proofing the dough. Glass or stainless steel works best.
- Baking sheet — A standard half-sheet pan is perfect. Line it with parchment paper for easy cleanup.
- Microplane or zester — For getting that fine orange zest without the bitter pith.
- Pastry brush — For applying the melted butter topping. A silicone one is easiest to clean.
- Kitchen scale — I highly recommend this for consistent results. Measuring flour by weight is much more accurate.
- Plastic wrap or a clean kitchen towel — For covering the dough during proofing.
Budget-Friendly Tip: If you don’t have a stand mixer, just use a wooden spoon to mix the dough, then turn it out onto a floured surface and knead by hand. It’s a great arm workout! I’ve also used a glass bowl as a proofing vessel for years—no need for expensive ceramic.
Preparation Method
-
Proof the yeast. In the bowl of your stand mixer, combine the warm milk and 1 tablespoon of the sugar. Sprinkle the yeast on top and let it sit for 5 minutes until it’s foamy. If it doesn’t foam, your yeast might be dead—start over with fresh yeast. I’ve learned this the hard way, and a flat loaf is a sad loaf.
-
Mix the dough. Add the remaining sugar, softened butter, eggs, orange zest, orange blossom water (if using), and salt to the yeast mixture. Use the paddle attachment on low speed to combine everything until it’s a shaggy mess. Don’t worry, it’ll come together.
-
Add the flour. Switch to the dough hook. Add the flour (and anise seed if using) and mix on low speed for about 2 minutes until a rough dough forms. Scrape down the sides of the bowl with a spatula—there will be some stubborn bits.
-
Knead the dough. Increase the speed to medium and knead for 5-7 minutes. The dough should pull away from the sides of the bowl and feel smooth and elastic. If it’s too sticky, add flour 1 tablespoon at a time. If it’s too dry, add warm water 1 teaspoon at a time. You’re looking for a dough that’s soft but not sticky—like a baby’s bottom, honestly.
-
First rise. Shape the dough into a ball and place it in a lightly greased bowl. Cover with plastic wrap or a damp towel. Let it rise in a warm spot for 45 minutes, or until doubled in size. I put mine in the microwave with a cup of hot water—it creates a perfect proofing environment. The dough should feel puffy and leave a slight indent when you poke it.
-
Shape the bread. Punch down the dough gently to release the air. Turn it out onto a lightly floured surface. Divide the dough into two pieces: one large piece (about two-thirds of the dough) for the base, and one smaller piece for the decorations. Shape the large piece into a round ball and place it on your parchment-lined baking sheet.
-
Make the bone decorations. Divide the smaller piece into 4 equal parts. Roll each into a rope about 6 inches long. Cut each rope in half, then roll each half into a smaller rope. Place two ropes crossed on top of the bread to form a “bone” shape. Repeat with the remaining ropes to make four bones. You can also make a small round ball for the top center, which represents a skull. I know it sounds morbid, but it’s actually quite charming.
-
Second rise. Cover the shaped bread loosely with plastic wrap and let it rise for 20 minutes. This is a short rise, which is key for the quick version. The bread should look slightly puffy but not doubled.
-
Preheat and bake. While the bread is rising, preheat your oven to 350°F (175°C). Once the bread has risen, bake it for 20-25 minutes, until the top is golden brown and the bread sounds hollow when you tap the bottom. The internal temperature should reach about 190°F (88°C).
-
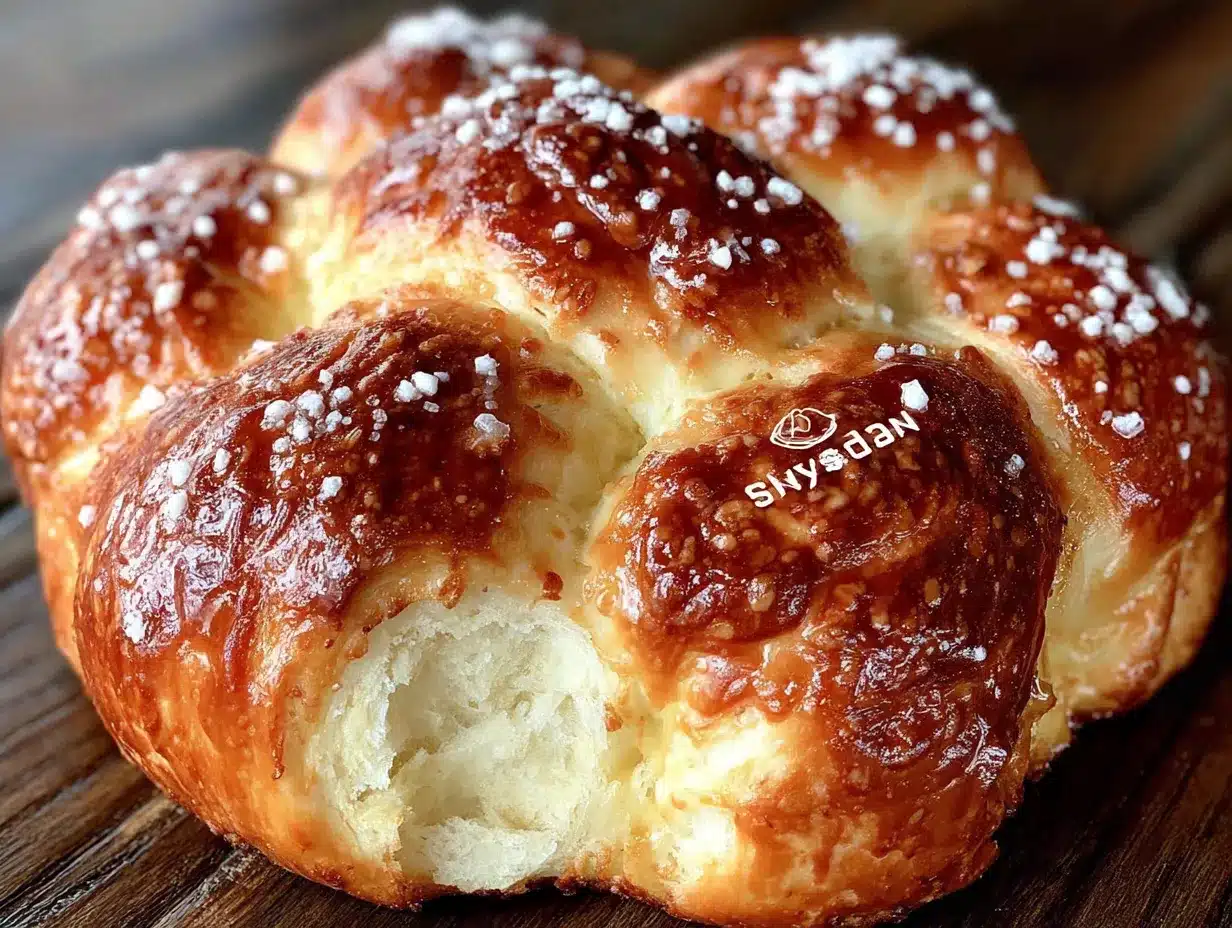
Finish with topping. While the bread is still warm, brush the top generously with melted butter. Mix the remaining ¼ cup sugar with the extra orange zest and sprinkle it all over the buttered bread. The sugar will stick and create that classic sparkly crust. Let it cool on a wire rack for at least 15 minutes before slicing—I know it’s hard to wait, but the texture is better if you do.
Cooking Tips & Techniques
I’ve made this bread more times than I can count, and I’ve definitely had my share of failures. Here’s what I’ve learned so you don’t have to repeat my mistakes.
Temperature is everything. The first time I made this, I used cold milk straight from the fridge, and the yeast barely woke up. The dough was dense and sad. Now I always warm the milk to about 110°F—it should feel like warm bath water on your wrist. Too hot and you’ll kill the yeast; too cold and it’ll take forever to rise.
Don’t overthink the shaping. Pan de Muerto decorations look fancy, but they’re actually quite forgiving. The “bones” don’t have to be perfect. I’ve made them too thick, too thin, and even lopsided, and the bread still looked beautiful. The sugar coating hides a multitude of sins. If you’re really struggling, just make a simple round loaf with a cross on top—it’s still recognizable and delicious.
Multitask like a pro. While the dough is doing its first rise, use that time to clean up your workspace, zest your oranges, and prep the topping. I like to mix the sugar and orange zest together in a small bowl so I can sprinkle it on right when the bread comes out of the oven. This way, the bread gets the full buttery, sugary treatment while it’s still warm.
Check for doneness early. Every oven runs a little differently. My old apartment oven would burn the bottom if I left the bread in for the full 25 minutes. Start checking at 18 minutes. If the top is browning too quickly, tent it loosely with aluminum foil. The bread is done when a skewer inserted into the center comes out clean, or when the internal temperature hits 190°F.
Storage tip for freshness. This bread is best the day it’s made, but if you have leftovers (unlikely, but possible), wrap it tightly in plastic wrap and store at room temperature for up to 2 days. To revive it, pop it in a 300°F oven for 5 minutes. The sugar topping will get a little crunchy again.
Variations & Adaptations
One of the best things about this recipe is how flexible it is. I’ve played around with it quite a bit, and here are some of my favorite variations.
Chocolate Pan de Muerto: Add 2 tablespoons of unsweetened cocoa powder to the flour and reduce the flour by 2 tablespoons. The chocolate pairs beautifully with the orange zest. I made this for a friend who’s a chocoholic, and she said it was the best thing I’d ever baked. High praise.
Vegan Version: Substitute the butter with vegan butter, the milk with warm oat milk, and the eggs with a flax egg (1 tablespoon ground flaxseed mixed with 3 tablespoons water per egg). The texture will be slightly denser, but the flavor is still lovely. I tested this for a vegan potluck, and nobody guessed it was dairy-free.
Gluten-Free Adaptation: Use a 1:1 gluten-free baking flour blend that contains xanthan gum. The dough will be stickier, so you’ll need to work with wet hands. The rise time might be slightly longer, and the texture won’t be as brioche-like, but it’s still a solid option. I’ve used Bob’s Red Mill 1:1 with decent results.
Spiced Version: Add ½ teaspoon of cinnamon and ¼ teaspoon of nutmeg to the flour. This gives the bread a warm, cozy flavor that’s perfect for fall. I like to do this when I’m making the bread for a casual weeknight, just to mix things up.
Individual Rolls: Instead of making one large loaf, divide the dough into 8 equal pieces and shape each into a round roll. Skip the bone decorations and just make a small cross on top with a knife. Bake for 15-18 minutes. These are perfect for freezing—just pop one out whenever you need a little comfort.
Serving & Storage Suggestions
This bread is truly versatile when it comes to serving. I’ve enjoyed it in so many different ways.
Serving Temperature: Pan de Muerto is best served warm, right after the butter and sugar have been applied. The contrast between the soft, warm bread and the crunchy, sweet topping is pure magic. If you’re serving it later, a quick 10-second zap in the microwave works wonders, or a 5-minute stint in a 300°F oven.
What to Serve With It: The classic pairing is a cup of Mexican hot chocolate, which is thick, spiced, and slightly bitter—perfect against the sweet bread. I also love it with a simple café de olla (cinnamon-spiced coffee) or even a cold glass of horchata. For a savory twist, try it with a smear of cream cheese and a drizzle of honey. It sounds weird, but trust me on this one.
Storage Instructions: Store leftover bread wrapped tightly in plastic wrap at room temperature for up to 2 days. Do not refrigerate—it’ll dry out the bread. If you need to keep it longer, freeze it. Wrap the cooled loaf in plastic wrap, then aluminum foil, and freeze for up to 3 months. Thaw at room temperature and reheat as needed.
How Flavors Develop: Honestly, this bread is best on day one. The sugar topping stays crunchy, and the crumb is at its softest. By day two, the topping will have softened a bit, but the flavor of the orange zest becomes more pronounced. Some people actually prefer it on day two for that reason. I’m not one of them, but I respect it.
Nutritional Information & Benefits
While this is definitely a treat, it’s not without its redeeming qualities. Here’s a rough breakdown per serving (1/8 of the loaf).
| Nutrient | Amount per Serving |
|---|---|
| Calories | 285 |
| Total Fat | 10g |
| Saturated Fat | 6g |
| Carbohydrates | 43g |
| Fiber | 1g |
| Sugar | 16g |
| Protein | 6g |
Health Benefits: The orange zest is packed with vitamin C and antioxidants, which support your immune system—perfect for the cooler months. The eggs provide high-quality protein, and the butter, while indulgent, contains fat-soluble vitamins like A and D. This bread is also a great source of comfort, which I firmly believe has its own health benefits. It’s not a health food, but it’s a food that makes you feel good, and that counts for something.
Dietary Considerations: This recipe contains gluten, dairy, and eggs. For gluten-free and vegan options, see the variations section above. It’s not low-carb by any stretch, but if you’re watching your sugar intake, you can reduce the sugar in the dough to ¼ cup without a major impact on texture.
Conclusion
This Quick Pan de Muerto has become a staple in my kitchen every October, and I hope it becomes one in yours too. It’s proof that you don’t need a whole day to create something meaningful and delicious. Whether you’re honoring a loved one on Día de los Muertos or just want a beautiful, fragrant bread to brighten a weeknight, this recipe delivers.
I love this recipe because it feels like a secret—a shortcut that doesn’t sacrifice soul. That accountant’s scribbled envelope is still tucked in my recipe box, a little greasy and crinkled, and every time I make this bread, I think of him. It’s a reminder that good recipes can come from the most unexpected places.
Now I want to hear from you! Have you tried making Pan de Muerto before? What’s your favorite way to enjoy it? Drop a comment below and let me know. And if you give this quick version a try, tag me in your photos—I’d love to see your creations. Happy baking, and remember: tradition doesn’t have to take all day.
Frequently Asked Questions
Can I make this Pan de Muerto without a stand mixer?
Absolutely! Mix the dough with a wooden spoon until it comes together, then turn it out onto a floured surface and knead by hand for about 10 minutes. It’s a great arm workout, and the dough will tell you when it’s ready—it should be smooth and elastic.
Why didn’t my dough rise?
There are a few common culprits. Your yeast might be expired—always check the date. The milk might have been too hot (over 120°F) and killed the yeast, or too cold (under 100°F) and not activated it. Also, make sure your kitchen isn’t too drafty. A warm spot is key for a good rise.
Can I freeze the dough instead of the baked bread?
Yes! After the first rise, punch down the dough, shape it into a ball, wrap it tightly in plastic wrap, and freeze for up to 1 month. Thaw in the refrigerator overnight, then proceed with shaping and the second rise. The texture might be slightly less airy, but it’s a great time-saver.
What if I don’t have orange blossom water?
No worries! You can substitute it with 1 teaspoon of fresh orange juice and a drop of vanilla extract. Or simply leave it out entirely—the orange zest will still give you plenty of flavor. It’s a subtle addition, so skipping it won’t ruin the bread.
How do I get the sugar topping to stick better?
The key is to brush the melted butter on while the bread is still warm from the oven. The warmth helps the butter soak in slightly, creating a tacky surface for the sugar. Don’t skimp on the butter—a generous coating will ensure the sugar stays put. If it’s still falling off, try pressing the sugar gently into the butter with your fingers.
Pin This Recipe!
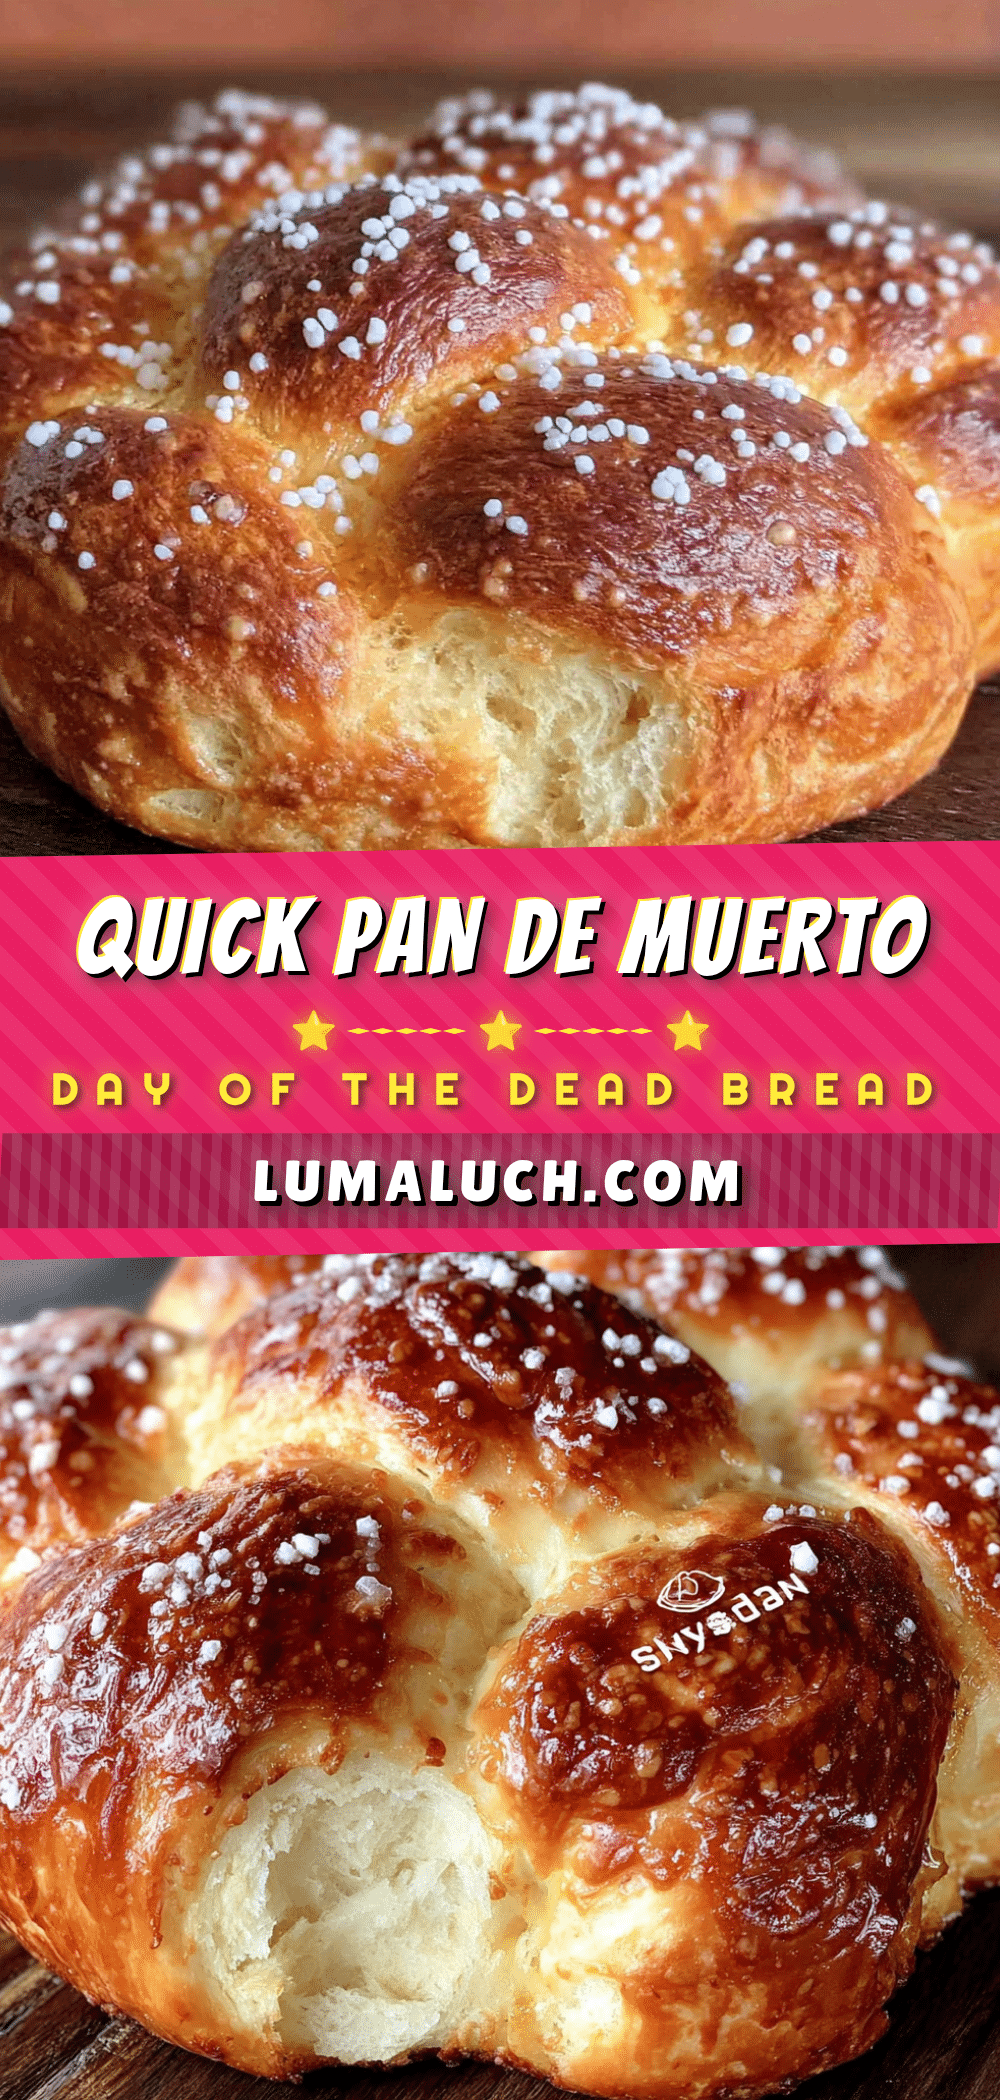
Easy Quick Pan de Muerto: Best Day of the Dead Bread Recipe
This Quick Pan de Muerto is a weeknight miracle that brings the spirit of Día de los Muertos to your table without the all-day commitment. It’s a soft, orange-scented bread that’s perfect for dipping in hot chocolate or coffee.
- Prep Time: 15 minutes
- Cook Time: 25 minutes
- Total Time: 1 hour 30 minutes
- Yield: 8 servings 1x
- Category: Bread
- Cuisine: Mexican
Ingredients
- 3 cups (360g) all-purpose flour
- 2 ¼ teaspoons active dry yeast (one packet)
- ½ cup (120ml) warm milk (heated to about 110°F)
- ⅓ cup (65g) granulated sugar
- ¼ cup (55g) unsalted butter, softened
- 2 large eggs, at room temperature
- Zest of 1 large orange
- 1 teaspoon orange blossom water (optional)
- ½ teaspoon salt
- ½ teaspoon anise seed (optional)
- For the Topping:
- 2 tablespoons (28g) unsalted butter, melted
- ¼ cup (50g) granulated sugar
- Zest of ½ orange
Instructions
- Proof the yeast: In the bowl of your stand mixer, combine the warm milk and 1 tablespoon of the sugar. Sprinkle the yeast on top and let it sit for 5 minutes until it’s foamy.
- Mix the dough: Add the remaining sugar, softened butter, eggs, orange zest, orange blossom water (if using), and salt to the yeast mixture. Use the paddle attachment on low speed to combine everything until it’s a shaggy mess.
- Add the flour: Switch to the dough hook. Add the flour (and anise seed if using) and mix on low speed for about 2 minutes until a rough dough forms. Scrape down the sides of the bowl.
- Knead the dough: Increase the speed to medium and knead for 5-7 minutes. The dough should pull away from the sides of the bowl and feel smooth and elastic. If too sticky, add flour 1 tablespoon at a time; if too dry, add warm water 1 teaspoon at a time.
- First rise: Shape the dough into a ball and place it in a lightly greased bowl. Cover with plastic wrap or a damp towel. Let it rise in a warm spot for 45 minutes, or until doubled in size.
- Shape the bread: Punch down the dough gently. Turn it out onto a lightly floured surface. Divide the dough into two pieces: one large piece (about two-thirds) for the base, and one smaller piece for decorations. Shape the large piece into a round ball and place on a parchment-lined baking sheet.
- Make the bone decorations: Divide the smaller piece into 4 equal parts. Roll each into a rope about 6 inches long. Cut each rope in half, then roll each half into a smaller rope. Place two ropes crossed on top of the bread to form a ‘bone’ shape. Repeat with the remaining ropes to make four bones. Optionally, make a small round ball for the top center.
- Second rise: Cover the shaped bread loosely with plastic wrap and let it rise for 20 minutes. The bread should look slightly puffy but not doubled.
- Preheat and bake: While the bread is rising, preheat your oven to 350°F (175°C). Once risen, bake for 20-25 minutes, until the top is golden brown and the bread sounds hollow when tapped on the bottom. Internal temperature should reach about 190°F (88°C).
- Finish with topping: While the bread is still warm, brush the top generously with melted butter. Mix the remaining ¼ cup sugar with the extra orange zest and sprinkle it all over the buttered bread. Let cool on a wire rack for at least 15 minutes before slicing.
Notes
Temperature is key: warm milk to about 110°F. Don’t overthink the shaping; the sugar coating hides imperfections. Check for doneness early (start at 18 minutes). Store at room temperature for up to 2 days, or freeze for up to 3 months.
Nutrition
- Serving Size: 1/8 of loaf
- Calories: 285
- Sugar: 16
- Sodium: 150
- Fat: 10
- Saturated Fat: 6
- Carbohydrates: 43
- Fiber: 1
- Protein: 6
Keywords: Pan de Muerto, Day of the Dead bread, quick bread, orange bread, Mexican bread, Día de los Muertos


