Love this? Save it for later!
Share the inspiration with your friends
My kids had refused Halloween-themed desserts for years. “Too much frosting,” they’d say, pushing aside store-bought cupcakes with inch-thick icing. Then last October, I made these Oreo Dirt Cup Pudding Cups “just for the neighbors” and found my seven-year-old with his face buried in a cup, chocolate pudding smeared from ear to ear. “Wait,” I said, “I thought you hated Halloween treats.” He just shrugged and reached for another one.
Honestly, I wasn’t trying to prove a point. I was just tired of fighting with fondant and tired of spending fifteen dollars on a box of cupcakes that nobody finished. My kitchen counter was covered in crushed Oreos—there’s always a mess when kids “help”—and I had a half-empty box of instant pudding mix from the last grocery run. The idea was simple: layer chocolate pudding, crushed cookies, and a few gummy worms, then call it dirt. No baking, no stress, and maybe twenty minutes of actual work.
The thing that surprised me—and maybe you’ve been there too—was how quiet my kitchen got. My kids were so focused on spooning pudding into cups that nobody argued about whose turn it was to crush the cookies. That’s rare in my house, let me tell you. By the time we finished, we had twelve little cups of chocolate goodness, and I realized I hadn’t yelled once.
This recipe stayed with me because it’s the kind of thing you make when you want to give your kids a fun Halloween experience without losing your mind. It’s not fancy, it’s not complicated, and honestly, it’s the only Halloween treat my family actually eats every year now. That’s saying something.
Why You’ll Love This Recipe
I’ve tested this recipe through three Halloweens, two classroom parties, and one very memorable playdate where six kids under eight demolished an entire batch in under ten minutes. Here’s why it works every single time:
- Budget-Friendly: This whole recipe costs under eight dollars, and you probably already have half the ingredients in your pantry. No expensive specialty items needed.
- No-Bake & Fast: From start to fridge, you’re looking at about twenty minutes of active work. The hardest part is waiting for the pudding to set.
- Picky Eater Approved: My kids who “don’t like chocolate” (I know, it’s confusing) eat these. Something about the crushed cookie texture and creamy pudding just works.
- Make-Ahead Friendly: You can assemble these the day before your Halloween party. The flavors actually get better overnight as the cookies soften into the pudding.
- Endlessly Customizable: Swap in different gummy candies, use different pudding flavors, or add sprinkles—the base recipe is forgiving.
What makes this recipe different from the rest? It’s the ratio. Most dirt cup recipes use way too many crushed cookies, so you end up with dry, crumbly bites. I spent three batches getting the cookie-to-pudding ratio exactly right—enough crunch to feel like dirt, but enough creaminess to make every spoonful satisfying. This isn’t just another Pinterest copycat. It’s the version that makes you close your eyes after the first bite, even if you’re a grown-up pretending to just “sample” one for quality control.
What Ingredients You Will Need
This recipe uses simple, everyday ingredients that you can find at any grocery store. Nothing fancy, nothing expensive—just good old-fashioned pantry staples that come together for something genuinely fun.
- 2 (3.9 ounce) packages instant chocolate pudding mix (I prefer Jell-O brand for consistent texture, but store brands work fine too)
- 4 cups cold whole milk (2% works in a pinch, but whole milk gives the creamiest pudding texture. For dairy-free, use oat milk—it’s thicker than almond milk and sets up better)
- 1 (14.3 ounce) package Oreo cookies (regular or Double Stuf both work. You’ll use about 30 cookies total)
- 1 (8 ounce) container frozen whipped topping, thawed (Cool Whip or store brand—just make sure it’s fully thawed before folding in)
- 1 (4.25 ounce) bag gummy worms (the classic Halloween shape works best, but any gummy candy is fine)
- Optional: Halloween sprinkles or candy eyes for decoration
For the pudding, I’ve learned to always check the expiration date on the box. Old pudding mix doesn’t set properly, and you’ll end up with soupy cups. Not the end of the world—they still taste fine—but the texture won’t be right.
The Oreos are where you can get creative. I’ve made these with Golden Oreos for a “sand” version, and my kids actually preferred them. If you’re feeling ambitious, you can even try the mint-flavored Oreos for a different twist. Just crush them finely enough that no big chunks remain—you want the texture of actual dirt, not gravel.
For the whipped topping, let it sit on the counter for about twenty minutes before you need it. Cold whipped topping doesn’t fold into pudding smoothly, and you’ll end up with white streaks. Room temperature folds in like a dream.
One note on the gummy worms: the sour-coated ones add a nice tangy contrast to the sweet pudding. If your kids are sensitive to sour flavors, stick with regular gummy worms. I learned this the hard way when my youngest spit out a sour worm and declared the whole batch “ruined.” Kids, man.
Equipment Needed
- Large mixing bowl for the pudding
- Medium mixing bowl for crushing cookies
- Whisk for mixing the pudding
- Rolling pin or food processor for crushing Oreos (a zip-top bag and your hands work too—my kids love this method)
- 12 (5-ounce) clear plastic cups or small mason jars (clear cups let everyone see the layers)
- Rubber spatula for folding in whipped topping
- Measuring cups and spoons
If you don’t have a food processor, don’t sweat it. Put the Oreos in a sturdy zip-top bag, seal it tight (double-bag if you’re worried about leaks), and let your kids go to town with a rolling pin. It’s louder, messier, and way more fun. Just make sure the bag doesn’t burst—I’ve cleaned cookie dust off my ceiling before, and it’s not a good look.
For the cups, I buy the 5-ounce clear plastic cups at the dollar store. They’re cheap, they’re the perfect size, and you can see the layers through the sides. Mason jars work great too, but they’re heavier and more expensive if you’re making a big batch for a party.
Preparation Method
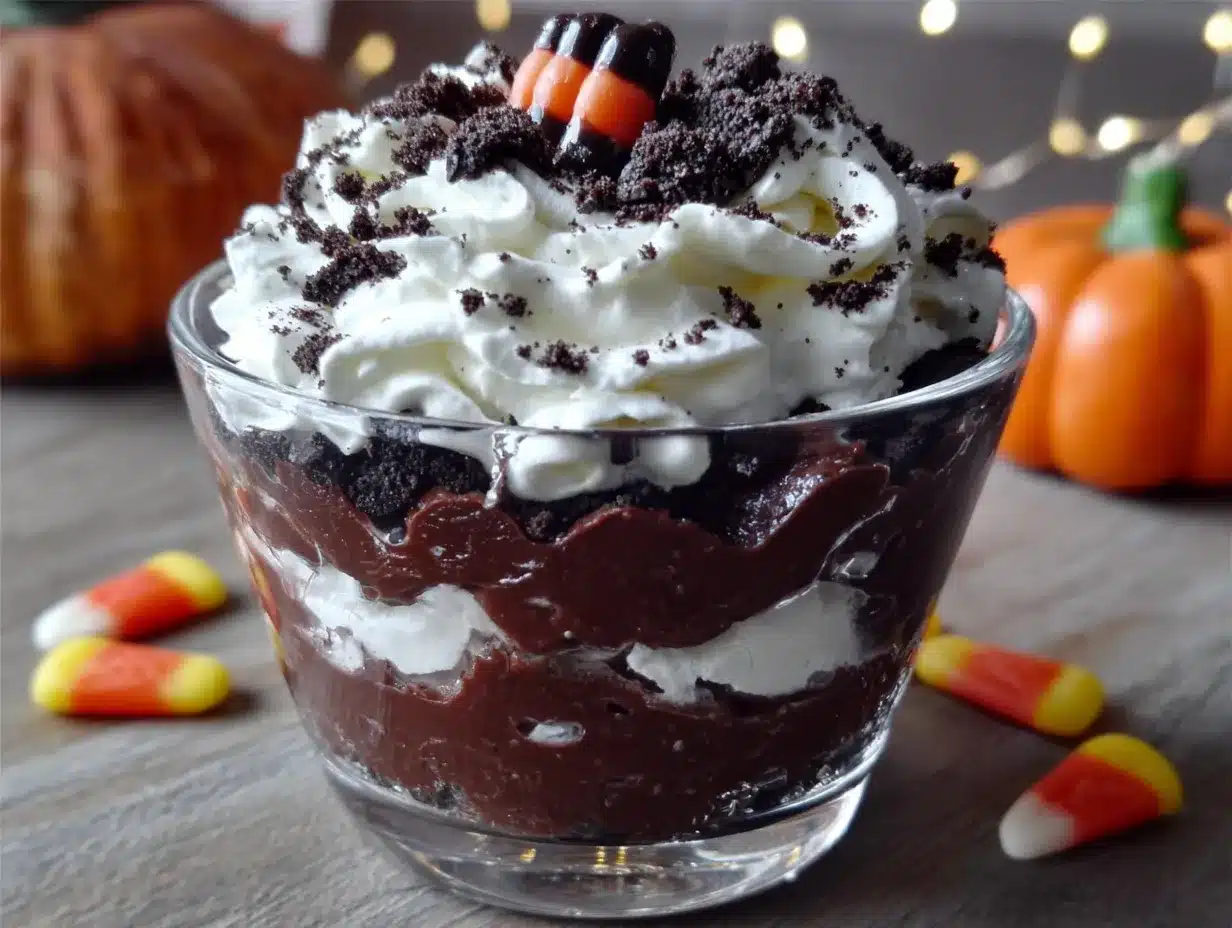
- Crush the Oreos: Place about 30 Oreo cookies (keep the filling in—don’t scrape it out) into a food processor. Pulse until you get fine crumbs that look like dirt. If you’re using the bag method, seal the cookies in a zip-top bag and crush them with a rolling pin until no large pieces remain. Set aside about 1/2 cup of the crumbs for topping later. This takes about 5 minutes.
- Make the pudding: In a large mixing bowl, whisk together both packages of instant chocolate pudding mix and 4 cups of cold milk. Whisk for about 2 minutes until the mixture starts to thicken. You’ll feel it getting heavier as you whisk. Let it sit for 5 minutes to set up completely. The pudding should be thick enough that it holds its shape when you lift the whisk.
- Fold in the whipped topping: Add the thawed whipped topping to the pudding mixture. Use a rubber spatula to gently fold it in—cut down through the center, scrape along the bottom, and bring it up over the top. Keep folding until no white streaks remain. The mixture should be light and airy, like a mousse. This takes about 2-3 minutes of gentle folding. Don’t stir vigorously or you’ll deflate the whipped topping.
- Layer the cups: Spoon about 2 tablespoons of crushed Oreos into the bottom of each cup. Press down gently with the back of the spoon to create an even layer. Then spoon the pudding mixture on top, filling each cup about 3/4 full. Tap the cup gently on the counter to settle the pudding and remove any air bubbles.
- Add the top layer: Sprinkle the reserved crushed Oreos over the top of each cup. You want a thick enough layer that you can’t see the pudding underneath—about 1-2 tablespoons per cup. This is the “dirt” layer, so don’t be shy with it.
- Insert the gummy worms: Gently push 2-3 gummy worms into each cup so they’re peeking out of the “dirt.” Some should be fully visible, others partially buried. This is the fun part—let your kids help if they’re around.
- Chill: Refrigerate the cups for at least 2 hours before serving. The longer they sit, the better the flavors meld together. Overnight is ideal—the cookies soften slightly and the pudding sets up perfectly.
A warning from personal experience: don’t skip the chilling time. I once served these after only 30 minutes in the fridge, and the pudding was still runny. The cups looked like a mudslide, not dirt. Patience pays off here.
Another tip: if you’re making these for a classroom party, assemble them the night before. The gummy worms might sink a little overnight, but that’s fine—just poke a few fresh ones in right before serving to make them pop.
Cooking Tips & Techniques
Let me share what I’ve learned the hard way so you don’t have to.
The cookie crush matters. If your Oreo crumbs are too coarse, they’ll feel gritty instead of like dirt. If they’re too fine, they turn into paste. Aim for a texture like coarse sand—some small chunks are okay, but you shouldn’t see any large cookie pieces. I pulse my food processor in short bursts and check after each one.
Don’t overmix the pudding. Instant pudding sets up fast, and if you whisk it too long or too vigorously, it can become grainy. Whisk just until the powder dissolves and the mixture starts to thicken, then stop. Let it rest for the full 5 minutes before folding in the whipped topping.
Room temperature ingredients matter. Cold milk straight from the fridge is fine for the pudding, but the whipped topping needs to be thawed completely. I’ve ruined batches by trying to fold in semi-frozen whipped topping—it never incorporates smoothly, and you end up with white lumps. Let it sit on the counter for 20-30 minutes before you start.
The biggest mistake I made: My first batch of dirt cups looked beautiful, but they tasted flat. I realized I had forgotten to add sugar to the pudding—which is silly because instant pudding has sugar already in it. What I actually forgot was the contrast. The gummy worms aren’t just decoration; they add a chewy, tangy element that cuts through the sweetness. Don’t skip them. If your kids don’t like gummy worms, use crushed candy corn or even a few chocolate chips for texture contrast.
Timing strategy: Make the pudding first, let it set while you crush the cookies, then fold everything together. This way, you’re not waiting around. The whole active prep takes about 20 minutes if you work efficiently.
Variations & Adaptations
Over the years, I’ve tried all kinds of twists on this recipe. Here are the ones that actually worked:
Dairy-Free Version: Use oat milk instead of cow’s milk (it’s thicker than almond milk and sets up better), and swap the whipped topping for a dairy-free alternative like CocoWhip. The Oreos are actually dairy-free already, so this version works surprisingly well. My neighbor’s daughter has a dairy allergy, and she couldn’t tell the difference.
Pumpkin Patch Dirt Cups: For a fall twist, replace the chocolate pudding with vanilla pudding and add 1/2 cup of canned pumpkin puree and 1 teaspoon of pumpkin pie spice. Layer with crushed graham crackers instead of Oreos, and top with candy pumpkins instead of gummy worms. My kids actually fight over these at Thanksgiving.
Skinny Version: Use sugar-free pudding mix, skim milk, and light whipped topping. Crush reduced-fat Oreos (they’re harder to find, but they exist). The texture is slightly less creamy, but the flavor is still solid. I made these for a mom’s group meeting, and nobody complained.
Spider Web Design: Instead of gummy worms, use black licorice strings to create spider web patterns on top. Place a few plastic spider rings on the surface for a creepy effect. This version was a hit at my son’s Halloween class party—the teacher took a photo for the school newsletter.
Individual Parfaits: Layer the ingredients in tall glasses instead of cups, repeating the layers twice. Start with pudding, then cookies, then more pudding, then more cookies. Top with whipped cream and a single gummy worm. This version looks fancier for adult Halloween parties.
Serving & Storage Suggestions
Serve these dirt cups chilled, straight from the fridge. The cold temperature keeps the pudding firm and the cookies crunchy. If they sit out at room temperature for more than 30 minutes, the cookies start to get soggy and the pudding softens too much.
For presentation, arrange the cups on a platter lined with fake spider webs or orange and black napkins. You can add a few loose gummy worms around the base of the cups for extra visual appeal. If you’re serving these at a party, label them with a cute sign—”Worm Dirt” or “Halloween Mud Cups” always gets a laugh.
These pair beautifully with warm apple cider or hot chocolate. For an adult gathering, they go surprisingly well with a dark stout beer—the bitterness of the beer balances the sweetness of the pudding.
Storage: Keep the cups covered in the refrigerator for up to 3 days. Cover each cup with plastic wrap or transfer them to an airtight container. The gummy worms might soften over time, but the flavor actually improves after 24 hours as the cookies and pudding meld together.
Freezing: I don’t recommend freezing these. The pudding gets icy and the texture falls apart when thawed. If you need to make them far in advance, prepare the pudding and crushed cookies separately, then assemble the day before serving.
Reheating: These are meant to be served cold, so no reheating needed. If they’ve been in the fridge too long and the pudding seems too firm, let them sit at room temperature for 10 minutes before serving.
Nutritional Information & Benefits
Here’s the honest truth: these are a treat, not a health food. But knowing what’s in them helps you make informed choices.
| Nutritional Value | Per Serving (1 cup) |
|---|---|
| Calories | 285 |
| Total Fat | 11g |
| Saturated Fat | 5g |
| Cholesterol | 8mg |
| Sodium | 380mg |
| Total Carbohydrates | 43g |
| Dietary Fiber | 1g |
| Sugars | 30g |
| Protein | 5g |
The milk in the pudding provides calcium and vitamin D, and the Oreos offer a small amount of iron. The gummy worms are mostly sugar, but they do make kids happy, and there’s something to be said for that.
If you’re watching sugar intake, use sugar-free pudding mix and light whipped topping. You’ll save about 80 calories and 10 grams of sugar per serving. The taste is slightly different, but still satisfying.
These are not gluten-free (Oreos contain wheat flour), but you can find gluten-free chocolate sandwich cookies at most grocery stores now. The rest of the ingredients are naturally gluten-free.
Conclusion
These Kid-Approved Halloween Oreo Dirt Cup Pudding Cups are the kind of recipe that makes you feel like a good parent without actually working that hard. They’re fun, they’re affordable, and they actually taste good—not just “good for a kid’s treat” but genuinely delicious. My kids ask for these year-round, not just at Halloween, and I’m happy to oblige because they take twenty minutes and cost next to nothing.
I’d love to hear how yours turn out. Did your kids help crush the Oreos? Did you try a different gummy candy? Did anyone in your family claim to hate them and then eat three? Drop a comment below and let me know. Tag me in your photos on Pinterest—I always love seeing the creative variations you come up with.
Here’s to a Halloween that’s spooky in all the right ways, with dessert that actually gets eaten. Happy cooking, friends.
Frequently Asked Questions
Can I make these dirt cups the night before?
Absolutely. In fact, I recommend it. The flavors meld together overnight, and the cookies soften slightly into the pudding for a more cohesive texture. Just add the gummy worms right before serving so they stay firm and visible.
Can I use homemade pudding instead of instant?
You can, but the texture will be different. Homemade pudding is thinner and doesn’t set as firmly. If you go that route, use less milk or add an extra tablespoon of cornstarch to help it thicken. The instant pudding really is the easiest option here.
How many cups does this recipe make?
This recipe makes 12 standard 5-ounce cups. If you’re using smaller cups or serving bigger portions, adjust accordingly. For a large party, you can easily double the recipe.
Can I use low-fat milk?
Yes, but the pudding won’t be as creamy. Whole milk gives the best texture. If you’re using skim or 2%, the pudding will still set, but it might be slightly thinner. Let it chill for an extra 30 minutes to compensate.
What if I don’t have gummy worms?
No problem. Use any Halloween-themed candy—candy corn, candy pumpkins, or even chocolate spiders work great. You can also skip the candy entirely and just decorate with sprinkles or candy eyes. The gummy worms are for fun, not function.
Pin This Recipe!
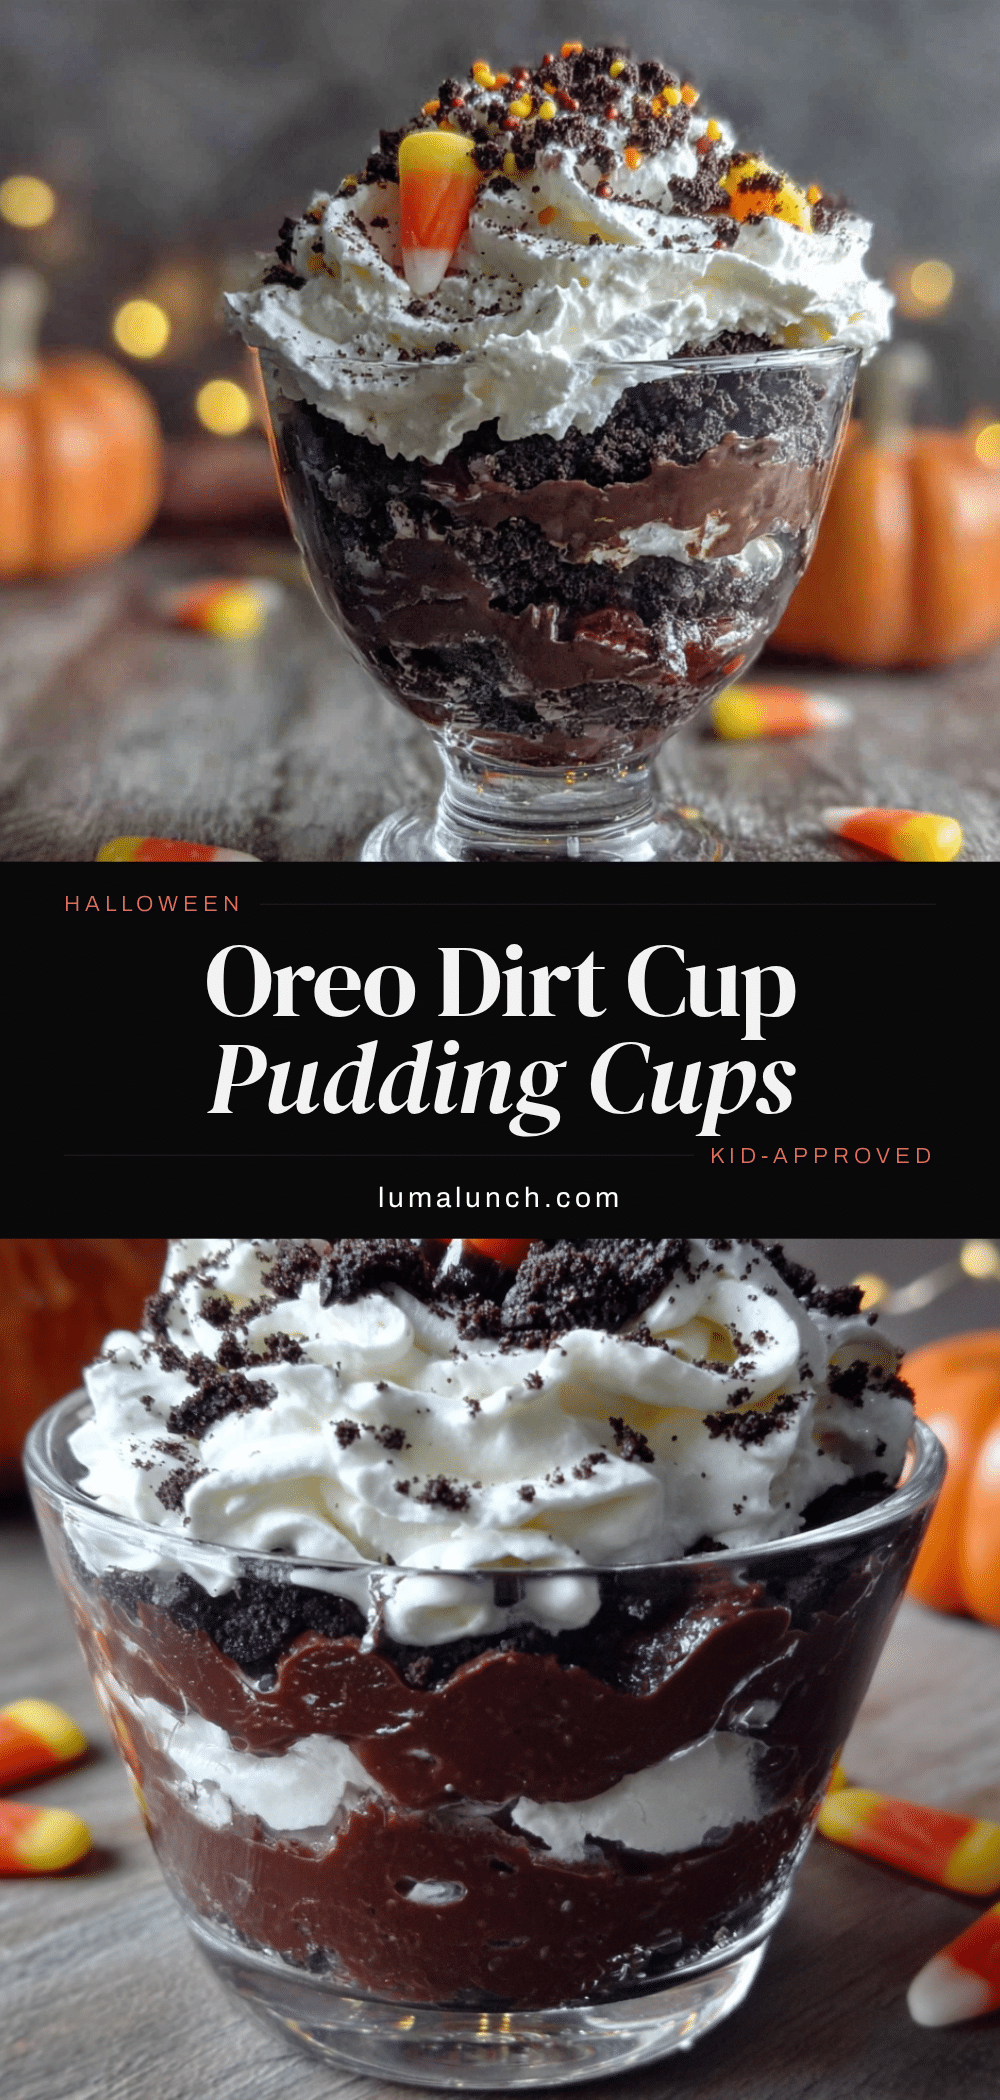
Kid-Approved Halloween Oreo Dirt Cup Pudding Cups

No-bake Halloween dessert cups with layers of chocolate pudding, crushed Oreos, and gummy worms. A fun, budget-friendly treat that kids love to help make and devour.
- Prep Time: 20 minutes
- Cook Time: 0 minutes
- Total Time: 2 hours 20 minutes (includes chilling)
- Yield: 12 servings 1x
- Category: Dessert
- Cuisine: American
Ingredients
- 2 (3.9 ounce) packages instant chocolate pudding mix
- 4 cups cold whole milk
- 1 (14.3 ounce) package Oreo cookies (about 30 cookies)
- 1 (8 ounce) container frozen whipped topping, thawed
- 1 (4.25 ounce) bag gummy worms
- Optional: Halloween sprinkles or candy eyes for decoration
Instructions
- Crush the Oreos: Place about 30 Oreo cookies (keep the filling in) into a food processor. Pulse until you get fine crumbs that look like dirt. If using the bag method, seal cookies in a zip-top bag and crush with a rolling pin until no large pieces remain. Set aside about 1/2 cup of crumbs for topping.
- Make the pudding: In a large mixing bowl, whisk together both packages of instant chocolate pudding mix and 4 cups of cold milk. Whisk for about 2 minutes until the mixture starts to thicken. Let it sit for 5 minutes to set up completely.
- Fold in the whipped topping: Add the thawed whipped topping to the pudding mixture. Use a rubber spatula to gently fold it in until no white streaks remain. The mixture should be light and airy.
- Layer the cups: Spoon about 2 tablespoons of crushed Oreos into the bottom of each cup. Press down gently. Then spoon the pudding mixture on top, filling each cup about 3/4 full. Tap the cup gently on the counter to settle.
- Add the top layer: Sprinkle the reserved crushed Oreos over the top of each cup, about 1-2 tablespoons per cup, to create the ‘dirt’ layer.
- Insert the gummy worms: Gently push 2-3 gummy worms into each cup so they’re peeking out of the ‘dirt.’
- Chill: Refrigerate the cups for at least 2 hours before serving. Overnight is ideal for best flavor and texture.
Notes
Don’t skip the chilling time—at least 2 hours is essential for proper texture. For best results, make the night before. The gummy worms can be added just before serving if you want them to stay firm. For dairy-free version, use oat milk and dairy-free whipped topping. The Oreos are already dairy-free.
Nutrition
- Serving Size: 1 cup
- Calories: 285
- Sugar: 30
- Sodium: 380
- Fat: 11
- Saturated Fat: 5
- Carbohydrates: 43
- Fiber: 1
- Protein: 5
Keywords: Halloween dessert, dirt cups, Oreo pudding, no-bake dessert, kid-friendly, Halloween treats, chocolate pudding cups


