Love this? Save it for later!
Share the inspiration with your friends
I was standing in the parking lot of a big-box hardware store last October, waiting for my husband to come back with a new shower head, when the smell hit me. It wasn’t fall leaves or a pumpkin patch or anything harvest-themed. It was the weird, specific, almost-burnt-sugar-and-toasted-nut scent from the kettle corn stand at the county fair I went to when I was twelve. My uncle Frank took me that year. He was the one who always ordered the weird stuff—fried Oreos, pickle pops, and the cinnamon sugar almonds that came in a paper cone. He passed away about five years ago, and I don’t think about him as often as I should. But standing there in that parking lot, I could feel the paper cone in my hand, the heat coming through it, the way the cinnamon clung to my fingers. I wanted that feeling back. The problem is, I don’t have a kettle corn stand in my kitchen. What I did have, sitting on my counter, was a bag of pumpkin seeds left over from a carving session two days prior. And let me tell you, that was close enough.
I mean, honestly, I don’t know why I hadn’t thought of it before. We always just tossed the seeds with salt and roasted them until they were dry and a little sad. They were fine. Edible. But they weren’t something you craved. They weren’t something that made you close your eyes and remember a paper cone and a warm afternoon. So I grabbed my bag of seeds, a little cinnamon, some sugar, and a skillet. I had a hunch. And that hunch turned into these 10-minute cinnamon sugar pumpkin seeds. Maybe you’ve had that moment where a random smell just grabs you and pulls you somewhere else. This recipe is my attempt to hold onto that feeling—and honestly, it works better than I expected.
Why You’ll Love This Recipe
These aren’t your average, boring roasted pumpkin seeds. They’re sweet, crunchy, and come together in a single skillet in about ten minutes flat. I’ve tested this method about six times now—burned a batch, undercooked another, and finally landed on the perfect window where the sugar caramelizes just enough to stick without turning into a sticky mess.
- Quick & Easy: From craving to crunch in under 10 minutes. No oven preheating, no long roasting times. This is weeknight speed, through and through.
- Simple Ingredients: You need pumpkin seeds, butter, sugar, cinnamon, and salt. That’s it. Check your pantry right now—I bet you have all of it.
- Perfect for Snacking: Great for lunchboxes, movie nights, or just standing over the counter eating them out of the bowl. I won’t judge.
- Crowd-Pleaser: My kids devour these. My neighbor, who “doesn’t like seeds,” ate half a batch before admitting they were good.
- Unbelievably Addictive: The combination of crunchy, sweet, and slightly salty is pure magic. It’s that kettle corn energy without the kettle.
What makes this recipe different? It’s not baked—it’s pan-toasted. That direct heat creates a deeper, nuttier flavor and a crunchier texture than anything you’ll get from an oven. Plus, the sugar caramelizes on the surface instead of just sitting there as a dry coating. It’s a small technique shift that changes everything.
This is the kind of snack that makes you forget you’re eating something that’s actually pretty good for you. It feels like a treat, but it’s made from a leftover ingredient you’d normally toss. That’s a win in my book.
What Ingredients You Will Need
This recipe uses simple, wholesome ingredients to deliver big flavor without any fuss. Most of these are pantry staples, which is exactly what you want on a busy weeknight when a craving hits out of nowhere.
- Pumpkin seeds (raw, shell-on): 1 cup (about 120g). You can use seeds straight from a pumpkin—just rinse them well and pat them completely dry. I’ve also used store-bought raw pepitas (the green, shelled ones) in a pinch, but the shell-on seeds get crunchier and have a more satisfying texture. If you’re using fresh pumpkin seeds, make sure they’re really dry before they hit the pan. Wet seeds steam instead of toast, and nobody wants soggy seeds.
- Unsalted butter: 2 tablespoons (28g). I use unsalted so I can control the salt level. Salted butter works fine—just cut back on the added salt slightly. I’ve tried this with coconut oil for a dairy-free version, and it works, but the butter gives a richer, more toasty flavor that I personally prefer.
- Granulated sugar: 3 tablespoons (36g). Regular white sugar works best here. It melts and caramelizes evenly. Brown sugar can work, but it clumps more and can burn faster because of the molasses content. If you’re out of granulated, try coconut sugar—it’ll be a little less sweet and more earthy, but still good.
- Ground cinnamon: 1 teaspoon (2.6g). I recommend using a good-quality cinnamon like Saigon or Ceylon. Saigon is stronger and more pungent, which I love with the sugar. Ceylon is milder and sweeter. Either works, just adjust to taste. Fresh cinnamon makes a noticeable difference here—don’t use the dusty jar that’s been in your cabinet since 2019.
- Fine sea salt: 1/4 teaspoon (1.5g). This balances the sweetness and brings out the nutty flavor of the seeds. I use fine salt so it dissolves evenly. Flaky sea salt sprinkled on top at the end is also a nice touch if you’re feeling fancy.
- Vanilla extract (optional): 1/2 teaspoon (2.5ml). This is not essential, but it adds a warm, round sweetness that pairs beautifully with the cinnamon. I add it about half the time, depending on my mood. If you have vanilla bean paste, even better.
That’s the whole list. No weird ingredients, no specialty store trips. You probably have all of this right now. That’s the point.
Equipment Needed
You don’t need much for this recipe, which is part of why I make it so often. Here’s what you’ll need:
- A non-stick skillet or well-seasoned cast iron pan: A 10-inch skillet is ideal. Non-stick makes cleanup a breeze, especially since the sugar can get sticky. Cast iron works beautifully too—it holds heat evenly and gives the seeds a nice toasty flavor.
- A wooden spoon or silicone spatula: You need something sturdy to stir constantly. A metal spatula can scratch non-stick pans, so stick with wood or silicone.
- A baking sheet or large plate: For spreading the seeds out to cool. A baking sheet lined with parchment paper is ideal—the seeds won’t stick, and cleanup is easy.
- A paper towel or clean kitchen towel: For drying the seeds thoroughly if you’re using fresh pumpkin seeds. This step is more important than you think.
- A small bowl: For mixing the cinnamon and sugar together before you start. Having it pre-mixed saves you from fumbling mid-cook.
If you don’t have a non-stick skillet, don’t worry. I’ve made these in a stainless steel pan before—you just need to watch the heat more carefully and stir constantly to prevent sticking. A little extra butter helps too.
Preparation Method
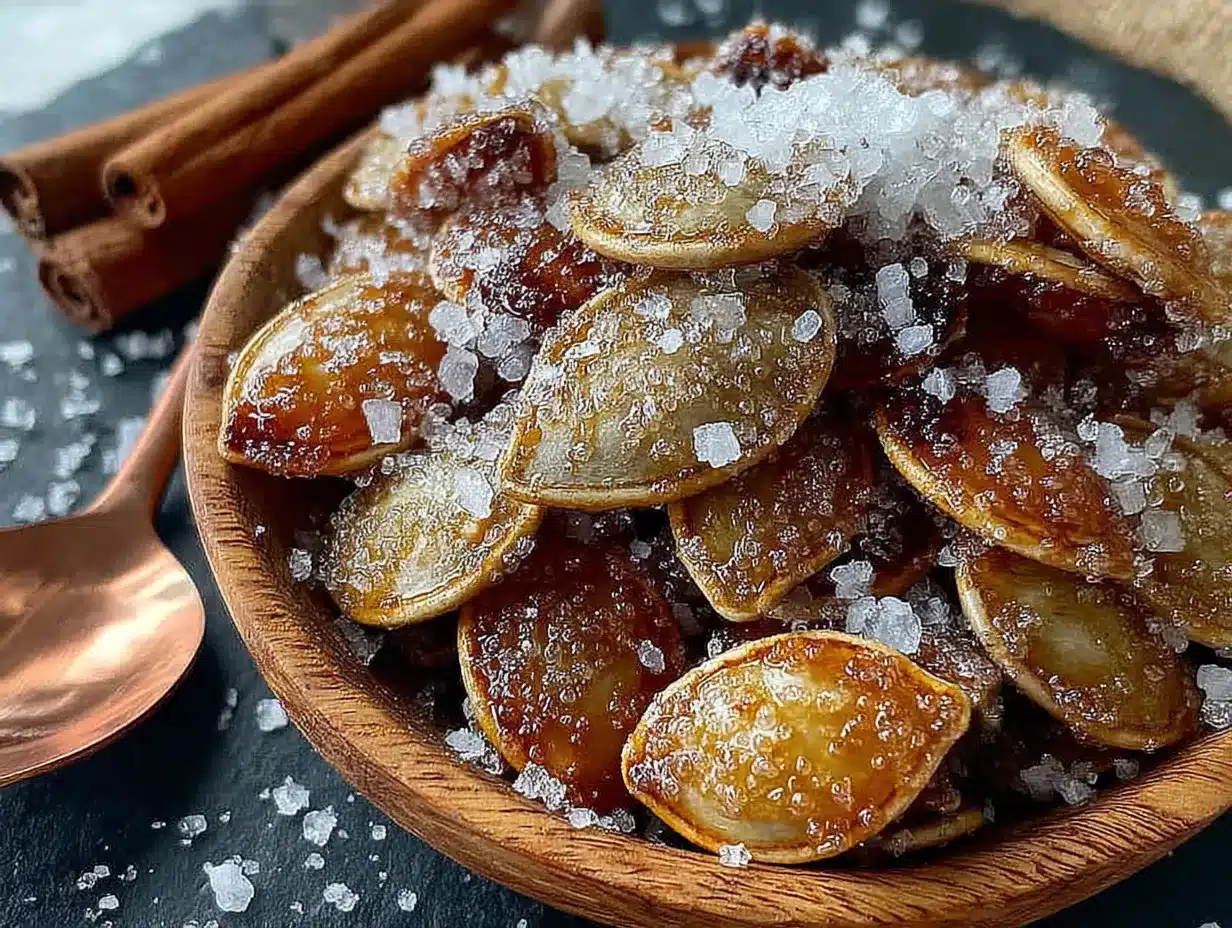
This whole process takes about 10 minutes from start to finish. Here’s exactly how to do it.
- Prep the seeds: If you’re using fresh pumpkin seeds, rinse them in a colander to remove the stringy pumpkin guts. Pick out any big chunks of pulp. Spread them on a clean kitchen towel or paper towel and pat them completely dry. This is crucial—wet seeds will steam, not toast. If you’re using store-bought raw seeds, you can skip this step. Measure out 1 cup of seeds and set them aside.
- Mix the coating: In a small bowl, combine 3 tablespoons of granulated sugar, 1 teaspoon of ground cinnamon, and 1/4 teaspoon of fine sea salt. Stir with a fork until evenly mixed. Set this near the stove so you can grab it quickly.
- Heat the pan: Place your skillet over medium heat. Add 2 tablespoons of unsalted butter. Let it melt completely, swirling the pan occasionally. The butter should be fully melted and just starting to foam—not browning. This takes about 1-2 minutes.
- Toast the seeds: Add the pumpkin seeds to the melted butter in an even layer. Stir immediately to coat them. Let them toast for 2 minutes, stirring constantly. You’ll hear them start to pop and sizzle. That’s good—it means the moisture is cooking off. After 2 minutes, they should smell nutty and look slightly golden on the edges.
- Add the cinnamon sugar: Sprinkle the cinnamon-sugar mixture evenly over the seeds. Stir vigorously to coat every seed. The sugar will melt and start to bubble almost immediately. Keep stirring for another 2-3 minutes. You’ll see the sugar turn from white to a light amber color, and the seeds will start to clump together slightly. That’s the caramelization happening. If you’re using the vanilla extract, add it now and stir for another 30 seconds.
- Watch the color: The seeds should be a deep golden brown, and the sugar coating should look glossy but not dark. If the sugar starts to smoke or turn dark brown, pull the pan off the heat immediately—you’ve gone too far. Burnt sugar is bitter and ruins the batch. I’ve done it. It’s sad.
- Spread to cool: Immediately pour the seeds onto your prepared baking sheet or plate. Spread them into a single layer with your spatula. They’ll be very hot and sticky, so don’t touch them yet. Let them cool completely, about 5-10 minutes. As they cool, the sugar hardens into a crunchy coating. Don’t rush this step—warm seeds are soft and clumpy. Cool seeds are crispy and perfect.
- Break apart: Once cool, break up any large clumps with your hands. The seeds should separate easily into individual pieces. If they’re still sticky, they need more cooling time.
That’s it. Eight steps, ten minutes, one skillet. You’ve got a bowl of addictive cinnamon sugar pumpkin seeds ready to go.
Cooking Tips & Techniques
I’ve made this recipe enough times to know where things can go wrong. Here’s what I’ve learned the hard way.
Dry your seeds completely. This is the number one mistake. If your seeds are wet, they’ll steam in the pan instead of toasting, and you’ll end up with soft, chewy seeds instead of crunchy ones. I once skipped the drying step because I was in a hurry, and the result was a sticky, sad mess that nobody wanted to eat. Patience pays off here.
Keep the heat at medium, not high. High heat will burn the sugar before the seeds have a chance to toast. Medium heat gives you enough time to coat everything evenly without scorching. If your pan is running hot, don’t be afraid to pull it off the heat for a few seconds while you stir. I do this all the time.
Stir constantly. This isn’t a set-it-and-forget-it recipe. You need to keep the seeds moving the entire time they’re in the pan. If you stop stirring, the sugar will pool in one spot and burn. I usually set a timer on my phone and stir to the rhythm of a song. It sounds silly, but it works.
Trust the visual cues, not just the time. Every stove is different. Your pan might run hot or cold. Instead of watching the clock, watch the seeds. They should be golden brown, the sugar should be glossy, and you should smell toasted nuts and caramel. When you see that, you’re done.
Don’t skip the cooling step. I know it’s tempting to eat them right away—I’ve burned my tongue doing exactly that. But the cooling process is what creates the crunchy texture. Let them sit. They’ll be worth the wait.
Variations & Adaptations
This base recipe is great on its own, but it’s also a starting point for all kinds of variations. Here are a few I’ve tried.
- Spicy Cinnamon Sugar: Add 1/4 teaspoon of cayenne pepper to the cinnamon-sugar mixture. The heat sneaks up on you and pairs surprisingly well with the sweet coating. I made this for a game day snack and it disappeared in minutes.
- Maple Cinnamon: Replace the granulated sugar with 2 tablespoons of maple syrup. Reduce the butter to 1 tablespoon. The maple flavor is more subtle, and the coating is slightly less crunchy but has a deeper, more complex sweetness. This version is great on oatmeal or yogurt.
- Chocolate Drizzle: After the seeds have cooled, melt 1/4 cup of dark chocolate chips and drizzle it over the top. Let the chocolate set before breaking apart. This turns them into a dessert-level treat. I made these for a holiday party and people asked for the recipe.
- Savory-Sweet Hybrid: Add 1/2 teaspoon of smoked paprika to the cinnamon-sugar mix. The smokiness adds a unexpected depth that works with the sweet coating. It sounds weird, but trust me—it’s good.
- Vegan Version: Substitute the butter with coconut oil or a vegan butter stick. Coconut oil gives a slight coconut flavor that complements the cinnamon nicely. Vegan butter works almost exactly like dairy butter in this recipe.
Feel free to experiment. The basic ratio of 1 cup seeds to 3 tablespoons sugar to 1 teaspoon cinnamon is forgiving. Adjust it to your taste.
Serving & Storage Suggestions
These seeds are best served at room temperature, straight from the cooling sheet. They’re crunchy, sweet, and dangerously snackable. I like to put them in a small bowl and set them out for guests, but honestly, I usually end up eating most of them myself while standing at the counter.
They pair beautifully with a hot cup of coffee or tea. The sweetness balances the bitterness of coffee, and the crunch is satisfying without being heavy. They’re also great on top of yogurt, ice cream, or even a simple green salad for a sweet-crunchy contrast. I’ve sprinkled them on butternut squash soup before, and it was a game-changer.
For storage, let the seeds cool completely, then transfer them to an airtight container. They’ll stay crunchy for up to a week at room temperature. If they start to soften (which can happen in humid weather), you can re-crisp them in a dry skillet over medium heat for 2-3 minutes. Just watch them carefully so the sugar doesn’t burn.
I don’t recommend freezing these. The sugar coating can get sticky when thawed, and the texture won’t be the same. They’re best enjoyed fresh, which isn’t hard since they disappear so fast.
Nutritional Information & Benefits
These seeds are a snack that actually has some nutritional value hidden under all that cinnamon sugar. Here’s the approximate breakdown per 1/4-cup serving (about 30g):
- Calories: 180
- Fat: 12g (mostly healthy unsaturated fats from the seeds)
- Carbohydrates: 14g (including 8g sugar)
- Fiber: 2g
- Protein: 5g
- Sodium: 95mg
Pumpkin seeds are a good source of magnesium, zinc, and healthy fats. Magnesium supports muscle function and sleep, while zinc is great for immune health. The cinnamon adds antioxidants and may help with blood sugar regulation. Of course, there’s added sugar here, so this isn’t a health food—it’s a treat. But compared to a candy bar or a bag of chips, you’re getting way more nutritional bang for your buck.
If you’re watching your sugar intake, you can reduce the sugar to 2 tablespoons. The coating will be less crunchy but still flavorful. You can also use a sugar substitute like monk fruit sweetener, though the texture will be slightly different.
Conclusion
These 10-minute cinnamon sugar pumpkin seeds are exactly what a weeknight snack should be—fast, simple, and deeply satisfying. They came from a random parking lot memory and a bag of leftover seeds, and now they’re a staple in my kitchen. I make them whenever I need a little crunch, a little sweetness, and a little reminder of that county fair afternoon.
I hope you give them a try. Customize them to your taste—add more cinnamon, dial up the heat, drizzle on some chocolate. They’re forgiving and fun. And if you make them, I’d love to hear about it. Leave a comment below and tell me how they turned out. Did you add anything? Did you eat them all before they cooled? (I won’t tell.)
Thanks for reading, and happy snacking.
Frequently Asked Questions
Can I use pepitas (shelled pumpkin seeds) instead of whole seeds?
Yes, you can. Pepitas will toast faster because they don’t have the hard outer shell, so reduce the cooking time by about 1 minute. They also won’t be as crunchy as whole seeds, but they’re still delicious. Just watch them closely so they don’t burn.
Why did my seeds turn out chewy instead of crunchy?
Chewy seeds usually mean they weren’t dry enough before cooking, or they didn’t toast long enough. Make sure you pat them completely dry with a towel before they hit the pan. Also, let them cool completely after cooking—the crunch develops as they cool.
Can I make these in the oven instead of on the stovetop?
Yes, but the texture will be different. Toss the seeds with melted butter and the cinnamon-sugar mixture, then spread them on a baking sheet. Bake at 350°F (175°C) for 12-15 minutes, stirring halfway through. They won’t be as caramelized as the stovetop version, but they’ll still be good.
How do I prevent the sugar from burning?
Keep the heat at medium and stir constantly. If you see the sugar starting to darken too quickly, pull the pan off the heat for a few seconds while you keep stirring. Don’t walk away from the pan—this recipe needs your full attention for those 5-6 minutes.
Can I double this recipe?
Yes, but cook it in batches. If you overcrowd the pan, the seeds will steam instead of toast, and the sugar won’t caramelize evenly. Use a larger skillet if you have one, or just make two separate batches. It only takes 10 minutes per batch, so it’s not a big time commitment.
Pin This Recipe!
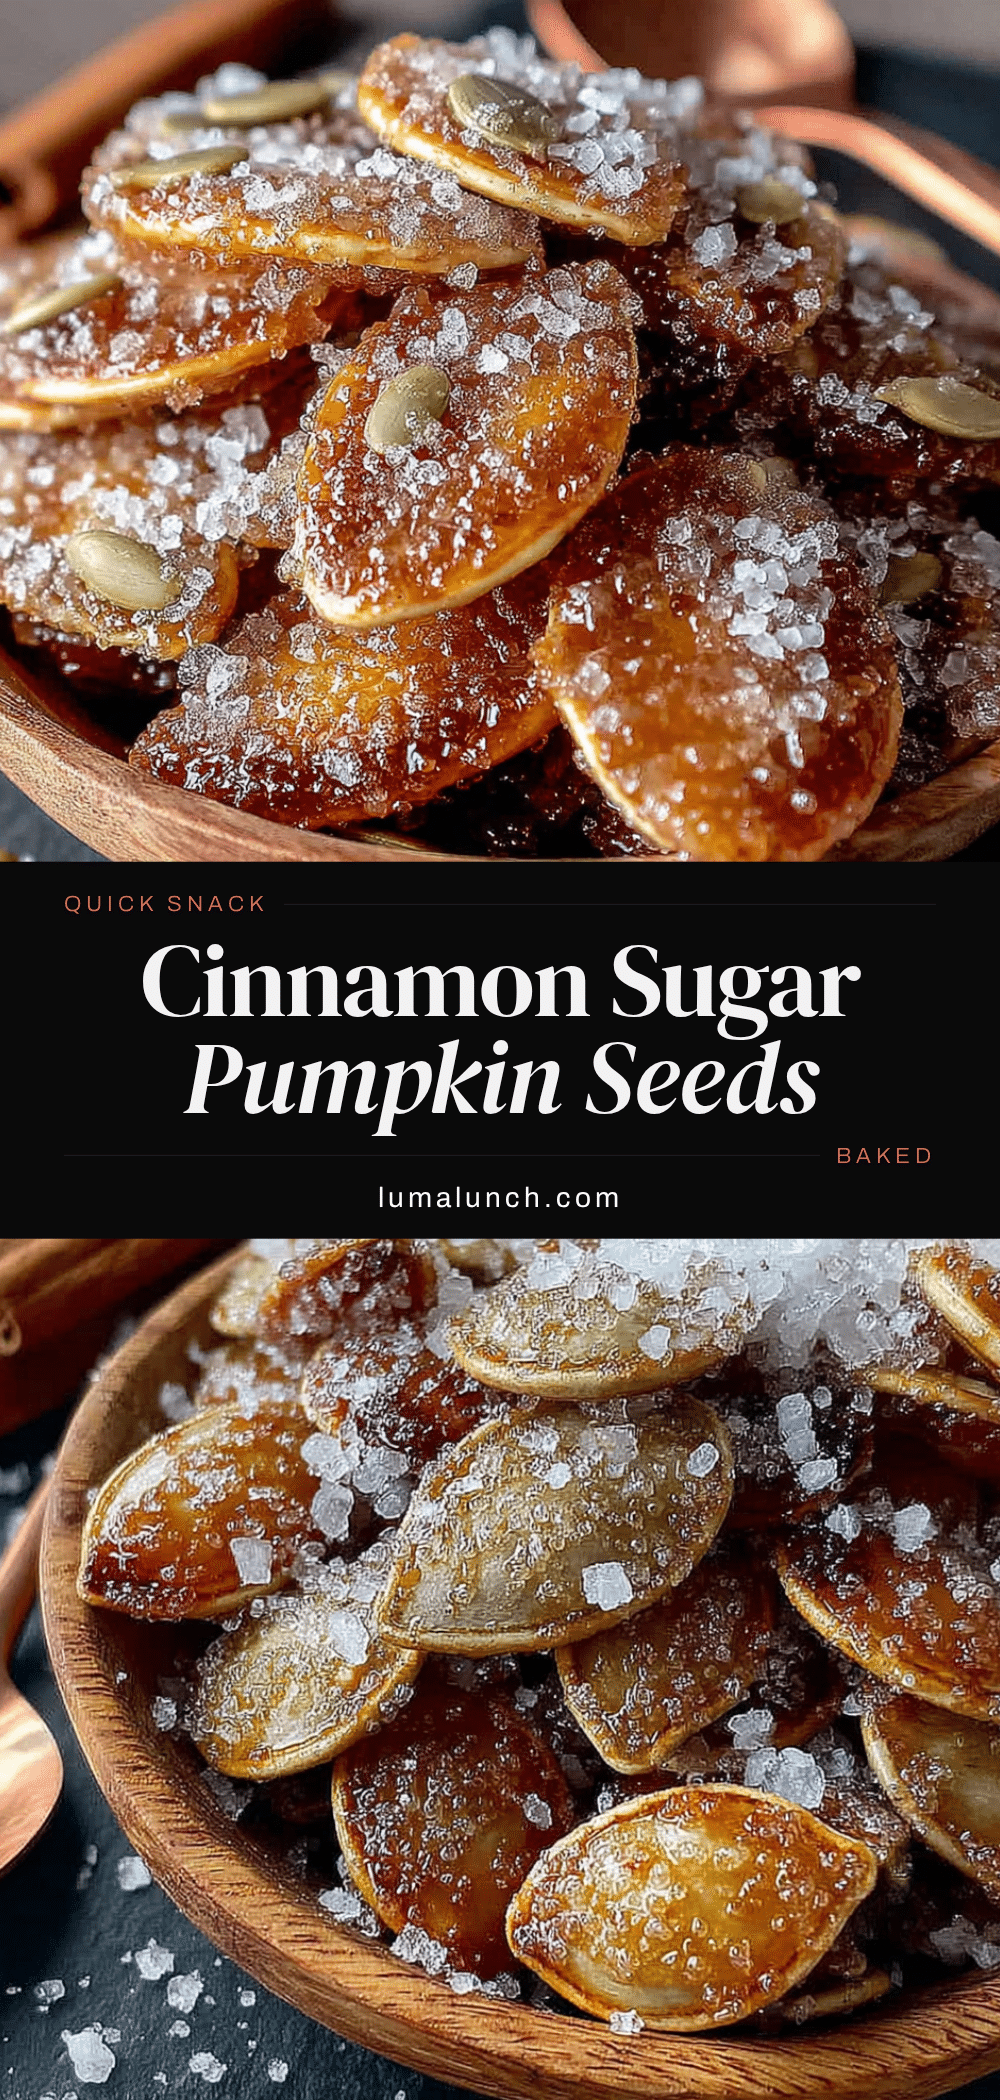
10-Minute Cinnamon Sugar Pumpkin Seeds (Easy & Addictive)

These 10-minute cinnamon sugar pumpkin seeds are sweet, crunchy, and come together in a single skillet. They’re a quick and addictive snack made from simple pantry ingredients, perfect for lunchboxes, movie nights, or anytime cravings hit.
- Prep Time: 5 minutes
- Cook Time: 5 minutes
- Total Time: 10 minutes
- Yield: 4 servings 1x
- Category: Snack
- Cuisine: American
Ingredients
- 1 cup (120g) raw pumpkin seeds (shell-on)
- 2 tablespoons (28g) unsalted butter
- 3 tablespoons (36g) granulated sugar
- 1 teaspoon (2.6g) ground cinnamon
- 1/4 teaspoon (1.5g) fine sea salt
- 1/2 teaspoon (2.5ml) vanilla extract (optional)
Instructions
- Prep the seeds: If using fresh pumpkin seeds, rinse them in a colander to remove stringy pulp. Pat completely dry with a towel. If using store-bought raw seeds, skip this step. Measure out 1 cup of seeds and set aside.
- Mix the coating: In a small bowl, combine 3 tablespoons granulated sugar, 1 teaspoon ground cinnamon, and 1/4 teaspoon fine sea salt. Stir until evenly mixed. Set near the stove.
- Heat the pan: Place a non-stick skillet or well-seasoned cast iron pan over medium heat. Add 2 tablespoons unsalted butter. Let it melt completely until just starting to foam, about 1-2 minutes.
- Toast the seeds: Add the pumpkin seeds to the melted butter in an even layer. Stir immediately to coat. Toast for 2 minutes, stirring constantly, until they smell nutty and look slightly golden on the edges.
- Add the cinnamon sugar: Sprinkle the cinnamon-sugar mixture evenly over the seeds. Stir vigorously to coat every seed. Continue stirring for 2-3 minutes until the sugar melts and turns light amber. If using vanilla extract, add it now and stir for another 30 seconds.
- Watch the color: The seeds should be deep golden brown with a glossy coating. If sugar starts to smoke or turn dark brown, remove from heat immediately.
- Spread to cool: Immediately pour seeds onto a parchment-lined baking sheet or plate. Spread into a single layer. Let cool completely, about 5-10 minutes.
- Break apart: Once cool, break up any large clumps with your hands. Serve immediately or store in an airtight container.
Notes
Dry seeds completely before cooking to ensure crunchiness. Keep heat at medium and stir constantly to prevent burning. Let seeds cool completely for the sugar coating to harden. For a vegan version, substitute butter with coconut oil or vegan butter. For spicy variation, add 1/4 teaspoon cayenne pepper to the cinnamon-sugar mix.
Nutrition
- Serving Size: 1/4 cup (about 30g)
- Calories: 180
- Sugar: 8
- Sodium: 95
- Fat: 12
- Saturated Fat: 4
- Carbohydrates: 14
- Fiber: 2
- Protein: 5
Keywords: cinnamon sugar pumpkin seeds, easy pumpkin seeds, quick snack, fall snack, sweet pumpkin seeds, stovetop pumpkin seeds


