Love this? Save it for later!
Share the inspiration with your friends
There used to be this tiny, brick-walled place called The Copper Ladle tucked away on a side street in Ann Arbor that made the most unforgettable taco soup bar. When they closed after fifteen years in the fall of 2019, I actually called my sister in tears. I mean, full-on dramatic sobbing over soup. She hung up on me. But honestly, that soup bar was legendary—three different broths, a dozen toppings, and this smoky, slow-simmered beef that tasted like someone’s abuela was back there stirring it with love. After eight tries—and one truly disastrous batch that my roommate called “sad chili water”—I finally cracked the code.
The secret, let me tell you, is layering the spices at the right moment and letting the whole thing hang out on the stove long enough for the flavors to get acquainted. I remember standing in my tiny kitchen on a snowy Tuesday, tasting spoon after spoon, and suddenly there it was—that same deep, warming flavor I’d been chasing. The Copper Ladle is a coffee shop now, which feels like a crime, but this recipe lives on in my kitchen every Friendsgiving. Maybe you’ve been there, chasing a taste from a place that no longer exists. It’s a weird kind of grief, isn’t it? But this soup bar brings it back every single time.
This Cozy Friendsgiving Taco Soup Bar is more than just a recipe—it’s a full-on experience. A bubbling pot of seasoned ground beef and beans, a rainbow of toppings, and everyone building their own perfect bowl. It’s the kind of meal that makes people linger at the table, talking and laughing and going back for seconds. And honestly, that’s what Friendsgiving is all about.
Why You’ll Love This Recipe
I’ve tested this taco soup bar more times than I care to count, and every single version has been devoured by friends who don’t even like soup. That’s not a brag—it’s just the truth. Here’s why this one works so well:
- Set-and-Forget Simplicity : Everything simmers in one pot while you prep the toppings and actually enjoy your guests. No standing over the stove, no last-minute panic.
- Budget-Friendly Feast : Ground beef, canned beans, and pantry spices keep the cost low while feeding a crowd. I’ve fed eight people for under twenty bucks with this recipe.
- Perfect for Friendsgiving : Everyone builds their own bowl, which means dietary preferences are handled without you playing short-order cook. Vegetarian? Load up on beans and skip the meat. Gluten-free? Corn chips are your friend.
- Crowd-Pleasing Magic : I’ve served this to picky eaters, spice wimps, and heat-seekers alike—and everyone leaves happy. The toppings bar makes it endlessly customizable.
- Next-Level Comfort : There’s something about a warm bowl of smoky, savory soup on a chilly November evening that just hits different. It’s the food equivalent of a cozy blanket.
What makes this recipe different from every other taco soup out there is the layering technique. Most recipes dump everything in at once and call it done. But I’ve learned that toasting the spices with the meat first, then adding the tomatoes and broth in stages, builds a depth of flavor that tastes like it simmered all day—even when it only took an hour. It’s not just another version; it’s the version.
This recipe is the kind that makes you close your eyes after the first bite. It’s comfort food reimagined—hearty, warming, and full of that soul-soothing satisfaction that only a bowl of something good can bring. Perfect for impressing your chosen family without stress, or turning a simple Tuesday into something memorable.
What Ingredients You Will Need
This recipe uses simple, honest ingredients to build big, bold flavor. Most of these are pantry staples, which is exactly what you want when feeding a crowd. Let’s walk through what you’ll need and why each one matters.
For the Soup Base
- 2 tablespoons olive oil (use a good extra virgin for better flavor, but any neutral oil works)
- 2 pounds ground beef (80/20 is ideal—lean enough not to be greasy, but fatty enough for flavor. I prefer grass-fed from Aldi for the price)
- 1 large yellow onion, diced (about 2 cups—sweet onions work too if that’s what you have)
- 4 cloves garlic, minced (don’t skimp here—fresh makes a difference)
- 2 tablespoons chili powder (I use Gebhardt’s for that deep, smoky heat)
- 1 tablespoon ground cumin (toast it in the pan for 30 seconds before adding liquid—trust me on this)
- 1 teaspoon smoked paprika (this is non-negotiable for that campfire flavor)
- 1 teaspoon dried oregano (Mexican oregano if you can find it, but regular works)
- ½ teaspoon cayenne pepper (optional—leave it out for a milder soup, double it for heat lovers)
- 1 teaspoon salt (plus more to taste at the end)
- ½ teaspoon black pepper
- 1 can (14.5 oz) fire-roasted diced tomatoes (I swear by Muir Glen—they’re worth the extra dollar)
- 1 can (15 oz) tomato sauce (no salt added gives you more control)
- 4 cups beef broth (low sodium—you can always add salt, you can’t take it out)
- 1 can (15 oz) black beans, drained and rinsed
- 1 can (15 oz) pinto beans, drained and rinsed
- 1 can (15 oz) kidney beans, drained and rinsed (or use any three beans you love—I’ve done chickpeas in a pinch)
- 1 cup frozen corn (no need to thaw—just dump it in)
For the Toppings Bar
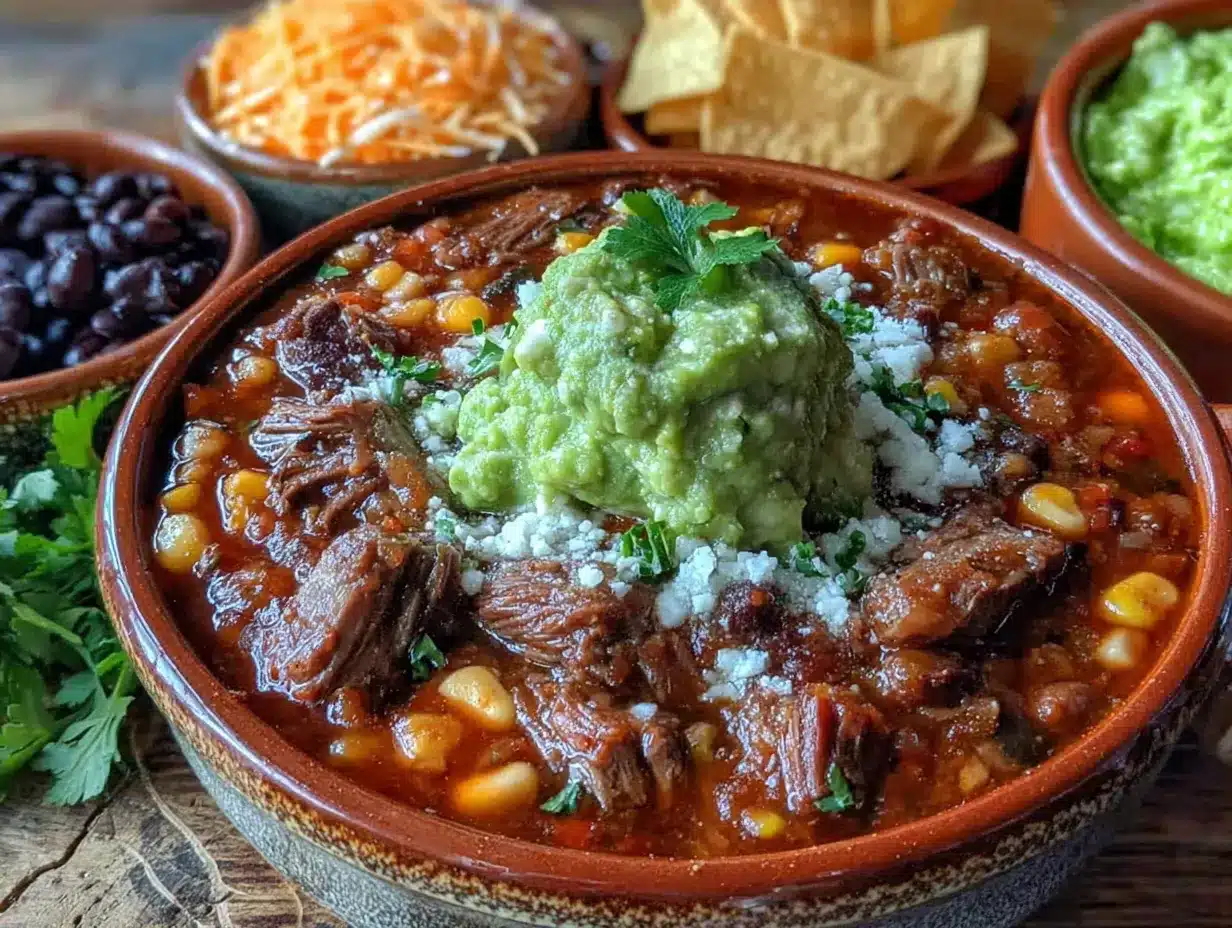
- Shredded cheddar or Mexican blend cheese (about 2 cups—buy a block and shred it yourself, it melts better)
- Sour cream or crema (about 1 cup)
- Fresh cilantro, chopped (one big bunch)
- Pickled jalapeños (for heat lovers)
- Fresh lime wedges (absolutely essential—brightens everything)
- Diced avocado (2-3 ripe avocados, hit with lime juice so they don’t brown)
- Crushed tortilla chips (I like Santitas for the sturdy crunch)
- Thinly sliced radishes (adds a peppery pop of color)
- Hot sauce (set out a few options—Cholula, Valentina, and Tapatío are my go-tos)
Substitution note: For a vegetarian version, skip the beef and use three cans of beans plus a can of lentils. Vegetable broth works beautifully instead of beef broth. For a dairy-free bar, use vegan sour cream and shredded coconut-based cheese—I’ve tested both and they hold up well.
Equipment Needed
You don’t need a fancy kitchen to pull this off. Here’s what you’ll actually use:
- Large Dutch oven or heavy-bottomed pot (at least 6 quarts—I use my trusty Lodge enameled cast iron that I found at a garage sale for fifteen bucks. Best investment ever)
- Sharp chef’s knife (a dull knife is more dangerous than a sharp one—keep it honed)
- Cutting board (wood or plastic, just make sure it’s stable)
- Wooden spoon or spatula (for breaking up the meat and stirring)
- Measuring spoons (for the spices—eyeballing is fine once you know the recipe, but measure the first time)
- Can opener (the manual kind never lets you down)
- Colander (for rinsing beans)
- Small bowls or ramekins (for setting up the toppings bar—matching is nice, but mismatched is charming)
- Ladle (a deep one for serving)
- Serving bowls (wide, shallow bowls work best for showing off the toppings)
If you don’t have a Dutch oven, a large stockpot works perfectly. Just watch the heat—thinner pots can scorch the bottom if you’re not stirring regularly. And honestly, you can skip the ramekins and use whatever small bowls you have. I’ve used teacups in a pinch and it looked adorable.
Preparation Method
This comes together in about an hour, but most of that is hands-off simmering time. Here’s the step-by-step, written the way I actually cook it—mistakes and all.
- Heat the olive oil in your Dutch oven over medium-high heat. Swirl it around to coat the bottom. You want it shimmering but not smoking—about 2 minutes.
- Add the ground beef and break it apart with your wooden spoon. Let it brown without moving it too much for the first 3-4 minutes. That crust is flavor, people. I used to stir constantly and wondered why my meat was gray instead of brown. Let it sit. Trust the process.
- Add the diced onion once the beef is mostly browned. Stir and cook for 4-5 minutes until the onion is translucent. The kitchen should smell incredible at this point—if it doesn’t, your heat might be too low.
- Add the minced garlic and all the spices—chili powder, cumin, smoked paprika, oregano, cayenne, salt, and pepper. Stir constantly for 30 seconds. This is where I once got distracted by a text and burned the garlic. Don’t be me. Keep stirring. The spices need to toast, not scorch.
- Pour in the fire-roasted tomatoes and tomato sauce. Stir well to scrape up any browned bits from the bottom of the pot—that’s pure flavor gold. Let it bubble for 2 minutes.
- Add the beef broth and stir everything together. Bring it to a boil, then reduce the heat to low. This is the moment I usually taste the broth and adjust seasoning—a little more salt, maybe another pinch of cumin.
- Add the drained beans and frozen corn. Stir gently so the beans don’t break apart. Let the soup simmer uncovered for 25-30 minutes, stirring occasionally. The liquid will reduce slightly and the flavors will concentrate. If it looks too thick, add a splash of broth or water.
- While the soup simmers, prep your toppings. Shred the cheese, chop the cilantro, dice the avocado and hit it with lime juice, slice the radishes, and arrange everything in small bowls. This is your moment to relax and maybe pour yourself a glass of wine.
- Taste the soup after 25 minutes. Adjust salt, pepper, or heat level. I like to add a squeeze of fresh lime juice right into the pot at the end—it wakes everything up.
- Set up your bar: Place the pot of soup on a trivet in the center of the table, surround it with all the toppings, and let everyone build their own bowl. Ladle the soup over a handful of crushed chips in each bowl, then let people go wild with toppings.
Sensory cue: The soup should be thick enough to coat the back of a spoon but still brothy. It should smell smoky, warm, and slightly spicy—like the best chili you’ve ever had, but with a lighter, brighter finish from the lime and fresh toppings.
Cooking Tips & Techniques
After making this soup bar more times than I can count, I’ve collected some hard-won wisdom. Here’s what I wish someone had told me:
Brown the meat properly. This is the single biggest flavor builder in the whole recipe. If you crowd the pan or stir too much, the meat steams instead of browning. Work in batches if your pot isn’t huge, and let that crust form. I learned this lesson after making gray, sad soup for years. Never again.
Toast your spices in the fat. After you drain the excess grease (leave about a tablespoon in the pot), add the spices and let them sizzle for 30 seconds before adding any liquid. This blooms the oils and makes the flavors pop. I once skipped this step when I was in a hurry, and the soup tasted flat no matter how much salt I added. Don’t skip it.
Use fire-roasted tomatoes. Regular diced tomatoes work in a pinch, but fire-roasted adds a smoky depth that makes the soup taste like it cooked all day. It’s one ingredient swap that makes a huge difference.
Let it rest. This soup is actually better the next day. The flavors meld and deepen overnight in the fridge. If you can make it a day ahead, do it. Just reheat gently on the stove, adding a splash of broth if it’s too thick.
Don’t oversalt early. Canned beans and broth both contain sodium, even the low-sodium versions. Season at the end after everything has simmered together. I’ve ruined batches by salting too early and ending up with soup that tasted like a salt lick.
Keep the toppings cold. The contrast between hot soup and cool, fresh toppings is what makes this bar so satisfying. Keep the sour cream, avocado, and cheese chilled until the last minute.
Variations & Adaptations
This recipe is endlessly flexible. Here are some ways I’ve adapted it over the years:
Vegetarian & Vegan
Skip the beef entirely and use three cans of beans plus a can of lentils for texture. Swap beef broth for vegetable broth. For the toppings, use vegan sour cream and shredded coconut-based cheese. I tested this version for a friend’s Friendsgiving last year and the meat-eaters actually went back for seconds of the vegetarian pot.
Slow Cooker Version
Brown the beef and onions on the stovetop first (don’t skip this step), then transfer everything except the corn to a slow cooker. Cook on low for 6-8 hours or high for 3-4 hours. Add the corn in the last 30 minutes. This is my go-to for game day parties when I don’t want to babysit a pot.
Spicy Chicken Version
Swap ground beef for shredded rotisserie chicken. Add an extra tablespoon of chipotle in adobo (minced) for a smoky kick. This version is lighter and perfect for a post-Thanksgiving Friendsgiving when you’re tired of turkey but still want something warm.
White Bean & Turkey Version
Use ground turkey instead of beef, and swap the three beans for cannellini, great northern, and chickpeas. Add a teaspoon of white pepper and a splash of half-and-half at the end for a creamy, unexpected twist. I made this the week after Thanksgiving one year and it was a revelation.
Low-Carb/Keto
Skip the beans and corn entirely. Double the meat and add chopped zucchini and bell peppers for bulk. Serve over cauliflower rice or with pork rinds for crunch. The toppings bar stays the same—just load up on cheese, sour cream, and avocado.
Serving & Storage Suggestions
This soup bar is meant to be a party centerpiece. Here’s how to make it shine:
Serving temperature: Serve the soup piping hot, straight from the pot. The toppings should be cold or room temperature—the contrast is key. Set up the bar buffet-style with the soup at one end and the toppings lined up after it, so people can build their bowls in assembly-line fashion.
What to serve alongside: A big basket of warm tortilla chips or crusty bread for dipping. I also like to put out a simple cabbage slaw with lime and cilantro for a crunchy, fresh counterpoint. For drinks, margaritas or Mexican lagers like Modelo or Pacifico are perfect. Or keep it cozy with spiced hot apple cider.
Storage: The soup keeps beautifully in the refrigerator for up to 5 days in an airtight container. Store toppings separately—especially the avocado, which should be eaten the same day. The soup also freezes well for up to 3 months. Thaw overnight in the fridge and reheat gently on the stove.
Reheating: Reheat on the stovetop over medium-low heat, stirring occasionally. Add a splash of broth or water if it’s too thick. The microwave works in a pinch, but the stovetop gives you better control. The flavors actually deepen after a day or two in the fridge, so leftovers taste even better.
Flavor development note: This soup is at its peak the day after you make it. The spices settle into the broth, the beans absorb all that smoky goodness, and everything becomes more cohesive. I’ve started making it a day ahead for every gathering, and nobody has ever complained.
Nutritional Information & Benefits
Here’s the approximate nutritional breakdown for one serving of soup (about 1.5 cups, without toppings):
| Nutrient | Amount |
|---|---|
| Calories | 380 |
| Protein | 28g |
| Fat | 16g |
| Carbohydrates | 32g |
| Fiber | 10g |
| Sodium | 780mg |
This soup is packed with fiber from the beans, which supports healthy digestion and keeps you full. The beef provides high-quality protein and iron. The fire-roasted tomatoes are rich in lycopene, an antioxidant linked to heart health. And the toppings—avocado, cilantro, lime—add healthy fats and vitamins.
Dietary considerations: This recipe is naturally gluten-free (double-check your broth and spice labels). For a lower-sodium version, use no-salt-added tomatoes and broth, and rinse your beans thoroughly. The dairy-free adaptations work beautifully for those with lactose sensitivities. As always, check labels if you’re cooking for someone with specific allergies.
I love that this soup feels indulgent but is actually packed with nourishing ingredients. It’s the kind of meal that fills you up without weighing you down—perfect for a long evening of good conversation with your people.
Conclusion
This Cozy Friendsgiving Taco Soup Bar is more than a recipe—it’s a tradition waiting to happen. It’s the meal that brings everyone to the table, lets them build something that feels personal, and leaves them full and happy. I’ve made it for roommates, for family, for friends who became family, and it never fails to create that warm, lingering feeling that makes a gathering special.
I hope you’ll make this your own. Maybe you’ll add a topping I haven’t thought of (pickled red onions? crushed Fritos? let me know). Maybe you’ll turn it into a taco night tradition or a regular weeknight dinner. However you adapt it, I promise it will be good. And if you’re chasing a taste from a place that no longer exists—I hope this brings you a little closer to it.
When you make this soup bar, tag me or leave a comment below. I want to hear about your Friendsgiving, your favorite toppings combos, and whether anyone else cried over a closed restaurant. You’re not alone in that, I promise. Now go make some soup and gather your people.
Frequently Asked Questions
Can I make this taco soup bar in advance?
Absolutely! In fact, it tastes even better the next day. Make the soup up to 2 days ahead, store it in the fridge, and reheat gently on the stove. Just prep the toppings fresh on the day you’re serving.
What’s the best meat to use for taco soup?
Ground beef with 80/20 fat content is my go-to for the best flavor. But ground turkey, shredded chicken, or even chorizo all work beautifully. For a vegetarian version, just double up on the beans.
How do I make this soup less spicy?
Skip the cayenne pepper entirely and use a mild chili powder. You can also add an extra can of tomato sauce to dilute the heat. Serve with extra sour cream and cheese, which help cool things down.
Can I freeze leftover taco soup?
Yes, for up to 3 months. Let the soup cool completely, then transfer to freezer-safe containers. Thaw overnight in the fridge and reheat on the stove. The beans might soften a bit, but the flavor stays fantastic.
What are the best toppings for a taco soup bar?
My must-haves are shredded cheese, sour cream, fresh cilantro, lime wedges, diced avocado, and crushed tortilla chips. But feel free to add pickled jalapeños, sliced radishes, hot sauce, diced onions, or even crumbled queso fresco. The more options, the better!
Pin This Recipe!
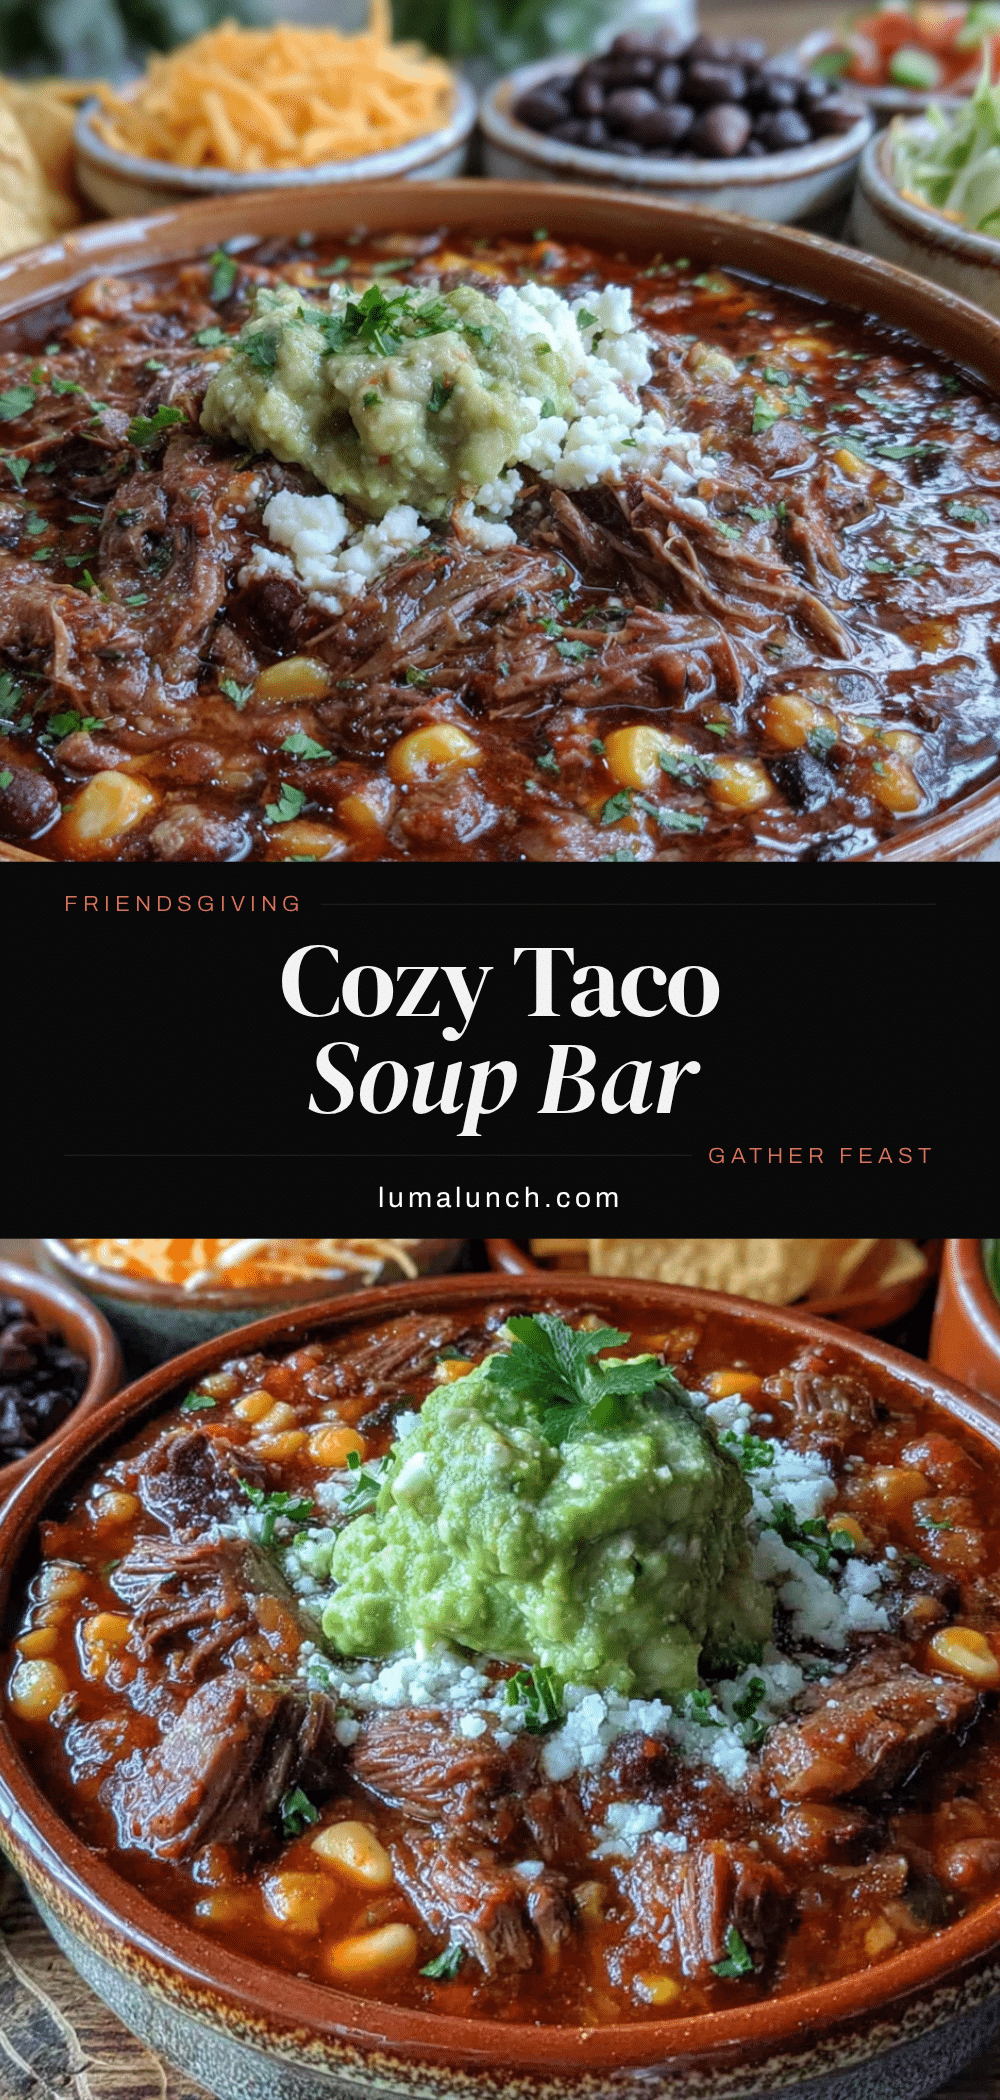
Cozy Friendsgiving Taco Soup Bar: Best Easy Recipe
A bubbling pot of seasoned ground beef and beans with a rainbow of toppings, perfect for Friendsgiving. Everyone builds their own bowl, making it endlessly customizable and crowd-pleasing.
- Prep Time: 15 minutes
- Cook Time: 30 minutes
- Total Time: 45 minutes
- Yield: 8 servings 1x
- Category: Main Course
- Cuisine: Mexican
Ingredients
- 2 tablespoons olive oil
- 2 pounds ground beef (80/20)
- 1 large yellow onion, diced (about 2 cups)
- 4 cloves garlic, minced
- 2 tablespoons chili powder
- 1 tablespoon ground cumin
- 1 teaspoon smoked paprika
- 1 teaspoon dried oregano
- ½ teaspoon cayenne pepper (optional)
- 1 teaspoon salt
- ½ teaspoon black pepper
- 1 can (14.5 oz) fire-roasted diced tomatoes
- 1 can (15 oz) tomato sauce (no salt added)
- 4 cups beef broth (low sodium)
- 1 can (15 oz) black beans, drained and rinsed
- 1 can (15 oz) pinto beans, drained and rinsed
- 1 can (15 oz) kidney beans, drained and rinsed
- 1 cup frozen corn
- Shredded cheddar or Mexican blend cheese (about 2 cups)
- Sour cream or crema (about 1 cup)
- Fresh cilantro, chopped (one big bunch)
- Pickled jalapeños
- Fresh lime wedges
- Diced avocado (2-3 ripe avocados)
- Crushed tortilla chips
- Thinly sliced radishes
- Hot sauce (Cholula, Valentina, Tapatío)
Instructions
- Heat the olive oil in a Dutch oven over medium-high heat until shimmering, about 2 minutes.
- Add the ground beef and break it apart with a wooden spoon. Let it brown without moving it too much for the first 3-4 minutes.
- Add the diced onion once the beef is mostly browned. Stir and cook for 4-5 minutes until the onion is translucent.
- Add the minced garlic and all the spices (chili powder, cumin, smoked paprika, oregano, cayenne, salt, and pepper). Stir constantly for 30 seconds.
- Pour in the fire-roasted tomatoes and tomato sauce. Stir well to scrape up any browned bits from the bottom of the pot. Let it bubble for 2 minutes.
- Add the beef broth and stir. Bring to a boil, then reduce heat to low. Taste and adjust seasoning.
- Add the drained beans and frozen corn. Stir gently. Let the soup simmer uncovered for 25-30 minutes, stirring occasionally.
- While the soup simmers, prep the toppings: shred cheese, chop cilantro, dice avocado and hit with lime juice, slice radishes, and arrange everything in small bowls.
- Taste the soup after 25 minutes. Adjust salt, pepper, or heat level. Add a squeeze of fresh lime juice if desired.
- Set up the bar: place the pot of soup on a trivet in the center of the table, surround with toppings, and let everyone build their own bowl. Ladle soup over crushed chips in each bowl.
Notes
Brown the meat properly for best flavor. Toast spices in the fat for 30 seconds before adding liquid. Use fire-roasted tomatoes for smoky depth. This soup is even better the next day. Don’t oversalt early; season at the end. Keep toppings cold for contrast.
Nutrition
- Serving Size: 1.5 cups (without to
- Calories: 380
- Sugar: 8
- Sodium: 780
- Fat: 16
- Saturated Fat: 6
- Carbohydrates: 32
- Fiber: 10
- Protein: 28
Keywords: taco soup, Friendsgiving, easy recipe, ground beef, soup bar, comfort food, crowd-pleasing


