Love this? Save it for later!
Share the inspiration with your friends
My sister-in-law Jen wasn’t trying to impress anyone that Tuesday afternoon. I’d stopped by to borrow a cake pan for a birthday party the next weekend, and the smell of something savory—almost like garlic and herbs mixed with something creamy—hit me before I even got past her front door. She had two kids under five running circles around her kitchen island, and there she was, calmly arranging vegetables on a platter shaped like a monster face. I mean, honestly, I stood there for a solid ten seconds just staring at the thing.
“It’s just veggies,” she said, shrugging, like she hadn’t just created the most brilliant thing I’d ever seen for getting kids to eat their greens. She had carrot teeth sticking out of a bell pepper mouth, cucumber slice eyes with olive pupils, and a whole army of broccoli trees marching around the edges. And the dip? She’d made this ranch situation that was so good I almost forgot why I came over in the first place.
Maybe you’ve been there—standing in the grocery aisle wondering if your kids will ever voluntarily eat a vegetable without a full negotiation. That’s the thing about this Monster Mash Veggie Tray. It’s not fancy. Jen wasn’t trying to be a Pinterest mom or anything. She was just trying to get dinner on the table without a meltdown, and somehow she stumbled onto gold. The whole thing took her maybe fifteen minutes, and the kids were actually fighting over who got to eat the monster’s nose.
I’ve made this tray at least a dozen times since that day. It works every single time, and honestly, it’s become my secret weapon for playdates, birthday parties, and those weeknights when I just need everyone to eat something green without complaints. The casualness of how Jen threw it together is the whole point—this recipe was made like it was nothing, but it changed how I think about feeding my family.
Why You’ll Love This Recipe
Let me tell you why this Monster Mash Veggie Tray with Ranch Dip has earned a permanent spot in my weekly rotation. I’ve tested it with my own picky eaters, my neighbor’s kids, and even a classroom full of skeptical preschoolers. It passed every single test.
- Quick & Easy : Comes together in under 20 minutes, perfect for those after-school hunger attacks or last-minute playdate snacks. No cooking required, which means no standing over a hot stove while your kids ask “is it ready yet” every thirty seconds.
- Simple Ingredients : You probably already have most of these veggies in your fridge. No fancy grocery trips needed—I’ve made this with whatever was wilting in my crisper drawer, and it still worked like magic.
- Perfect for Picky Eaters : There’s something about food shaped like a monster that makes vegetables suddenly interesting. I’ve seen kids eat bell peppers for the first time just because they were “monster teeth.” It’s weird but it works.
- Crowd-Pleaser : Adults love it too, honestly. The ranch dip is good enough that I’ve caught grown-ups sneaking extra helpings when they think nobody’s watching.
- Budget-Friendly : This whole tray costs maybe eight dollars, depending on what’s on sale. Compare that to a bag of chips and premade dip, and you’re saving money while getting actual nutrition into your kids.
What makes this different from every other veggie tray out there? It’s the monster face design, sure, but it’s also that ranch dip. I spent months tweaking the seasoning blend until I got it just right—creamy, tangy, with just enough dill to make it taste homemade without being complicated. It’s not just another ranch recipe. It’s the one that makes kids ask for seconds of broccoli. I’m not kidding.
This isn’t just good—it’s the kind of recipe that makes you feel like a superhero parent without actually doing much work. It’s comfort food for the lunchbox set, reimagined as something fun and actually healthy. Perfect for impressing other moms without stress, or turning a simple snack into something memorable.
What Ingredients You Will Need
This recipe uses simple, wholesome ingredients to deliver bold flavor and a fun presentation without the fuss. Most of these are pantry staples or easy-to-find produce that won’t break your budget.
For the Veggie Tray
- 1 large head of broccoli, cut into small florets (these become the “trees” around your monster)
- 2 large carrots, peeled and cut into thin sticks or coin shapes (perfect for monster teeth or claws)
- 1 red bell pepper, cut into strips and a few larger pieces for the mouth shape
- 1 yellow bell pepper, cut into strips (adds color variety—kids love the bright colors)
- 1 cucumber, sliced into rounds for eyes and extra crunch
- 1 cup cherry tomatoes, whole or halved (great for monster nostrils or spots)
- 1 cup sugar snap peas, trimmed (fun to snap and eat, adds texture variety)
- Optional: 1 cup cauliflower florets (if your kids tolerate it—mine do, so I sneak it in)
For the Ranch Dip
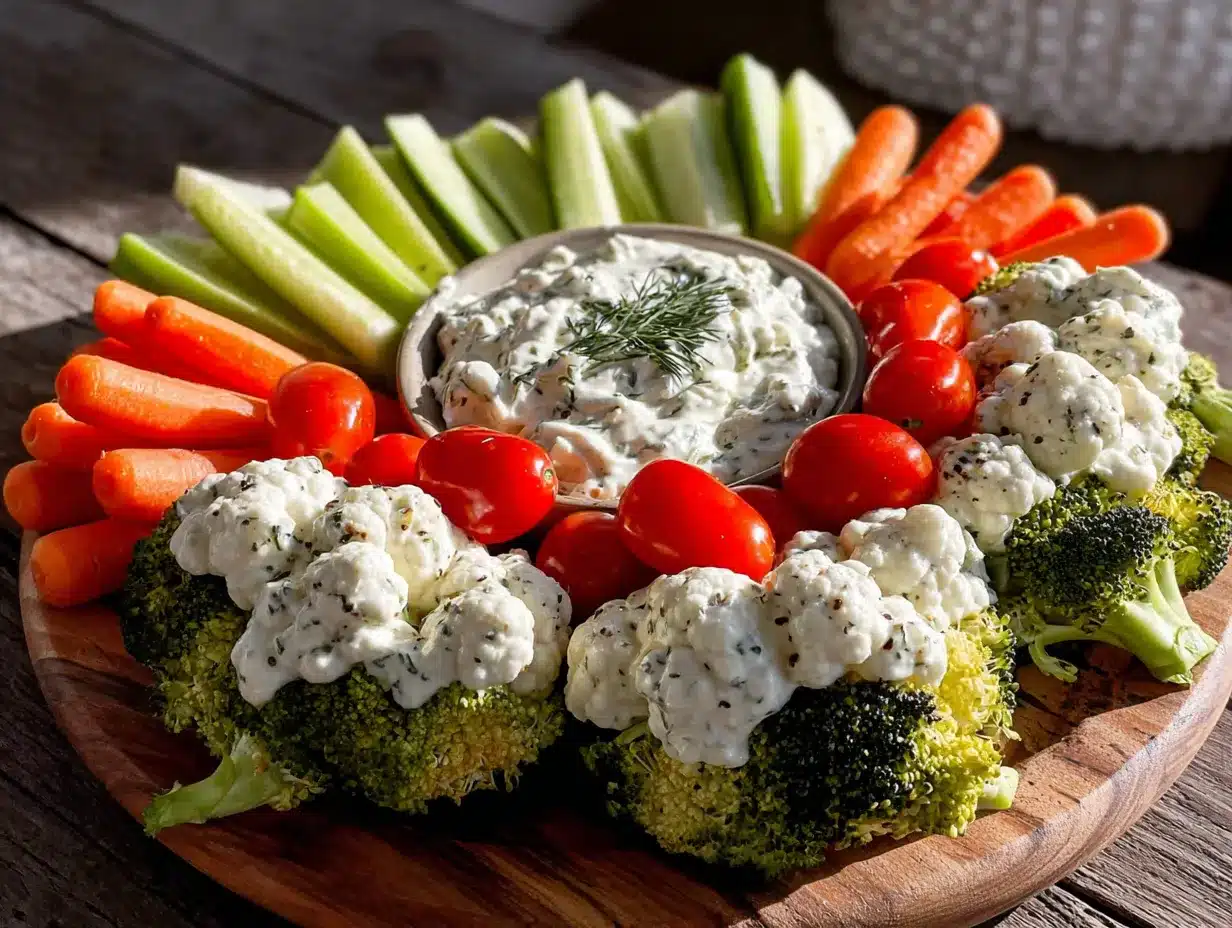
- 1 cup sour cream (I prefer full-fat for best flavor, but Greek yogurt works great too)
- 1/2 cup mayonnaise (I recommend Hellmann’s or Duke’s for the creamiest texture)
- 1 tablespoon dried dill (this is the secret to that “homemade” taste)
- 1 teaspoon garlic powder (not garlic salt—we’ll add salt separately)
- 1 teaspoon onion powder
- 1/2 teaspoon dried parsley
- 1/2 teaspoon dried chives (optional but adds nice color)
- 1/4 teaspoon black pepper
- 1/2 teaspoon salt (or to taste)
- 1 tablespoon fresh lemon juice (adds brightness and helps balance the richness)
- 2-3 tablespoons milk (to thin the dip to your preferred consistency)
A few notes on ingredients: For the ranch dip, I’ve tested this with both store-bought and homemade sour cream, and honestly, the full-fat version makes a noticeable difference in creaminess. If you’re dairy-free, Kite Hill makes a decent sour cream alternative that works here. For the veggies, the key is variety of color—the more colors you have, the more visually appealing the monster becomes. I’ve swapped in jicama sticks, snap peas, and even radish slices depending on what’s in season. In summer, I add fresh corn kernels for extra sweetness.
If you’re feeding really picky eaters, start with just three or four veggie types and build up from there. My nephew only ate the carrots and cucumbers for the first three times I made this. Now he eats the broccoli too. Progress, not perfection.
Equipment Needed
You don’t need anything fancy for this recipe, which is part of why I love it. Here’s what you’ll need:
- Large platter or cutting board (at least 12 inches wide—you need room for the monster face and the veggie army around it)
- Sharp knife and cutting board for chopping veggies
- Vegetable peeler (for carrots and cucumber strips if you want them)
- Small mixing bowl for the ranch dip
- Whisk or fork for mixing the dip
- Measuring spoons (I’ve eyeballed it before and regretted it—the dill is important)
- Small serving bowl or ramekin for the dip to sit in the center of the tray
If you don’t have a large platter, a baking sheet lined with parchment paper works perfectly. I’ve also used a clean pizza pan in a pinch. For the dip bowl, a small mason jar or even a teacup works if you don’t have a ramekin. The point is to make it work with what you’ve got.
One tip I learned the hard way: use a serrated knife for the bell peppers. They’re slippery little things, and a serrated blade gives you better control when cutting those monster mouth shapes. Also, keep a damp paper towel handy to wipe your cutting board between veggies—it keeps the colors from bleeding into each other.
Preparation Method
Alright, let’s get to the fun part. This whole process takes about 15-20 minutes, depending on how detailed you want your monster to look. I’ve timed myself.
- Make the ranch dip first (5 minutes). In your small mixing bowl, combine the sour cream, mayonnaise, dried dill, garlic powder, onion powder, dried parsley, dried chives (if using), black pepper, salt, and lemon juice. Whisk until smooth and well combined. Add milk one tablespoon at a time until the dip reaches a consistency that’s thick but pourable—you want it to hold its shape slightly when you dip a veggie in it. Taste and adjust seasoning. I usually add a pinch more dill because I’m obsessed. Cover and refrigerate while you prep the veggies.
- Wash and prep all vegetables (8 minutes). Rinse everything under cold water and pat dry with a clean kitchen towel or paper towels. Wet veggies won’t hold up as well on the tray, and they make the dip watery. Trust me on this one. Cut the broccoli into small florets—about bite-sized. Peel the carrots and cut them into thin sticks (about 3 inches long) for the monster’s “claws” or “teeth.” Slice the cucumber into rounds, about 1/4 inch thick. Cut the bell peppers into strips for the mouth and any decorative elements. Leave the cherry tomatoes whole or halved if they’re large. Trim the snap peas if needed.
- Assemble the monster face (5 minutes). Take your large platter and place the small serving bowl or ramekin in the center. This will hold the ranch dip. Now, arrange the veggies around it to form a monster face. Here’s my go-to design: Use bell pepper strips to create a wide mouth shape below the dip bowl. Arrange carrot sticks vertically underneath the mouth like monster teeth. Place two cucumber slices above the dip bowl for eyes, and put a small piece of olive or a cherry tomato half in the center of each for pupils. Use more bell pepper strips above the eyes for eyebrows or monster horns.
- Create the veggie “army” around the face (3 minutes). Arrange the remaining vegetables in concentric circles or rows around the monster face. I like to group similar veggies together for visual impact—broccoli florets in one section, snap peas in another, cherry tomatoes scattered around. This makes it easier for little hands to grab what they want without digging through everything.
- Fill the dip bowl and serve. Spoon the chilled ranch dip into the small bowl in the center. Smooth the top with the back of a spoon. If you want to get fancy, sprinkle a little extra dried dill or black pepper on top for garnish. Serve immediately or refrigerate until ready to eat.
A few things I’ve learned from making this a dozen times: If the dip bowl slides around on the platter, put a small dab of dip underneath it to hold it in place. Also, if you’re making this ahead of time (up to 4 hours), cover the whole tray with plastic wrap and keep it in the fridge. The veggies stay crisp, and the dip stays cold. Just don’t add the dip to the tray until right before serving, or it might get watery.
One more thing—the monster face doesn’t have to be perfect. My first attempt looked more like a confused potato than a monster, but my kids loved it anyway. They didn’t care that the eyes were crooked or that the teeth were uneven. They just thought it was fun. So don’t stress about making it Instagram-worthy. Make it fun-worthy instead.
Cooking Tips & Techniques
After making this Monster Mash Veggie Tray more times than I can count, I’ve picked up a few tricks that make the whole process smoother and the results better.
Keep your veggies cold and crisp. The biggest mistake I made early on was prepping veggies too far in advance and letting them sit out. If you’re making this ahead, store the cut vegetables in a bowl of ice water in the fridge for up to 2 hours. Drain and pat dry before arranging on the platter. This keeps everything crunchy and refreshing, which is especially important if you’re serving this at a party where it might sit out for a while.
Cut veggies uniformly. I know it sounds fussy, but when all the broccoli florets are roughly the same size and the carrot sticks are similar lengths, the tray looks more intentional and professional. Kids also tend to eat more when the pieces are uniform—something about predictability makes them feel safer about trying new foods. I’ve noticed this with my own kids.
Use the dip as a flavor booster, not a crutch. The ranch dip is delicious, but I’ve found that if I make it too heavy on the salt or garlic, kids get overwhelmed and stop eating the veggies. Keep the seasoning balanced—you want the dip to enhance the natural flavors of the vegetables, not mask them. The dill and lemon juice are your best friends here because they brighten everything up without being aggressive.
Don’t overcrowd the platter. I made this mistake at a playdate once. I crammed so many veggies onto the tray that the monster face got lost, and the kids couldn’t easily grab what they wanted. Leave a little breathing room between different veggie types. It looks better, and it’s easier for little hands to navigate.
Let the dip sit for 10 minutes before serving. This is a small thing, but it makes a big difference. The flavors need a few minutes to meld together. If you serve the dip immediately after mixing, it tastes flat. Give it that little bit of time, and suddenly it tastes like something special.
Variations & Adaptations
One of the best things about this recipe is how flexible it is. I’ve tried several variations, and they’ve all been hits in their own way.
Seasonal Veggie Swap: In the fall, I swap out the cucumber and cherry tomatoes for roasted sweet potato cubes and apple slices. The sweet potato adds a warm, hearty element, and the apple slices bring a touch of sweetness that kids love. In summer, I add fresh corn kernels straight off the cob and sliced bell peppers in every color of the rainbow. The visual variety keeps things interesting all year round.
Dip Variations: If your family isn’t into ranch, try a simple yogurt-based dip with lemon and herbs, or a creamy avocado dip that turns green and looks even more “monster-like.” I’ve also made a spicy version for adults by adding a teaspoon of sriracha to the ranch. Just keep the spicy dip in a separate bowl so the kids don’t accidentally grab it.
Protein Boost: For days when this tray needs to double as a meal, I add hard-boiled egg halves, cheese cubes, or rolled turkey slices around the edges. The protein makes it more filling, and the kids still get their monster face fun. My kids call it the “Monster Mash Lunch” and ask for it on weekends.
Allergy-Friendly Adaptations: For dairy-free households, swap the sour cream and mayonnaise with dairy-free alternatives. I’ve used Kite Hill sour cream and Vegenaise with great results. For gluten-free, this recipe is naturally gluten-free as long as you check your ranch seasoning blends—some contain hidden gluten. I make my own blend to be safe.
Mini Monster Cups: If you’re serving this at a party where kids are running around, try making individual monster cups. Use small paper cups or mason jars, layer the dip at the bottom, and stick veggie “monster faces” into the top. It’s portable, mess-free, and somehow even more fun than the big platter version.
Serving & Storage Suggestions
This Monster Mash Veggie Tray is best served cold, straight from the fridge. The contrast between the crisp, cold vegetables and the creamy ranch dip is part of what makes it so satisfying. I like to set it out about 10 minutes before serving so the dip softens slightly, but not much longer than that.
For presentation, I arrange the platter on a large wooden board or a white ceramic platter—the contrast makes the colors pop. If you’re serving this at a party, put it on a separate table from the main meal so kids can graze on it while they play. I’ve found that when it’s the first thing they see, they eat more vegetables than if it’s competing with other dishes.
This tray pairs beautifully with other kid-friendly party foods like mini sandwiches, fruit skewers, or cheese crackers. For a simple lunch, I serve it alongside a bowl of soup or a small sandwich. The crunch factor balances out soft foods nicely.
Storage Instructions: If you have leftovers (which honestly doesn’t happen often in my house), store the vegetables and dip separately. Place the veggies in an airtight container with a damp paper towel on top—this keeps them crisp for up to 2 days. The ranch dip stays good in the fridge for up to 5 days in a sealed container. Do not freeze the dip—it will separate and get grainy.
Reheating: This is a cold dish, so no reheating needed. But if you’ve refrigerated the veggies and they seem a little limp, give them a quick soak in ice water for 5 minutes before serving. Pat them dry and they’ll be crisp again.
One thing I’ve noticed: the flavors of the ranch dip actually improve after a day in the fridge. The dill and garlic meld together beautifully, so don’t be afraid to make the dip a day ahead. Just give it a good stir before serving.
Nutritional Information & Benefits
Here’s a rough estimate for one serving (about 1 cup of vegetables with 2 tablespoons of ranch dip):
- Calories: 180-220
- Protein: 4-6 grams
- Fat: 12-15 grams (mostly from the dip)
- Carbohydrates: 15-20 grams
- Fiber: 4-6 grams
- Sugar: 6-8 grams (natural from vegetables)
- Sodium: 350-450 mg (depending on dip salt)
The real nutritional magic here is in the vegetables themselves. Broccoli is packed with vitamin C and fiber, carrots are loaded with beta-carotene for eye health, and bell peppers have more vitamin C than oranges. The ranch dip, while not exactly health food, provides calcium from the sour cream and healthy fats from the mayonnaise that help your body absorb the fat-soluble vitamins in the vegetables.
This recipe is naturally gluten-free and can easily be made dairy-free with simple swaps. It’s also vegetarian and can be made vegan by using plant-based sour cream and mayonnaise. The only potential allergen concern is dairy in the dip, but that’s easy to work around.
From a wellness perspective, I love that this recipe gets kids excited about vegetables without any tricks or hidden ingredients. It’s honest food that happens to be fun. That feels good as a parent.
Conclusion
Look, I know veggie trays aren’t exactly groundbreaking. But this Monster Mash Veggie Tray with Ranch Dip is different. It’s the recipe that made my nephew ask for broccoli. It’s the snack that got my neighbor’s kid to eat bell peppers for the first time. And it’s the dish that makes me feel like I’ve got this parenting thing figured out, even on days when everything else is chaos.
The best part? You can customize it however you want. Use whatever vegetables your family loves. Make the dip spicier or milder. Turn it into individual cups or keep it as one big monster. The recipe is just a starting point—what matters is that it gets vegetables onto plates and smiles onto faces.
I’d love to hear how your monster turns out. Did your kids love it? Did you come up with a better monster face design? Drop a comment below and share your creation. And if you know another parent who’s struggling to get their kids to eat vegetables, send them this recipe. Trust me, they’ll thank you.
Now go make a monster. Your kids are waiting.
Frequently Asked Questions
Can I make this Monster Mash Veggie Tray ahead of time?
Yes! You can prep the vegetables and make the ranch dip up to 24 hours in advance. Store the cut veggies in an airtight container with a damp paper towel in the fridge, and keep the dip in a separate sealed container. Assemble the tray no more than 4 hours before serving for the best texture and appearance.
What if my kids don’t like ranch dressing?
No problem at all. You can swap the ranch for any dip your family prefers—hummus, yogurt-based dips, guacamole, or even a simple peanut butter dip for sweeter vegetables like carrots and bell peppers. The monster face concept works with any dip you choose.
How do I keep the vegetables from getting soggy?
The key is to dry your vegetables thoroughly after washing them. Any excess moisture will make the veggies limp and water down the dip. I pat everything dry with a clean kitchen towel or paper towels before cutting. If you’re prepping ahead, store the cut veggies with a dry paper towel in the container to absorb any condensation.
Can I use frozen vegetables for this recipe?
I wouldn’t recommend it. Frozen vegetables release a lot of water as they thaw, which makes the tray soggy and unappealing. Fresh vegetables are really the way to go here for the best texture and crunch. If you’re on a budget, look for seasonal sales on fresh produce.
How long will this veggie tray last at a party?
If kept at room temperature, the tray should be fine for about 2 hours. After that, the vegetables start to wilt and the dip can become unsafe to eat if it’s dairy-based. If you’re serving it outdoors on a warm day, keep it in the shade or set the platter on a bed of ice to keep everything cold and crisp longer.
Pin This Recipe!
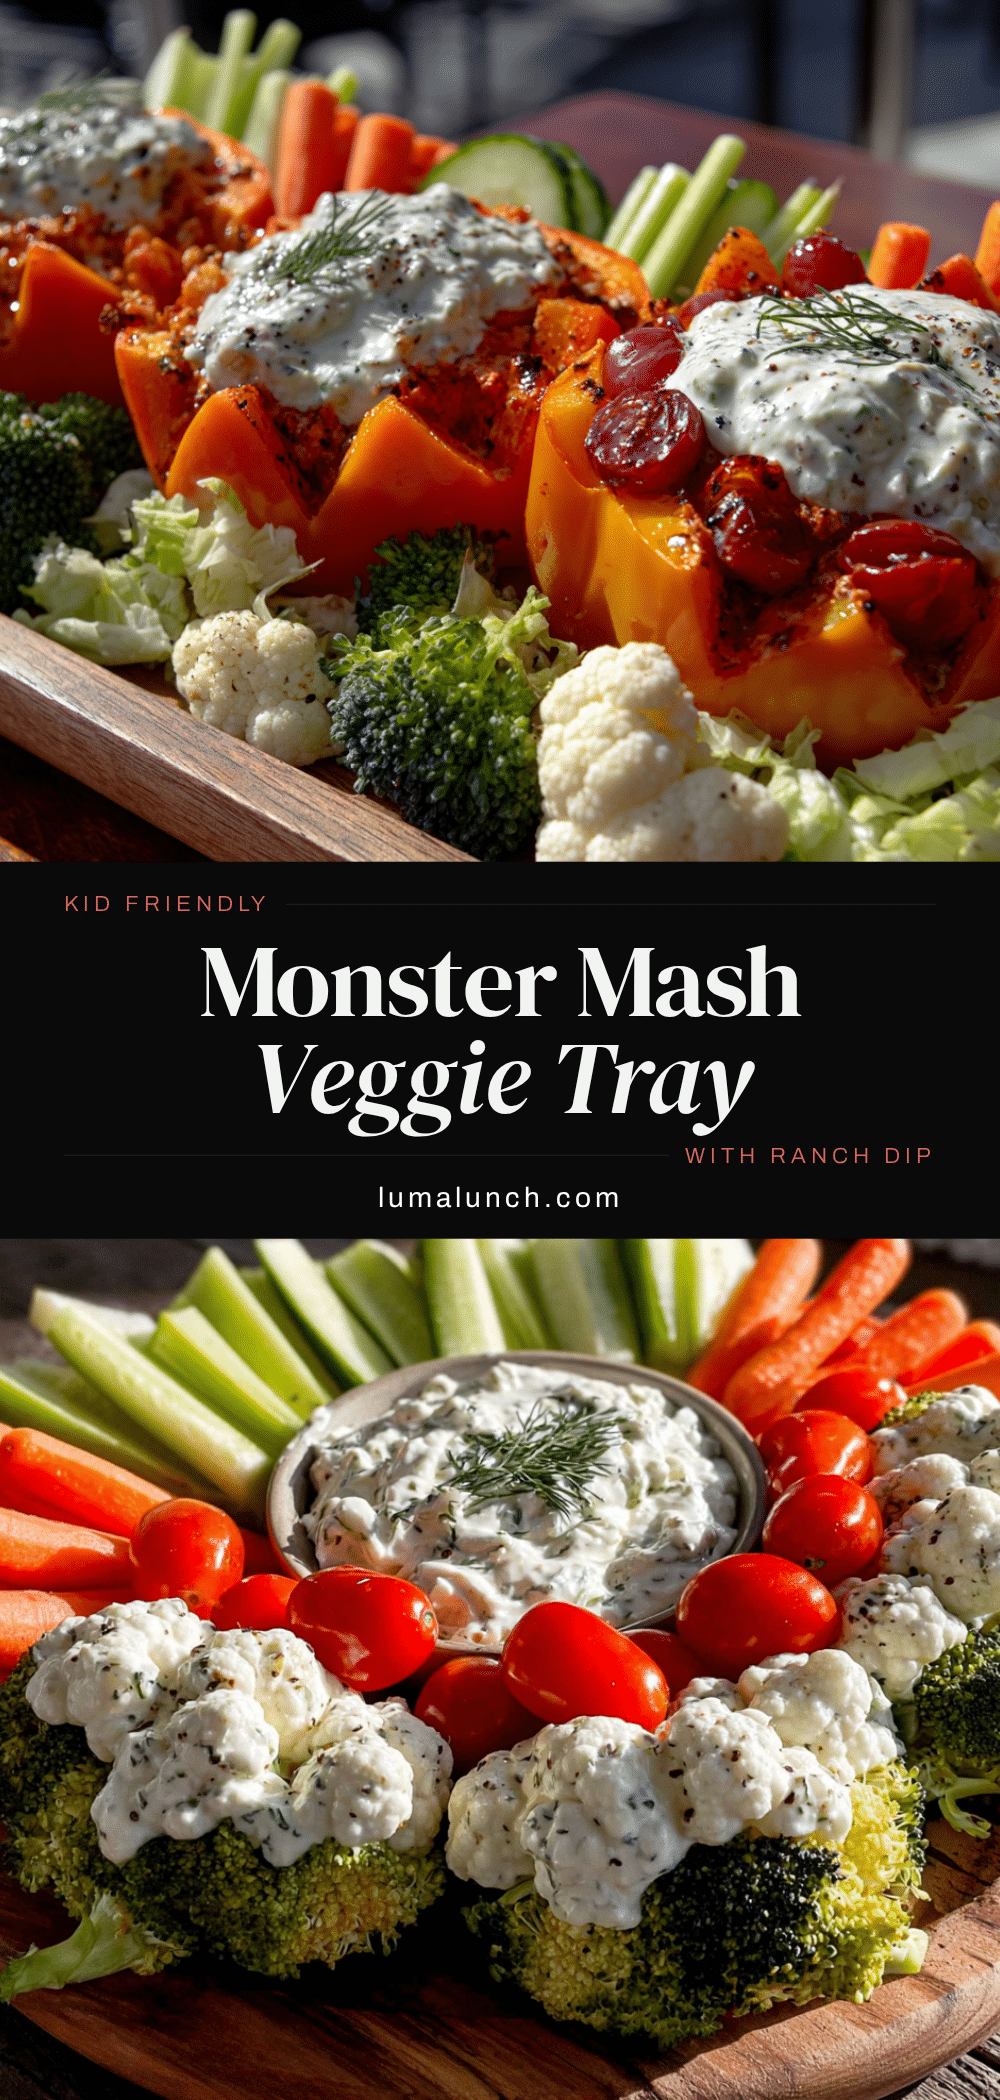
Easy Monster Mash Veggie Tray with Ranch Dip

A fun and creative veggie tray shaped like a monster face, served with a creamy homemade ranch dip. Perfect for getting kids to eat their vegetables without a fight.
- Prep Time: 15 minutes
- Cook Time: 0 minutes
- Total Time: 15 minutes
- Yield: 4 servings 1x
- Category: Appetizer
- Cuisine: American
Ingredients
- 1 large head of broccoli, cut into small florets
- 2 large carrots, peeled and cut into thin sticks or coin shapes
- 1 red bell pepper, cut into strips and a few larger pieces for the mouth shape
- 1 yellow bell pepper, cut into strips
- 1 cucumber, sliced into rounds
- 1 cup cherry tomatoes, whole or halved
- 1 cup sugar snap peas, trimmed
- 1 cup cauliflower florets (optional)
- 1 cup sour cream
- 1/2 cup mayonnaise
- 1 tablespoon dried dill
- 1 teaspoon garlic powder
- 1 teaspoon onion powder
- 1/2 teaspoon dried parsley
- 1/2 teaspoon dried chives (optional)
- 1/4 teaspoon black pepper
- 1/2 teaspoon salt
- 1 tablespoon fresh lemon juice
- 2–3 tablespoons milk
Instructions
- Make the ranch dip first (5 minutes). In a small mixing bowl, combine sour cream, mayonnaise, dried dill, garlic powder, onion powder, dried parsley, dried chives (if using), black pepper, salt, and lemon juice. Whisk until smooth. Add milk one tablespoon at a time until the dip reaches a thick but pourable consistency. Taste and adjust seasoning. Cover and refrigerate while you prep the veggies.
- Wash and prep all vegetables (8 minutes). Rinse everything under cold water and pat dry. Cut broccoli into small florets. Peel carrots and cut into thin sticks (about 3 inches long). Slice cucumber into rounds, about 1/4 inch thick. Cut bell peppers into strips for the mouth and decorative elements. Leave cherry tomatoes whole or halved if large. Trim snap peas if needed.
- Assemble the monster face (5 minutes). Place a small serving bowl or ramekin in the center of a large platter. Arrange bell pepper strips to create a wide mouth shape below the dip bowl. Place carrot sticks vertically underneath the mouth like monster teeth. Place two cucumber slices above the dip bowl for eyes, and put a small piece of olive or a cherry tomato half in the center of each for pupils. Use more bell pepper strips above the eyes for eyebrows or monster horns.
- Create the veggie ‘army’ around the face (3 minutes). Arrange remaining vegetables in concentric circles or rows around the monster face. Group similar veggies together for visual impact.
- Fill the dip bowl and serve. Spoon the chilled ranch dip into the small bowl in the center. Smooth the top with the back of a spoon. Garnish with extra dried dill or black pepper if desired. Serve immediately or refrigerate until ready to eat.
Notes
For best results, keep veggies cold and crisp. If making ahead, store cut vegetables in a bowl of ice water in the fridge for up to 2 hours, then drain and pat dry before arranging. The ranch dip improves after a day in the fridge. For dairy-free, use plant-based sour cream and mayonnaise.
Nutrition
- Serving Size: 1 cup vegetables wit
- Calories: 200
- Sugar: 7
- Sodium: 400
- Fat: 13.5
- Saturated Fat: 4.5
- Carbohydrates: 17.5
- Fiber: 5
- Protein: 5
Keywords: veggie tray, monster mash, ranch dip, kid-friendly, healthy snack, party appetizer, vegetable platter