Love this? Save it for later!
Share the inspiration with your friends
I was standing in line at the DMV—of all places—when the woman in front of me turned around and started talking about cupcakes. Not just any cupcakes, but these red velvet heart cupcakes she’d made for her daughter’s class party. She was a retired baker named Gladys, and she had this no-nonsense way of explaining things that made you stop and listen. “The trick,” she said, “is not to overthink it. People act like red velvet is some fancy science experiment. It’s not. It’s a buttermilk cake with a little cocoa and a whole lot of heart.”
I scribbled her notes on the back of an old registration form while the number board ticked slowly. She told me about the vinegar reaction, the exact brand of red gel she swore by, and how she’d been making these heart-shaped versions for over thirty years. I honestly didn’t expect to leave the DMV with a baking revelation, but there I was, clutching a crumpled piece of paper and feeling oddly excited. Maybe you’ve had one of those moments—where the best advice comes from the most random place.
I went home and tried her method that same night. The kitchen was a mess. I forgot to line the pan properly and had to scrape batter off the counter. But those cupcakes? They were soft, tender, and that deep red crumb against the cream cheese frosting was just stunning. I’ve tweaked her original notes over the years, making them even easier for busy weeknights, and now I’m sharing my version with you. These Easy Red Velvet Heart Cupcakes are the kind of thing you can whip up after a long day—no fancy equipment, no complicated steps, just pure, unfussy deliciousness that looks like you spent hours on it.
Why You’ll Love This Recipe
Let me tell you straight—these are not your average box-mix cupcakes. I’ve tested this recipe at least a dozen times, tweaking the ratios until the crumb was just right. As someone who has baked professionally and taught cooking classes, I can tell you that the magic here is in the simplicity. You don’t need a stand mixer or a pastry bag to get bakery-worthy results.
- Quick & Easy: From start to finish, these take about 35 minutes. That’s mixing, baking, cooling, and frosting. Perfect for a Tuesday night when you suddenly remember tomorrow is Valentine’s Day.
- Simple Ingredients: You probably have most of this in your pantry right now. Cocoa powder, flour, sugar, eggs, oil—the only special item is red food coloring, and you can grab that at any grocery store.
- Perfect for Valentine’s Day: The heart shape makes them an instant hit for school parties, date night, or just because you want to show someone you care without spending a fortune.
- Crowd-Pleaser: I’ve brought these to potlucks, office parties, and family dinners. They disappear every single time. Kids love the color, adults love the flavor.
- Unbelievably Delicious: That classic red velvet tang from buttermilk and vinegar, the subtle cocoa flavor, and that luscious cream cheese frosting—it’s comfort food at its finest.
What makes this different from other recipes? It’s the technique of adding the vinegar at the very end. That little bit of acid reacts with the baking soda to create an incredibly tender crumb. Plus, I use a simple piping hack that gives you perfect heart shapes without a special pan. This isn’t just another version—it’s the version I turn to every single time.
Honestly, this recipe is the kind that makes you close your eyes after the first bite. It’s simple enough for a beginner but impressive enough to fool everyone into thinking you’re a pastry chef. And on a busy weeknight, that’s exactly what you need.
What Ingredients You Will Need
This recipe uses straightforward ingredients that come together to create something truly special. No weird extracts or hard-to-find items—just honest baking staples that do the job beautifully.
For the Cupcakes
- All-purpose flour – 1 ½ cups (190g). I use Gold Medal or King Arthur for consistent results. Spoon and level it—don’t scoop directly from the bag.
- Granulated sugar – 1 cup (200g). Regular white sugar works perfectly here.
- Unsweetened cocoa powder – 1 tablespoon (8g). Just one tablespoon! Red velvet is subtle, not chocolatey. Use natural cocoa, not Dutch-processed.
- Baking soda – 1 teaspoon (5g). Make sure it’s fresh—test it by dropping a pinch into vinegar; it should fizz vigorously.
- Salt – ½ teaspoon (3g). Fine sea salt or table salt both work.
- Vegetable oil – ½ cup (120ml). Canola or any neutral oil works. Oil keeps these moist for days.
- Buttermilk – ½ cup (120ml), room temperature. This is crucial for the tang and tenderness. If you don’t have buttermilk, add 1 ½ teaspoons of lemon juice or white vinegar to regular milk and let it sit for 5 minutes.
- Large eggs – 2, room temperature. Cold eggs can seize the batter. Let them sit on the counter for 30 minutes or place them in warm water for 5 minutes.
- White vinegar – 1 teaspoon (5ml). This reacts with the baking soda for lift and tenderness. Don’t skip it—you won’t taste it.
- Vanilla extract – 1 teaspoon (5ml). Pure vanilla is best, but imitation works in a pinch.
- Red gel food coloring – 1 to 2 tablespoons (15-30ml). I recommend AmeriColor or Wilton gel. Liquid food coloring won’t give you that vibrant red—you’d need way too much and it would affect the texture.
For the Cream Cheese Frosting
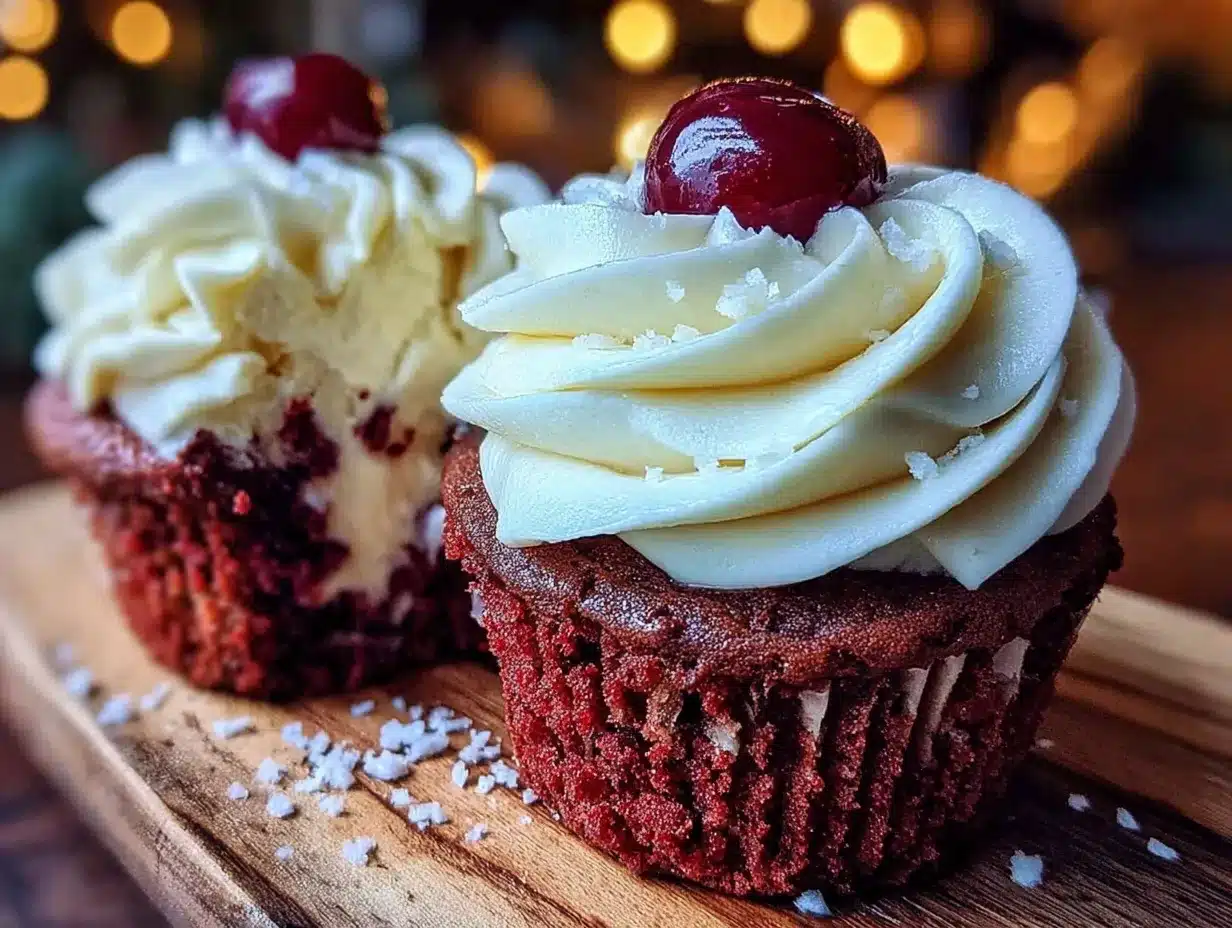
- Cream cheese – 8 ounces (226g), softened. Full-fat block cream cheese is non-negotiable. Don’t use the spreadable tub kind—it’s too soft.
- Unsalted butter – ½ cup (113g), softened. Let it sit out for at least an hour.
- Powdered sugar – 3 cups (360g), sifted if lumpy. Sifting prevents those annoying little white clumps.
- Vanilla extract – 1 teaspoon (5ml). Pure vanilla adds warmth to the tangy frosting.
- Pinch of salt – Just a tiny one to balance the sweetness.
Equipment Needed
You don’t need a fancy bakery setup for these. Here’s what I use and what you can substitute if needed.
- Muffin tin – Standard 12-cup. I prefer non-stick, but any will work with liners.
- Cupcake liners – Red or pink ones make it extra festive, but white works too. I’ve used parchment paper cut into squares in a pinch—it works but looks rustic.
- Mixing bowls – One medium, one large. Glass or stainless steel are best.
- Whisk – For dry ingredients. A fork works if you’re in a bind.
- Hand mixer or stand mixer – For the frosting. You can do it by hand with a wooden spoon, but your arm will thank you for the mixer.
- Rubber spatula – For scraping the bowl. I have a red one I use just for baking—it makes me feel official.
- Piping bag or zip-top bag – For the frosting. A zip-top bag with the corner snipped off works perfectly. I’ve done it more times than I can count.
- Heart-shaped cookie cutter – About 2 inches wide. If you don’t have one, you can freehand the shape with a knife—it doesn’t have to be perfect.
- Cooling rack – Wire rack for even cooling. A flat plate works but the bottoms might get soggy.
Budget-friendly tip: Skip the piping bag and use a sturdy zip-top bag. I’ve been doing it for years and honestly prefer it—less cleanup.
Preparation Method
Let’s get baking. I’ve broken this down so even a beginner can follow along without stress. Take your time, read each step, and remember—it’s just cupcakes. If something goes wrong, you can always eat the mistakes.
- Preheat and prep. Preheat your oven to 350°F (175°C). Line your muffin tin with 12 cupcake liners. This seems obvious, but I’ve forgotten to line the pan and ended up scraping batter out of greasy metal—not fun.
- Mix the dry ingredients. In a medium bowl, whisk together the flour, sugar, cocoa powder, baking soda, and salt. Whisk for about 20 seconds to aerate everything. Set aside.
- Combine the wet ingredients. In a large bowl, whisk together the vegetable oil, buttermilk, eggs, vanilla extract, and red gel food coloring. Whisk until the color is uniform—it should look like a deep, almost alarming red. Don’t panic, that’s exactly what you want.
- Combine wet and dry. Pour the dry ingredients into the wet ingredients. Stir with a rubber spatula or wooden spoon until just combined. A few streaks of flour are okay—overmixing will make the cupcakes tough. I speak from experience—I once overmixed and got hockey pucks. Learn from my mistake.
- Add the vinegar. Pour the white vinegar over the batter and fold it in gently. You’ll see tiny bubbles forming immediately—that’s the reaction happening. Work quickly but gently. The batter should be smooth and slightly thin.
- Fill the liners. Divide the batter evenly among the 12 liners. I use a ¼-cup scoop for consistency. Fill each about ⅔ full—any more and they’ll overflow, any less and you’ll get flat tops. Tap the pan gently on the counter to release any air bubbles.
- Bake. Place in the preheated oven and bake for 18-22 minutes. At 18 minutes, insert a toothpick into the center of a cupcake—if it comes out clean or with a few moist crumbs, they’re done. If it’s wet batter, give them 2 more minutes and check again. The tops should spring back when lightly touched.
- Cool completely. Let the cupcakes cool in the pan for 5 minutes, then transfer them to a wire rack. This is critical—if you try to frost them while warm, the frosting will slide right off into a sad, melty pool. I’ve done it. It’s heartbreaking. Wait until they’re completely cool to the touch.
- Make the frosting. While the cupcakes cool, beat the softened cream cheese and butter together in a large bowl with a hand mixer on medium speed until smooth and creamy—about 2 minutes. Scrape down the sides. Add the powdered sugar one cup at a time, mixing on low speed to avoid a sugar cloud. Add the vanilla and salt, then beat on medium-high for 2 minutes until light and fluffy. Don’t overbeat or it’ll become runny.
- Create the heart shape. Here’s the fun part. Take a cooled cupcake and use a small heart-shaped cookie cutter to press into the center of the top, cutting about halfway through. Gently lift out the heart-shaped piece. Fill the cavity with a generous dollop of cream cheese frosting, then place the heart-shaped piece back on top. It creates a hidden heart inside the cupcake! Alternatively, you can simply pipe a heart shape on top of the frosting—both methods are adorable.
- Frost and decorate. Transfer the frosting to a piping bag fitted with a large star tip (or a zip-top bag with the corner snipped). Pipe a swirl on top of each cupcake. If you’re doing the hidden heart method, pipe a small rosette to cover the seam. Add sprinkles, edible glitter, or a fresh raspberry on top for extra flair.
Cooking Tips & Techniques
I’ve made these Easy Red Velvet Heart Cupcakes more times than I can count, and I’ve learned a few things the hard way. Here’s what I wish someone had told me.
Room temperature ingredients matter. I know it’s annoying to wait, but cold buttermilk and eggs can make the batter seize up. The result is dense, flat cupcakes. Set everything out 30 minutes before you start. If you’re in a rush, place the eggs in a bowl of warm water for 5 minutes and microwave the buttermilk for 10 seconds.
Don’t overmix the batter. This is the number one mistake I see. Once you add the dry ingredients to the wet, stir only until the flour disappears. Overmixing develops gluten, which makes cupcakes tough and rubbery. You want them tender and soft—like a cloud, not a tire.
Use gel food coloring, not liquid. Liquid food coloring requires way more to achieve that deep red, and too much liquid can throw off the batter’s balance. Gel is concentrated—a tablespoon goes a long way. I once used liquid and ended up with pinkish-orange cupcakes that tasted faintly of chemicals. Not my finest moment.
Test your baking soda. If your baking soda is old, it won’t react properly with the vinegar and buttermilk. Drop a tiny bit into some vinegar—if it fizzes vigorously, it’s good. If it barely bubbles, get a fresh box. Trust me, flat cupcakes are not worth the risk.
Cool completely before frosting. I cannot stress this enough. Warm cupcakes + cream cheese frosting = a runny, slippery mess. I once rushed this step because I was late for a party, and I ended up with frosted puddles. Let them cool for at least 30 minutes on a wire rack.
Multitasking tip: While the cupcakes are baking, make the frosting and wash your dishes. That way, by the time they’re cool, you’re ready to assemble without a messy kitchen staring at you.
Variations & Adaptations
One of the best things about this recipe is how flexible it is. Here are some ways to make it your own.
Gluten-Free Version: Substitute the all-purpose flour with a 1:1 gluten-free baking blend that contains xanthan gum. I’ve used Bob’s Red Mill with great results. The texture is slightly more delicate, so handle gently.
Dairy-Free Version: Use dairy-free buttermilk (add 1 ½ teaspoons lemon juice to unsweetened almond milk) and substitute the cream cheese with a dairy-free block-style alternative. Miyoko’s and Violife both work well. The frosting will be slightly softer, so chill it for 10 minutes before piping.
Vegan Version: Replace the eggs with flax eggs (2 tablespoons ground flaxseed + 6 tablespoons water, let sit for 5 minutes) and use vegan butter and cream cheese. The texture is slightly denser but still delicious.
Different Shapes: Don’t have a heart cutter? Use a circle cutter and pipe a heart on top with frosting. Or skip the shape entirely and just pipe a beautiful swirl—they’ll still taste amazing.
Flavor Twists: Add ½ teaspoon of almond extract to the batter for a subtle nutty note. Or fold in ½ cup of mini chocolate chips for a little crunch. I once added a teaspoon of instant espresso powder to deepen the cocoa flavor—it was subtle but lovely.
Cupcake Cake: Pour the batter into a heart-shaped cake pan instead of cupcake tins. Bake at 350°F for 25-30 minutes. Frost with the same cream cheese frosting and decorate with raspberries. Perfect for a small Valentine’s Day gathering.
Serving & Storage Suggestions
These cupcakes are best served at room temperature—the frosting is creamy and the cake is tender. If you’ve made the hidden heart version, the surprise inside is always a hit when you cut into one.
Serving Ideas: Arrange them on a tiered stand for a party. Pair with a glass of cold milk for kids or a cup of coffee for adults. For a romantic touch, serve with fresh strawberries and a dusting of powdered sugar. I once served these alongside a cheese board for a Valentine’s brunch—unexpected but wonderful.
Storage: Store unfrosted cupcakes in an airtight container at room temperature for up to 3 days. Frosted cupcakes should be refrigerated in a single layer in an airtight container for up to 5 days. The cream cheese frosting needs to stay cold.
Freezing: You can freeze unfrosted cupcakes for up to 3 months. Wrap each one tightly in plastic wrap, then place in a freezer bag. Thaw at room temperature for about an hour before frosting. Frosting can also be frozen in a piping bag for up to 2 months—just thaw in the fridge overnight and give it a quick whip.
Reheating: If you prefer your cupcakes slightly warm, microwave an unfrosted one for 8-10 seconds. Don’t microwave frosted cupcakes—the frosting will melt into a puddle.
Flavor Development: Honestly, these taste even better the next day. The flavors meld together overnight, and the texture stays moist. If you can resist eating them all on day one, you’re in for a treat on day two.
Nutritional Information & Benefits
Let’s be real—these are a treat, not a health food. But here’s what you’re getting per cupcake (based on 12 servings with frosting).
| Nutrient | Amount Per Cupcake |
|---|---|
| Calories | 320 |
| Total Fat | 18g |
| Saturated Fat | 8g |
| Cholesterol | 55mg |
| Sodium | 220mg |
| Total Carbohydrates | 38g |
| Sugars | 28g |
| Protein | 4g |
Health Highlights: The cocoa powder contains antioxidants called flavonoids, which can support heart health. Buttermilk adds calcium and probiotics. And cream cheese provides a small amount of protein and vitamin A. Of course, these benefits come with sugar and fat—so enjoy in moderation, especially if you’re watching your intake.
Dietary Considerations: This recipe contains gluten, dairy, and eggs. For allergen-friendly versions, see the variations section above. If you’re diabetic or on a low-sugar diet, you can try reducing the sugar by ¼ cup, but the texture and sweetness will change.
My personal take? These are a celebration food. I don’t make them every week, but when I do, I savor every bite. Life’s too short to skip dessert entirely—just balance it out with good choices the rest of the time.
Conclusion
So there you have it—Easy Red Velvet Heart Cupcakes that came to me from a retired baker at the DMV, of all places. These have become my go-to for Valentine’s Day, birthdays, and any day I want to make someone feel special without spending hours in the kitchen. They’re simple enough for a weeknight, impressive enough for a party, and delicious enough to disappear in minutes.
I hope you give these a try. Don’t stress about perfection—if your hearts are a little lopsided or your frosting swirls are messy, that’s okay. Honestly, those imperfections make them feel homemade and real. That’s what I love about this recipe: it’s forgiving, it’s fun, and it always brings a smile.
I’d love to hear how yours turn out! Leave a comment below and tell me about your baking adventure. Did you try a variation? Did your kids help? Did you eat three before frosting them? (No judgment here.) Share a photo on Pinterest and tag me—I love seeing your creations. Until next time, happy baking, and remember: sometimes the best recipes come from the most unexpected places.
Frequently Asked Questions
Can I make these cupcakes without a heart-shaped cookie cutter?
Absolutely! If you don’t have a heart cutter, you can simply pipe a heart shape on top of the frosting using a piping bag. Or skip the shape entirely and just pipe a beautiful swirl. The flavor is the same, and they’ll still look gorgeous.
Why did my cupcakes turn out dense and flat?
This usually happens for one of three reasons: your baking soda is old, you overmixed the batter, or your ingredients were too cold. Make sure your baking soda is fresh, mix until just combined, and let your buttermilk and eggs come to room temperature before starting.
Can I use liquid food coloring instead of gel?
You can, but I don’t recommend it. Liquid food coloring requires much more to achieve a deep red, and the extra liquid can throw off the batter’s texture. Gel is concentrated, so you get vibrant color without compromising the recipe. If you must use liquid, reduce the buttermilk by 1 tablespoon to compensate.
How do I get that perfect red velvet color without artificial dye?
Natural alternatives include beet powder or beet juice. Use about 2 tablespoons of beet powder mixed with 1 tablespoon of water, or ¼ cup of beet juice (reduce the buttermilk by the same amount). The color will be more of a deep burgundy rather than bright red, but it’s a lovely natural alternative.
Can I make these cupcakes ahead of time for a party?
Yes! Bake the cupcakes up to 2 days in advance and store them unfrosted in an airtight container at room temperature. Make the frosting up to 3 days ahead and keep it refrigerated. On party day, let the cupcakes and frosting come to room temperature (about 30 minutes), then assemble. They’re best served within 24 hours of frosting.
Pin This Recipe!
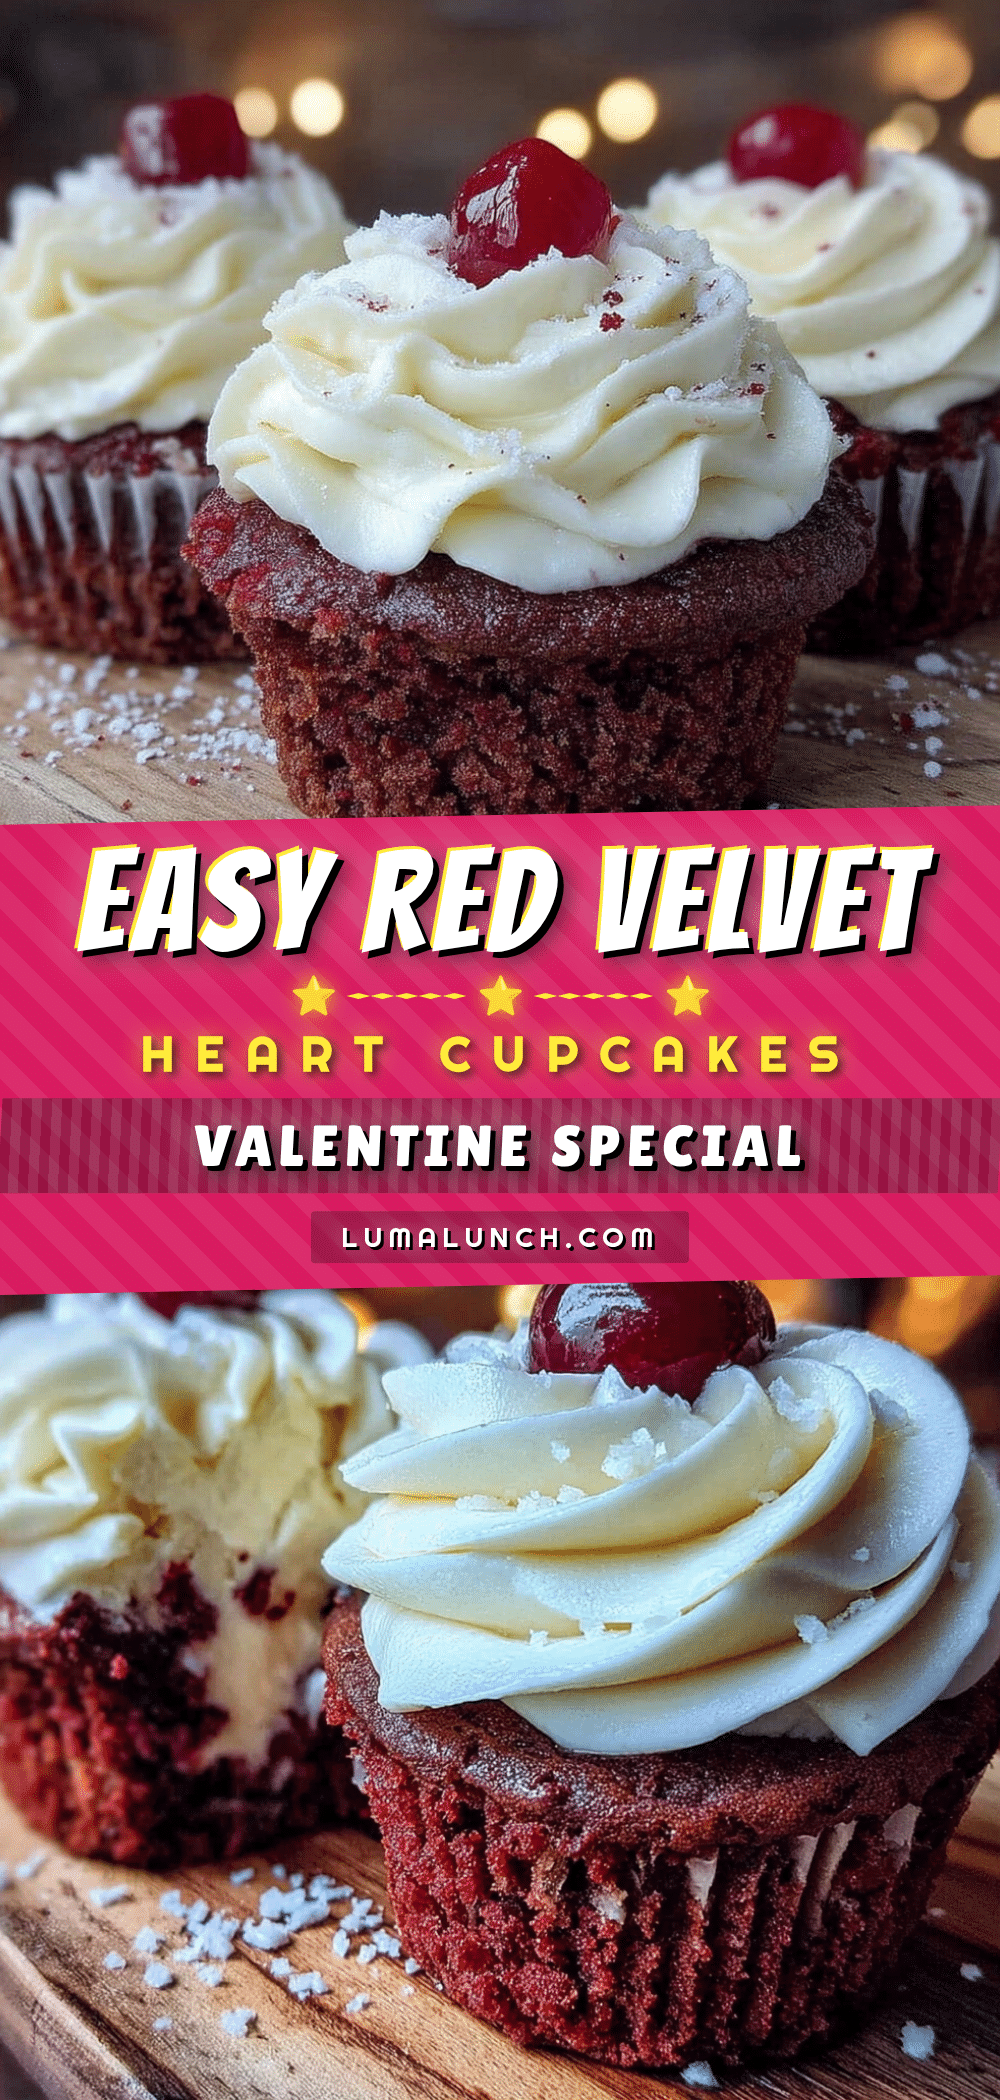
Easy Red Velvet Heart Cupcakes: Best Valentines Recipe
These Easy Red Velvet Heart Cupcakes are soft, tender, and feature a hidden heart surprise inside. Made with simple ingredients and a cream cheese frosting, they’re perfect for Valentine’s Day or any occasion.
- Prep Time: 15 minutes
- Cook Time: 20 minutes
- Total Time: 35 minutes
- Yield: 12 cupcakes 1x
- Category: Dessert
- Cuisine: American
Ingredients
- 1 ½ cups (190g) all-purpose flour
- 1 cup (200g) granulated sugar
- 1 tablespoon (8g) unsweetened cocoa powder
- 1 teaspoon (5g) baking soda
- ½ teaspoon (3g) salt
- ½ cup (120ml) vegetable oil
- ½ cup (120ml) buttermilk, room temperature
- 2 large eggs, room temperature
- 1 teaspoon (5ml) white vinegar
- 1 teaspoon (5ml) vanilla extract
- 1 to 2 tablespoons (15-30ml) red gel food coloring
- 8 ounces (226g) cream cheese, softened
- ½ cup (113g) unsalted butter, softened
- 3 cups (360g) powdered sugar, sifted
- 1 teaspoon (5ml) vanilla extract
- Pinch of salt
Instructions
- Preheat oven to 350°F (175°C). Line a 12-cup muffin tin with cupcake liners.
- In a medium bowl, whisk together flour, sugar, cocoa powder, baking soda, and salt for about 20 seconds.
- In a large bowl, whisk together vegetable oil, buttermilk, eggs, vanilla extract, and red gel food coloring until uniform.
- Pour dry ingredients into wet ingredients and stir with a rubber spatula until just combined (a few streaks of flour are okay).
- Add white vinegar and fold gently until bubbles form and batter is smooth.
- Divide batter evenly among 12 liners, filling each about ⅔ full. Tap pan gently to release air bubbles.
- Bake for 18-22 minutes, until a toothpick inserted in center comes out clean or with a few moist crumbs.
- Cool in pan for 5 minutes, then transfer to a wire rack to cool completely.
- For frosting: Beat softened cream cheese and butter together until smooth. Add powdered sugar one cup at a time, then vanilla and salt. Beat until light and fluffy.
- To create heart shape: Use a small heart-shaped cookie cutter to press into center of cooled cupcake, cut halfway through. Remove heart piece, fill cavity with frosting, then replace heart piece.
- Frost with remaining frosting using a piping bag or zip-top bag with corner snipped. Decorate as desired.
Notes
Room temperature ingredients are crucial for best texture. Use gel food coloring for vibrant red color without affecting batter consistency. Don’t overmix batter to avoid tough cupcakes. Cool completely before frosting to prevent melting. Cupcakes taste even better the next day.
Nutrition
- Serving Size: 1 cupcake
- Calories: 320
- Sugar: 28
- Sodium: 220
- Fat: 18
- Saturated Fat: 8
- Carbohydrates: 38
- Fiber: 1
- Protein: 4
Keywords: red velvet cupcakes, heart cupcakes, Valentine's Day cupcakes, cream cheese frosting, easy cupcakes, homemade cupcakes


