Love this? Save it for later!
Share the inspiration with your friends
There used to be this tiny bakery tucked into a converted garage on a side street in Portland—the kind of place you only found because someone whispered about it at a dinner party. They called themselves “Spice & Flour,” and honestly, their gingerbread cheesecake bars were the reason I started showing up at 7 AM on Saturdays. When they closed two winters ago—the owner retired and moved to the coast—I stood outside that locked garage door for a solid minute, genuinely grieving a pastry. I mean, who does that? Someone who knows they’ll never taste that exact combination of spicy gingerbread and silky cheesecake again, that’s who.
After twelve tries—twelve, let me tell you—I finally cracked it. The first batch was too dense. The third one? The cheesecake layer cracked like a desert floor. Batch number seven taught me that patience with cooling is not optional (I learned that the hard way, standing over a pan with a butter knife, trying to salvage what looked like a geography project). But batch twelve? That was the one. The moment I pulled those bars out of the oven, the whole kitchen smelled like that little bakery again, and I may have teared up just a little. Maybe you’ve been there—that feeling when a recipe brings back a place you can’t visit anymore.
These Best Gingerbread Cheesecake Bars for Holiday Parties are my tribute to that lost bakery. They’re the dessert I bring to every holiday gathering now, and honestly, they’ve become my signature. The gingerbread base is chewy and spiced just right, the cheesecake layer is creamy without being heavy, and together? They’re the kind of thing that makes people close their eyes mid-bite. I keep making them because every time I do, I get to relive those Saturday mornings, and now I get to share that experience with everyone around my table.
Why You’ll Love This Recipe
Let me be straight with you—I’ve tested this recipe more times than I care to count, and every single time, it delivers. These bars are the kind of dessert that makes you look like a hero without spending all day in the kitchen. Here’s why they work so well for holiday hosting:
- Make-Ahead Magic: You can prepare these bars up to three days before your party. The flavors actually get better as they sit, so you’re not scrambling on the day of your gathering.
- No Water Bath Needed: Traditional cheesecake recipes often require a fussy water bath that leaks and stresses everyone out. This recipe skips that entirely—no soggy crusts, no steam burns, no drama.
- Perfect for Crowds: One 9×13 pan yields 24 generous bars. That’s enough for a solid holiday party without needing to make multiple desserts.
- Freezer-Friendly: These bars freeze beautifully for up to two months. I always stash a batch in the freezer for unexpected guests or last-minute holiday emergencies.
- That Gingerbread-Cheesecake Combo: The spiced gingerbread crust and creamy cheesecake filling create this incredible contrast that keeps people coming back for “just one more.” I’ve watched it happen at every party.
What makes this recipe different from every other gingerbread cheesecake bar out there? It’s the technique. I spent months perfecting the ratio of molasses to spice in the crust, and I discovered that using room-temperature cream cheese isn’t just a suggestion—it’s the secret to that silky, crack-free top. This isn’t just another version of a holiday dessert; it’s the one I’d serve to anyone who doubted that a bar cookie could steal the spotlight at a Christmas dinner.
These bars are comfort food reimagined for the holiday season. They’re the dessert that makes your guests ask for the recipe before they’ve even finished their first piece. And honestly, isn’t that what we all want when we’re hosting?
What Ingredients You Will Need
This recipe uses simple, pantry-friendly ingredients to create something that tastes far more complicated than it actually is. Most of these items are probably already in your kitchen, especially if you do any holiday baking. Here’s what you’ll need:
For the Gingerbread Crust
- 2 ½ cups all-purpose flour (I prefer King Arthur Flour for consistent results)
- 1 cup packed dark brown sugar (light brown works too, but dark gives deeper flavor)
- 1 tablespoon ground ginger (freshly ground if possible—it makes a difference)
- 2 teaspoons ground cinnamon
- 1 teaspoon ground cloves
- ½ teaspoon ground nutmeg (freshly grated is amazing here)
- ½ teaspoon salt
- ¾ cup unsalted butter, cold and cut into small cubes (this is crucial for a crumbly texture)
- ¼ cup molasses (use unsulphured molasses—Grandma’s brand works great)
- 1 large egg
For the Cheesecake Filling
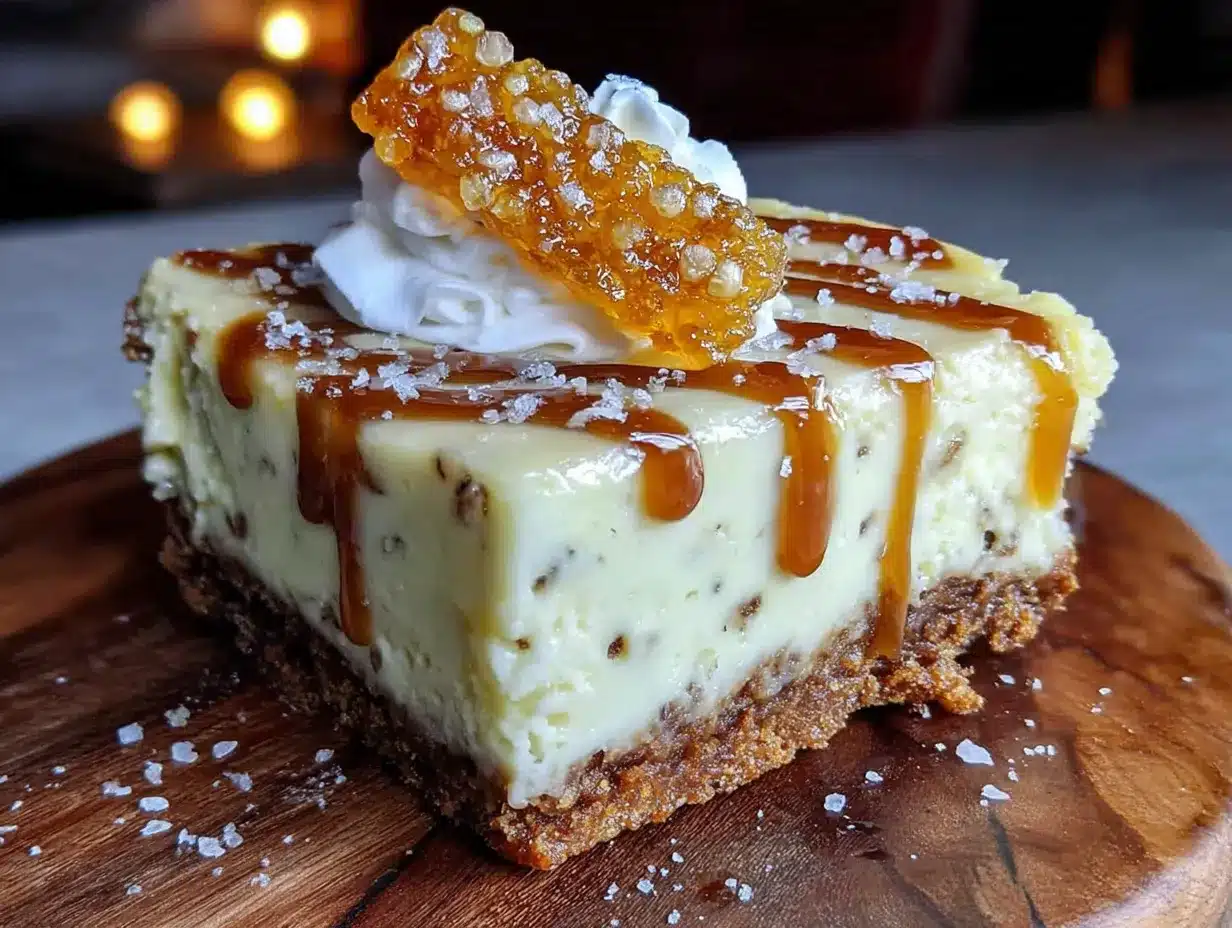
- 24 ounces cream cheese, softened to room temperature (three 8-ounce blocks—Philadelphia is my go-to)
- 1 cup granulated sugar
- 3 large eggs, room temperature (cold eggs will make the filling lumpy)
- 1 cup sour cream, room temperature (adds tanginess and creaminess)
- 2 teaspoons vanilla extract (pure vanilla, not imitation)
- 1 tablespoon all-purpose flour (helps stabilize the filling)
For the Optional Topping
- ¼ cup powdered sugar (for dusting before serving)
- Fresh cranberries and rosemary sprigs (for holiday presentation)
A quick note on ingredient selection: I’ve tested this with both salted and unsalted butter, and unsalted gives you better control over the final salt level. If you only have salted butter on hand, just reduce the added salt in the crust to ¼ teaspoon. For the molasses, avoid blackstrap molasses—it’s too bitter and will overpower the gingerbread. Stick with regular unsulphured molasses for that classic sweet-spicy flavor.
If you’re dairy-sensitive, you can substitute the cream cheese with a good-quality dairy-free version, though I’ll be honest—the texture won’t be quite as silky. The sour cream can be replaced with full-fat coconut cream for a similar tangy effect. Just make sure everything is at room temperature, regardless of what substitutes you use.
Equipment Needed
You don’t need a professional bakery setup for these bars. Here’s what I use every time I make them:
- 9×13-inch baking pan (metal pans work best for even baking—glass can lead to overbaked edges)
- Parchment paper (for easy lifting—don’t skip this, trust me)
- Electric mixer (hand mixer or stand mixer both work fine)
- Large mixing bowls (one for crust, one for filling)
- Pastry cutter or two forks (for cutting butter into the flour mixture)
- Spatula (for scraping every last bit of cheesecake goodness)
- Measuring cups and spoons
- Cooling rack
- Sharp knife (for clean cuts—run it under hot water between slices)
If you don’t have a pastry cutter, you can use your fingertips to work the butter into the flour. Just work quickly so the butter doesn’t warm up too much. I’ve also used a food processor in a pinch—just pulse until the mixture looks like coarse sand, then add the molasses and egg. And honestly, that $5 baking pan from the grocery store? It works just as well as the fancy ones. I’ve made these bars in both, and nobody could tell the difference.
Preparation Method
Alright, let’s get to the good part. Here’s exactly how to make these Best Gingerbread Cheesecake Bars for Holiday Parties. I’ve broken it down so you can follow along without any surprises.
Step 1: Prepare the Pan and Preheat
Preheat your oven to 350°F (175°C). Line your 9×13-inch baking pan with parchment paper, leaving about 2 inches of overhang on the long sides. This creates “handles” that make lifting the bars out later incredibly easy. Lightly grease the parchment with cooking spray or butter.
Step 2: Make the Gingerbread Crust
In a large bowl, whisk together the flour, brown sugar, ginger, cinnamon, cloves, nutmeg, and salt. Add the cold butter cubes and cut them into the flour mixture using a pastry cutter or two forks. You’re looking for a texture that resembles coarse meal with some pea-sized butter pieces remaining—this creates that perfect crumbly texture.
In a small bowl, whisk together the molasses and egg until smooth. Pour this into the flour-butter mixture and mix with a fork until the dough just comes together. It will look shaggy and slightly sticky—that’s exactly what you want.
Step 3: Press and Par-Bake the Crust
Transfer about two-thirds of the dough into your prepared pan. Press it firmly and evenly into the bottom, using your fingers or the bottom of a measuring cup. Make sure it’s compact—any loose spots will cause the crust to crumble later. Bake for 12 minutes, then remove from the oven and let it cool slightly while you prepare the filling. The crust should look set but not browned.
Step 4: Prepare the Cheesecake Filling
In a large bowl, beat the softened cream cheese with an electric mixer on medium speed until smooth and creamy—about 2 minutes. Scrape down the sides and bottom of the bowl with a spatula. Add the sugar and beat for another minute until well combined.
Add the eggs one at a time, beating on low speed after each addition just until incorporated. Overmixing at this stage adds too much air, which can cause cracks. Add the sour cream, vanilla extract, and flour, and mix on low until just combined. The mixture should be smooth and silky—if it looks lumpy, your cream cheese wasn’t soft enough.
Step 5: Assemble the Bars
Pour the cheesecake filling over the par-baked crust and spread it evenly with a spatula. Take the remaining gingerbread dough and crumble it evenly over the top of the cheesecake filling. Some pieces will sink slightly—that’s perfectly fine and creates a beautiful marbled effect.
Step 6: Bake to Perfection
Bake at 350°F (175°C) for 35-40 minutes, or until the edges are set and the center jiggles slightly when you gently shake the pan. The top should be lightly golden, and you might see a few small cracks around the edges—that’s normal. The center will continue to set as it cools.
Step 7: Cool and Chill
Place the pan on a wire rack and let it cool completely at room temperature—this takes about 1-2 hours. Once cool, cover the pan with plastic wrap and refrigerate for at least 4 hours, but overnight is best. This chilling step is non-negotiable for clean slices and the best texture.
Step 8: Slice and Serve
Once fully chilled, use the parchment paper handles to lift the entire block out of the pan. Place it on a cutting board and use a sharp knife to cut into 24 even bars (6 rows by 4 rows). For the cleanest cuts, wipe the knife clean between each slice. Dust with powdered sugar just before serving.
Cooking Tips & Techniques
I’ve made this recipe enough times to know exactly where things can go wrong. Here’s what I’ve learned the hard way so you don’t have to:
Room Temperature Is Not Optional. I know, I know—every recipe says this. But with cheesecake, it genuinely matters. Cold cream cheese creates lumps that no amount of beating will fix. Take everything out of the fridge at least 2 hours before you start. If you’re in a hurry, cut the cream cheese into cubes and let it sit on the counter for 30 minutes.
Don’t Overmix the Filling. The first time I made these, I got distracted and beat the filling for way too long. The result? A puffy, cracked mess that looked like a landscape from another planet. Mix just until each ingredient is incorporated, then stop. Your mixer is not your enemy, but it’s not your friend here either.
The Jiggle Test Is Real. When you take the pan out of the oven, the center should wobble like Jell-O. If it’s completely firm, you’ve overbaked it. If it’s liquid, it needs more time. That gentle jiggle is your signal that the cheesecake will set up perfectly in the fridge.
Patience Pays Off. I once tried to rush the chilling process by putting the pan in the freezer for an hour. Big mistake. The texture was grainy and the slices fell apart. Give it the full overnight chill—your future self will thank you when you’re cutting perfect squares for your holiday party.
For Clean Slices, Use a Hot Knife. Run your knife under hot water, dry it off, then slice. Wipe the blade clean between each cut. It takes an extra 30 seconds and makes the difference between messy edges and bakery-quality bars.
Variations & Adaptations
One of the things I love about this recipe is how adaptable it is. Here are some variations I’ve tried and loved:
Gluten-Free Version: Substitute the all-purpose flour with a 1:1 gluten-free baking flour blend. I’ve had great results with Bob’s Red Mill Gluten-Free 1-to-1 Baking Flour. The texture is slightly more delicate, so handle the crust gently when pressing it into the pan.
Pumpkin Spice Twist: Swap the gingerbread spices for pumpkin pie spice, and add ½ cup of pumpkin puree to the cheesecake filling. Reduce the sour cream to ¾ cup to compensate for the extra moisture. This version is perfect for Thanksgiving or fall gatherings.
Chocolate Gingerbread: Add ¼ cup of cocoa powder to the crust mixture and reduce the flour by 2 tablespoons. The chocolate-gingerbread combination is absolutely divine, and it looks stunning with the white cheesecake layer.
Vegan Adaptation: Use vegan cream cheese (Tofutti or Miyoko’s work well), coconut cream instead of sour cream, and a flax egg (1 tablespoon ground flaxseed mixed with 3 tablespoons water) for the crust. The texture won’t be identical, but it’s surprisingly close and completely dairy-free.
Mini Version for Parties: Press the crust into a 24-cup mini muffin tin and fill each cup with cheesecake mixture. Bake for 15-18 minutes. These bite-sized versions are perfect for holiday buffets where guests want to sample multiple desserts.
Serving & Storage Suggestions
These Best Gingerbread Cheesecake Bars for Holiday Parties are designed to be served cold, straight from the refrigerator. The texture is at its best when the bars are thoroughly chilled—the cheesecake layer firms up perfectly and the gingerbread crust maintains its structure.
Presentation Ideas: Arrange the bars on a white platter or cake stand for maximum visual impact. Dust with powdered sugar right before serving, and garnish with fresh cranberries and sprigs of rosemary for a festive holiday look. I’ve also drizzled them with a simple white chocolate ganache (melt ½ cup white chocolate chips with 2 tablespoons heavy cream) for an extra-special touch.
What to Serve Alongside: These bars pair beautifully with a dollop of lightly sweetened whipped cream or a scoop of vanilla bean ice cream. For a non-dairy option, try coconut whipped cream. A cup of hot coffee, spiced chai, or mulled wine complements the gingerbread flavors perfectly.
Storage Instructions: Store leftover bars in an airtight container in the refrigerator for up to 5 days. Place a piece of parchment paper between layers to prevent sticking. The flavors actually deepen and meld together over the first 2-3 days, so don’t be surprised if they taste even better on day three.
Freezing: These bars freeze exceptionally well. Wrap individual bars tightly in plastic wrap, then place them in a freezer-safe bag or container. They’ll keep for up to 2 months. To thaw, transfer to the refrigerator overnight. I always keep a stash in my freezer for holiday emergencies—unexpected guests, last-minute parties, or those evenings when you just need a taste of something special.
Reheating: These bars are best served cold, but if you prefer them slightly warm, microwave an individual bar for 10-15 seconds. The cheesecake will soften slightly and the gingerbread flavors will become more pronounced.
Nutritional Information & Benefits
Each bar (based on 24 servings) contains approximately:
- Calories: 285
- Fat: 17g
- Saturated Fat: 10g
- Carbohydrates: 30g
- Sugar: 20g
- Protein: 5g
- Fiber: 1g
- Sodium: 180mg
While these are definitely an indulgence (it’s the holidays, after all!), the ginger in the crust offers some anti-inflammatory benefits, and the cinnamon can help regulate blood sugar levels. The cream cheese provides a decent amount of calcium and protein, though I wouldn’t exactly call this a health food. Let’s be real—these bars are about joy, not nutrition. But knowing what’s in them helps you plan your holiday indulgences wisely.
For those with dietary concerns: this recipe contains gluten, dairy, and eggs. It can be adapted to be gluten-free or vegan using the substitutions mentioned in the variations section. If you’re watching your sugar intake, you can reduce the sugar in the cheesecake filling to ¾ cup without significantly affecting the texture.
Conclusion
These Best Gingerbread Cheesecake Bars for Holiday Parties have become my go-to dessert for every gathering, and I honestly believe they’ll become yours too. They’re the kind of recipe that looks impressive, tastes incredible, and yet doesn’t require a culinary degree to pull off. Whether you’re hosting a Christmas Eve dinner, a holiday potluck, or just want something special for your family, these bars deliver every single time.
What I love most about this recipe is how it brings people together. I’ve watched conversations pause mid-sentence as someone takes their first bite, followed by that universal “oh wow” expression. I’ve seen guests ask for the recipe before they’ve even finished their first bar. And I’ve felt that warm glow of satisfaction that comes from sharing something you’ve perfected through trial and error.
So go ahead—make these for your next holiday party. Customize them with your favorite variations, experiment with toppings, and make them your own. And when your guests rave about them (because they will), just smile and tell them about that little bakery in Portland that inspired it all.
I’d love to hear how yours turn out! Drop a comment below sharing your experience, any twists you added, or just tell me about the best holiday party you’ve ever hosted. And don’t forget to pin this recipe for later—your future self will thank you when holiday season rolls around again.
Frequently Asked Questions
Can I make these gingerbread cheesecake bars ahead of time?
Absolutely! In fact, I recommend it. These bars need at least 4 hours to chill, but they’re even better when made a day or two ahead. The flavors meld together beautifully, and the texture becomes perfectly creamy. Store them covered in the refrigerator until you’re ready to serve.
Why did my cheesecake filling crack?
Cracks usually happen for one of three reasons: overmixing the filling, overbaking, or sudden temperature changes. Make sure you mix just until ingredients are combined, pull the bars out when the center is still slightly jiggly, and let them cool gradually at room temperature before refrigerating.
Can I use a different pan size?
You can use an 8×8-inch pan for thicker bars, but you’ll need to increase the baking time by 10-15 minutes. For a 9-inch round springform pan, the baking time stays roughly the same. Just keep an eye on the edges—they should be set while the center remains slightly jiggly.
How do I get clean, neat slices?
The secret is a hot knife. Run your knife under hot water, dry it off, then slice. Wipe the blade clean between each cut. Also, make sure the bars are fully chilled—at least 4 hours, but overnight is best. Patience here makes all the difference.
Can I freeze these bars?
Yes! Freeze them for up to 2 months. Wrap individual bars tightly in plastic wrap, then place them in a freezer bag. To thaw, transfer to the refrigerator overnight. They’ll taste just as fresh as the day you made them—I promise.
Pin This Recipe!
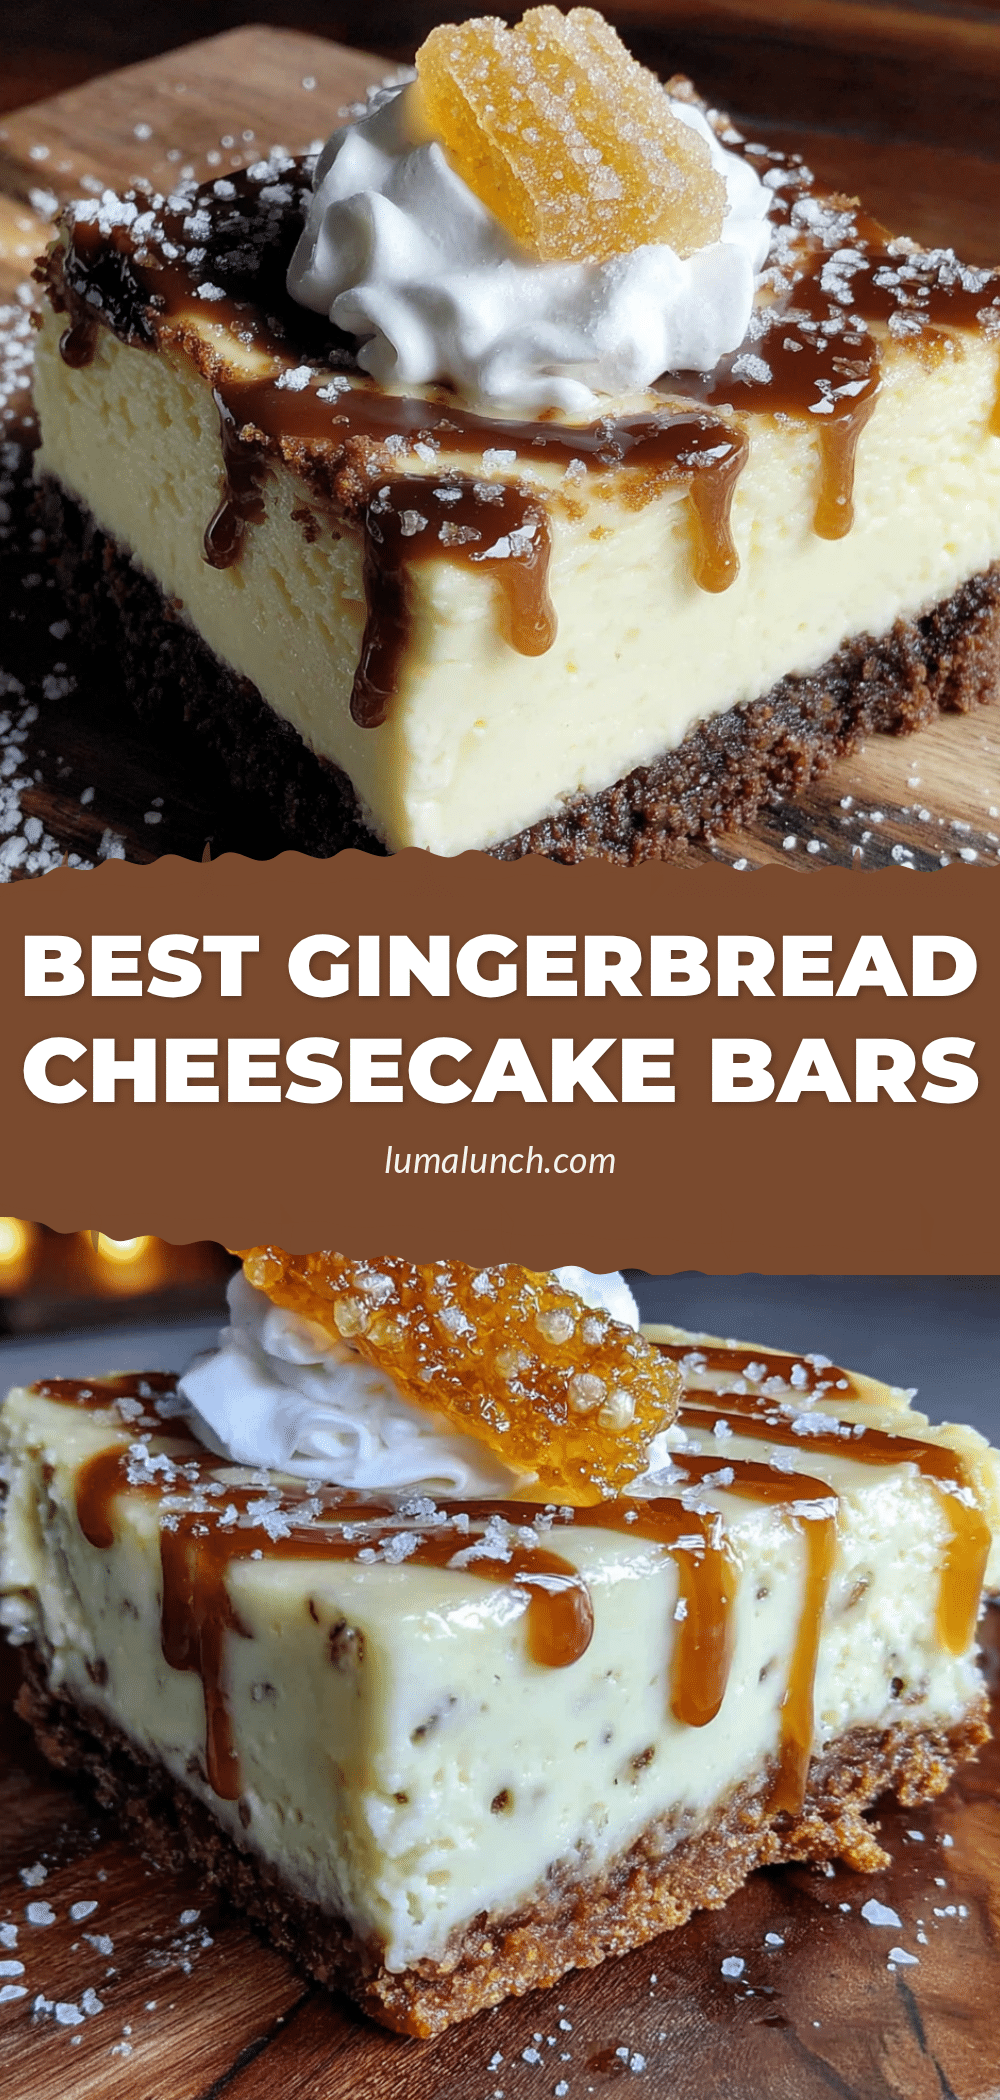
Best Gingerbread Cheesecake Bars: Easy Holiday Dessert
These Best Gingerbread Cheesecake Bars are a tribute to a beloved Portland bakery, featuring a spiced gingerbread crust and a silky cheesecake filling. Perfect for holiday parties, they’re make-ahead, freezer-friendly, and require no water bath.
- Prep Time: 30 minutes
- Cook Time: 35-40 minutes
- Total Time: 5 hours (including chilling)
- Yield: 24 bars 1x
- Category: Dessert
- Cuisine: American
Ingredients
- 2 ½ cups all-purpose flour
- 1 cup packed dark brown sugar
- 1 tablespoon ground ginger
- 2 teaspoons ground cinnamon
- 1 teaspoon ground cloves
- ½ teaspoon ground nutmeg
- ½ teaspoon salt
- ¾ cup unsalted butter, cold and cut into small cubes
- ¼ cup molasses (unsulphured)
- 1 large egg
- 24 ounces cream cheese, softened to room temperature
- 1 cup granulated sugar
- 3 large eggs, room temperature
- 1 cup sour cream, room temperature
- 2 teaspoons vanilla extract (pure)
- 1 tablespoon all-purpose flour
- ¼ cup powdered sugar (for dusting)
- Fresh cranberries and rosemary sprigs (for garnish, optional)
Instructions
- Preheat oven to 350°F (175°C). Line a 9×13-inch baking pan with parchment paper, leaving 2 inches overhang on long sides. Lightly grease parchment.
- Make the gingerbread crust: In a large bowl, whisk together flour, brown sugar, ginger, cinnamon, cloves, nutmeg, and salt. Cut in cold butter cubes using a pastry cutter or two forks until mixture resembles coarse meal with some pea-sized butter pieces.
- In a small bowl, whisk together molasses and egg until smooth. Pour into flour-butter mixture and mix with a fork until dough just comes together (shaggy and slightly sticky).
- Press about two-thirds of the dough firmly and evenly into the prepared pan. Bake for 12 minutes, then remove and let cool slightly.
- Prepare the cheesecake filling: In a large bowl, beat softened cream cheese with an electric mixer on medium speed until smooth and creamy (about 2 minutes). Scrape down sides. Add sugar and beat for 1 minute until combined.
- Add eggs one at a time, beating on low speed just until incorporated. Add sour cream, vanilla extract, and flour; mix on low until just combined. Mixture should be smooth and silky.
- Pour cheesecake filling over par-baked crust and spread evenly. Crumble remaining gingerbread dough over the top (some pieces may sink).
- Bake at 350°F (175°C) for 35-40 minutes, until edges are set and center jiggles slightly when shaken. Top should be lightly golden.
- Place pan on a wire rack and cool completely at room temperature (1-2 hours). Cover with plastic wrap and refrigerate for at least 4 hours, preferably overnight.
- Once fully chilled, use parchment handles to lift the block out of the pan. Place on a cutting board and cut into 24 even bars (6 rows by 4 rows) using a sharp knife. Wipe knife clean between slices. Dust with powdered sugar just before serving.
Notes
Room temperature ingredients are crucial for a smooth, crack-free cheesecake. Do not overmix the filling. The jiggle test is key: center should wobble like Jell-O when done. For clean slices, use a hot knife and wipe between cuts. Bars can be made up to 3 days ahead and freeze well for up to 2 months.
Nutrition
- Serving Size: 1 bar
- Calories: 285
- Sugar: 20
- Sodium: 180
- Fat: 17
- Saturated Fat: 10
- Carbohydrates: 30
- Fiber: 1
- Protein: 5
Keywords: gingerbread cheesecake bars, holiday dessert, Christmas bars, gingerbread dessert, cheesecake bars, holiday party dessert, make-ahead dessert


