Love this? Save it for later!
Share the inspiration with your friends
Mark wasn’t trying to impress anyone. I’d stopped by his place to grab a lawn chair I’d lent him months ago, and the smell of cumin and roasted chiles hit me before I even made it past the front door. He just shrugged when I asked what he was making. “Oh, just some dip thing for the game tomorrow.” Just some dip thing. Let me tell you, that was an understatement of epic proportions.
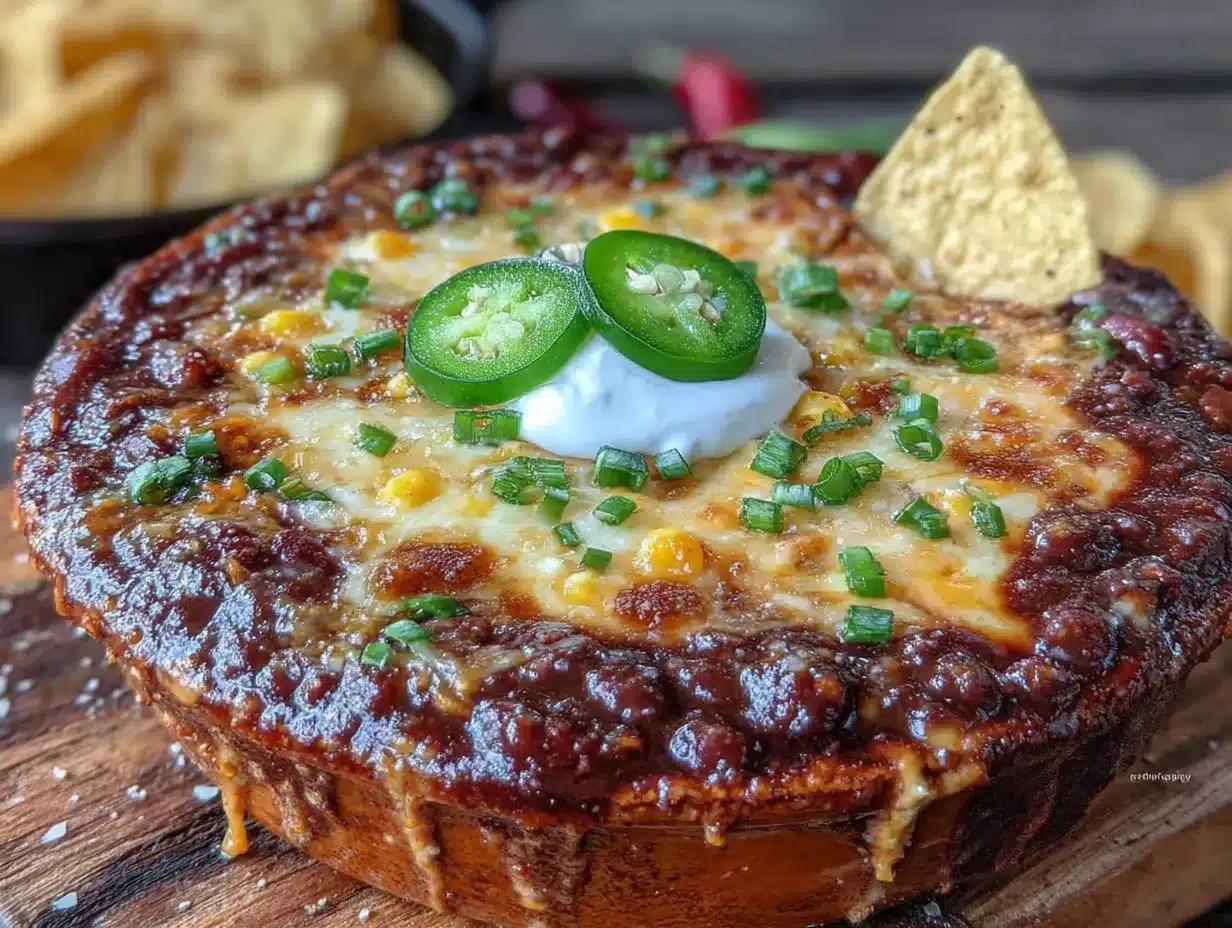
He pulled this cast iron skillet out of the oven, and it was bubbling over with black beans, melted cheese, and these gorgeous dark spots from where the top had gotten all blistered and perfect. I stood there in his messy living room, holding my lawn chair, completely frozen. “You want some?” he asked, like it was no big deal. I mean, obviously I wanted some. I wanted to take the whole skillet home with me.
That first bite had this unexpected kick that crept up on you—not a slap in the face spicy, but the kind that makes you take another bite just to figure out what hit you. The beans were creamy, the cheese was stretchy, and there were these little bits of something crunchy on top that I couldn’t quite identify. “Pickled jalapeños,” he said when I asked. “And I threw in some of those crispy onions you put on green bean casserole.” Genius. Honestly, pure genius.
Maybe you’ve been there, standing in someone else’s kitchen, eating something so good you forget you’re supposed to be leaving. I finally walked out with my lawn chair forty-five minutes later, and I’d already texted myself the rough recipe. This Best Spicy Black Bean Tailgate Dip has become my go-to for every gathering since. It’s the kind of recipe that makes people hover around the table, and honestly, that’s exactly where you want them.
Why You’ll Love This Recipe
I’ve tested this Best Spicy Black Bean Tailgate Dip about a dozen times since that day at Mark’s place, tweaking here and there until it hit that perfect balance of creamy, spicy, and totally addictive. Here’s why this version stands out from every other dip at the party:
- Ready in Under 30 Minutes : From fridge to table in about 25 minutes flat. Perfect for those “I forgot I’m supposed to bring something” moments, or when you just need a quick win for game day.
- Pantry-Friendly Ingredients : Canned black beans, cream cheese, and a few spices. No fancy grocery runs required. You probably have most of this stuff already.
- Perfect for Tailgating : This dip travels like a dream. Make it at home, pop it in the oven at your destination, and watch it disappear before halftime.
- Crowd-Pleaser Guaranteed : I’ve brought this to everything from Super Bowl parties to casual backyard hangs, and there’s never a spoonful left. Even folks who “don’t like spicy food” go back for seconds.
- Unbelievably Delicious : The texture is what gets me every time. You’ve got the creaminess from the cheese, the heartiness from the beans, and that little crunch from the crispy onions on top. It’s comfort food in a skillet.
What makes this Best Spicy Black Bean Tailgate Dip different from the rest is the technique. Instead of just dumping everything in a dish and baking it, I layer the ingredients so every bite has a little bit of everything. The cream cheese base gets whipped with sour cream until it’s light and fluffy—that’s the secret to that silky texture. And the double layer of cheese? Non-negotiable. Trust me on this one.
This is the kind of dip that makes people close their eyes after the first bite. It’s simple, it’s satisfying, and it’s got just enough heat to keep things interesting. Perfect for impressing guests without breaking a sweat.
What Ingredients You Will Need
This recipe uses simple, honest ingredients that come together to create something way bigger than the sum of their parts. Most of these are pantry staples, which makes this Best Spicy Black Bean Tailgate Dip dangerously easy to whip up on a whim.
For the Dip Base
- 8 oz cream cheese, softened (the full-fat version gives the best texture, but Neufchâtel works fine too)
- 1/2 cup sour cream (adds tanginess and helps thin the cream cheese to the perfect dipping consistency)
- 1 can (15 oz) black beans, drained and rinsed (I prefer Goya or Bush’s for their firm texture)
- 1 cup frozen corn kernels, thawed (or canned corn, drained well—fresh corn in summer is amazing if you have it)
- 1 can (4 oz) diced green chiles, undrained (these add mild heat and that roasted flavor)
- 1/2 cup pickled jalapeños, chopped (this is where the real heat comes from—adjust to your tolerance)
- 1 teaspoon ground cumin (the backbone of the flavor profile)
- 1 teaspoon smoked paprika (adds that subtle smokiness that makes you think it cooked all day)
- 1/2 teaspoon garlic powder (not fresh garlic here—powder blends more evenly into the dip)
- 1/2 teaspoon onion powder
- Salt and black pepper, to taste
For the Cheese Layer
- 2 cups shredded Mexican blend cheese, divided (I use Sargento or Kraft—they melt beautifully without getting greasy)
- 1/2 cup crumbled queso fresco or cotija cheese (optional, but adds a salty, crumbly contrast to the melted cheese)
For the Topping
- 1/2 cup crispy fried onions (the kind you use for green bean casserole—trust me on this)
- 2 tablespoons fresh cilantro, chopped (for brightness and color)
- 1 jalapeño, thinly sliced (for garnish, if you want to look fancy)
- Lime wedges, for serving (a squeeze of lime right before eating makes everything pop)
For Serving
- Tortilla chips (go with sturdy ones—you need something that can handle a heavy scoop)
- Optional: sliced baguette, celery sticks, or bell pepper strips for a lower-carb option
Ingredient Selection Tips : When choosing black beans, look for cans without added sugar or excessive sodium. I always rinse mine thoroughly to remove that metallic canned taste. For the pickled jalapeños, I prefer La Costeña brand—they have a nice balance of heat and vinegar without being overpowering. If you’re sensitive to spice, start with half the amount and taste as you go.
Substitution Guidance : Need it dairy-free? Use dairy-free cream cheese and sour cream alternatives, and look for vegan shredded cheese that melts well. For a gluten-free version, just skip the crispy fried onions or use a gluten-free brand. You can swap the black beans for pinto beans or even refried beans if that’s what you have on hand—the texture will be different but still delicious.
Equipment Needed
You don’t need a fancy kitchen to pull off this Best Spicy Black Bean Tailgate Dip. Here’s what you’ll need:
- 10-inch cast iron skillet (my go-to for this recipe—it heats evenly and looks beautiful on the table. If you don’t have one, a 9×9 baking dish works perfectly)
- Mixing bowl (medium-sized, for combining the cream cheese and sour cream)
- Hand mixer or stand mixer (for whipping the cream cheese until fluffy—you can do it by hand with a wooden spoon, but it takes some elbow grease)
- Rubber spatula (for scraping every last bit of that creamy goodness into the skillet)
- Chef’s knife and cutting board (for chopping jalapeños and cilantro)
- Can opener
- Colander (for rinsing the black beans)
- Measuring cups and spoons
I’ve made this dip in everything from a proper cast iron skillet to a disposable aluminum pan when I was tailgating at a friend’s place. The skillet gives you those nice crispy edges, but honestly, it works great no matter what you bake it in. If you’re using a glass or ceramic dish, just keep in mind it might take a few extra minutes to get bubbly and hot all the way through.
One thing I learned the hard way—make sure your skillet or dish is oven-safe up to 375°F. I once grabbed a pan with a plastic handle without thinking, and let’s just say that didn’t end well. Learn from my mistakes, friends.
Preparation Method
This Best Spicy Black Bean Tailgate Dip comes together in layers, and each layer adds something important. Here’s how to nail it every time:
- Preheat your oven to 375°F (190°C). Get that oven going first so it’s nice and hot by the time you’re ready to bake. Position the rack in the middle of the oven.
- Soften the cream cheese. Take your cream cheese out of the fridge about 30 minutes before you start, or microwave it in 10-second bursts until it’s soft but not melted. You want it to be room temperature so it blends smoothly without lumps.
- Whip the cream cheese base. In your mixing bowl, combine the softened cream cheese and sour cream. Beat with your hand mixer on medium speed for about 2 minutes, until the mixture is light, fluffy, and completely smooth. Scrape down the sides of the bowl with your spatula halfway through. This step is non-negotiable—it’s what gives the dip that dreamy texture.
- Add the seasonings. Sprinkle in the cumin, smoked paprika, garlic powder, onion powder, and a pinch of salt and pepper. Mix on low speed until everything is evenly distributed. Taste it here—yes, raw—and adjust the seasoning. It should taste slightly stronger than you want the final dip to be, because the cheese and beans will mellow it out.
- Fold in the beans and veggies. Add the drained black beans, thawed corn, diced green chiles (with their liquid), and chopped pickled jalapeños. Fold everything together with your rubber spatula until it’s all evenly coated in that creamy mixture. Don’t overmix—you want some texture, not a paste.
- Layer half the cheese. Spread the bean mixture evenly into your cast iron skillet or baking dish. Sprinkle 1 cup of the shredded Mexican blend cheese over the top in an even layer. This first layer of cheese will melt into the dip as it bakes, creating that gooey, stretchy interior.
- Add the remaining cheese and toppings. Sprinkle the second cup of shredded cheese on top, followed by the crumbled queso fresco or cotija if you’re using it. This top layer will get all golden and bubbly—the money shot, honestly.
- Bake until bubbly. Place the skillet in the preheated oven and bake for 18-22 minutes, until the dip is hot all the way through and the cheese is melted and starting to brown in spots. You’ll know it’s ready when you see bubbles breaking through the cheese layer around the edges. If you want those dark, blistered spots like Mark’s dip had, switch the oven to broil for the last 1-2 minutes—but watch it closely, because it can go from perfect to burnt in seconds.
- Add the finishing touches. Remove the skillet from the oven (use oven mitts—that handle is hot). Immediately sprinkle the crispy fried onions over the top, followed by the fresh cilantro and sliced jalapeño if using. The heat from the dip will warm the onions and release the cilantro’s aroma.
- Let it rest. Let the dip sit for 5 minutes before serving. This is the hardest part, I know, but it needs that time to set up slightly so it doesn’t slide off your chips. The texture should be creamy and scoopable, not runny.
Sensory Cues : When you pull the dip out of the oven, the cheese should be bubbling around the edges and the top should have patches of golden brown. The smell will hit you with that smoky cumin and roasted chile aroma. When you scoop into it, you should see that beautiful contrast between the creamy base, the whole beans, and the stretchy cheese. If it looks like soup, it needed more time. If it looks dry, you might have overbaked it—but it’s still going to taste amazing.
Personal Tip : I always make an extra batch of the crispy onion topping to sprinkle on halfway through eating. The dip stays hot for a while in the cast iron, but the onions can get soft after sitting on top. A fresh sprinkle halfway through brings back that crunch factor, and honestly, it looks like you planned it that way.
Cooking Tips & Techniques
After making this Best Spicy Black Bean Tailgate Dip more times than I can count, I’ve picked up a few tricks that make a real difference. Here’s what I wish someone had told me the first time:
Don’t skip whipping the cream cheese. I know it seems like an extra step, but this is the difference between a dip that’s smooth and luxurious versus one that’s lumpy and dense. The air you whip in creates that light, fluffy texture that makes people ask what your secret is. If you’re in a hurry, you can microwave the cream cheese for 15-20 seconds to soften it faster, but don’t skip the whipping.
Layer your ingredients for maximum impact. This isn’t a dump-and-stir situation. By layering the cheese in two stages, you get a dip that’s cheesy throughout, not just on top. The bottom layer of cheese melts into the bean mixture, creating these little pockets of gooey goodness. The top layer gets all browned and crispy. It’s texture magic.
Watch your salt levels. Between the canned beans, the pickled jalapeños, the green chiles, and the cheese, there’s a lot of salt hiding in this recipe. I never add salt until after I’ve mixed everything together and tasted it. More often than not, you won’t need any extra. The cotija cheese on top is also quite salty, so keep that in mind.
My biggest failure with this recipe happened when I tried to double it for a party. I crammed everything into a too-small skillet, and it bubbled over into the oven, creating a smoky mess that set off the smoke detector. Learn from me—use a larger dish if you’re scaling up, and always place a baking sheet on the rack below to catch any drips.
Timing strategy for parties : I like to assemble the dip completely (minus the crispy onions and fresh toppings) the morning of the party, cover it with foil, and keep it in the fridge. Then I just pop it in the oven about 25 minutes before guests arrive. The cold start means you’ll need to add 5-7 minutes to the baking time, but it’s so worth it to have one less thing to do when people are showing up.
For consistent results : Use room temperature ingredients when possible. Cold cream cheese straight from the fridge will leave you with lumps. Cold beans will make the dip take longer to heat through. A little planning goes a long way here.
Variations & Adaptations
This Best Spicy Black Bean Tailgate Dip is incredibly forgiving, and I’ve tried more variations than I can count. Here are some of my favorites:
1. The Smoky Bacon Version : Cook 4-5 strips of bacon until crispy, crumble them, and sprinkle half into the bean mixture and the rest on top before baking. The smoky, salty bacon pairs perfectly with the black beans and cumin. I made this for a football party and people literally stood around the skillet picking at the bacon bits.
2. The Vegan Take : Use vegan cream cheese and sour cream (I like Kite Hill or Miyoko’s), and swap the shredded cheese for a vegan Mexican blend. The crispy onions are usually vegan-friendly, but double-check the label. The texture will be slightly different—a bit looser—but the flavor is still fantastic. I’ve served this alongside the regular version and nobody complained.
3. The Milder Version : If you’re serving a crowd that includes kids or spice-sensitive folks, skip the pickled jalapeños and use mild diced green chiles. You’ll still get that roasted chile flavor without any heat. Add a dash of smoked paprika for depth, and let people add hot sauce at the table if they want more kick.
4. The Loaded Nacho Style : Before baking, add a layer of cooked, seasoned ground beef or chorizo on top of the cream cheese mixture. I tried this for a Super Bowl party and it turned the dip into a full-on meal. Just make sure to drain any excess fat from the meat before adding it, or your dip will be greasy.
5. The Summer Fresh Version : In summer, swap the frozen corn for fresh corn cut straight off the cob. Add a diced ripe tomato and some chopped fresh cilantro into the bean mixture before baking. The fresh corn adds a sweetness and pop that frozen just can’t match. I made this for a Fourth of July cookout and it was the first thing to disappear.
Personal Variation I Love : I once added a tablespoon of adobo sauce from a can of chipotle peppers to the cream cheese mixture. It added this incredible smoky heat that was totally different from the pickled jalapeño version. Just a heads up—it’s potent, so start with a teaspoon and taste before adding more. That deep, smoky flavor combined with the creamy base? Chef’s kiss.
Serving & Storage Suggestions
This Best Spicy Black Bean Tailgate Dip is best served hot, straight from the oven, with a pile of sturdy tortilla chips on the side. Here’s how to make it shine:
Serving Temperature : Serve it hot, ideally within 10 minutes of coming out of the oven. The cheese should still be stretchy and the dip should be bubbling gently. If it cools down too much, the cream cheese base will firm up and it won’t be as scoopable. I like to serve it in the cast iron skillet—it keeps the dip warm for a good 30-40 minutes, which is perfect for parties.
Presentation Ideas : Set the skillet on a wooden board or trivet in the center of the table. Surround it with a variety of dippers—tortilla chips are the classic, but I also love serving it with sliced baguette, bell pepper strips, celery sticks, or even crispy potato wedges. The contrast of the cool veggies with the hot, cheesy dip is amazing.
Complementary Dishes : This dip pairs beautifully with a simple Mexican street corn salad, some quick guacamole, or a bowl of fresh salsa. For a full spread, add some easy chicken tacos or Mexican street corn pasta salad on the side. For drinks, a cold beer or a spicy margarita is the perfect match.
Storage Instructions : If you have leftovers (unlikely, but possible), let the dip cool completely, then transfer it to an airtight container. It will keep in the refrigerator for up to 4 days. The texture will firm up as it cools, but it reheats beautifully.
Reheating Methods : The best way to reheat is in the oven at 350°F for 10-15 minutes, until hot and bubbly again. You can also use the microwave in 30-second bursts, stirring between each, but the texture won’t be quite as good—the cheese can get a bit rubbery. If you’re reheating from frozen, thaw overnight in the fridge first, then reheat in the oven.
Freezer Tips : This dip freezes surprisingly well. Assemble it completely (without the crispy onions and fresh toppings), wrap the dish tightly in plastic wrap and then foil, and freeze for up to 3 months. To bake from frozen, remove the wrapping, cover with foil, and bake at 375°F for about 40 minutes, removing the foil for the last 10 minutes. Add the fresh toppings after baking.
Flavor Development : Honestly, this dip tastes even better the next day. The flavors meld together overnight, and the heat from the chiles and jalapeños seems to deepen. I’ve been known to make it a day ahead on purpose, just for that flavor boost. Just reheat it gently and add fresh toppings right before serving.
Nutritional Information & Benefits
Let’s be real—this is a game day dip, not a health food. But it does have some redeeming qualities worth mentioning. Here’s the estimated nutritional breakdown per serving (based on 8 servings):
| Nutrient | Amount per Serving |
|---|---|
| Calories | 320 |
| Total Fat | 22g |
| Saturated Fat | 12g |
| Cholesterol | 55mg |
| Sodium | 680mg |
| Total Carbohydrates | 20g |
| Dietary Fiber | 5g |
| Sugars | 3g |
| Protein | 14g |
Health Benefits : Black beans are packed with fiber and plant-based protein, which help keep you full and support digestive health. They’re also rich in iron, magnesium, and folate. The cumin and smoked paprika add antioxidants and anti-inflammatory properties. The corn provides a little vitamin C and fiber. And hey, the calcium from all that cheese counts for something, right?
Dietary Considerations : This recipe is vegetarian as written. To make it gluten-free, simply omit the crispy fried onions or use a certified gluten-free brand. It’s naturally nut-free and egg-free. For a lower-carb option, serve with vegetable sticks instead of chips, and you’ll cut the carbs significantly.
Potential Allergens : Dairy (cream cheese, sour cream, shredded cheese, queso fresco). Check your crispy fried onions for gluten if that’s a concern. The pickled jalapeños and green chiles are typically allergen-free, but always read labels if you’re serving someone with specific allergies.
My Personal Take : Look, I’m not going to pretend this is a health food. It’s a decadent, cheesy, indulgent dip that’s meant for sharing and enjoying. But I do feel better knowing there’s a solid amount of fiber and protein in each serving, and that I’m using real, whole ingredients. Balance, you know? Enjoy your dip, load up on those black beans, and don’t stress about the rest.
Conclusion
This Best Spicy Black Bean Tailgate Dip is the kind of recipe that becomes a legend among your friends. It’s the one they’ll text you about before the next game, the one they’ll ask you to bring to every party, the one that disappears before halftime. And honestly? It deserves that reputation.
What I love most about this dip is how unassuming it is. It’s made from pantry staples, comes together in under 30 minutes, and doesn’t require any fancy techniques. But the way those flavors layer together—the creamy base, the smoky spices, the kick of heat, the crunch on top—creates something that feels way more special than the sum of its parts. It’s proof that you don’t need to be a chef to make something unforgettable.
I hope you’ll make this your own. Add more jalapeños if you like it hot. Throw in some bacon if that’s your thing. Serve it with chips or veggies or straight up with a spoon—I won’t judge. The beauty of this recipe is that it’s forgiving, flexible, and always delicious.
When you make it, I’d love to hear how it turned out. Drop a comment below and let me know your favorite variation, or tag me in your photos if you share them online. And if you’re looking for more game day inspiration, check out my loaded nacho fries or easy guacamole to round out your spread.
Now go make some dip. Your game day guests will thank you.
Frequently Asked Questions
Can I make this dip ahead of time?
Absolutely! Assemble the dip completely (without the crispy onions and fresh toppings), cover it, and refrigerate for up to 24 hours. When you’re ready to bake, add about 5-7 minutes to the baking time since you’re starting from cold. Add the toppings after baking.
How can I make this dip less spicy?
Skip the pickled jalapeños and use mild diced green chiles instead. You’ll still get that roasted chile flavor without the heat. You can also serve it with a side of sour cream to cool things down for anyone who finds it too spicy.
Can I use dried black beans instead of canned?
You can, but it’s a lot more work. Cook 1 cup of dried black beans until tender (about 1-2 hours, depending on the beans), then drain and use them in place of the canned beans. Honestly, canned beans work perfectly here and save you a ton of time. I always keep a few cans in my pantry for this exact reason.
What’s the best way to reheat leftovers?
The oven is your best bet. Reheat at 350°F for 10-15 minutes, until hot and bubbly. The microwave works in a pinch, but the cheese can get rubbery. If you’re reheating just a small portion, the microwave is fine—just do it in 30-second bursts and stir between each.
Can I make this in a slow cooker?
Yes! Combine all the ingredients (except the crispy onions and fresh toppings) in a slow cooker, and cook on low for 2-3 hours or on high for 1-2 hours, stirring occasionally, until hot and bubbly. Transfer to a serving dish and top with the crispy onions and cilantro. The texture will be slightly different—a bit looser—but it’s still delicious and perfect for parties.
Pin This Recipe!
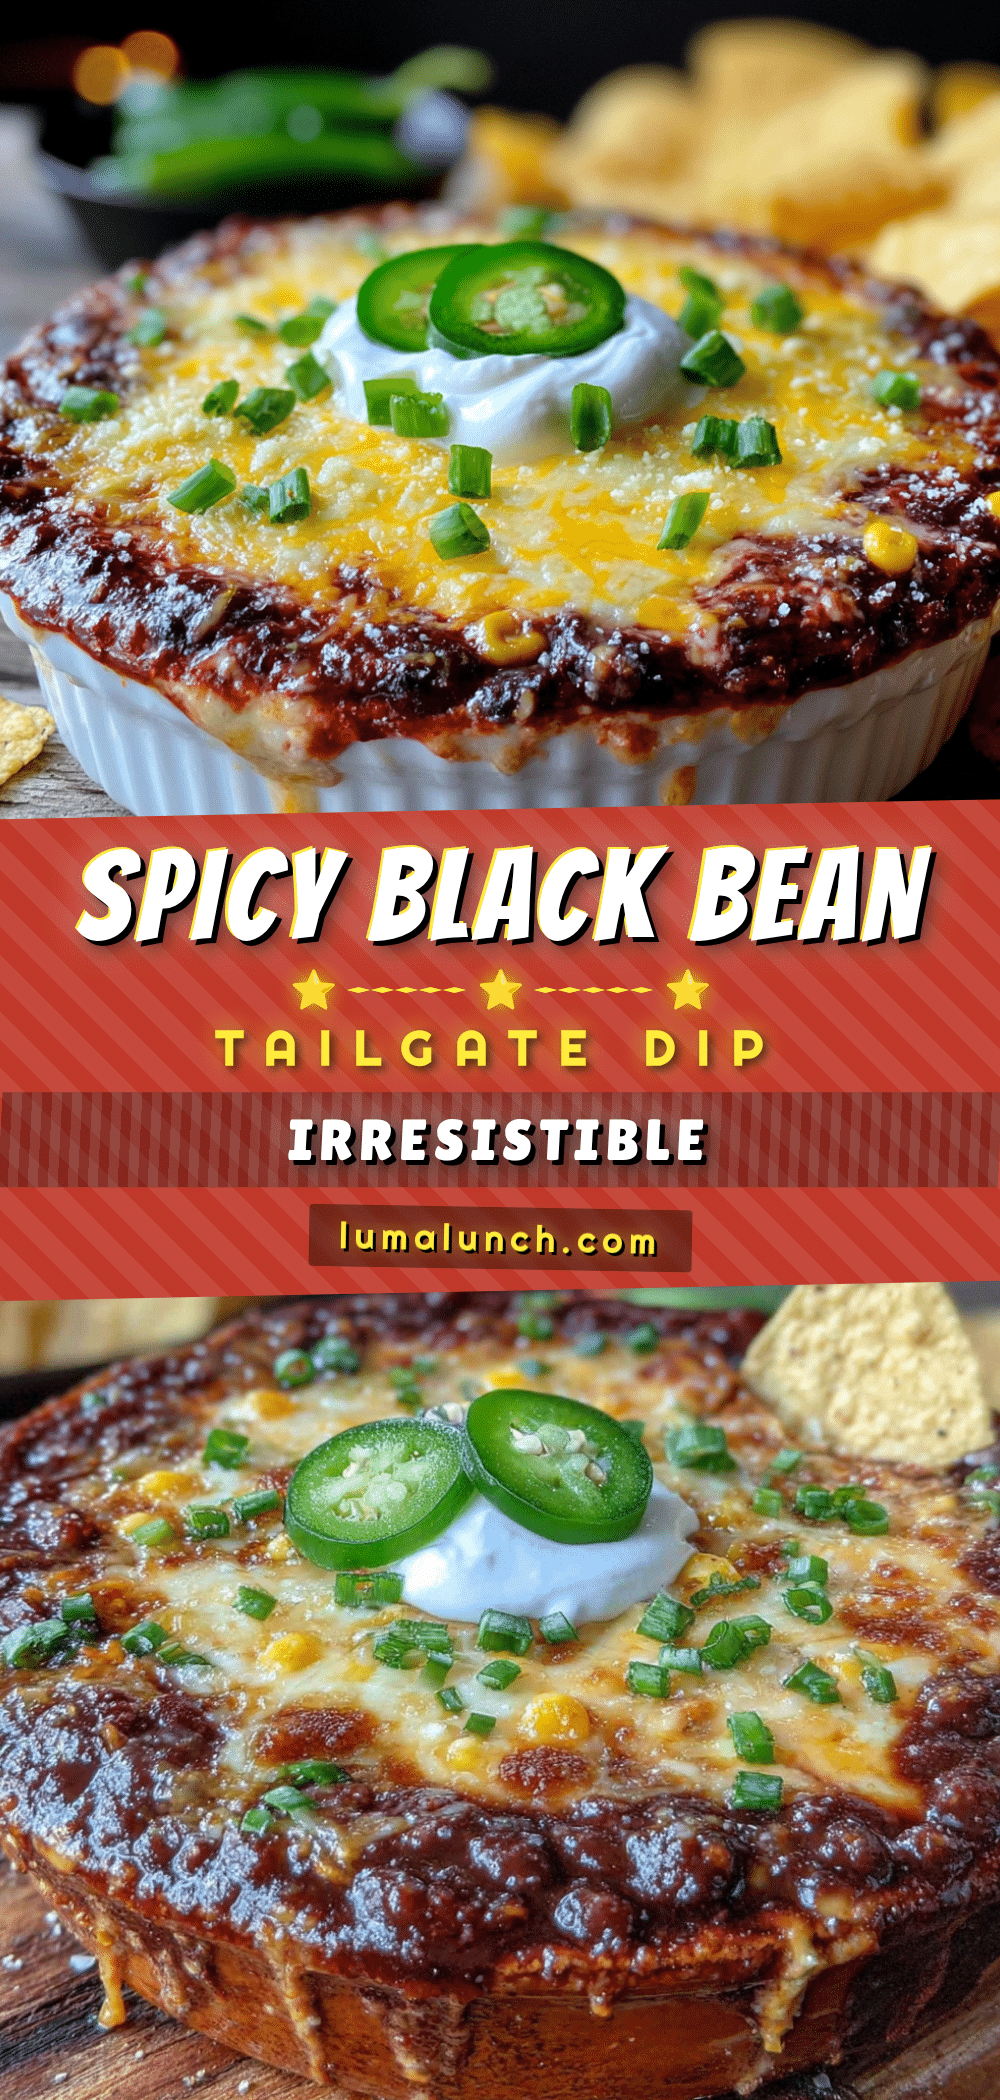
Best Spicy Black Bean Tailgate Dip

A creamy, spicy, and totally addictive black bean dip with layers of cheese, pickled jalapeños, and a crunchy crispy onion topping. Ready in under 30 minutes, this crowd-pleaser is perfect for game day or any gathering.
- Prep Time: 10 minutes
- Cook Time: 20 minutes
- Total Time: 30 minutes
- Yield: 8 servings 1x
- Category: Appetizer
- Cuisine: Mexican-American
Ingredients
- 8 oz cream cheese, softened
- 1/2 cup sour cream
- 1 can (15 oz) black beans, drained and rinsed
- 1 cup frozen corn kernels, thawed
- 1 can (4 oz) diced green chiles, undrained
- 1/2 cup pickled jalapeños, chopped
- 1 teaspoon ground cumin
- 1 teaspoon smoked paprika
- 1/2 teaspoon garlic powder
- 1/2 teaspoon onion powder
- Salt and black pepper, to taste
- 2 cups shredded Mexican blend cheese, divided
- 1/2 cup crumbled queso fresco or cotija cheese (optional)
- 1/2 cup crispy fried onions
- 2 tablespoons fresh cilantro, chopped
- 1 jalapeño, thinly sliced (for garnish)
- Lime wedges, for serving
- Tortilla chips, for serving
Instructions
- Preheat your oven to 375°F (190°C). Position the rack in the middle of the oven.
- Soften the cream cheese by letting it sit at room temperature for 30 minutes or microwaving in 10-second bursts until soft but not melted.
- In a mixing bowl, combine the softened cream cheese and sour cream. Beat with a hand mixer on medium speed for about 2 minutes until light, fluffy, and completely smooth. Scrape down the sides of the bowl halfway through.
- Add the cumin, smoked paprika, garlic powder, onion powder, and a pinch of salt and pepper. Mix on low speed until evenly distributed. Taste and adjust seasoning.
- Fold in the drained black beans, thawed corn, diced green chiles (with their liquid), and chopped pickled jalapeños using a rubber spatula until evenly coated. Do not overmix.
- Spread the bean mixture evenly into a 10-inch cast iron skillet or 9×9 baking dish. Sprinkle 1 cup of the shredded Mexican blend cheese over the top in an even layer.
- Sprinkle the second cup of shredded cheese on top, followed by the crumbled queso fresco or cotija if using.
- Bake for 18-22 minutes until the dip is hot all the way through and the cheese is melted and starting to brown in spots. For blistered spots, switch to broil for the last 1-2 minutes, watching closely.
- Remove from the oven (use oven mitts). Immediately sprinkle the crispy fried onions over the top, followed by fresh cilantro and sliced jalapeño if using.
- Let the dip rest for 5 minutes before serving. Serve hot with tortilla chips and lime wedges.
Notes
For best texture, whip the cream cheese until fluffy. Layer cheese in two stages for gooey interior and browned top. Watch salt levels due to canned ingredients. Assemble ahead and refrigerate for up to 24 hours; add 5-7 minutes to baking time if starting cold. For extra crunch, sprinkle additional crispy onions halfway through eating.
Nutrition
- Serving Size: 1 serving (about 1/2
- Calories: 320
- Sugar: 3
- Sodium: 680
- Fat: 22
- Saturated Fat: 12
- Carbohydrates: 20
- Fiber: 5
- Protein: 14
Keywords: spicy black bean dip, tailgate dip, game day dip, black bean dip, cheesy dip, easy appetizer, party dip


