Love this? Save it for later!
Share the inspiration with your friends
This was supposed to be granola. I had the oats measured out, the honey warming on the stove, and a clear vision of crispy clusters cooling on a baking sheet. But somewhere between answering my kids’ endless questions about why the sky is blue and realizing I was out of baking soda, the oven never got preheated. I stood there, spatula in hand, staring at a bowl of sticky oat mixture that was never going to turn into anything crunchy. Honestly, I almost scraped the whole thing into the trash. But I was tired, the clock was ticking toward school pickup, and I just couldn’t face another kitchen fail that week.
So I did something desperate. I rolled the mixture into little balls, threw them in the fridge, and told myself they’d be a decent snack for the next day. When I pulled them out the following morning, I took a bite and just stood there in the kitchen, chewing in disbelief. They were perfect. Chewy, sweet, peanut-buttery, and somehow exactly what I needed but never planned to make. I mean, how often does a recipe just fall together like that? Not often, let me tell you. Maybe you’ve been there — staring down a kitchen disaster that somehow turns into your most-requested recipe.
That first batch disappeared within hours. My kids devoured them before lunch even rolled around, and my husband asked if I’d “bought those fancy protein balls from the store.” Nope. They were born from a distracted afternoon and a missing ingredient. These Easy No-Bake Peanut Butter Oat Energy Bites for Lunchboxes have been a staple in our house ever since. No oven required, no complicated steps, and honestly, no stress. They’re the kind of recipe that makes you look like you have your life together when really, you just got lucky. But hey, I’ll take it.
Why You’ll Love This Recipe
Let me tell you why these little bites have earned a permanent spot in my weekly meal prep rotation. After countless batches — some perfect, some slightly too sticky, a few that crumbled apart — I’ve dialed in exactly what makes these work. And trust me, I’ve tested them on picky eaters, post-workout snackers, and even my neighbor who swears she doesn’t like oats. Every single person came back for seconds.
- Quick & Easy: These come together in under 15 minutes with zero baking required. No oven, no mixer, no fancy equipment. Just a bowl and a spoon.
- Simple Ingredients: You probably have everything in your pantry right now. Oats, peanut butter, honey, chocolate chips — that’s it. No trips to specialty stores.
- Perfect for Lunchboxes: They hold up beautifully in a lunchbox, won’t make a mess, and kids actually eat them without complaint. Win-win.
- Crowd-Pleaser: I’ve brought these to playdates, soccer games, and even work meetings. They disappear faster than cookies, I swear.
- Unbelievably Delicious: The texture is this perfect balance of chewy oats, creamy peanut butter, and little bursts of chocolate. It’s comfort food that happens to be good for you.
What makes my version different from the dozens of energy ball recipes out there? It’s the ratio. I spent weeks tweaking the peanut butter to oat ratio until I got that perfect texture — not too dry, not too sticky, and firm enough to hold their shape without being rock hard. Plus, I use a pinch of salt that makes the flavors pop in a way you don’t expect. This isn’t just another recipe; it’s the one you’ll come back to week after week.
These energy bites have saved me on countless mornings when I forgot to prep a proper snack. They’ve been the difference between a hangry kid coming home from school and a happy one. And honestly, they make me feel like a good mom even on my most scattered days.
What Ingredients You Will Need
This recipe uses simple, wholesome ingredients that work together to create something truly satisfying. Most of these are pantry staples, which is exactly why I love making them on a whim.
- Rolled oats, 2 cups (180g) — Use old-fashioned rolled oats, not quick oats. They give the best texture and hold up better in the fridge. I prefer Quaker or Bob’s Red Mill for consistent results.
- Creamy peanut butter, 1 cup (240g) — Natural peanut butter works, but make sure it’s well-stirred. I’ve found that Skippy Natural or Justin’s gives the best consistency. Avoid the super oily natural brands that separate too much.
- Honey, 1/2 cup (120ml) — Local honey is my favorite for flavor, but any liquid honey works. If you’re vegan, use maple syrup instead — just know the mixture will be slightly stickier.
- Mini chocolate chips, 1/2 cup (90g) — I use semi-sweet mini chips because they distribute evenly without overwhelming the bites. Ghirardelli or Enjoy Life (for dairy-free) are my go-to brands.
- Ground flaxseed, 2 tablespoons (14g) — This is my secret ingredient. It adds fiber, omega-3s, and helps bind everything together. You can skip it, but the texture won’t be as good.
- Vanilla extract, 1 teaspoon — Pure vanilla extract makes a difference. Skip the imitation stuff if you can.
- Salt, 1/4 teaspoon — Just a pinch to balance the sweetness and make the peanut butter flavor pop. I use fine sea salt.
A quick note on substitutions: If you have a nut allergy, sunflower seed butter works beautifully here, though the flavor will be different. For a gluten-free version, make sure your oats are certified gluten-free — I’ve used Bob’s Red Mill gluten-free oats with great results. And if you’re watching sugar, you can reduce the honey to 1/3 cup, though the bites will be less sweet and slightly drier.
I always keep these ingredients on hand because you never know when you’ll need a quick snack solution. There’s something comforting about knowing you’re just 15 minutes away from a batch of these.
Equipment Needed
One of the best things about this recipe is how little equipment you need. No food processor, no stand mixer, no baking sheets. Just a few basics that you already own.
- Large mixing bowl — Any medium-to-large bowl works. I use a ceramic one because it doesn’t slide around on the counter.
- Measuring cups and spoons — For accuracy, especially with the peanut butter. I’ve learned the hard way that eyeballing peanut butter leads to disaster.
- Rubber spatula or wooden spoon — Something sturdy to mix everything together. The mixture gets thick, so a good spatula helps.
- Cookie scoop — Optional but highly recommended. A 1-tablespoon scoop makes perfectly uniform bites. I got mine at a kitchen supply store for under $10.
- Parchment paper or wax paper — For rolling and storing. Keeps everything from sticking together.
- Baking sheet or large plate — To hold the bites while they chill. I use a small baking sheet lined with parchment.
- Airtight container — For storage. Glass or plastic works fine. I prefer glass because it doesn’t absorb odors.
If you don’t have a cookie scoop, just use your hands. I actually prefer hand-rolling because I can feel the texture and adjust if the mixture seems too dry or sticky. Just wet your hands slightly with cold water to prevent sticking — a trick I learned after my first batch turned into a sticky mess.
Preparation Method
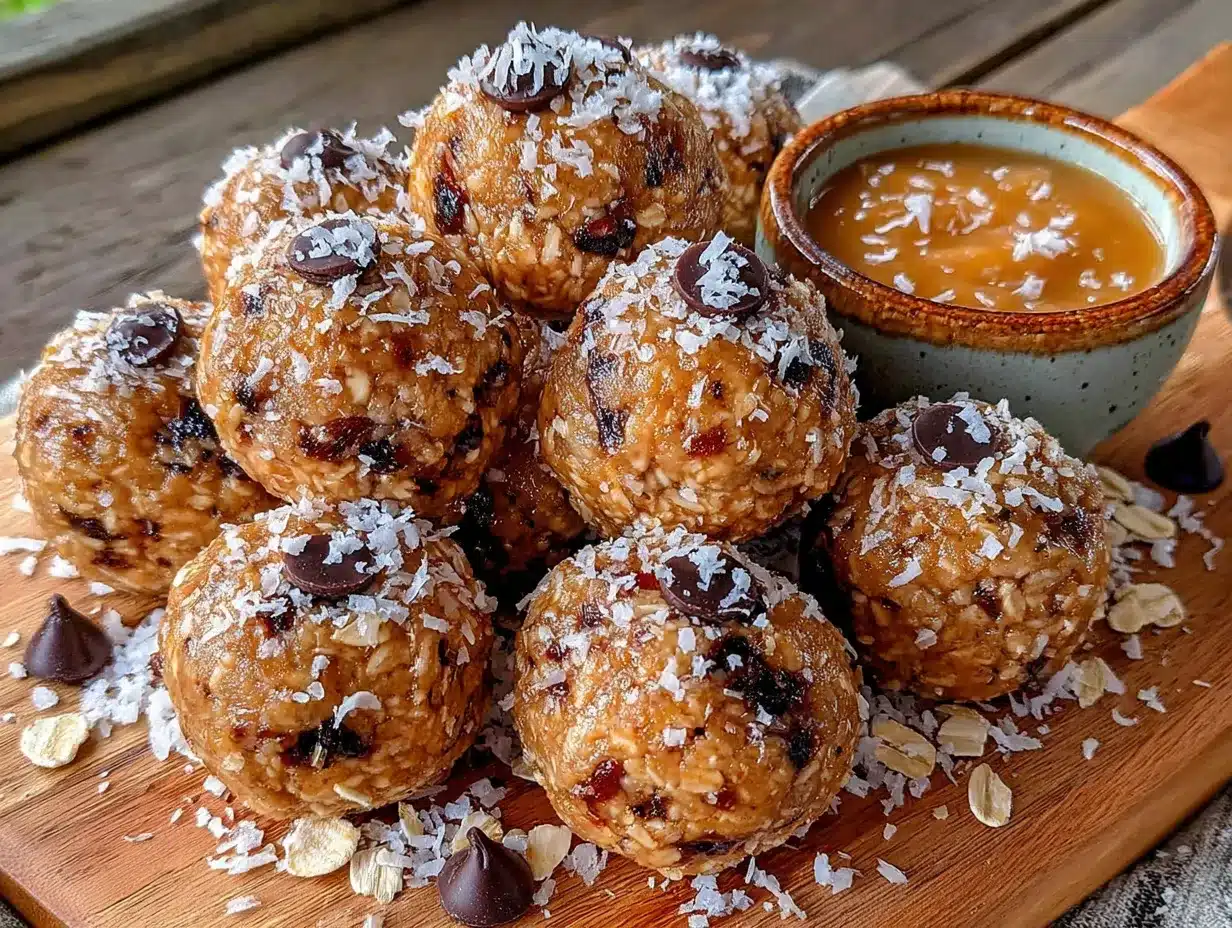
- Combine the dry ingredients (2 minutes): In your large mixing bowl, add the rolled oats, ground flaxseed, mini chocolate chips, and salt. Give it a quick stir with your spatula to distribute everything evenly. I like to do this first so the chocolate chips don’t clump together later.
- Add the wet ingredients (1 minute): Spoon the peanut butter into the bowl, followed by the honey and vanilla extract. Don’t worry if the peanut butter is a bit stiff — it’ll soften as you mix. If your peanut butter is really thick, microwave it for about 15 seconds to make it easier to combine.
- Mix thoroughly (3-4 minutes): This is where the arm workout happens. Stir everything together until no dry oats remain and the mixture holds together when pressed. It should look evenly combined with chocolate chips scattered throughout. If it seems too dry, add a tablespoon of honey or a splash of milk. Too sticky? Add a tablespoon of oats. I’ve had batches go both ways, and it’s always fixable.
- Chill the mixture (15-20 minutes): Cover the bowl and pop it in the fridge. This step is crucial — don’t skip it! Chilling makes the mixture firm enough to roll without falling apart. I usually let it sit while I clean up the kitchen. Set a timer because I’ve definitely forgotten and come back to a rock-hard bowl.
- Roll into bites (5-8 minutes): Line a baking sheet or plate with parchment paper. Using a cookie scoop or your hands, scoop out about 1 tablespoon of mixture and roll it into a smooth ball. Place each ball on the parchment paper. You should get about 24 bites depending on size. Lightly wet your hands if the mixture sticks — it makes a world of difference.
- Final chill (30 minutes): Pop the rolled bites back into the fridge for at least 30 minutes. This sets them so they hold their shape. If you’re in a rush, 15 minutes in the freezer works too. I’ve definitely done the freezer trick when I needed snacks ASAP.
- Transfer to storage (2 minutes): Once firm, move the bites to an airtight container. Layer them with parchment paper if stacking to prevent sticking. And that’s it — you’re done!
A few things I’ve learned the hard way: Don’t overmix or the oats get too broken down and the texture turns mushy. Also, if your kitchen is warm, the mixture might get sticky faster — just pop it back in the fridge for a few minutes. And if you’re making these with kids, expect some unevenly sized balls. That’s part of the charm, honestly.
Cooking Tips & Techniques
After making these energy bites more times than I can count, I’ve picked up a few tricks that make the process smoother and the results more consistent. Let me share what I’ve learned through trial and error.
Temperature matters more than you think. If your peanut butter is cold from the fridge, the mixture won’t come together as easily. Let it sit at room temperature for 15 minutes before starting, or give it a quick zap in the microwave. I learned this after a particularly frustrating batch that just wouldn’t stick together — warm peanut butter is your friend here.
The texture test. Before rolling all the bites, make a test ball. Squeeze it gently in your palm — if it holds together without crumbling, you’re good. If it falls apart, add a bit more honey or peanut butter. If it’s too sticky and wet, add more oats. This simple test has saved me from batches that would’ve fallen apart in lunchboxes.
Keep your hands cool. Run your hands under cold water before rolling, and dry them well. The cold helps prevent the mixture from sticking to your skin. I keep a small bowl of ice water nearby when I’m making large batches. Sounds extra, but it works.
Size consistency matters for even texture. Use a cookie scoop if you have one. Bites that are too big might not chill evenly, and too-small ones dry out faster. I aim for about 1-inch balls — perfect for little hands and lunchboxes.
Don’t skip the chilling steps. I know it’s tempting to rush, but the first chill makes rolling easier, and the second chill ensures they hold their shape. One time I skipped the second chill and packed them immediately — they turned into a blob by lunchtime. Lesson learned.
Batch size adjustments. This recipe doubles beautifully. I often make a double batch on Sunday and we have snacks for the whole week. Just make sure your bowl is big enough — the mixture gets stiff and hard to mix in a small bowl.
Variations & Adaptations
One of the things I love about this recipe is how flexible it is. Over the years, I’ve experimented with all sorts of variations, and most of them turned out surprisingly good. Here are some of my favorites.
Chocolate Peanut Butter Dream: Swap half the chocolate chips for white chocolate chips and add a tablespoon of cocoa powder. It tastes like a peanut butter cup in bite form. My kids go crazy for this version.
Tropical Twist: Replace the chocolate chips with dried mango pieces and shredded coconut. Add a tablespoon of lime zest for brightness. This one reminds me of vacation, honestly. Perfect for summer lunchboxes.
Seed-Based Version: For school nut-free zones, use sunflower seed butter instead of peanut butter. Add 1/4 cup of pumpkin seeds and 1/4 cup of sunflower seeds for crunch. The flavor is different but equally delicious. Just note that sunflower seed butter can turn green when mixed with baking soda — since we don’t use that here, you’re safe.
Protein-Packed Bites: Add 2 scoops of vanilla or chocolate protein powder. You’ll need to increase the honey by about 2 tablespoons to balance the dryness. These are great post-workout snacks that actually taste good.
Spiced Apple Version: Replace the chocolate chips with dried apple pieces and add 1 teaspoon of cinnamon and 1/4 teaspoon of nutmeg. It tastes like apple pie filling in a bite. I make these in the fall and they disappear fast.
Vegan Option: Use maple syrup instead of honey, and dairy-free chocolate chips. Everything else stays the same. I’ve tested this multiple times and it works perfectly.
My personal favorite variation came about when I was out of chocolate chips — I used chopped dates instead. The caramel-like sweetness paired with the peanut butter was incredible. Sometimes the best variations come from necessity, you know?
Serving & Storage Suggestions
These energy bites are incredibly versatile when it comes to serving. Here’s how I handle them throughout the week.
Serving temperature: I prefer them straight from the fridge — they’re firm and chewy with a satisfying texture. At room temperature, they soften and become more tender, which some people prefer. For lunchboxes, I pack them straight from the fridge and they’re perfect by lunchtime.
Presentation ideas: For parties or playdates, I arrange them on a platter with other bite-sized snacks. They look pretty next to fresh fruit or cheese cubes. For a quick breakfast on the go, I grab two or three with a banana. My kids love them cut in half and arranged in a bento box style lunch.
Complementary pairings: These go beautifully with a glass of cold milk, a smoothie, or even coffee in the morning. For a more substantial snack, pair them with apple slices or celery sticks with extra peanut butter. They’re also great crumbled over yogurt or oatmeal for extra texture.
Storage instructions: Keep them in an airtight container in the refrigerator for up to 2 weeks. I use a glass container with a tight-fitting lid. Layer parchment paper between stacks to prevent sticking. They also freeze beautifully — just place them in a freezer-safe bag or container for up to 3 months.
Reheating tips: You don’t need to reheat these, but if you prefer them softer, let them sit at room temperature for 10-15 minutes. To thaw frozen bites, transfer them to the fridge overnight or let them sit at room temperature for about 30 minutes.
Flavor development: Honestly, these taste even better after a day or two in the fridge. The flavors meld together, and the texture becomes more uniform. I often make them a day ahead of when I need them. Just don’t leave them at room temperature for more than a few hours, especially in warm weather.
Nutritional Information & Benefits
I’m not a nutritionist, but I’ve done my research on these ingredients, and I feel good about feeding these to my family. Here’s a rough breakdown per bite (based on 24 bites per batch).
| Nutrient | Amount Per Bite |
|---|---|
| Calories | 145 |
| Total Fat | 8g |
| Saturated Fat | 2g |
| Carbohydrates | 16g |
| Fiber | 2g |
| Sugar | 9g |
| Protein | 5g |
Health benefits to note: Oats provide soluble fiber that supports heart health and keeps you full longer. Peanut butter offers plant-based protein and healthy fats. Flaxseed adds omega-3 fatty acids and extra fiber. The chocolate chips? Well, they make life better, and dark chocolate has antioxidants.
Dietary considerations: This recipe is naturally vegetarian. For gluten-free, use certified gluten-free oats. For vegan, swap honey for maple syrup and use dairy-free chocolate chips. For nut-free, use sunflower seed butter. The recipe is egg-free and can be made dairy-free easily.
Potential allergens: Peanuts, oats (gluten), and dairy (from chocolate chips). Always check labels if you’re serving someone with allergies. I’ve labeled batches for school events to avoid any issues.
From my perspective, these energy bites strike a nice balance between nutritious and delicious. They’re not a health food, but they’re a whole lot better than most packaged snacks. And knowing exactly what’s in them gives me peace of mind.
Frequently Asked Questions
Can I use quick oats instead of rolled oats?
You can, but the texture will be different. Quick oats are more finely ground and absorb moisture faster, making the bites denser and less chewy. I’ve tried it, and they work in a pinch, but rolled oats give that classic texture that makes these bites so satisfying.
How long do these energy bites last in the fridge?
They stay fresh in an airtight container in the refrigerator for up to 2 weeks. In my house, they never last that long, but I’ve tested them at day 14 and they were still good. Just check for any off smells or mold if storing that long.
Can I freeze these for later?
Absolutely! Place them in a single layer on a baking sheet and freeze for an hour, then transfer to a freezer-safe bag or container. They’ll keep for up to 3 months. Thaw in the fridge overnight or at room temperature for about 30 minutes.
My mixture is too dry and won’t stick together. What went wrong?
This usually happens if your peanut butter is too thick or if you used natural peanut butter that’s separated. Fix it by adding a tablespoon of honey or a splash of milk (dairy or plant-based) and mixing again. You can also microwave the mixture for 10-15 seconds to soften the peanut butter.
Are these healthy enough for my kids’ lunchboxes every day?
They’re certainly healthier than most packaged snacks. With oats, peanut butter, and flaxseed, they provide fiber, protein, and healthy fats. The sugar content comes mostly from honey and chocolate chips, which you can adjust. I feel good sending these in lunchboxes a few times a week as part of a balanced diet.
Conclusion
These Easy No-Bake Peanut Butter Oat Energy Bites for Lunchboxes started as a happy accident in my kitchen, and they’ve become one of those recipes I genuinely can’t imagine life without. They’ve saved me on frantic mornings, made me look like a prepared parent at school events, and given my family a snack that actually satisfies without being loaded with junk. There’s something special about a recipe that works with your life instead of against it — no fuss, no special equipment, no stress.
I hope you give these a try and make them your own. Maybe you’ll add a different mix-in, adjust the sweetness, or discover a variation I haven’t thought of. That’s the beauty of simple recipes like this — they leave room for your creativity. And honestly, the best version is the one that works for you and your family.
If you make these, I’d love to hear how they turned out. Drop a comment below with your favorite add-ins or any questions you have. Share this recipe with a friend who needs a lunchbox win, and tag me when you make them — I love seeing your creations. Happy snacking, friends!
Pin This Recipe!
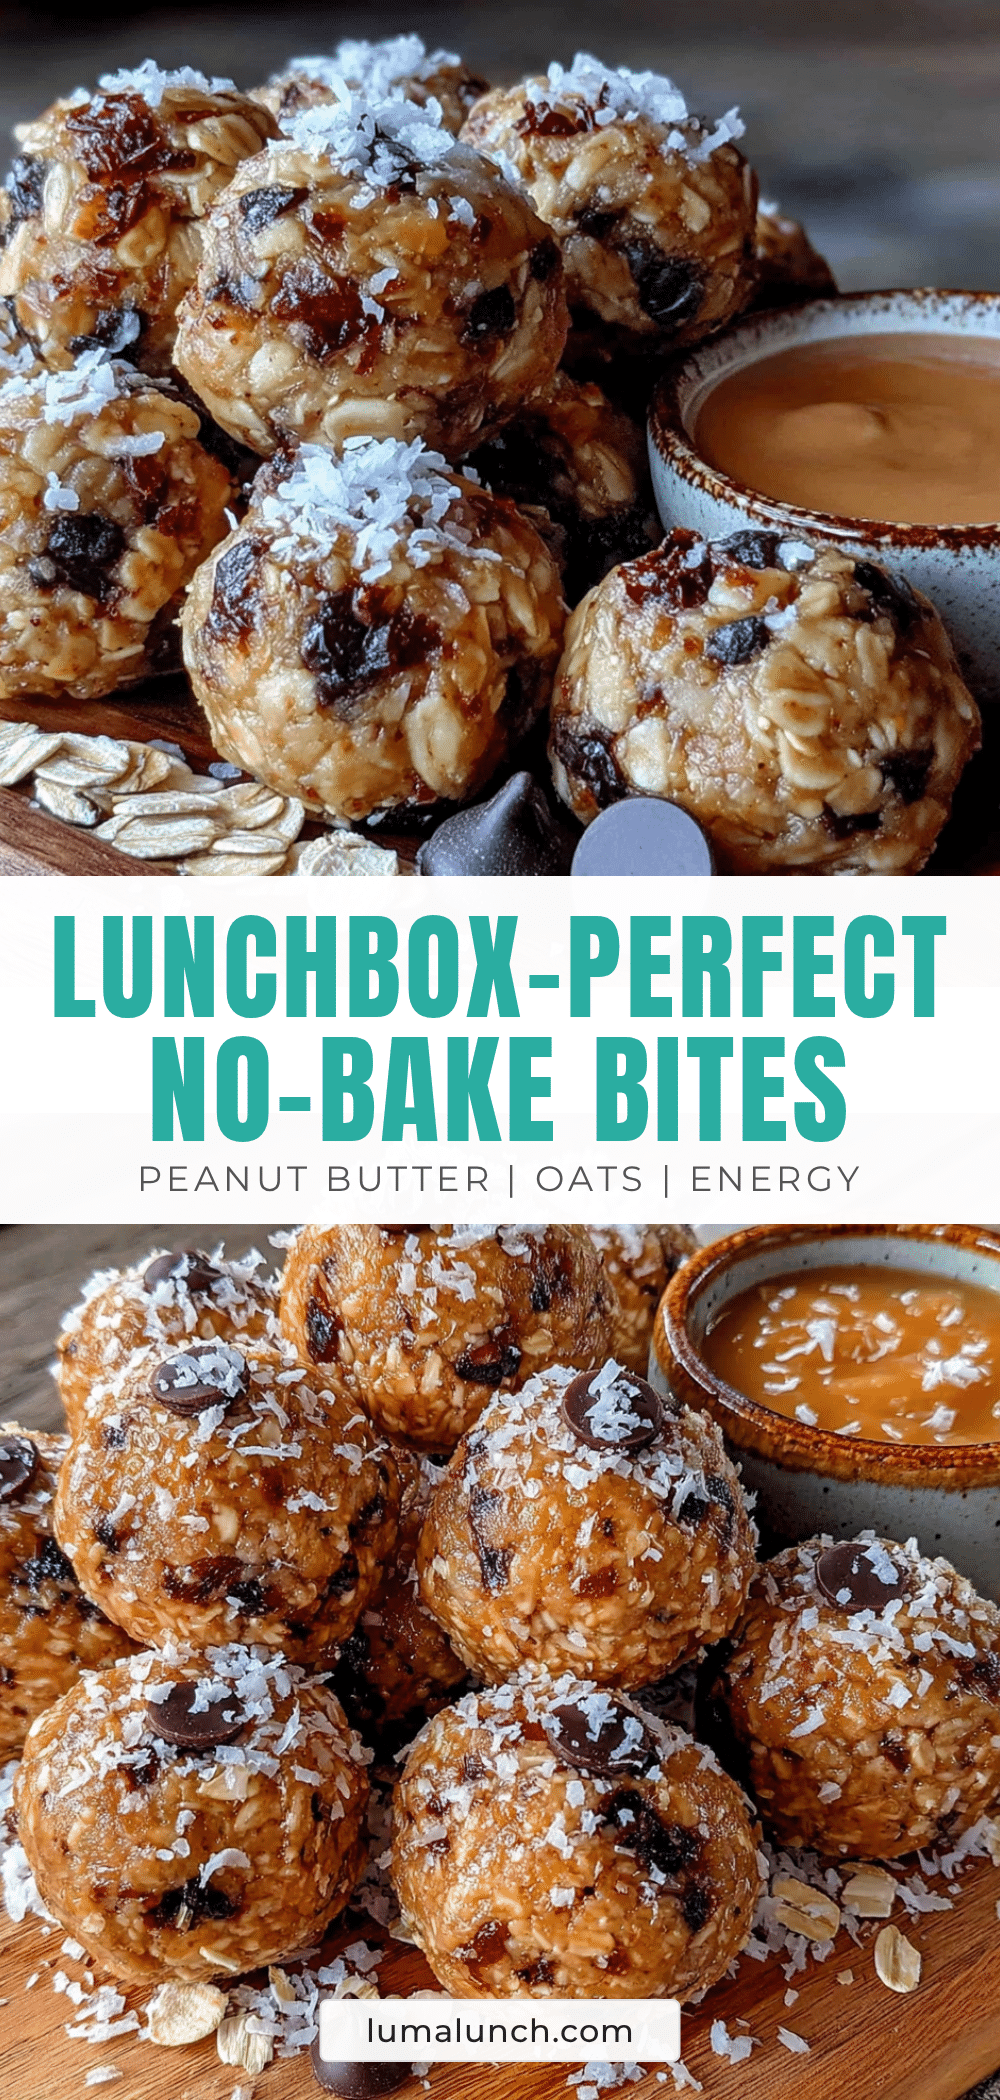
Easy No-Bake Peanut Butter Oat Energy Bites for Lunchboxes

These no-bake energy bites are a happy accident turned family favorite—chewy, sweet, and peanut-buttery, made with simple pantry ingredients in under 15 minutes. Perfect for lunchboxes, snacks, or a quick energy boost.
- Prep Time: 15 minutes
- Cook Time: 0 minutes
- Total Time: 45 minutes (includes chilling)
- Yield: 24 bites 1x
- Category: Snack
- Cuisine: American
Ingredients
- 2 cups (180g) rolled oats
- 1 cup (240g) creamy peanut butter
- 1/2 cup (120ml) honey
- 1/2 cup (90g) mini chocolate chips
- 2 tablespoons (14g) ground flaxseed
- 1 teaspoon vanilla extract
- 1/4 teaspoon fine sea salt
Instructions
- Combine the dry ingredients: In a large mixing bowl, add the rolled oats, ground flaxseed, mini chocolate chips, and salt. Stir to distribute evenly.
- Add the wet ingredients: Spoon the peanut butter into the bowl, followed by the honey and vanilla extract. If peanut butter is thick, microwave for 15 seconds to soften.
- Mix thoroughly: Stir until no dry oats remain and the mixture holds together when pressed. If too dry, add a tablespoon of honey or milk; if too sticky, add a tablespoon of oats.
- Chill the mixture: Cover the bowl and refrigerate for 15-20 minutes until firm enough to roll.
- Roll into bites: Line a baking sheet with parchment paper. Using a cookie scoop or hands, scoop 1 tablespoon of mixture and roll into smooth balls. Lightly wet hands if sticky. Makes about 24 bites.
- Final chill: Refrigerate rolled bites for at least 30 minutes to set. For a quicker option, freeze for 15 minutes.
- Transfer to storage: Once firm, move bites to an airtight container, layering with parchment paper if stacking. Store in the refrigerator.
Notes
Chilling the mixture before rolling is crucial for texture. For best results, use old-fashioned rolled oats and well-stirred creamy peanut butter. These taste even better after a day in the fridge as flavors meld. Freeze for up to 3 months.
Nutrition
- Serving Size: 1 bite
- Calories: 145
- Sugar: 9
- Sodium: 75
- Fat: 8
- Saturated Fat: 2
- Carbohydrates: 16
- Fiber: 2
- Protein: 5
Keywords: no-bake energy bites, peanut butter oat balls, lunchbox snacks, healthy snacks, easy no-bake recipe