Love this? Save it for later!
Share the inspiration with your friends
This was supposed to be a simple lemon-pepper wing situation. I had the lemons, the cracked pepper, the whole game plan mapped out in my head. But somewhere between the grocery store and my kitchen, my brain short-circuited. I grabbed a bottle of honey instead of a lemon, and I didn’t even realize it until I was standing there with a sticky, golden puddle in my mixing bowl. The oven was already preheated, the chicken was defrosted, and honestly, I was this close to just ordering pizza. Let me tell you, that moment of panic? It turned into something pretty magical.
I stared at that bowl for a good minute, wondering if I could somehow salvage the lemon-pepper idea. But the honey had already coated the whisk, and I had a bottle of soy sauce staring at me from the fridge. So I just started throwing things together—garlic, because garlic fixes everything, a little ginger I found lurking in the crisper drawer, and a splash of rice vinegar. I figured if it was a disaster, at least the cat would eat it. She’s not picky.
The smell that came out of my oven twenty-five minutes later was ridiculous. Sweet, savory, that garlicky punch—it filled my whole apartment and had my neighbor knocking on the door asking what I was making. I pulled those wings out, and they were glistening, sticky, caramelized in all the right places. The first bite was one of those moments where you just stop and close your eyes. I mean, I couldn’t believe I almost gave up. These sticky honey garlic baked chicken wings have become my go-to for game days, lazy Sundays, and honestly, any day I want to feel like a kitchen genius without actually trying that hard. Maybe you’ve been there—standing in your kitchen, ready to scrap the whole plan. Don’t. This is the recipe you didn’t know you needed.
Why You’ll Love This Recipe
I have tested this sticky honey garlic baked chicken wings recipe more times than I care to admit. The first few batches were fine, but the sauce was either too thin or burned onto the pan. So I kept tweaking until I got it just right. What I landed on is a method that gives you that perfect sticky glaze without any fussy steps or deep frying.
- Oven-Baked, Not Fried: You get that crispy, caramelized exterior without the mess of hot oil. Your kitchen stays clean, and your arms don’t get splattered.
- Simple Pantry Ingredients: Honey, soy sauce, garlic, a few spices—you probably have most of this in your cupboard right now. No special trips to the store required.
- Perfect for Game Day or Weeknight Dinner: These wings disappear fast at parties, but they’re also easy enough to throw together on a random Tuesday when you’re craving something indulgent.
- Crowd-Pleaser Every Time: I have brought these to three different gatherings, and I’ve never brought a single wing home. Kids and adults fight over the last one.
- Unbelievably Sticky and Delicious: The sauce reduces into this thick, glossy coating that clings to every inch of the chicken. It’s the kind of sticky you want to lick off your fingers.
What makes this version different? It’s the balance. A lot of honey garlic recipes are either too sweet or too salty. I spent time getting the ratio right so that the honey brings sweetness, the soy sauce adds depth, and the garlic cuts through with that sharp, aromatic kick. Plus, I bake them at a higher temperature at the end to get that caramelized, almost-burnt edge on the sauce. It’s not just another wing recipe—it’s the one you’ll bookmark and come back to.
This isn’t just good food. It’s the kind of meal that makes you feel like you’ve accomplished something, even if you barely tried. And honestly, isn’t that the best kind of cooking?
What Ingredients You Will Need
This recipe uses simple, honest ingredients that work together to create that signature sticky glaze. Most of these are pantry staples, which makes this dish perfect for spontaneous cravings.
For the Chicken Wings
- 2 pounds chicken wings, separated into drumettes and flats (I prefer buying them already separated to save time)
- 1 tablespoon baking powder (not baking soda—this is key for crispy skin)
- 1 teaspoon salt
- 1/2 teaspoon black pepper
- 1/2 teaspoon garlic powder
For the Sticky Honey Garlic Sauce
- 1/3 cup honey (use a runny, good-quality honey for best results; I like local raw honey when I can find it)
- 1/4 cup soy sauce (low-sodium works fine here, regular is okay too)
- 4 cloves garlic, minced (fresh is non-negotiable—the jarred stuff won’t give you the same punch)
- 1 tablespoon rice vinegar (adds a little tang to balance the sweetness)
- 1 tablespoon sesame oil (optional but recommended for that nutty undertone)
- 1 teaspoon grated fresh ginger (adds warmth and depth; dried ginger works in a pinch but fresh is better)
- 1 tablespoon cornstarch mixed with 2 tablespoons cold water (for thickening, if needed)
For Garnish
- Sesame seeds, toasted
- Chopped green onions
I recommend using a good soy sauce like Kikkoman or a tamari if you need gluten-free. For the honey, avoid the cheap stuff that’s mostly corn syrup—it won’t caramelize the same way. If you’re out of rice vinegar, a splash of apple cider vinegar works as a substitute. The ginger is optional but honestly, it adds a little something that makes the sauce feel more complex. You can skip it if you don’t have any, but I’d grab some next time you’re at the store.
One more thing: make sure your chicken wings are patted completely dry before you season them. Moisture is the enemy of crispy skin. I usually lay them out on paper towels and press another layer on top. It makes a real difference.
Equipment Needed
- Large mixing bowl (for tossing the wings with seasoning)
- Baking sheet (rimmed, to catch any drips)
- Wire rack that fits inside your baking sheet (this lets air circulate under the wings for even crisping)
- Small saucepan (for making the sauce)
- Whisk or wooden spoon
- Chef’s knife and cutting board (for mincing garlic and ginger)
- Tongs (for flipping the wings halfway through)
- Pastry brush (optional, for applying the sauce)
If you don’t have a wire rack, you can line your baking sheet with aluminum foil and place the wings directly on it. They won’t get quite as crispy on the bottom, but they’ll still be good. I’ve also used a cooling rack from a different baking sheet in a pinch—it doesn’t have to be fancy. Just make sure whatever you use is oven-safe up to 400°F.
A good baking sheet is worth investing in. I have a heavy-duty half-sheet pan that I’ve had for years, and it distributes heat evenly without warping. If you’re on a budget, the store-brand ones work fine—just keep an eye on them to make sure nothing burns unevenly.
Preparation Method
- Preheat your oven to 400°F (200°C). Place your wire rack inside the baking sheet and set it aside. Getting the oven hot is crucial—you want that initial blast of heat to start crisping the skin right away.
- Pat the chicken wings completely dry with paper towels. This step is non-negotiable. Wet skin will steam instead of crisp, and you’ll end up with soggy wings. Take your time here—I usually go through three or four paper towels for 2 pounds of wings.
- In a large bowl, combine the baking powder, salt, pepper, and garlic powder. Whisk them together so the baking powder is evenly distributed. Baking powder is the secret to crispy oven-baked wings—it raises the pH of the skin, helping it brown and crisp up faster.
- Toss the dried wings in the seasoning mixture. Use your hands to really coat every piece. Don’t be shy—get in there and make sure the seasoning sticks to all the nooks and crannies. I like to let them sit for 5 minutes after tossing so the baking powder can start working.
- Arrange the wings in a single layer on the wire rack. Make sure they’re not touching each other—crowding the pan will trap steam and prevent crisping. If you need to use two baking sheets, do it. It’s worth the extra dish.
- Bake for 25 minutes. After 25 minutes, use tongs to flip each wing over. The bottoms should be golden and starting to crisp. Flip them carefully so you don’t tear the skin.
- Bake for another 20-25 minutes. The wings should be deeply golden, crispy, and cooked through. An instant-read thermometer inserted into the thickest part should read 165°F (74°C). If they’re not quite there, give them another 5 minutes.
- While the wings bake, make the sauce. In a small saucepan over medium heat, combine the honey, soy sauce, minced garlic, rice vinegar, sesame oil, and grated ginger. Stir everything together and bring it to a gentle simmer. Let it bubble for 3-4 minutes, stirring occasionally, until it thickens slightly.
- If you want a thicker glaze, stir in the cornstarch slurry (cornstarch mixed with cold water) and continue simmering for another minute until the sauce coats the back of a spoon. Remove from heat and set aside.
- When the wings are done, transfer them to a clean large bowl. Pour about half the sauce over the wings and toss gently to coat. Don’t dump all the sauce at once—you want to coat them evenly without drowning them. Add more sauce as needed.
- Optional but recommended: Return the sauced wings to the oven for 3-5 minutes. This step caramelizes the sauce and makes it extra sticky. Watch them closely—the sugar in the honey can burn quickly.
- Transfer to a serving platter, sprinkle with toasted sesame seeds and chopped green onions, and serve immediately. These wings are best hot and fresh out of the oven.
A quick note: if you’re making a larger batch, work in batches to avoid overcrowding. The baking time might need to be adjusted by a few minutes if your wings are particularly large or small. Trust your eyes and nose more than the timer.
Cooking Tips & Techniques
I learned the hard way that baking powder is not the same as baking soda. My first attempt at crispy wings? I used baking soda by accident, and they came out with this weird, metallic taste. It was awful. So please, check your labels. Baking powder is what you want.
Another thing I’ve messed up: not drying the wings well enough. I was in a hurry once and just patted them quickly, leaving some moisture behind. The skin turned out chewy and pale. Now I take the extra minute to really dry each piece. It feels tedious, but the payoff is huge.
If you’re short on time, you can skip the wire rack and just use a lined baking sheet. But honestly, the wire rack is a game-changer. The air circulates underneath, so the bottoms get just as crispy as the tops. I bought a cheap one at a kitchen supply store for like eight bucks, and it’s paid for itself in perfectly crispy wings.
When you’re making the sauce, don’t walk away from it. Honey can burn fast, and burnt honey tastes bitter and sad. Keep the heat at medium and stir frequently. If you see it starting to foam too aggressively, pull it off the heat for a second.
One more tip: let the wings rest for a minute after you toss them in the sauce before serving. The sauce needs a moment to set and cling to the skin. If you serve them immediately, the glaze might slide right off onto the plate. Patience, my friend.
Variations & Adaptations
Spicy Honey Garlic Wings
Add 1-2 teaspoons of sriracha or chili garlic sauce to the honey garlic mixture. I like to use sambal oelek for a more straightforward heat. The spice cuts through the sweetness beautifully and adds another layer of flavor.
Gluten-Free Option
Swap the soy sauce for tamari or coconut aminos. Both work well and won’t change the flavor profile too much. Make sure your baking powder is gluten-free, as some brands contain wheat starch.
Air Fryer Method
If you have an air fryer, you can make these in half the time. Cook the seasoned wings at 380°F for 12-15 minutes, flip, and cook another 10-12 minutes until crispy. Toss with the sauce and cook for another 2-3 minutes to caramelize. I tried this last month, and honestly, it might be my new favorite method.
Lemon Honey Garlic Twist
Add the zest of one lemon and a tablespoon of lemon juice to the sauce. It brightens everything up and makes the wings feel lighter and fresher. Perfect for summer cookouts.
You can also swap the chicken wings for chicken thighs or drumsticks—just adjust the cooking time accordingly. Thighs will need about 35-40 minutes at the same temperature. The sauce works beautifully on any cut of chicken.
Serving & Storage Suggestions
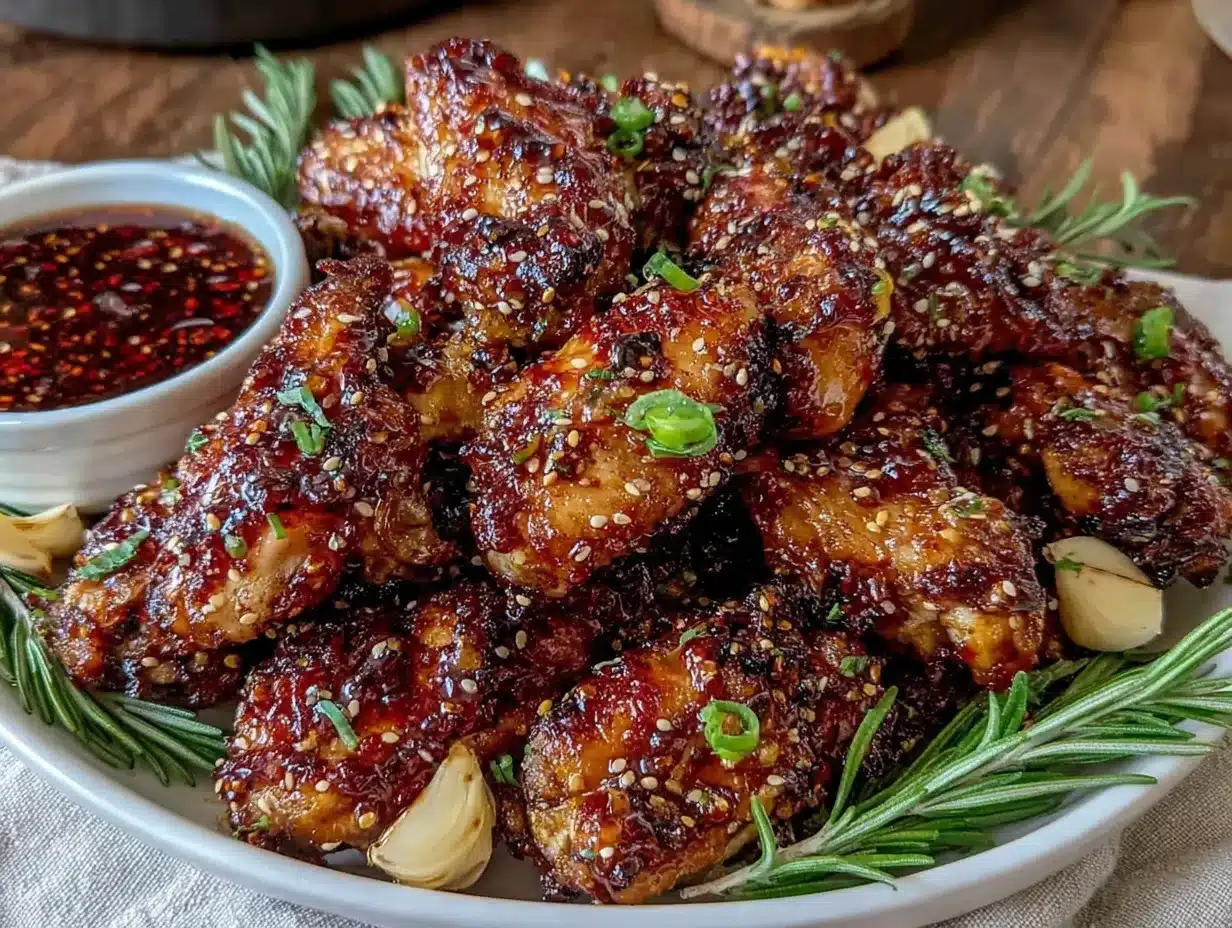
These sticky honey garlic baked chicken wings are best served hot, straight from the oven. The glaze is at its stickiest and most glorious right after that final caramelization step. I like to pile them on a large platter and shower them with sesame seeds and green onions. They look impressive with minimal effort.
For sides, keep it simple. A crunchy coleslaw or a fresh cucumber salad balances the richness of the wings. Rice or steamed broccoli works too. If you’re serving these for a party, set out some celery and carrot sticks with ranch or blue cheese dressing on the side. The cool, crunchy veggies are a nice contrast to the sticky, sweet wings.
As for beverages, these wings pair beautifully with a cold beer—something crisp like a lager or pilsner. If you’re into wine, a slightly off-dry Riesling or a fruity Pinot Noir works surprisingly well. For non-alcoholic options, iced tea with a squeeze of lemon is perfect.
Storage: Leftover wings can be stored in an airtight container in the refrigerator for up to 3 days. The glaze will soften, but they’ll still taste great.
Reheating: The best way to reheat these is in the oven at 350°F for about 10 minutes. This helps re-crisp the skin. The microwave will work in a pinch, but the skin will be soft. If you have an air fryer, reheat at 350°F for 4-5 minutes—they come out almost as good as fresh.
The flavors actually deepen overnight. I’ve been known to make a double batch just so I can have leftovers for lunch the next day. Cold wings straight from the fridge? Don’t judge me—they’re delicious.
Nutritional Information & Benefits
Here’s an approximate nutritional breakdown per serving (based on 4 servings, about 8 ounces each):
| Nutrient | Amount |
|---|---|
| Calories | 410 |
| Protein | 28g |
| Fat | 22g |
| Saturated Fat | 6g |
| Carbohydrates | 24g |
| Sugar | 20g |
| Sodium | 890mg |
Chicken wings are a good source of protein and provide essential B vitamins, particularly B6 and B12, which support energy metabolism. The garlic in this recipe isn’t just for flavor—it contains allicin, a compound linked to immune support and heart health. Honey, while still a sugar, offers small amounts of antioxidants and has natural antibacterial properties.
If you’re watching your sodium intake, use low-sodium soy sauce and reduce the added salt in the seasoning. For a lower-sugar version, you can reduce the honey to 1/4 cup and add a splash more vinegar to balance the flavor. These wings are not exactly health food, but they’re made with real ingredients—no artificial flavors or preservatives. That counts for something, right?
Please note that this recipe contains soy and gluten (from the soy sauce), so adjust accordingly if you have sensitivities. The sesame oil is optional but could be an allergen for some people.
Conclusion
These sticky honey garlic baked chicken wings are the recipe that taught me to stop panicking when things go wrong in the kitchen. That moment of grabbing the wrong ingredient? It turned into a dish I now make on purpose, all the time. The balance of sweet, savory, and garlicky, the perfect sticky glaze, the crispy skin—it all came from a mistake I almost gave up on.
I hope you give these wings a try, whether it’s for a game day spread, a casual dinner, or just because you’re craving something indulgent. Don’t be afraid to tweak the sauce to your liking—more garlic, a little heat, a squeeze of lemon. Make it yours. That’s the beauty of cooking, honestly.
If you make these, I’d love to hear how they turned out. Drop a comment below, share a photo, or tell me what variation you tried. And if you’re looking for more easy weeknight dinners, you should check out my honey garlic chicken thighs—they use a similar sauce and are just as forgiving. Happy cooking, friends. You’ve got this.
Frequently Asked Questions
Can I make these wings ahead of time?
Yes, you can bake the wings ahead and reheat them before serving. For best results, store the sauce separately and toss the wings right before serving. Reheat in a 350°F oven for about 10 minutes to re-crisp the skin, then toss with the warmed sauce.
Why are my wings not crispy?
The most common reason is moisture. Make sure you pat the wings completely dry before seasoning. Also, don’t skip the baking powder—it’s essential for crispy skin. Finally, make sure your wings are in a single layer on the rack with space between them. Overcrowding traps steam and prevents crisping.
Can I use boneless chicken wings instead?
Absolutely. Boneless chicken breast or thigh pieces work well with this sauce. Reduce the baking time to about 15-18 minutes at 400°F, flipping halfway through. Check for an internal temperature of 165°F before saucing.
How do I prevent the sauce from burning?
Keep an eye on the sauce while it simmers, and stir frequently. If you’re doing the final caramelization step in the oven, watch the wings closely—the sugar in the honey can burn quickly. Three to five minutes is usually enough. If your oven runs hot, check them at the 3-minute mark.
Can I freeze these wings?
Yes, but freeze them before saucing. Bake the wings, let them cool completely, then freeze in a single layer on a baking sheet. Once frozen, transfer to a freezer bag. When you’re ready to serve, reheat in a 400°F oven until hot and crispy, then toss with fresh sauce. Frozen sauced wings tend to get soggy when reheated, so it’s best to keep them separate.
Pin This Recipe!
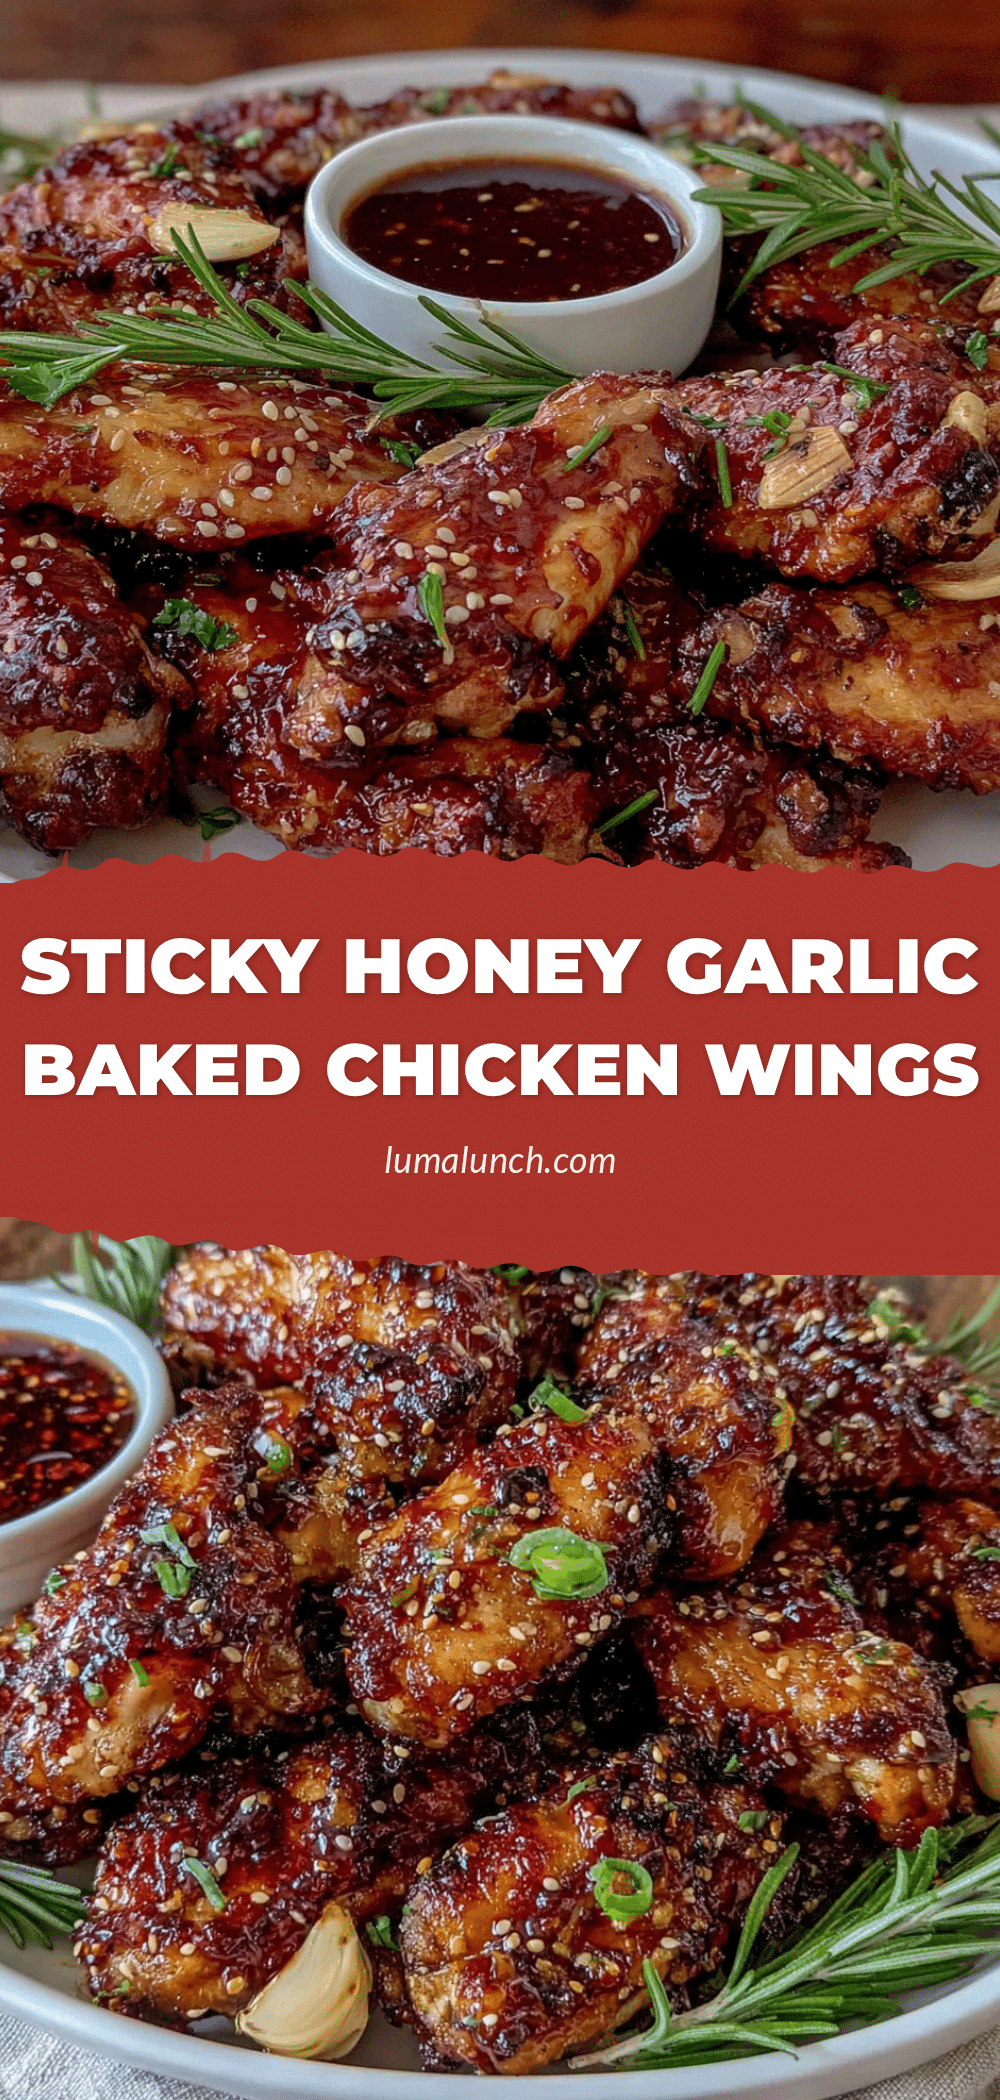
Sticky Honey Garlic Baked Chicken Wings

These sticky honey garlic baked chicken wings are oven-baked to crispy perfection and coated in a sweet, savory, and garlicky glaze. They’re the perfect crowd-pleaser for game days, parties, or any night you crave indulgent, finger-licking good food.
- Prep Time: 15 minutes
- Cook Time: 50 minutes
- Total Time: 1 hour 5 minutes
- Yield: 4 servings 1x
- Category: Appetizer
- Cuisine: American
Ingredients
- 2 pounds chicken wings, separated into drumettes and flats
- 1 tablespoon baking powder
- 1 teaspoon salt
- 1/2 teaspoon black pepper
- 1/2 teaspoon garlic powder
- 1/3 cup honey
- 1/4 cup soy sauce (low-sodium or regular)
- 4 cloves garlic, minced
- 1 tablespoon rice vinegar
- 1 tablespoon sesame oil (optional)
- 1 teaspoon grated fresh ginger
- 1 tablespoon cornstarch mixed with 2 tablespoons cold water (for thickening, if needed)
- Sesame seeds, toasted (for garnish)
- Chopped green onions (for garnish)
Instructions
- Preheat your oven to 400°F (200°C). Place a wire rack inside a rimmed baking sheet and set aside.
- Pat the chicken wings completely dry with paper towels. This step is crucial for crispy skin.
- In a large bowl, combine the baking powder, salt, pepper, and garlic powder. Whisk together until evenly distributed.
- Toss the dried wings in the seasoning mixture, using your hands to coat every piece. Let them sit for 5 minutes.
- Arrange the wings in a single layer on the wire rack, making sure they are not touching each other.
- Bake for 25 minutes. After 25 minutes, use tongs to flip each wing over.
- Bake for another 20-25 minutes, until deeply golden, crispy, and cooked through (internal temperature of 165°F/74°C).
- While the wings bake, make the sauce. In a small saucepan over medium heat, combine honey, soy sauce, minced garlic, rice vinegar, sesame oil, and grated ginger. Bring to a gentle simmer and cook for 3-4 minutes, stirring occasionally, until slightly thickened.
- If you want a thicker glaze, stir in the cornstarch slurry and continue simmering for another minute until the sauce coats the back of a spoon. Remove from heat.
- When the wings are done, transfer them to a clean large bowl. Pour about half the sauce over the wings and toss gently to coat. Add more sauce as needed.
- Optional but recommended: Return the sauced wings to the oven for 3-5 minutes to caramelize the sauce. Watch closely to prevent burning.
- Transfer to a serving platter, sprinkle with toasted sesame seeds and chopped green onions, and serve immediately.
Notes
Pat wings completely dry for crispy skin. Baking powder is essential—do not substitute with baking soda. Watch the sauce closely to prevent burning, especially during the final caramelization step. For a spicier version, add 1-2 teaspoons sriracha or chili garlic sauce to the honey garlic mixture.
Nutrition
- Serving Size: About 8 ounces
- Calories: 410
- Sugar: 20
- Sodium: 890
- Fat: 22
- Saturated Fat: 6
- Carbohydrates: 24
- Protein: 28
Keywords: sticky honey garlic chicken wings, baked chicken wings, honey garlic wings, crispy oven wings, game day appetizer


