Love this? Save it for later!
Share the inspiration with your friends
This was supposed to be a proper lunch. I mean, a real one—with a sandwich, some veggie sticks, maybe even a little side of chips. But the power went out halfway through my morning prep, and I stood there in the dim kitchen holding a tortilla and a banana like an idiot. The fridge was dark, the stove was useless, and my toddler was already tugging at my pants. So I just started rolling. Peanut butter on the tortilla, banana in the middle, roll it up tight, slice it into rounds. I handed them over fully expecting a mess. Instead, my kid looked at me like I’d just invented candy. And honestly? I kinda did.
The funny thing is, I almost didn’t try it myself. But that first bite—creamy peanut butter, sweet banana, soft tortilla—it was oddly perfect. Not a lunch, but something better. A snack so ridiculously simple it barely counts as a recipe. I mean, we’re talking five minutes, three ingredients, zero cooking. And yet, every time I make these peanut butter banana sushi roll-ups, someone asks for the recipe. Maybe you’ve been there too—staring at a half-empty pantry, wondering what to feed hungry people fast.
These little roll-ups became my emergency go-to. The snack I make when I’m too tired to think, when the kids are too hungry to wait, when I need something that feels fun without any actual effort. They’re not fancy. They’re not complicated. But they’re the kind of thing you keep coming back to, and that’s what makes a recipe stick.
Why You’ll Love This Recipe
Let me tell you straight—this is the kind of snack that saves your day. I’ve tested it on picky toddlers, hungry teenagers, and skeptical adults, and it wins every single time. Here’s why it works:
- Quick & Easy: Comes together in under 5 minutes, no joke. If you can spread peanut butter, you can make this.
- Simple Ingredients: You probably already have everything in your kitchen. No fancy grocery trips needed.
- Perfect for Lunchboxes: These roll-ups pack beautifully for school, work, or picnics. Kids actually eat them.
- Crowd-Pleaser: Always gets rave reviews from kids and adults alike. I’ve brought them to playdates and watched them disappear.
- Unbelievably Delicious: The texture combo—creamy, soft, slightly chewy—is next-level comfort food.
What makes these different from every other banana snack out there? It’s the slicing. Cutting them into rounds makes them feel like sushi, which kids find hilarious and adults find adorable. Plus, the tortilla adds just enough structure to keep everything neat. No mushy mess, no sticky fingers (well, fewer sticky fingers).
Honestly, this recipe isn’t just good—it’s the kind that makes you close your eyes after the first bite. It’s comfort food reimagined: faster, simpler, but with the same soul-soothing satisfaction. Perfect for impressing guests without stress, or turning a frantic afternoon into something memorable.
What Ingredients You Will Need
This recipe uses the simplest ingredients to deliver big flavor and satisfying texture without any fuss. Everything here is a pantry staple, which is exactly why I love it.
- Flour tortillas (8-inch) – Look for soft, pliable tortillas. I prefer Mission brand for their flexibility, but any brand works. Whole wheat or spinach tortillas add a fun twist.
- Creamy peanut butter – Go for a natural, no-stir kind if you can. I like Justin’s or Smucker’s Natural. The oil separation is normal—just stir it well before spreading.
- Ripe bananas – The riper, the better. You want them yellow with a few brown spots for maximum sweetness. Green bananas won’t mash well and taste starchy.
- Honey (optional) – A light drizzle adds extra sweetness. Local honey is my favorite for flavor and allergy benefits.
- Cinnamon (optional) – A sprinkle takes these from good to “wait, what’s in this?”
- Chocolate chips (optional) – Mini chocolate chips pressed into the peanut butter before rolling. Trust me on this one.
For substitutions, you can swap peanut butter with almond butter, sunflower seed butter, or even cream cheese. Use gluten-free tortillas if needed. If bananas aren’t your thing, try sliced strawberries or mango strips instead. For a lower-carb option, use low-carb tortillas and sugar-free peanut butter.
One thing I learned the hard way: don’t use tortillas that are too thick or dry. They’ll crack when you roll them. Stick with the soft, flexible kind and warm them slightly if they’re stiff.
Equipment Needed
You don’t need much for this recipe, which is part of the charm. Here’s what you’ll need:
- Butter knife or offset spatula – For spreading the peanut butter evenly. A regular knife works fine, but an offset spatula makes it look prettier.
- Cutting board – Any clean surface works. I use a wooden board because it doesn’t slide around.
- Sharp knife – A serrated knife works best for slicing through the tortilla without squishing the banana. I learned this after crushing too many roll-ups with a dull blade.
- Plate or container – For serving or storing. A bento box is perfect for lunchboxes.
- Optional: microwave or skillet – If your tortillas are stiff, warm them for 10 seconds in the microwave or 30 seconds in a dry skillet to make them pliable.
I’ve made these with just a butter knife and a paper plate before. It’s not fancy, but it works. If you’re making a big batch, a pizza cutter speeds up the slicing process considerably.
Preparation Method
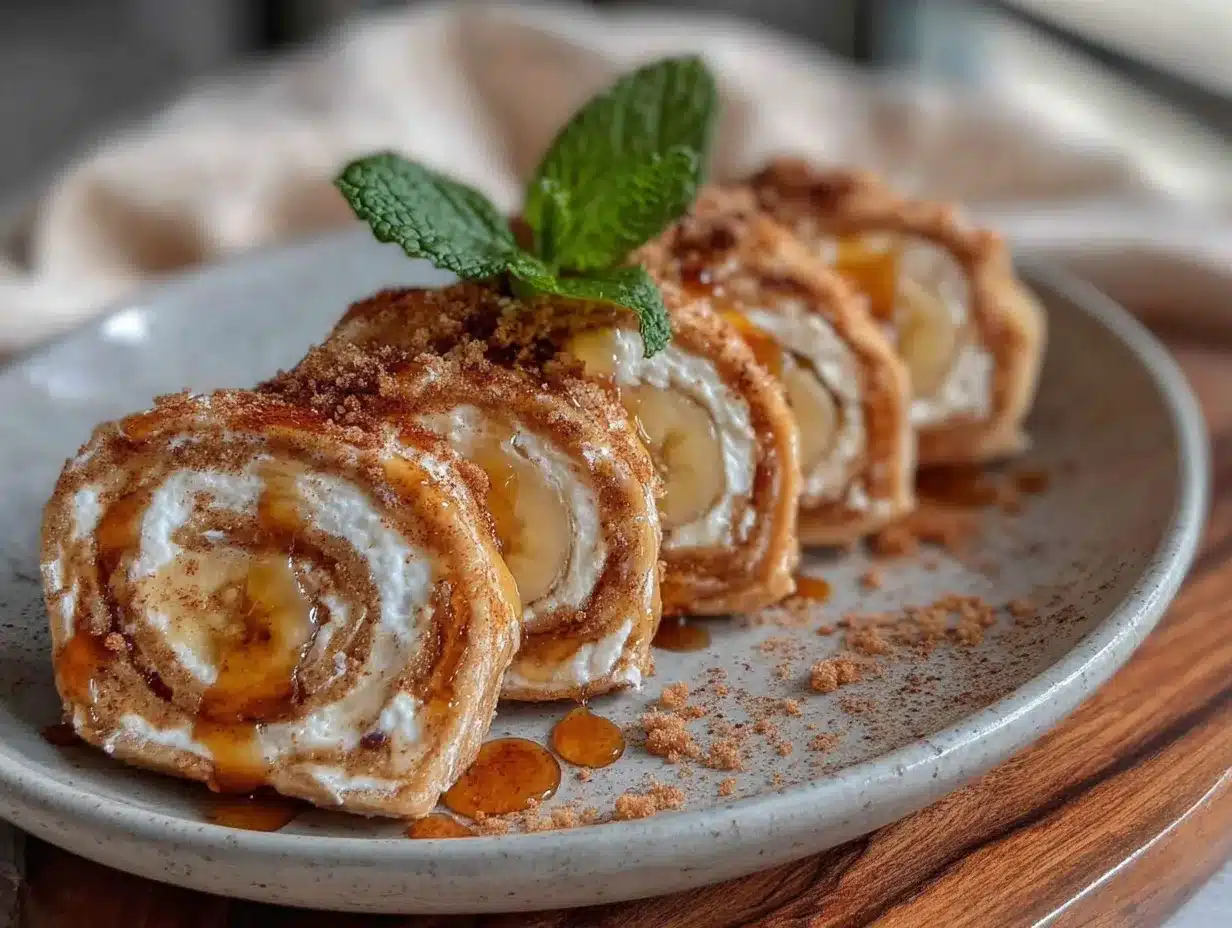
Ready to make these little guys? Here’s the step-by-step. Trust me, you’ll memorize it after one try.
- Warm the tortilla (optional but recommended). If your tortilla feels stiff or cracks when you bend it, pop it in the microwave for 10 seconds. You want it soft and flexible, not hot. This step makes rolling so much easier.
- Spread the peanut butter. Lay the tortilla flat on your cutting board. Using a butter knife or offset spatula, spread a thin, even layer of peanut butter across the entire surface. Leave about a half-inch border around the edges. Too much peanut butter will squish out when you roll—trust me, I’ve made that mess.
- Add optional toppings. Sprinkle cinnamon, drizzle honey, or press mini chocolate chips into the peanut butter. Do this now, before you add the banana. The peanut butter acts like glue.
- Place the banana. Peel your banana and lay it at one edge of the tortilla, parallel to the edge. If your banana is very curved, trim the ends slightly so it sits flat. Position it about an inch from the edge.
- Roll it up tight. Starting at the edge with the banana, roll the tortilla away from you, keeping it snug but not so tight that the banana squishes. Use your fingers to tuck the filling in as you go. Roll until you reach the other end, then press gently to seal.
- Slice into rounds. Using a sharp serrated knife, slice the roll into 1-inch rounds. A gentle sawing motion works best—don’t press straight down or you’ll flatten them. You should get about 6-8 pieces per tortilla.
- Arrange and serve. Place the rounds cut-side up on a plate. They should look like little sushi rolls with a peanut butter rim and a banana center. Serve immediately or pack for later.
A few things I’ve learned: if the banana breaks while rolling, don’t panic. Just keep rolling and it’ll hold together. If the peanut butter squishes out the sides, you used too much—next time use less. And if the tortilla cracks, you rolled it too tight or the tortilla was too dry. Warm it next time.
The whole process takes about 3 minutes once you get the hang of it. I timed myself last week out of curiosity.
Cooking Tips & Techniques
Okay, let me share some hard-earned wisdom. I’ve made these peanut butter banana sushi roll-ups at least fifty times, and I’ve messed up plenty along the way.
Use the right banana. A banana that’s too green won’t have enough sweetness and will feel chalky. One that’s too ripe (all brown spots) will turn mushy when you roll it. Go for yellow with a few brown speckles—that’s the sweet spot.
Don’t over-spread the peanut butter. I know it’s tempting to slather it on thick, but a thin layer is all you need. Thick peanut butter squishes out the sides when you roll, making a sticky mess. Plus, it overwhelms the banana flavor. You want balance, not a peanut butter explosion.
Warm tortillas are your friend. I cannot stress this enough. A cold tortilla straight from the fridge will crack and fight you. Ten seconds in the microwave transforms it into a cooperative, rollable dream. If you don’t have a microwave, lay the tortilla in a dry skillet over medium heat for about 15 seconds per side.
Slice with a serrated knife. This was my biggest lesson. A straight blade smashes the roll and squishes the banana out. A serrated knife glides through cleanly, giving you those perfect little rounds that look so pretty on the plate.
Make ahead tip: You can prep these up to 4 hours ahead. Just wrap the whole roll tightly in plastic wrap and refrigerate. Slice right before serving to keep the tortilla from getting soggy.
One more thing—if you’re packing these for lunch, add a squeeze of lemon juice over the banana before rolling. It prevents browning and keeps them looking fresh for hours.
Variations & Adaptations
This recipe is a blank canvas, honestly. Here are some of my favorite ways to switch it up:
Chocolate Peanut Butter Banana Sushi: Spread Nutella or chocolate-hazelnut spread instead of peanut butter. Add a few mini chocolate chips and sliced strawberries. It’s basically dessert, and I’m not sorry.
Almond Butter & Honey: Swap peanut butter for almond butter, drizzle with honey, and add a sprinkle of sea salt. The salt brings out the sweetness in a way that’s honestly addictive.
Sunflower Seed Butter Version (Nut-Free): Use sunflower seed butter for a school-safe option. Add a drizzle of maple syrup and a sprinkle of cinnamon. My neighbor’s kid is allergic to nuts, and this version is his favorite.
Berry Banana Roll-Ups: Spread cream cheese instead of peanut butter, add sliced bananas and fresh raspberries or blueberries. Roll and slice. These are perfect for spring and summer.
Savory-Sweet Combo: Spread a thin layer of cream cheese, add sliced banana, and drizzle with a tiny bit of honey. The tangy cream cheese balances the sweet banana beautifully. I tried this on a whim and now it’s my go-to breakfast.
Gluten-Free Option: Use your favorite gluten-free tortillas. I like the Mission gluten-free ones—they’re soft and flexible. Just warm them before rolling.
Low-Carb Version: Use low-carb tortillas and sugar-free peanut butter. Add a sprinkle of cinnamon for flavor without carbs. My keto friend swears by this version.
Feel free to experiment. I once added crumbled bacon to the peanut butter version, and it was weirdly amazing. Don’t knock it till you try it.
Serving & Storage Suggestions
These peanut butter banana sushi roll-ups are best served immediately, but they travel surprisingly well. Here’s how to handle both situations.
Serving: Arrange the slices cut-side up on a plate. They look adorable arranged in a circle or stacked in a little tower. For a fun presentation, serve with a small bowl of honey or chocolate sauce for dipping. Kids love dunking them. I serve them at room temperature or slightly chilled—both are delicious.
For lunchboxes: Roll the whole tortilla (don’t slice it) and wrap tightly in plastic wrap or parchment paper. Pack it whole in the lunchbox, and let the kid slice it themselves or eat it like a wrap. This prevents sogginess. Add a small ice pack if you’re worried about the peanut butter getting too warm.
Storage: If you have leftovers (rare in my house), store sliced roll-ups in an airtight container in the refrigerator for up to 24 hours. Place a paper towel in the container to absorb excess moisture. The tortilla will soften slightly, but they’re still tasty.
Freezing: You can freeze the whole rolled tortilla (unsliced) for up to 1 month. Wrap tightly in plastic wrap, then foil. Thaw in the refrigerator overnight, then slice and serve. The texture changes slightly, but they’re still good for a quick snack.
Reheating: I don’t recommend reheating these—they’re meant to be served cold or at room temperature. But if you want a warm version, microwave the sliced roll-ups for 10 seconds. The banana gets warm and soft, which some people love.
One thing I’ve noticed: the flavors actually meld together after about 30 minutes in the fridge. The peanut butter firms up, the banana softens, and the tortilla absorbs a bit of both. They’re different but still delicious.
Nutritional Information & Benefits
Here’s a rough estimate per serving (one tortilla with 1 tablespoon peanut butter and 1 banana):
| Nutrient | Amount |
|---|---|
| Calories | 320-350 |
| Protein | 10g |
| Carbohydrates | 45g |
| Fiber | 6g |
| Sugar | 18g (natural from banana) |
| Fat | 14g |
| Sodium | 250mg |
These numbers vary based on your ingredients. Natural peanut butter has less sugar than processed kinds, and whole wheat tortillas add more fiber.
Health benefits: Bananas are packed with potassium, which supports heart health and muscle function. Peanut butter provides protein and healthy fats that keep you full longer. Together, they make a balanced snack with energy that lasts. The fiber in the tortilla and banana aids digestion, too.
Dietary considerations: This recipe is naturally vegetarian and can be made vegan by using plant-based tortillas and skipping honey. It’s also dairy-free if you use dairy-free chocolate chips. For nut-free, use sunflower seed butter. For gluten-free, use gluten-free tortillas.
Potential allergens: Peanuts, wheat (in tortillas), and sometimes tree nuts (if using almond butter). Always check labels if you’re serving someone with allergies.
From my perspective, this is a snack I feel good about. It’s real food, not processed junk, and my kids actually ask for it. That’s a win in my book.
Conclusion
So there you have it—peanut butter banana sushi roll-ups that come together in five minutes flat. They’re not fancy, they’re not complicated, and that’s exactly why I love them. This recipe started as a pantry emergency and turned into a family staple, and I honestly think it’ll become one for you too.
I hope you try these and make them your own. Add chocolate, swap the nut butter, throw in some berries—whatever feels right. The best recipes are the ones you tweak until they’re perfect for your kitchen. And if your kids go crazy for them? Well, you’re welcome.
I’d love to hear how yours turn out. Drop a comment below and tell me what variations you tried. Did you add something wild? Did your toddler actually eat the whole thing? Share your stories—I read every single one. And if you loved this recipe, share it with a friend who needs a quick snack idea. Happy rolling!
Frequently Asked Questions
Can I make these ahead of time for meal prep?
Yes! Roll the whole tortilla (don’t slice it) and wrap tightly in plastic wrap. Store in the refrigerator for up to 24 hours. Slice right before serving to keep the tortilla from getting soggy.
What if my tortilla cracks when I roll it?
This usually happens when the tortilla is too cold or too dry. Warm it in the microwave for 10 seconds or in a dry skillet for 15 seconds per side. If it still cracks, try a different brand—some tortillas are just more flexible than others.
Can I use something other than peanut butter?
Absolutely! Almond butter, sunflower seed butter, cashew butter, cream cheese, or even Nutella all work great. Just keep the spread thin so it doesn’t squish out when you roll.
How do I keep the banana from turning brown?
Brush the banana with a little lemon juice or lime juice before rolling. This slows down oxidation and keeps the banana looking fresh for hours. It adds a tiny tang, which actually tastes pretty good.
Are these healthy enough for a daily snack?
They’re a balanced snack with protein, healthy fats, and natural sugars. I serve them to my kids a few times a week without guilt. If you’re watching sugar, use a smaller banana and skip any added honey or chocolate.
Pin This Recipe!
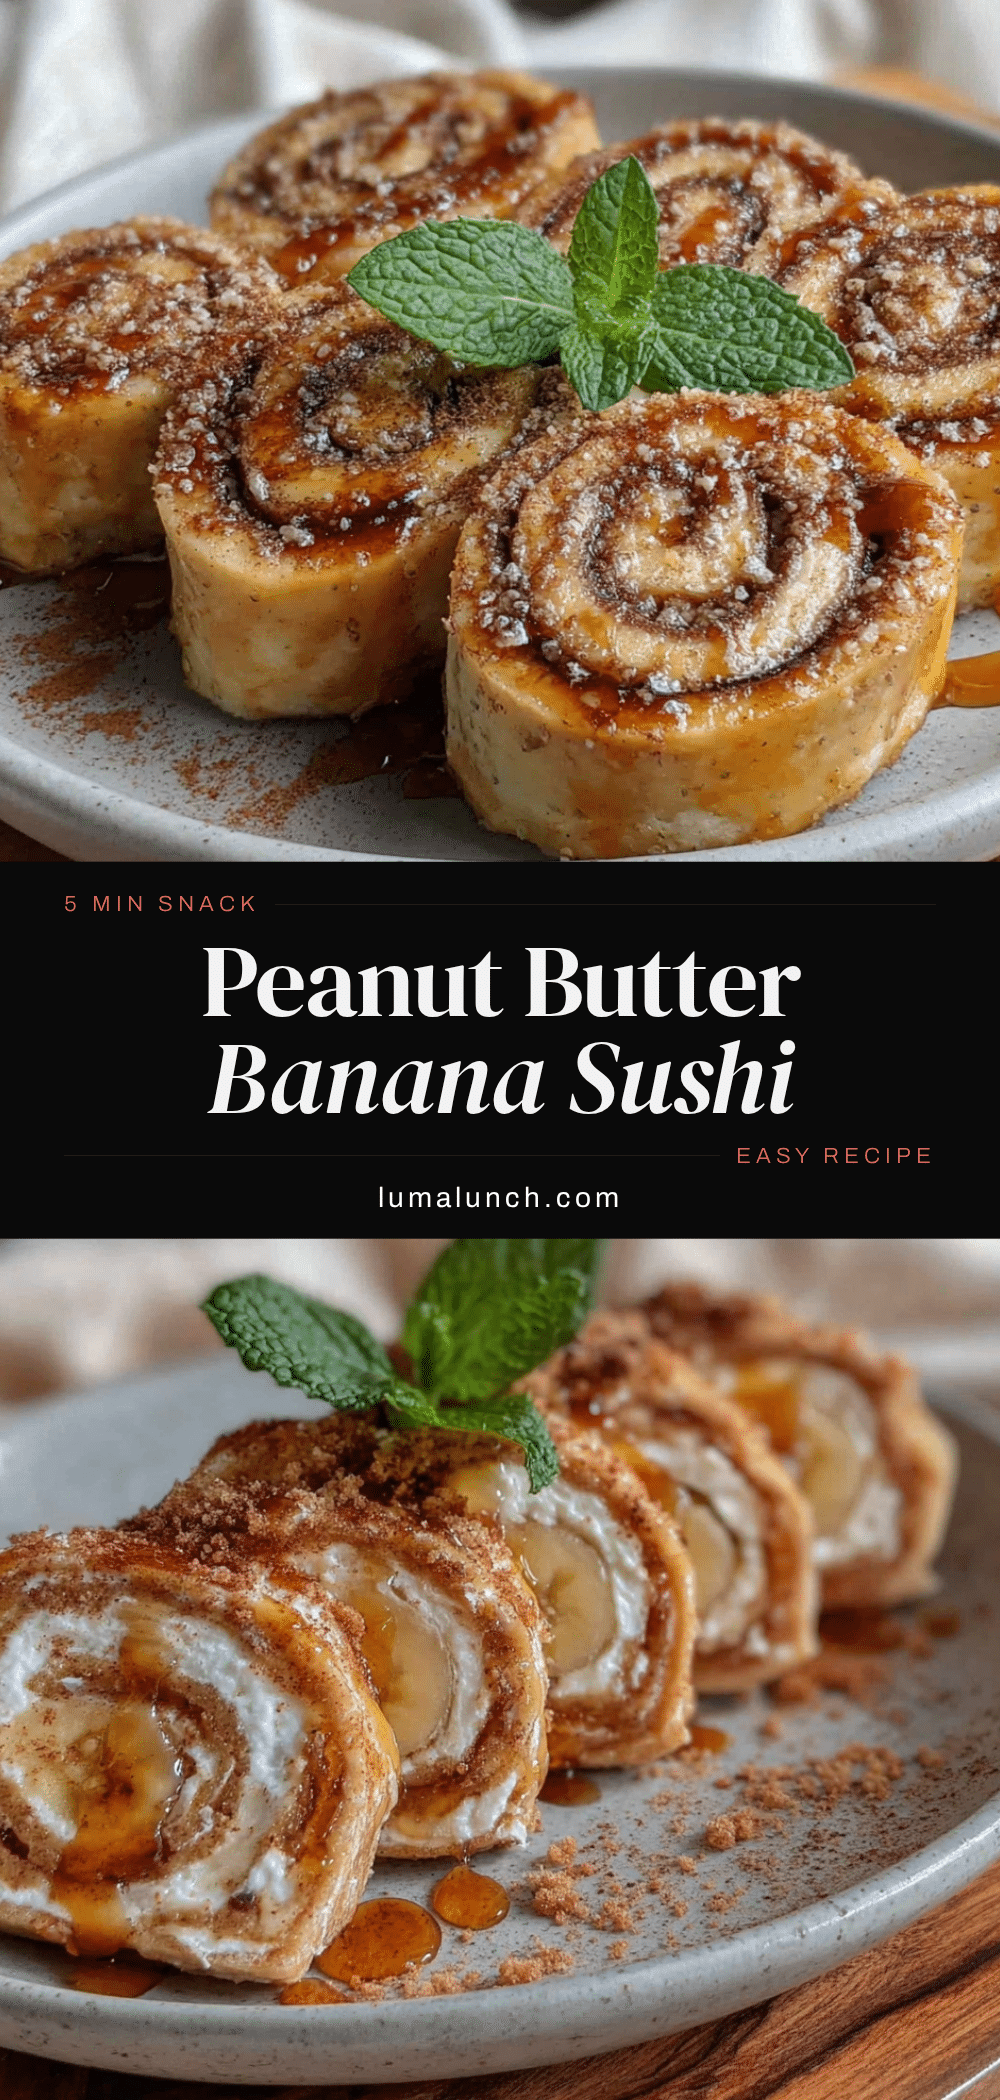
Easy Peanut Butter Banana Sushi 5-Minute Snack Idea
A quick and easy snack made with peanut butter, banana, and tortilla, rolled up and sliced into sushi-like rounds. Perfect for lunchboxes, picky eaters, or a 5-minute emergency snack.
- Prep Time: 5 minutes
- Cook Time: 0 minutes
- Total Time: 5 minutes
- Yield: 1 serving 1x
- Category: Snack
- Cuisine: American
Ingredients
- 1 (8-inch) flour tortilla
- 2 tablespoons creamy peanut butter
- 1 ripe banana
- 1 teaspoon honey (optional)
- 1/4 teaspoon cinnamon (optional)
- 1 tablespoon mini chocolate chips (optional)
Instructions
- Warm the tortilla in the microwave for 10 seconds if stiff.
- Lay the tortilla flat and spread a thin, even layer of peanut butter over the entire surface, leaving a 1/2-inch border.
- Sprinkle cinnamon, drizzle honey, or press mini chocolate chips into the peanut butter if desired.
- Peel the banana and place it at one edge of the tortilla, parallel to the edge, about 1 inch from the edge.
- Roll the tortilla tightly away from you, keeping it snug but not squishing the banana. Press gently to seal.
- Using a sharp serrated knife, slice the roll into 1-inch rounds (about 6-8 pieces).
- Arrange cut-side up on a plate and serve immediately or pack for later.
Notes
Use a ripe banana with a few brown spots for best sweetness. Warm tortillas prevent cracking. Slice with a serrated knife to avoid squishing. For make-ahead, roll the whole tortilla (unsliced) and refrigerate up to 24 hours; slice before serving. Add lemon juice to banana to prevent browning.
Nutrition
- Serving Size: 1 roll-up (6-8 slice
- Calories: 335
- Sugar: 18
- Sodium: 250
- Fat: 14
- Saturated Fat: 3
- Carbohydrates: 45
- Fiber: 6
- Protein: 10
Keywords: peanut butter banana sushi, banana roll-ups, 5-minute snack, easy snack, lunchbox idea, no-cook snack


