Love this? Save it for later!
Share the inspiration with your friends
Introduction
“I wasn’t supposed to be baking that night,” I admit. It was a rainy Thursday, and I’d planned to binge-watch some shows with a bowl of popcorn. But then my neighbor, Mrs. Lane, popped over with a slightly cracked mixing bowl and a mischievous grin. “Try this,” she said, handing me a recipe scribbled on a faded index card. It was for her famous chocolate chip cookies, and she swore it was perfect for beginners.
Honestly, I was skeptical. I barely knew my way around measuring cups, and the last time I tried baking, I ended up with something that resembled a brick. But something about the simplicity of her instructions—and that cracked bowl—made me dive in. Fast forward an hour, and my kitchen was filled with the warm scent of freshly baked cookies. The texture was spot-on, the taste nostalgic, and the experience? Absolutely unforgettable.
Maybe you’ve been there—standing in your kitchen, wondering if you need some secret skill or fancy tools to bake something delicious. Well, let me tell you, you don’t. With just a handful of essential tools and a few practical tips, anyone can jump into baking with confidence and get great results. This guide is exactly that: easy baking basics for beginners, packed with the must-have tools and friendly advice that will make your baking journey smooth and fun. So, if you’re ready to make your kitchen smell like fresh bread or gooey brownies without the stress, stick with me. We’re going to make baking approachable, enjoyable, and yes, totally doable—even if you’re just starting out.
Why You’ll Love This Recipe
Having tested and refined these easy baking basics myself (and with plenty of feedback from beginner bakers), I can say this approach really simplifies the process. You won’t feel overwhelmed or confused—just steady steps toward something delicious.
- Quick & Easy: You can gather all the essential tools in under 10 minutes and start baking right away, perfect for those busy or spontaneous baking moments.
- Simple Ingredients & Tools: No need for fancy gadgets or hard-to-find items. These are everyday kitchen staples, so you can bake without the hassle of a special shopping trip.
- Perfect for Beginners: This guide breaks down everything so that even if you’ve never cracked an egg, you’ll feel confident and prepared.
- Crowd-Pleaser: Once you master the basics, you’ll be able to whip up treats that friends and family rave about—whether it’s cookies, muffins, or simple cakes.
- Unbelievably Delicious: The right tools and tips make all the difference, and this recipe ensures that your baked goods have that perfect texture and flavor combo.
What makes this guide stand out? It’s not just a list of items or a set of rules. It’s a practical, lived-in approach I developed after many messy attempts and a few kitchen mishaps (yes, flour everywhere). The tools recommended here are proven to make baking smoother, and the tips are what I wish I had known from day one. This isn’t another intimidating baking bible—it’s your friendly kitchen companion.
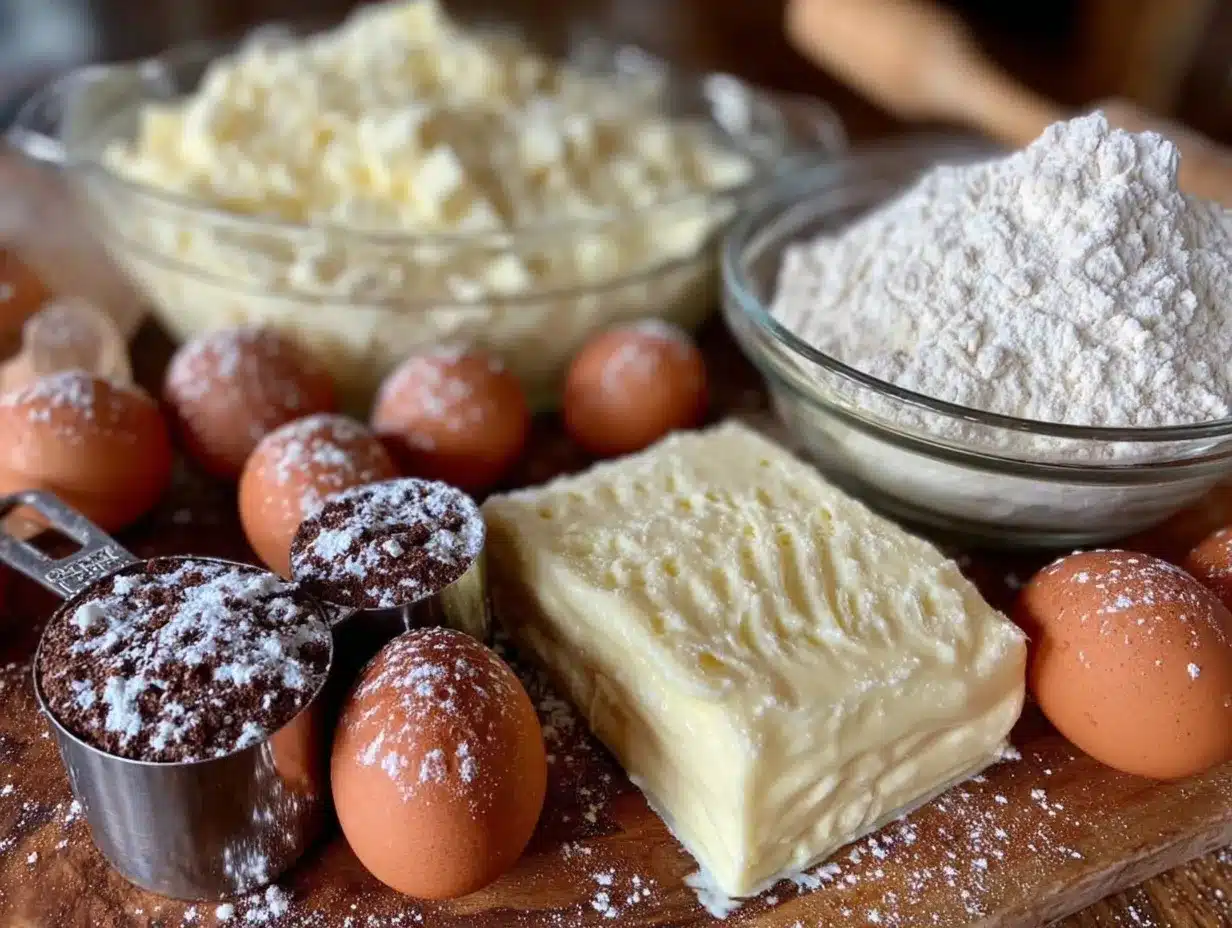
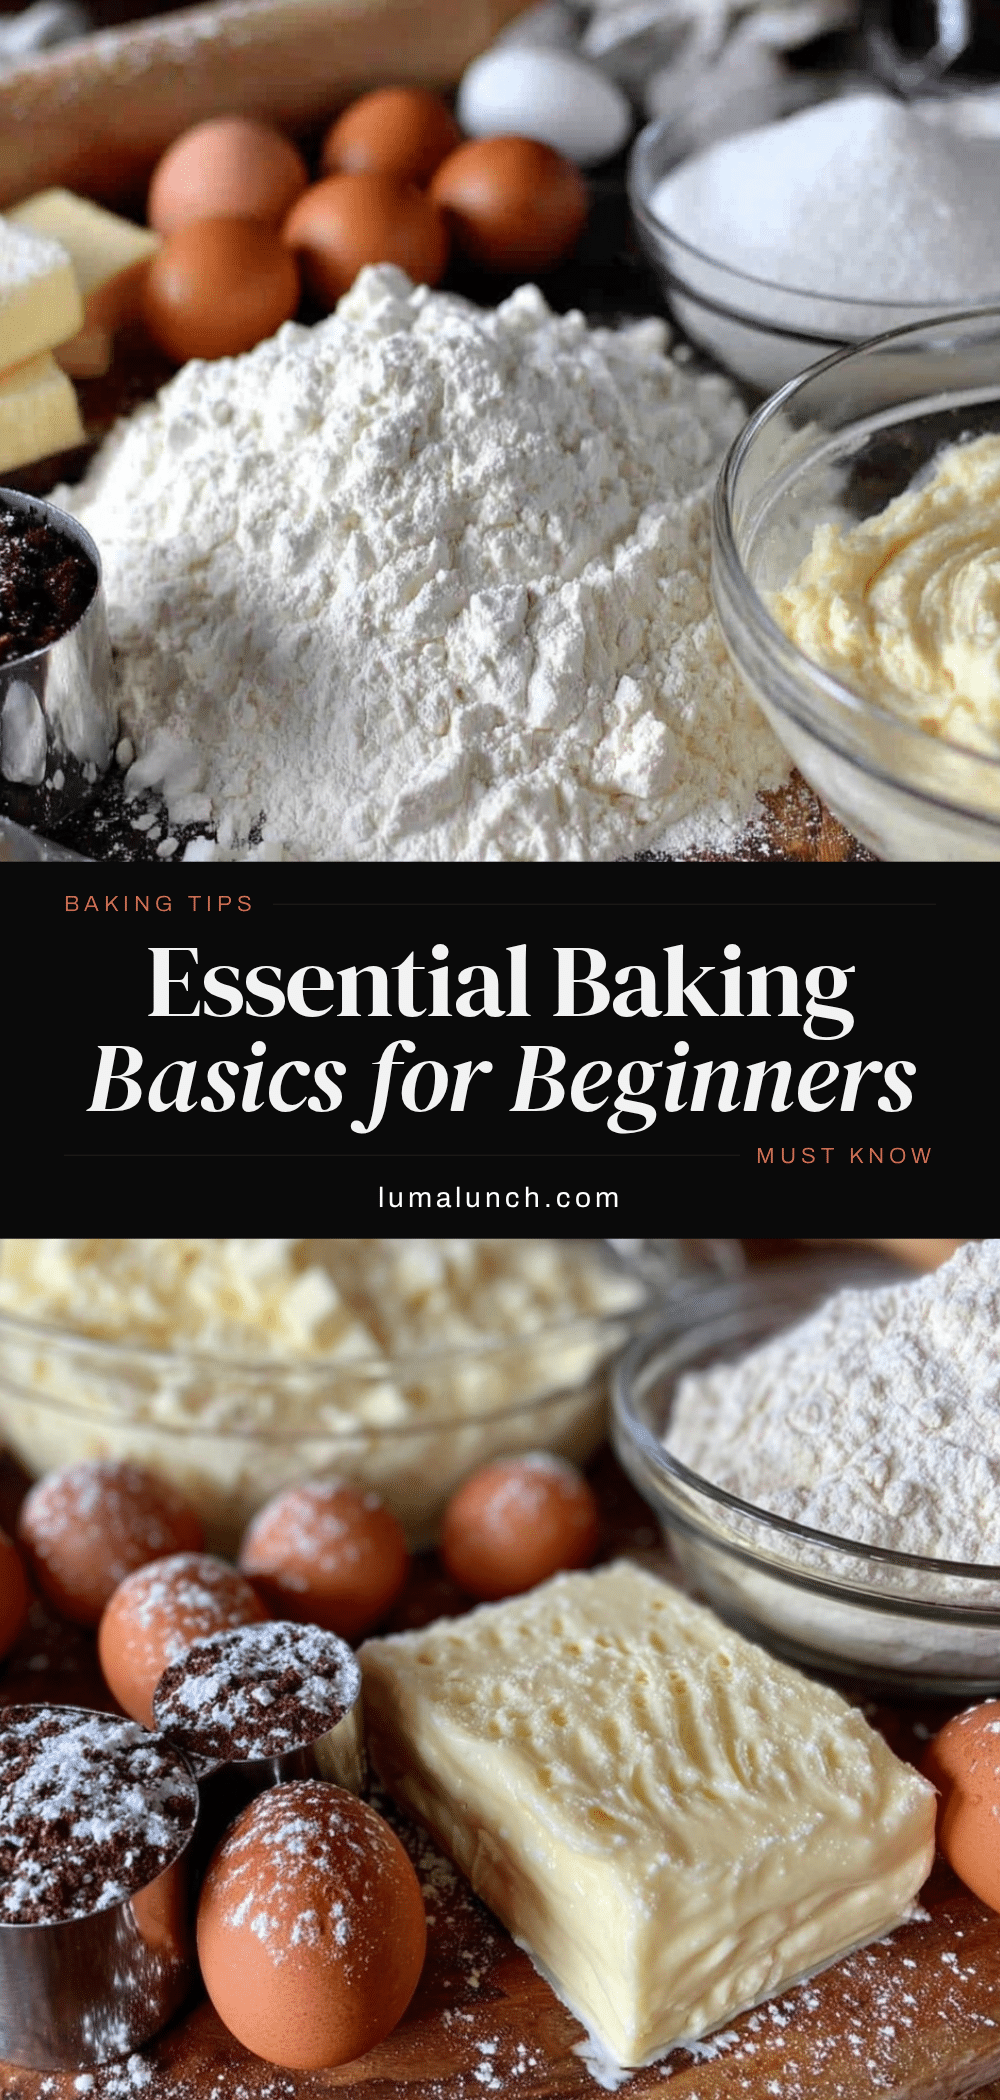
What Ingredients You Will Need
Before jumping into tools and tips, it’s good to know the basic ingredients that form the backbone of most baking recipes. These staples are easy to find, usually sitting right in your pantry or fridge, and they work together to create everything from fluffy cakes to tender cookies.
- All-Purpose Flour: The most versatile flour for baking. Look for brands like King Arthur or Bob’s Red Mill for reliable texture.
- Baking Powder: A leavening agent that helps your baked goods rise. Freshness matters—check the expiration date for best results.
- Baking Soda: Often paired with acidic ingredients to create lift. Use it sparingly to avoid bitter taste.
- Sugar: Granulated sugar is the classic choice, but you can also use brown sugar for a richer flavor.
- Salt: Just a pinch enhances flavor and balances sweetness.
- Butter: Unsalted and softened to room temperature. This adds richness and moisture.
- Eggs: Large eggs at room temperature are ideal for binding and structure.
- Milk: Whole or 2% milk adds tenderness; you can substitute with almond or oat milk if needed.
- Vanilla Extract: Pure vanilla adds depth and aroma to almost any baked treat.
These ingredients form the base for many beginner recipes. Of course, once you’re comfortable, you can swap or add ingredients like cocoa powder, nuts, or fresh fruits. But starting with these basics keeps things manageable and predictable—trust me, it makes your first few bakes feel like wins!
Equipment Needed
For easy baking basics, having the right tools is half the battle. You don’t need a professional kitchen but a few essentials will save you frustration and improve your results.
- Mixing Bowls: A set of medium and large bowls, preferably glass or stainless steel. I like Pyrex for durability and easy cleanup.
- Measuring Cups & Spoons: Accurate measuring is critical. Invest in a good set with clear markings. Digital scales are great but not mandatory at the start.
- Whisk & Wooden Spoon: For mixing ingredients without overworking the batter.
- Rubber Spatula: Perfect for scraping down bowls and folding ingredients gently.
- Baking Pans: A 9×13 inch rectangular pan and a couple of round cake pans or muffin tins cover most beginner recipes.
- Oven Thermometer: Ovens can be unpredictable. A thermometer ensures you bake at the right temperature.
- Cooling Rack: Allows your baked goods to cool evenly without getting soggy.
If you’re on a budget, many of these tools can be found at thrift stores or budget kitchen shops. I once used a mismatched set of bowls and a wooden spoon from a yard sale and still managed to bake some pretty tasty cupcakes! Remember, it’s about function, not fancy.
Preparation Method
- Gather Your Ingredients and Tools: Take out all ingredients and equipment before starting. This helps avoid scrambling later. (5 minutes)
- Preheat Your Oven: Set to the recipe temperature, usually 350°F (175°C). Use an oven thermometer to verify accuracy. Let the oven fully heat before putting in your batter. (10 minutes)
- Measure Ingredients Precisely: Spoon flour lightly into your measuring cup and level it off with a knife—don’t scoop directly from the bag or you’ll end up with too much. Use liquid measuring cups for milk and oils. (5 minutes)
- Mix Dry Ingredients: In a large bowl, whisk together flour, baking powder, baking soda, and salt. This ensures even distribution of rising agents. (3 minutes)
- Cream Butter and Sugar: Using a wooden spoon or electric mixer, beat softened butter and sugar until light and fluffy. This step traps air for better texture. (5 minutes)
- Add Eggs and Vanilla: Crack eggs one at a time, mixing well after each addition. Stir in vanilla extract. (3 minutes)
- Alternate Adding Dry Ingredients and Milk: Add dry mixture in thirds, alternating with milk. Start and end with dry. Mix just until combined—overmixing can make goods tough. (5 minutes)
- Prepare Baking Pan: Grease or line with parchment paper. Pour batter evenly, smoothing the top with a spatula. (2 minutes)
- Bake: Place pan in preheated oven. Bake according to recipe times—usually 25-35 minutes for cakes, 12-15 for muffins. Check doneness by inserting a toothpick in the center—if it comes out clean or with a few moist crumbs, it’s ready. (25-35 minutes)
- Cool Properly: Remove from oven and let cool in the pan for 10 minutes. Then transfer to a cooling rack to avoid sogginess. (15 minutes)
When I first started, I often forgot to preheat or mixed batter too much, leading to flat or dense results. Patience and precise measuring are your best friends here. And if your first attempt isn’t perfect? That’s totally normal—baking is part science, part art!
Cooking Tips & Techniques
Getting your baking basics right is about more than just following a recipe. Here are some tips I picked up after plenty of trial and error:
- Use Room Temperature Ingredients: Butter, eggs, and milk mix more evenly when not cold. This leads to better texture and rise.
- Don’t Overmix: Once you add the flour, stir just until the ingredients come together. Overmixing develops gluten, making cakes tough.
- Check Oven Temperature: Many ovens run hotter or cooler than the dial says. Using an oven thermometer helps avoid burnt edges or undercooked centers.
- Grease Pans Properly: Butter and flour the pan or use parchment paper to prevent sticking. This simple step saves heartbreak when removing your baked goods.
- Timing is Everything: Set timers and avoid opening the oven door repeatedly. The temperature drop can cause your treats to sink.
- Practice Makes Progress: Don’t stress mistakes—they’re part of learning. I remember once mixing salt instead of sugar (yikes!) but kept going and learned to double-check labels.
Variations & Adaptations
Once you’re comfortable with these easy baking basics, you can start personalizing your creations.
- Dietary Tweaks: Swap all-purpose flour for almond or gluten-free blends to suit dietary needs. Use coconut oil or applesauce instead of butter for dairy-free options.
- Flavor Twists: Add citrus zest, spices like cinnamon or nutmeg, or mix in chocolate chips, nuts, or dried fruit.
- Seasonal Ingredients: Incorporate fresh berries in summer or pumpkin puree in fall for a seasonal flair.
- Different Cooking Methods: Try baking muffins in silicone molds or cupcakes in paper liners for easy servings. You can also experiment with sheet pans for bars and brownies.
- Personal Favorite Variation: I once added a touch of espresso powder to a chocolate cake batter. It didn’t make it taste like coffee, but gave the chocolate a richer, deeper flavor that wowed my friends.
Serving & Storage Suggestions
Serving your baked goods fresh is always best, but sometimes you need to save or transport them.
- Serving Temperature: Most cakes and cookies taste best at room temperature. Let refrigerated items sit out for about 15 minutes before serving.
- Presentation Tips: Dust with powdered sugar, drizzle with glaze, or garnish with fresh fruit to make your treats look bakery-worthy.
- Storage: Store baked goods in airtight containers at room temperature for up to 3 days. For longer storage, wrap tightly and freeze for up to 3 months.
- Reheating: Warm items gently in the oven or microwave to bring back that fresh-baked feeling. Avoid overheating as it can dry them out.
- Flavor Development: Some treats like brownies or fruit cakes often taste better a day or two later as flavors meld, so sometimes patience pays off!
Nutritional Information & Benefits
While baking treats are often seen as indulgences, knowing your ingredients helps you make smarter choices.
- Typical homemade baked goods provide energy from carbohydrates and fats, with moderate protein from eggs and dairy.
- Using real butter and eggs adds essential vitamins like A and D, as well as healthy fats.
- Substituting whole wheat flour or adding oats can boost fiber content.
- For those watching sugar intake, reducing sugar by 10-20% usually doesn’t affect texture much.
- Being mindful of portion sizes helps enjoy treats without overdoing calories.
From my experience, baking your own goodies lets you control what goes in—no preservatives or artificial additives. Plus, the joy of creating something from scratch is a wonderful boost to your wellbeing.
Conclusion
Easy baking basics for beginners aren’t about shortcuts or complicated gadgets—they’re about understanding the essentials and building confidence step-by-step. Whether you’re aiming to make a simple loaf of bread or a batch of cookies, having the right tools and tips makes all the difference.
I love this guide because it reflects my own journey: messy, sometimes frustrating, but always rewarding when that first perfect bite hits your taste buds. So, take a deep breath, grab your mixing bowl (cracked or not), and start baking your way to delicious memories.
If you try these tips or have your own baking stories, I’d love to hear about them in the comments. Don’t forget to share your successes and adaptations—you never know who you might inspire next!
Happy baking!
Frequently Asked Questions (FAQs)
What are the must-have tools for beginner bakers?
A good set of mixing bowls, measuring cups and spoons, a whisk, rubber spatula, baking pans, and an oven thermometer cover most beginner needs.
Can I substitute ingredients in beginner baking recipes?
Yes, many substitutions are possible, like using dairy-free milk or gluten-free flour. Just keep in mind some changes might affect texture and flavor.
How do I know when my baked goods are done?
Use a toothpick inserted into the center—it should come out clean or with a few moist crumbs. Also, the edges usually pull away slightly from the pan.
Why is measuring ingredients accurately important?
Baking is a science, so precise measurements ensure the right chemical reactions and texture. Eyeballing ingredients can lead to disappointing results.
Can I bake without an oven thermometer?
While not mandatory, an oven thermometer helps you know the actual temperature inside your oven, which can vary and impact baking outcomes.
For more tips on beginner-friendly cooking, you might enjoy my guide on crispy garlic chicken or the simple techniques shared in classic vegetable stir fry. Both are great for building kitchen confidence!
Pin This Recipe!
Easy Baking Basics for Beginners
A beginner-friendly guide to essential baking tools, ingredients, and tips for perfect results every time. This recipe simplifies baking with practical advice and easy-to-find staples.
- Prep Time: 25 minutes
- Cook Time: 25-35 minutes
- Total Time: 50-60 minutes
- Yield: 8-12 servings
- Category: Dessert
- Cuisine: American
Ingredients
- All-Purpose Flour
- Baking Powder
- Baking Soda
- Sugar (granulated or brown)
- Salt
- Unsalted Butter (softened to room temperature)
- Large Eggs (room temperature)
- Milk (whole or 2%, or almond/oat milk as substitute)
- Vanilla Extract
Instructions
- Gather your ingredients and tools before starting (about 5 minutes).
- Preheat your oven to 350°F (175°C) and use an oven thermometer to verify accuracy (about 10 minutes).
- Measure ingredients precisely: spoon flour lightly into measuring cup and level off; use liquid measuring cups for milk (about 5 minutes).
- Mix dry ingredients (flour, baking powder, baking soda, salt) in a large bowl using a whisk (about 3 minutes).
- Cream butter and sugar using a wooden spoon or electric mixer until light and fluffy (about 5 minutes).
- Add eggs one at a time, mixing well after each addition, then stir in vanilla extract (about 3 minutes).
- Alternate adding dry ingredients and milk in thirds, starting and ending with dry ingredients; mix just until combined (about 5 minutes).
- Prepare baking pan by greasing or lining with parchment paper; pour batter evenly and smooth the top with a spatula (about 2 minutes).
- Bake in preheated oven: 25-35 minutes for cakes or 12-15 minutes for muffins; check doneness with a toothpick (25-35 minutes).
- Cool baked goods in pan for 10 minutes, then transfer to a cooling rack to avoid sogginess (about 15 minutes).
Notes
Use room temperature ingredients for better texture and rise. Avoid overmixing batter to prevent toughness. Verify oven temperature with a thermometer. Grease pans properly or use parchment paper to prevent sticking. Set timers and avoid opening the oven door repeatedly during baking.
Nutrition
- Serving Size: 1 slice or 1 muffin
- Calories: 200250
- Sugar: 1518
- Sodium: 150200
- Fat: 1012
- Saturated Fat: 67
- Carbohydrates: 2832
- Fiber: 12
- Protein: 34
Keywords: baking basics, beginner baking, baking tools, easy baking, chocolate chip cookies, baking tips, baking ingredients