Love this? Save it for later!
Share the inspiration with your friends
“You know that feeling when you’re halfway through a trail, the sun is dipping low, and all you really want is something tasty that doesn’t require a campfire or a fancy setup?” I remember one chilly October afternoon, sitting on a rocky outcrop just outside Yosemite, watching a group of hikers fumble with their cooking gear while I pulled out my trusty snack box. Honestly, it was a bit of an accident—my campfire plans got rained out, and I had to get creative with what was already in my cooler.
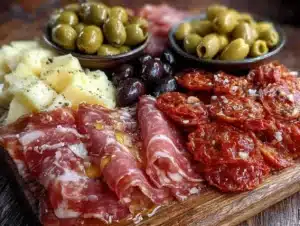
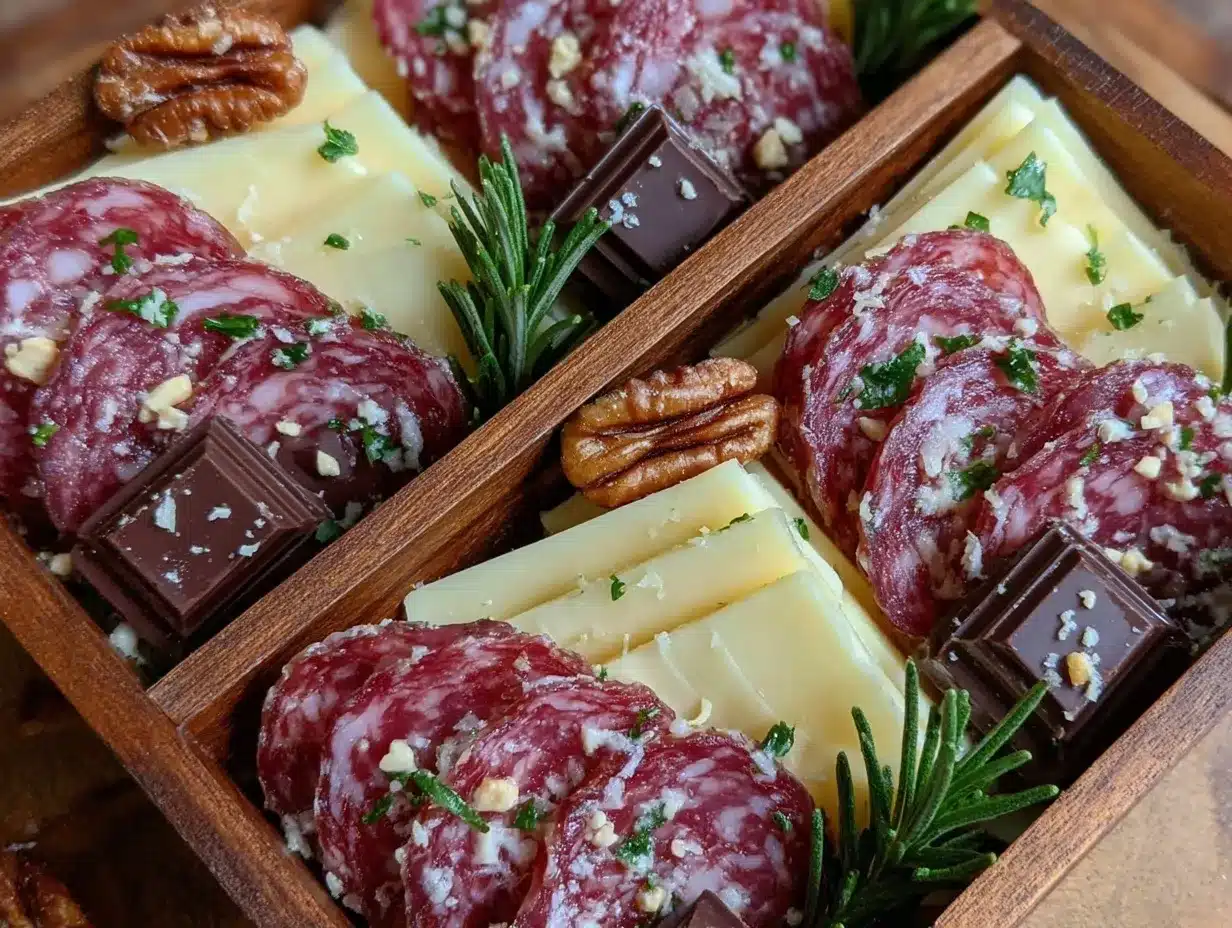
That’s how these Easy No-Cook Camping Snack Boxes with Salami, Cheese & Chocolate came to be my go-to lifesaver on outdoor adventures. No heat, no fuss, just a few simple ingredients that come together for a perfect blend of salty, creamy, and sweet. The crunch of crackers, the savory bite of salami, the melty richness of cheese, and a hit of chocolate to finish — it’s like a mini feast that fits right in your backpack.
Maybe you’ve been there too—scrambling to fix dinner when the last thing you want is to mess with a stove. These snack boxes feel like a little reward after a long day of hiking or kayaking, and let me tell you, they’ve saved me on more than one occasion. Plus, they’re easy to customize and totally fuss-free, which is honestly why they keep showing up in my pack, trip after trip.
Why You’ll Love This Recipe
- Quick & Easy: Ready in under 10 minutes — perfect when you want to eat without slowing down your adventure.
- Simple Ingredients: Pantry staples like salami, cheese, and chocolate come together with no prep needed.
- Perfect for Outdoor Adventures: No cooking gear required; ideal for camping, hiking, or even road trips.
- Crowd-Pleaser: Everyone from kids to seasoned hikers loves this combo — it hits all the right flavor notes.
- Unbelievably Delicious: The balance of salty, creamy, and sweet textures makes each bite satisfying and energizing.
This isn’t just another snack box — it’s the result of countless trail tests and tweaks to get the ratios just right. I’ve tried everything from heavy salamis to crumbly cheeses, and you know, the magic is in picking a flavorful, sturdy cheese that won’t sweat too much in your pack. Also, a piece of good-quality chocolate seals the deal with a touch of indulgence, making the snack feel like a mini celebration even in the wild.
Honestly, this recipe turns a simple snack into a small moment of joy on the trail. And if you’re anything like me, you’ll find yourself looking forward to snack time just as much as the views.
What Ingredients You Will Need
This recipe uses simple, wholesome ingredients to deliver bold flavor and satisfying texture without the fuss. You probably already have most of these in your fridge or pantry, and they travel well—key for camping trips or spontaneous outdoor snacks.
- Salami: About 4 ounces (115 grams), thinly sliced. I prefer a dry-cured variety like Soppressata or Genoa for rich flavor and good shelf life.
- Cheese: 4 ounces (115 grams) of a firm cheese like aged cheddar, gouda, or manchego—sliced or cubed. These hold up best without melting.
- Crackers: 1 cup (about 30 grams). Choose sturdy options like whole grain or water crackers that won’t crumble easily.
- Chocolate: 2 ounces (55 grams) of a dark or milk chocolate bar, broken into chunks. I like Ghirardelli or Lindt for a smooth melt and balanced sweetness.
- Optional extras: A handful of almonds or walnuts (about 1/4 cup/30 grams) for crunch, plus some dried fruit like apricots or figs for extra chew and sweetness.
Ingredient tip: If you want a dairy-free or vegan twist, swap out cheese for firm, nut-based cheese alternatives and choose vegan-friendly chocolate. For a gluten-free option, simply grab your favorite gluten-free crackers.
Equipment Needed
- Small reusable containers or snack boxes: I use plastic or stainless steel containers with compartments to keep ingredients separate and fresh during the hike.
- Sharp knife: For slicing cheese and salami evenly. A folding pocket knife works great on the trail.
- Cutting board or portable surface: To prep ingredients cleanly before packing.
- Reusable snack bags or beeswax wraps: Helpful for wrapping chocolate or extra nuts to avoid mess.
- Optional: Small cheese knife or spreader if you’re adding soft cheeses or spreads.
I’ve found that investing in quality containers makes a huge difference—nothing worse than crushed crackers or melted chocolate in your pack! For budget-friendly options, simple bento-style boxes from your local store work just fine too.
Preparation Method
- Gather all your ingredients: Lay out the salami, cheese, crackers, chocolate, and any optional extras on a clean surface. This helps streamline packing and avoid forgotten items. (About 5 minutes)
- Slice the cheese and salami: Cut into bite-sized pieces or thin slices, whichever you prefer. Aim for uniform sizes to make eating on the go easier. If you’re at home prepping before your trip, wrap slices separately to keep them fresh. (5–7 minutes)
- Portion the crackers: Add a handful of crackers to each snack box compartment. Avoid overfilling to prevent crushing during transport.
- Add nuts and dried fruit (optional): Scatter a small handful into the boxes. These add texture and a little extra energy boost.
- Break the chocolate into chunks: Wrap in parchment or wax paper to keep from melting onto other ingredients. Place in a separate compartment or container.
- Assemble your snack boxes: Arrange each component in its own section to keep flavors and textures distinct. Close lids tightly and store in a cool place until ready to hit the trail.
Pro tip: If you’re worried about cheese sweating or melting, pack the snack boxes in a cooler bag with an ice pack. Otherwise, store in the coolest part of your backpack.
When it’s snack time, you’ll have a perfectly balanced spread ready to enjoy without any mess or fuss. I’ve made these in the parking lot before a hike and even on road trips when the craving strikes.
Cooking Tips & Techniques
Since this recipe is all about no-cook convenience, the real trick is in ingredient selection and packing. Here are some tips that come from trial, error, and a few snack-time disasters.
- Choose sturdy cheeses: Softer cheeses like brie or fresh mozzarella tend to get messy and don’t travel well without refrigeration. Firm, aged cheeses keep their shape and flavor better.
- Slice salami thinly: Thin slices are easier to eat on the go and less likely to crumble or dry out.
- Crackers matter: Avoid flaky or very brittle crackers that break apart easily in your pack. Whole grain or multi-seed crackers add flavor and hold up nicely.
- Keep chocolate separate: It melts quickly when in contact with warm ingredients or heat, so wrapping it separately is key.
- Multitasking tip: Prep snack boxes the night before your trip (or even a few days ahead) to save time and avoid last-minute chaos.
- Trial and error: One time, I packed a soft cheese and it turned into a creamy mess that dripped all over my gear. Lesson learned—stick to the firm stuff!
Variations & Adaptations
One of the best things about these Easy No-Cook Camping Snack Boxes with Salami, Cheese & Chocolate is how easy they are to customize. Here are some ideas to make them your own:
- Vegetarian version: Replace salami with marinated olives, roasted red peppers, or crunchy raw veggies like cucumber slices or baby carrots.
- Seasonal twist: Swap dried apricots for fresh apple slices in fall, or add fresh berries during summer hikes for a pop of freshness.
- Spicy kick: Include some pepper jack cheese or spicy chorizo slices for a little heat.
- Gluten-free option: Use gluten-free crackers or crispbread to keep it safe for sensitive stomachs.
- Personal favorite: I once added a smear of honey mustard on the crackers, which gave a tangy counterpoint to the salty meats and sweet chocolate. Totally unexpected but so good!
Serving & Storage Suggestions
These snack boxes are best enjoyed at room temperature, but if you’re out on a hot day, keeping them in a shaded, cooler spot extends freshness. Present them by simply opening the containers and letting everyone dig in — no plates or utensils needed.
Pair these snack boxes with a crisp white wine or a refreshing iced tea when you’re back at camp. They also complement simple sides like fresh fruit or a green salad if you want to round out a light meal.
For storage, keep the snack boxes refrigerated until you head out. If you’re storing leftovers, wrap the chocolate separately to avoid it absorbing other flavors. Leftover cheese and salami can be stored in airtight containers for up to 3 days in the fridge.
Reheating isn’t needed here, but letting the cheese soften slightly at room temperature before eating really brings out the flavor. Over time, the flavors meld beautifully, especially if you pack a little extra dried fruit or nuts alongside.
Nutritional Information & Benefits
Each snack box provides a balanced mix of protein, fats, and carbs, perfect for sustained energy when you’re out exploring. Salami offers rich protein and fat, while cheese contributes calcium and essential nutrients. The crackers provide complex carbohydrates, and chocolate delivers a bit of antioxidant-rich cocoa and a mood boost.
This recipe is naturally gluten-free if you choose appropriate crackers, and you can easily make it dairy-free or vegetarian with simple swaps. Just keep an eye on any allergies, especially nuts, if you include those optional extras.
From a wellness perspective, these snack boxes hit the spot by combining wholesome ingredients that satisfy hunger without weighing you down—a must for active days outdoors.
Conclusion
In a nutshell, these Easy No-Cook Camping Snack Boxes with Salami, Cheese & Chocolate are the kind of recipe that makes outdoor eating effortless and delicious. They’re quick to assemble, travel well, and satisfy cravings for salty, creamy, and sweet all at once.
Feel free to tweak the ingredients based on what you love or what you have on hand—it’s a super flexible snack that adapts to your taste buds and dietary needs. Honestly, I love how they turn simple ingredients into a little feast wherever I am.
If you’ve tried these snack boxes, I’d love to hear your favorite combos or any fun twists you’ve discovered. Drop a comment below and share your camping snack stories!
Here’s to happy trails and tasty bites!
FAQs
Can I make these snack boxes ahead of time?
Absolutely! They’re great made the night before or even a day ahead. Just keep them refrigerated and pack chocolate separately to avoid melting.
What’s the best cheese to use for no-cook snack boxes?
Firm cheeses like aged cheddar, gouda, or manchego work best because they hold up well without refrigeration and don’t get too soft.
Can I substitute salami with another protein?
Yes! Try cured meats like chorizo or prosciutto, or for a vegetarian option, go with marinated olives or roasted veggies.
How should I store leftover snack box ingredients?
Store leftover cheese and salami in airtight containers in the fridge for up to 3 days. Keep chocolate wrapped separately at room temperature or in the fridge.
Are these snack boxes kid-friendly?
Definitely! The combination of flavors tends to be a hit with kids, especially if you choose milder cheeses and add some fresh fruit or nuts.
Pin This Recipe!
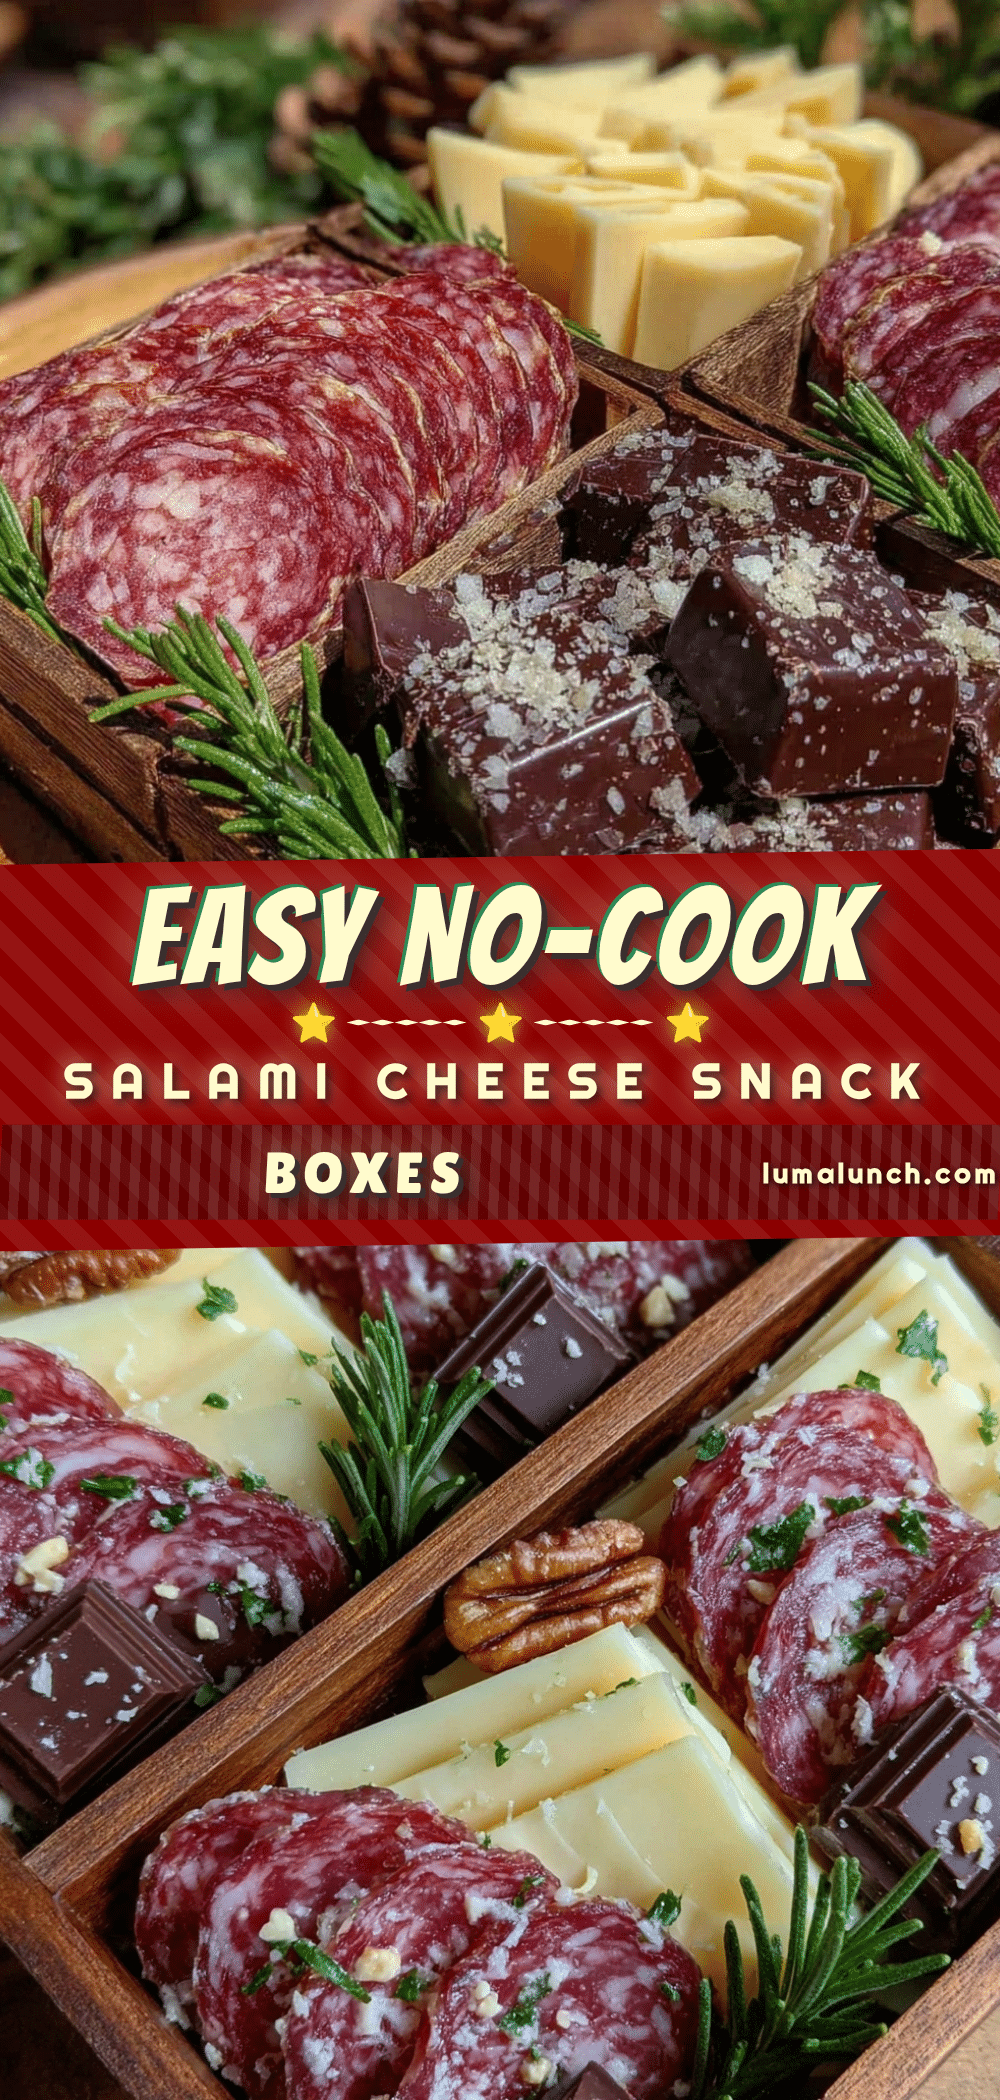
Easy No-Cook Camping Snack Boxes with Salami Cheese and Chocolate

A quick and easy no-cook snack box perfect for outdoor adventures, combining salami, cheese, crackers, and chocolate for a satisfying blend of salty, creamy, and sweet flavors.
- Prep Time: 10 minutes
- Cook Time: 0 minutes
- Total Time: 10 minutes
- Yield: 2 snack boxes (servings) 1x
- Category: Snack
- Cuisine: American
Ingredients
- 4 ounces (115 grams) thinly sliced salami (dry-cured variety like Soppressata or Genoa)
- 4 ounces (115 grams) firm cheese such as aged cheddar, gouda, or manchego, sliced or cubed
- 1 cup (about 30 grams) sturdy crackers like whole grain or water crackers
- 2 ounces (55 grams) dark or milk chocolate bar, broken into chunks
- Optional: 1/4 cup (30 grams) almonds or walnuts
- Optional: dried fruit such as apricots or figs
Instructions
- Gather all your ingredients: Lay out the salami, cheese, crackers, chocolate, and any optional extras on a clean surface.
- Slice the cheese and salami into bite-sized pieces or thin slices, aiming for uniform sizes.
- Portion the crackers by adding a handful to each snack box compartment, avoiding overfilling.
- Add nuts and dried fruit (optional) by scattering a small handful into the boxes.
- Break the chocolate into chunks and wrap in parchment or wax paper to keep separate.
- Assemble your snack boxes by arranging each component in its own section, close lids tightly, and store in a cool place until ready to eat.
Notes
Use firm cheeses that hold up well without melting. Wrap chocolate separately to prevent melting. Prepare snack boxes the night before to save time. Store in a cooler bag with ice pack if possible to keep fresh.
Nutrition
- Serving Size: One snack box
- Calories: 0.35
- Sugar: 8
- Sodium: 600
- Fat: 25
- Saturated Fat: 10
- Carbohydrates: 20
- Fiber: 2
- Protein: 15
Keywords: no-cook snack, camping snack, salami snack box, cheese snack, outdoor snack, hiking food, easy snack, portable snack